
Ingredients
Filling
2 leeks, washed thoroughly, cut in half, and sliced into half-rounds
2 tablespoons salted butter
1 teaspoon thyme
1 teaspoon paprika
1 tablespoon all-purpose flour
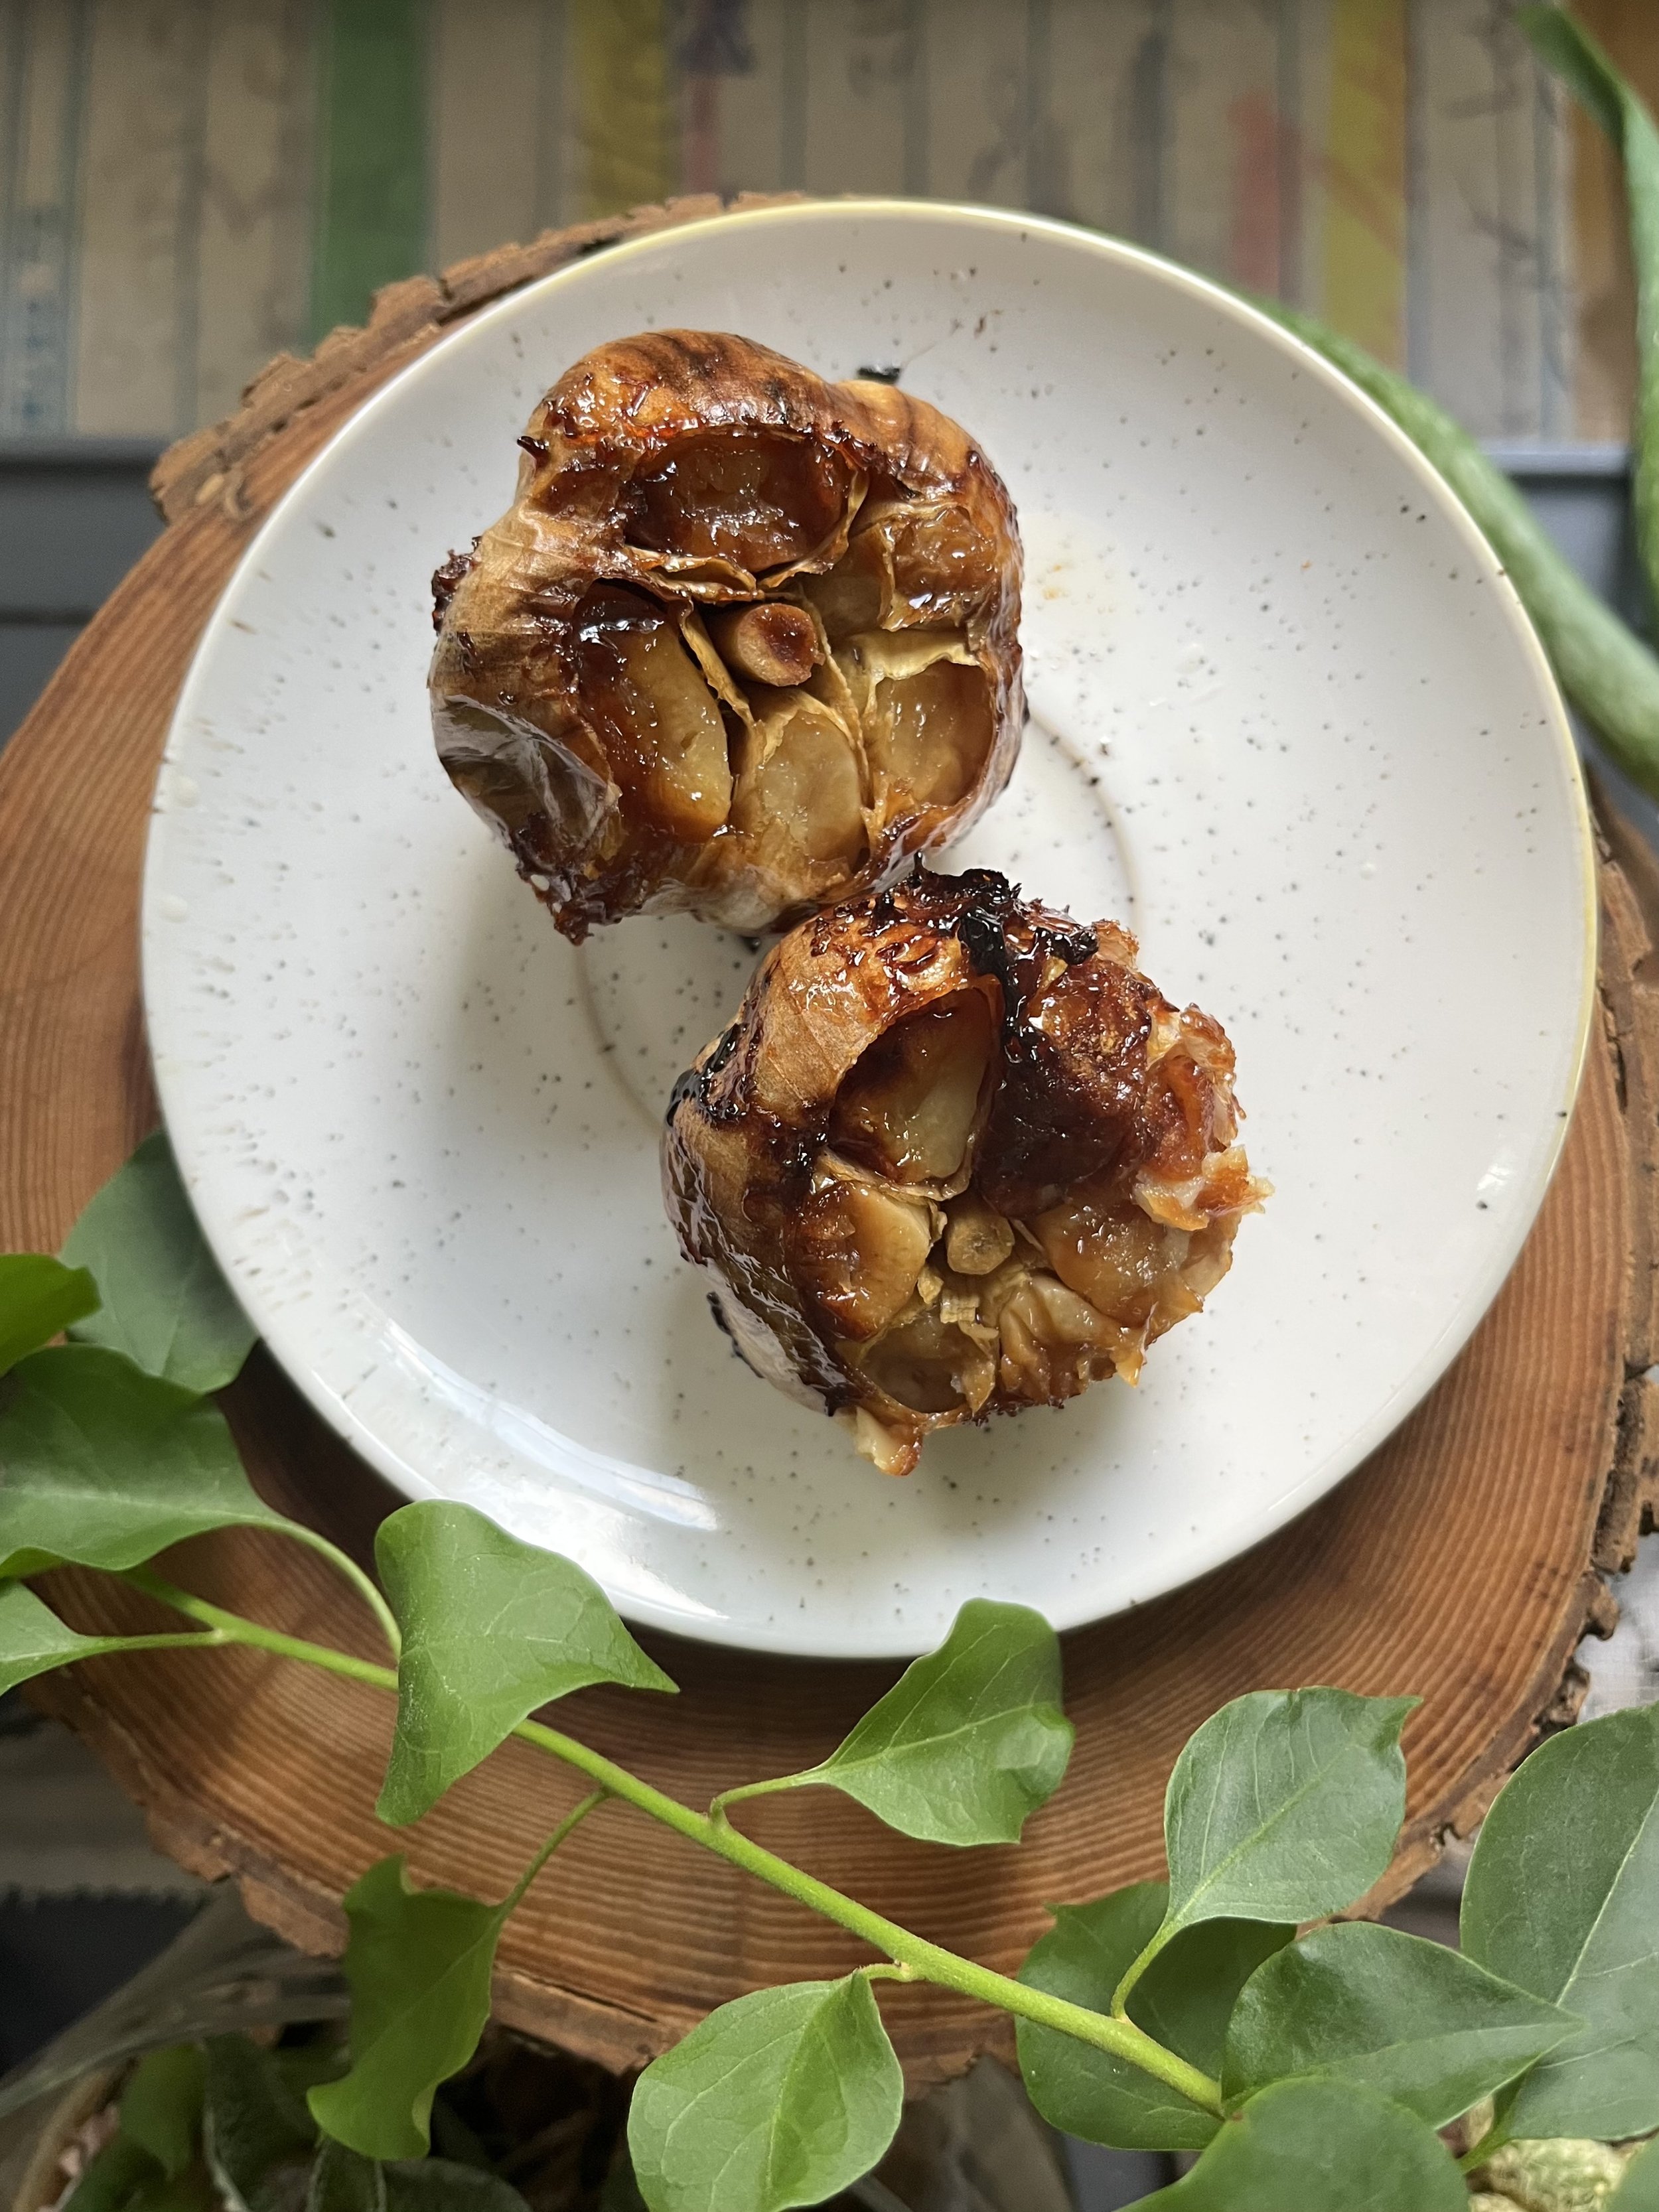
1 head roasted garlic, cloves removed and puréed*
1 cup milk
½ cup Parmesan cheese
4 – 5 potatoes, washed and thinly sliced
¼ cup milk
Breadcrumb Topping
½ cup breadcrumbs
1 tablespoon Parmesan
1 tablespoon salted butter, melted
Instructions
Preheat the oven to 400°F.
Melt 2 tablespoons of salted butter in a cast iron pan, over medium heat.
Add the washed and sliced leeks and cook until softened and just starting to brown.
Add the thyme and paprika and stir until leeks are coated. Season with salt and pepper to taste (~1/4 teaspoon of each).
Add the pureed roasted garlic and flour and again stir until leeks coated. Roasted garlic may start to stick/burn, so quickly add a bit of milk once leeks are coated. If anything does stick, use a wooden spoon to scrape up any stuck-on bits.
Slowly add the rest of the milk, using a spatula to stir and combine. Once all milk has been added, pour in the Parmesan and again mix until evenly combined. The mixture will be very thick. Taste and season with more salt and pepper as required.
Turn off the heat and remove ¾ of the leek and sauce mixture from the pan. Place in a small pan for use later on. Spread the remaining ¼ of the sauce evenly across the bottom of the pan.
Add a layer of sliced potatoes to the pan, until the bottom is fully covered.
Add ¼ of the mixture back to the pan, and spread out until potatoes are as covered as possible.
Repeat this process two more times. After the final leek mixture has been added, top the pan with the final ¼ cup of milk.
Next, add the breadcrumb mixture to the top of the pan.
To make the bread crumb topping melt 1 tablespoon butter in the microwave. Add the breadcrumbs and Parmesan and stir until evenly combined. Season with salt and pepper to taste.
Spread the breadcrumb mixture evenly overtop of the cast iron pan.
Place the prepared pan into the oven and bake for 40 minutes, until bubbly and potatoes are soft when poked with a fork.
Serve as a side with a protein and vegetable of your choice.
*To make roasted garlic, slice the top off of a whole bulb of garlic, and place on a large piece of tinfoil. Drizzle the garlic bulb with canola oil, and then tightly wrap up the foil. Place in the oven and bake at 425°F for ~45 minutes, until garlic cloves are caramelized and soft, and can be easily squeezed out of their papery outer layer.
Recipe developed & photographed by Alex Chesney, RD
Marketing Agency