Updates from Week 1 of April

Hello from the farm! It has been one wet week around here, and I’m sure it’s been the same for a lot of you as well! Fortunately, we have very sandy soil, so water drains pretty quickly. It’s handy when we have an abundance of water that needs to get moving, but as we talked about in some previous newsletters, it can pose a problem later in the season when we inevitably run into dry spells.

There’s quite a bit of activity on the go this week, and I thought I’d fill you in on some of it!

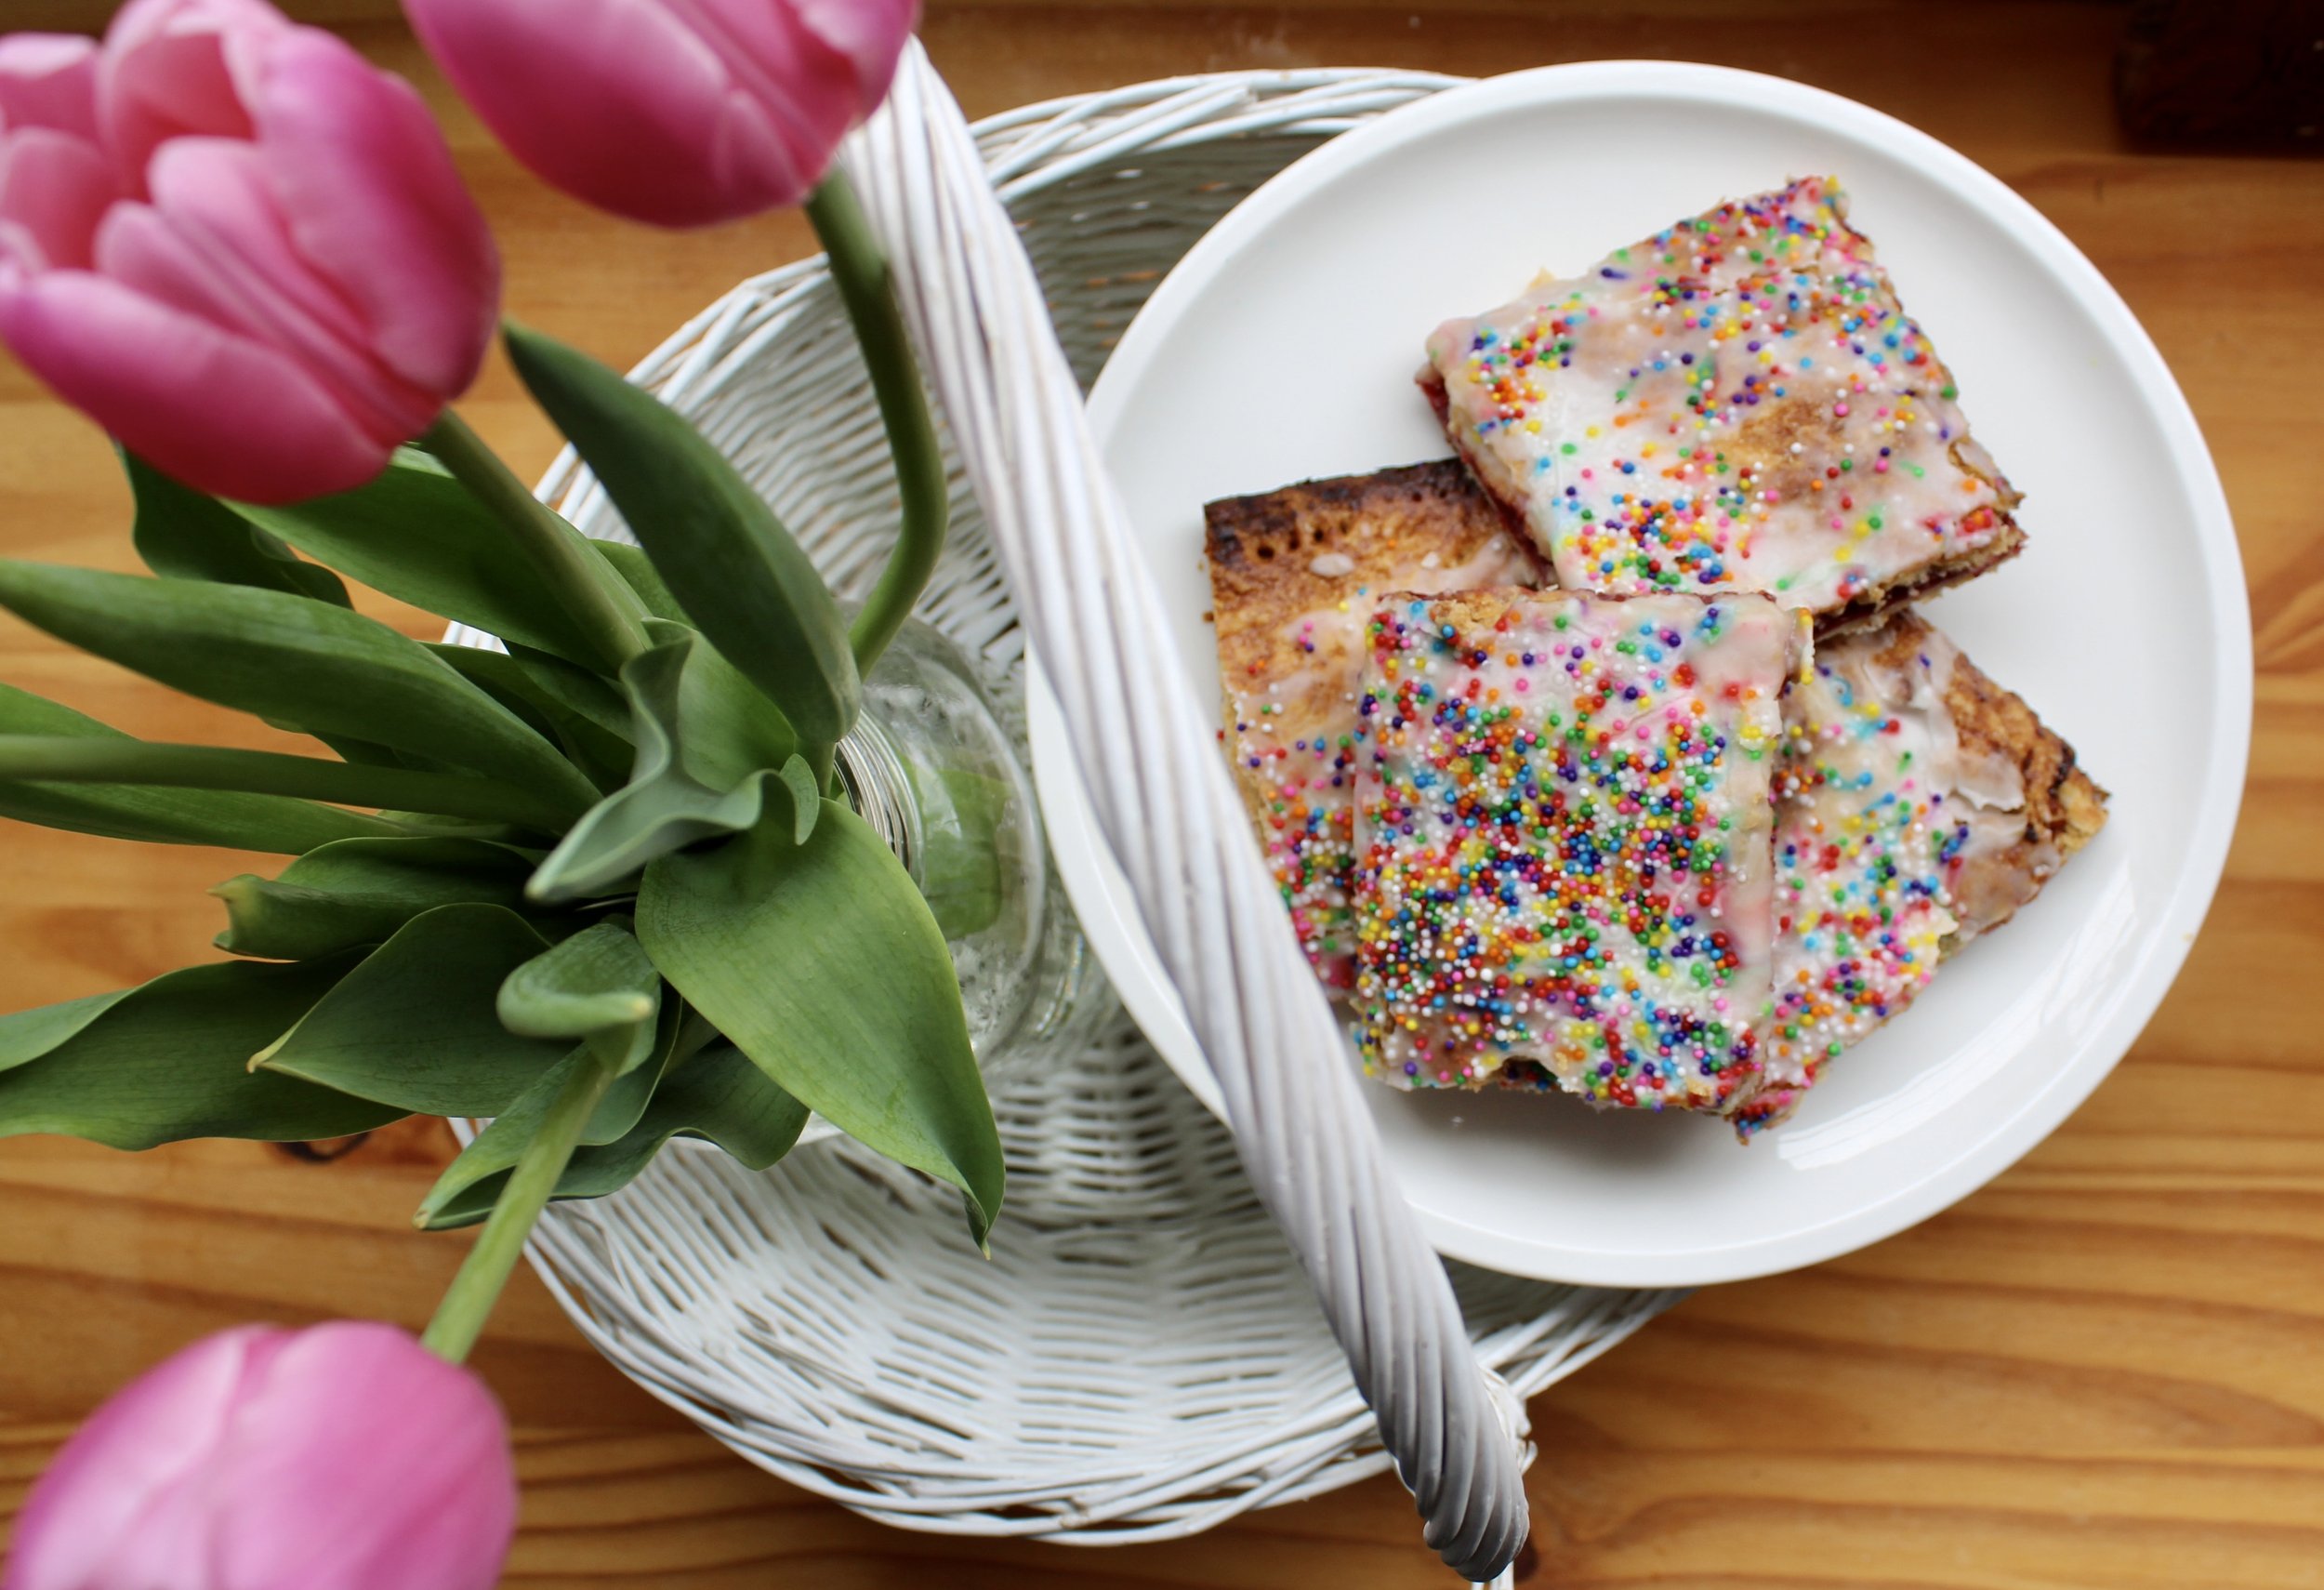
We were busy baking and sorting preserves earlier this week, and then dropped off all Spring/Easter orders yesterday, direct to the doorsteps of those who ordered. Thanks so much to everyone who supported our Farm Kitchen, and we hope you enjoy your pies, pretzels, and more!

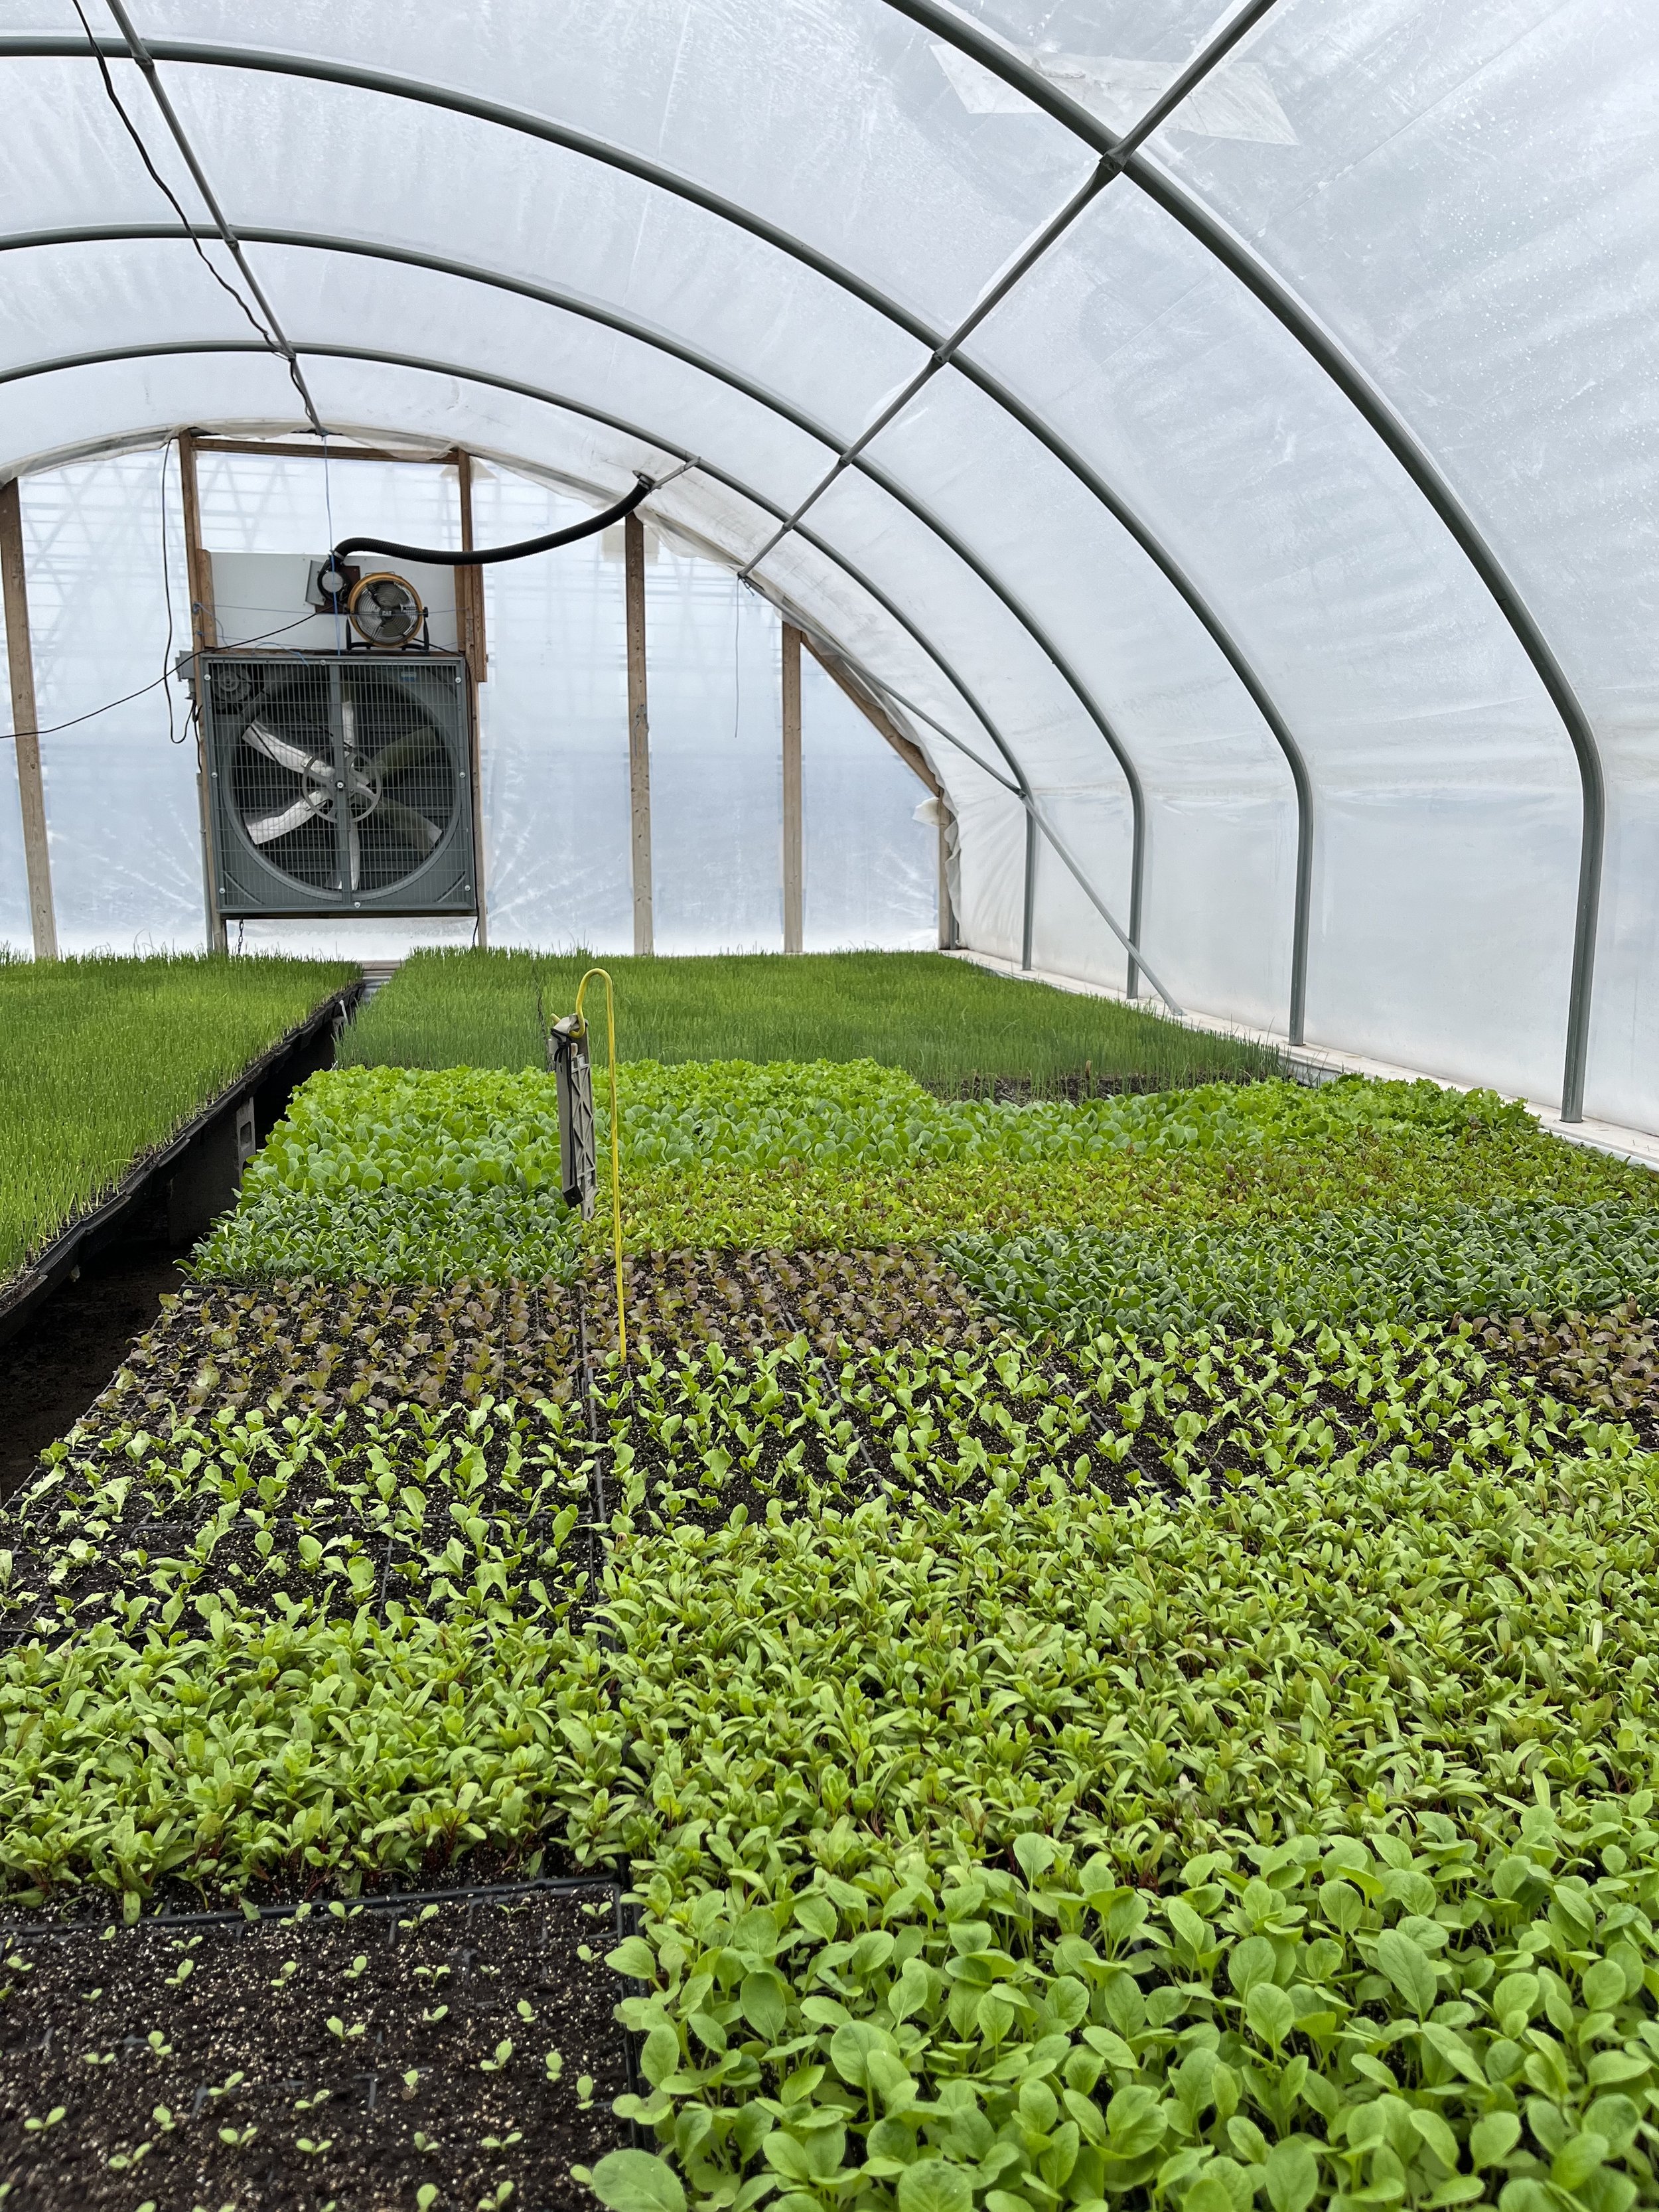
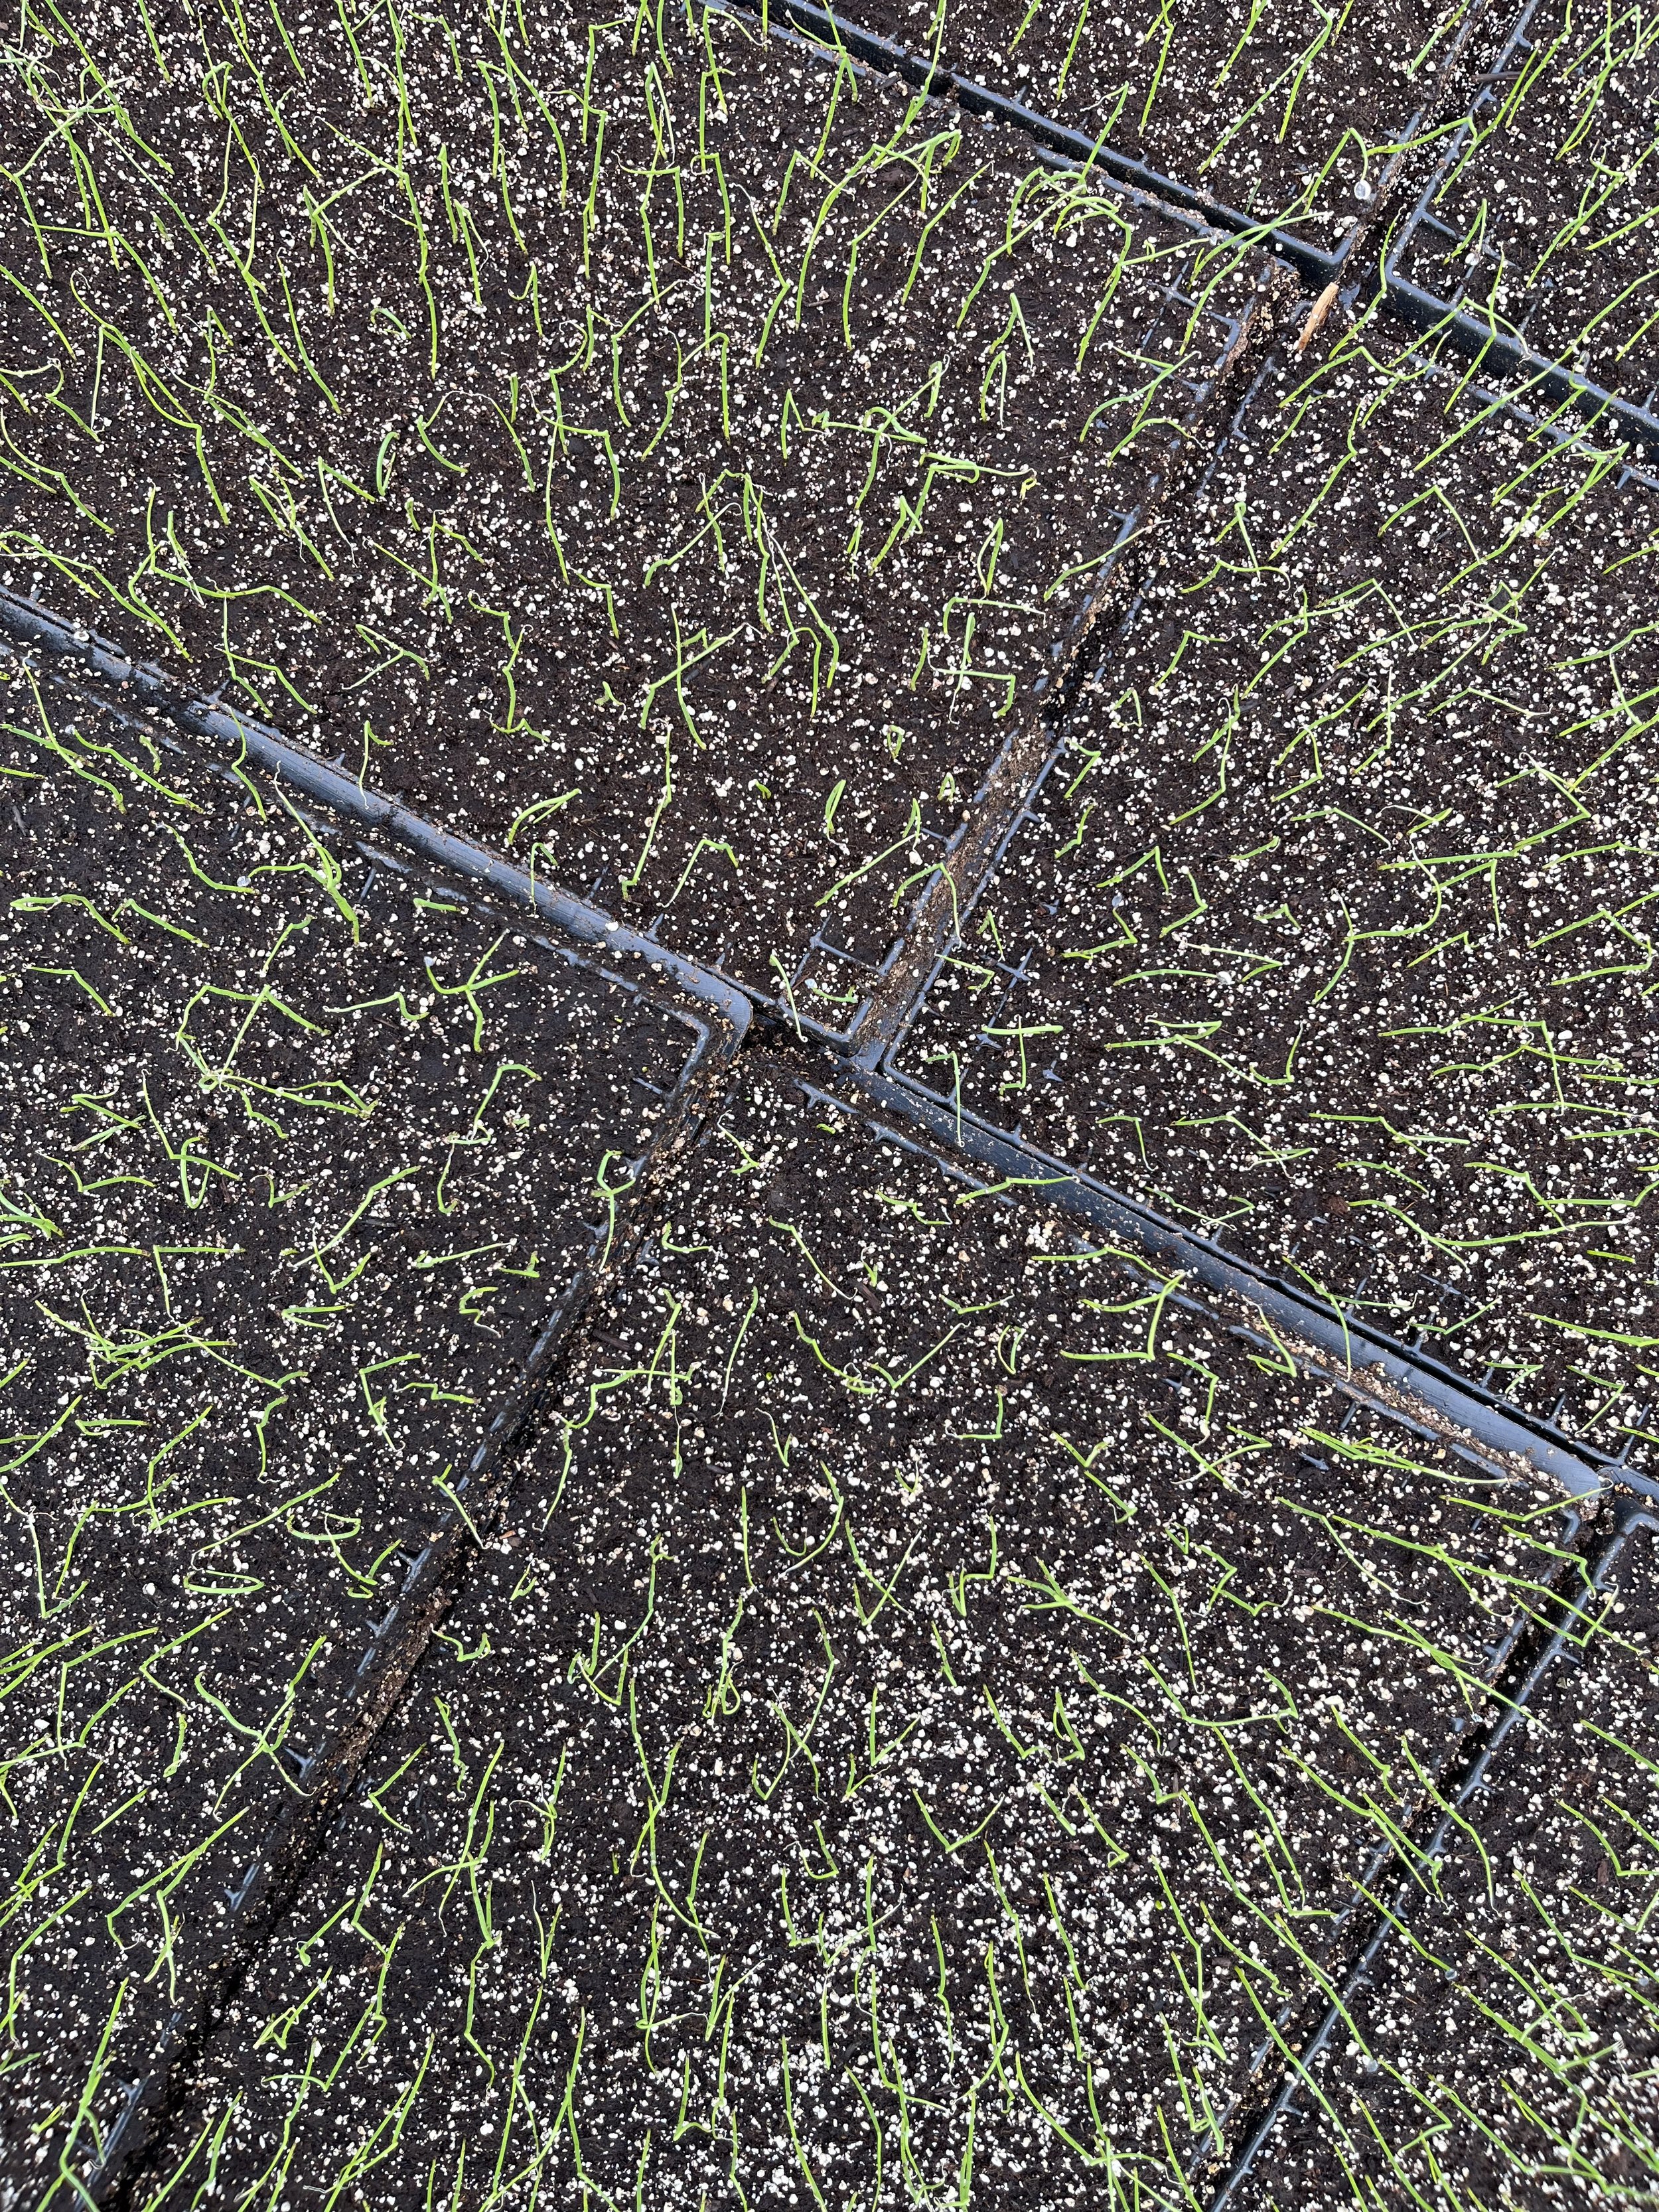
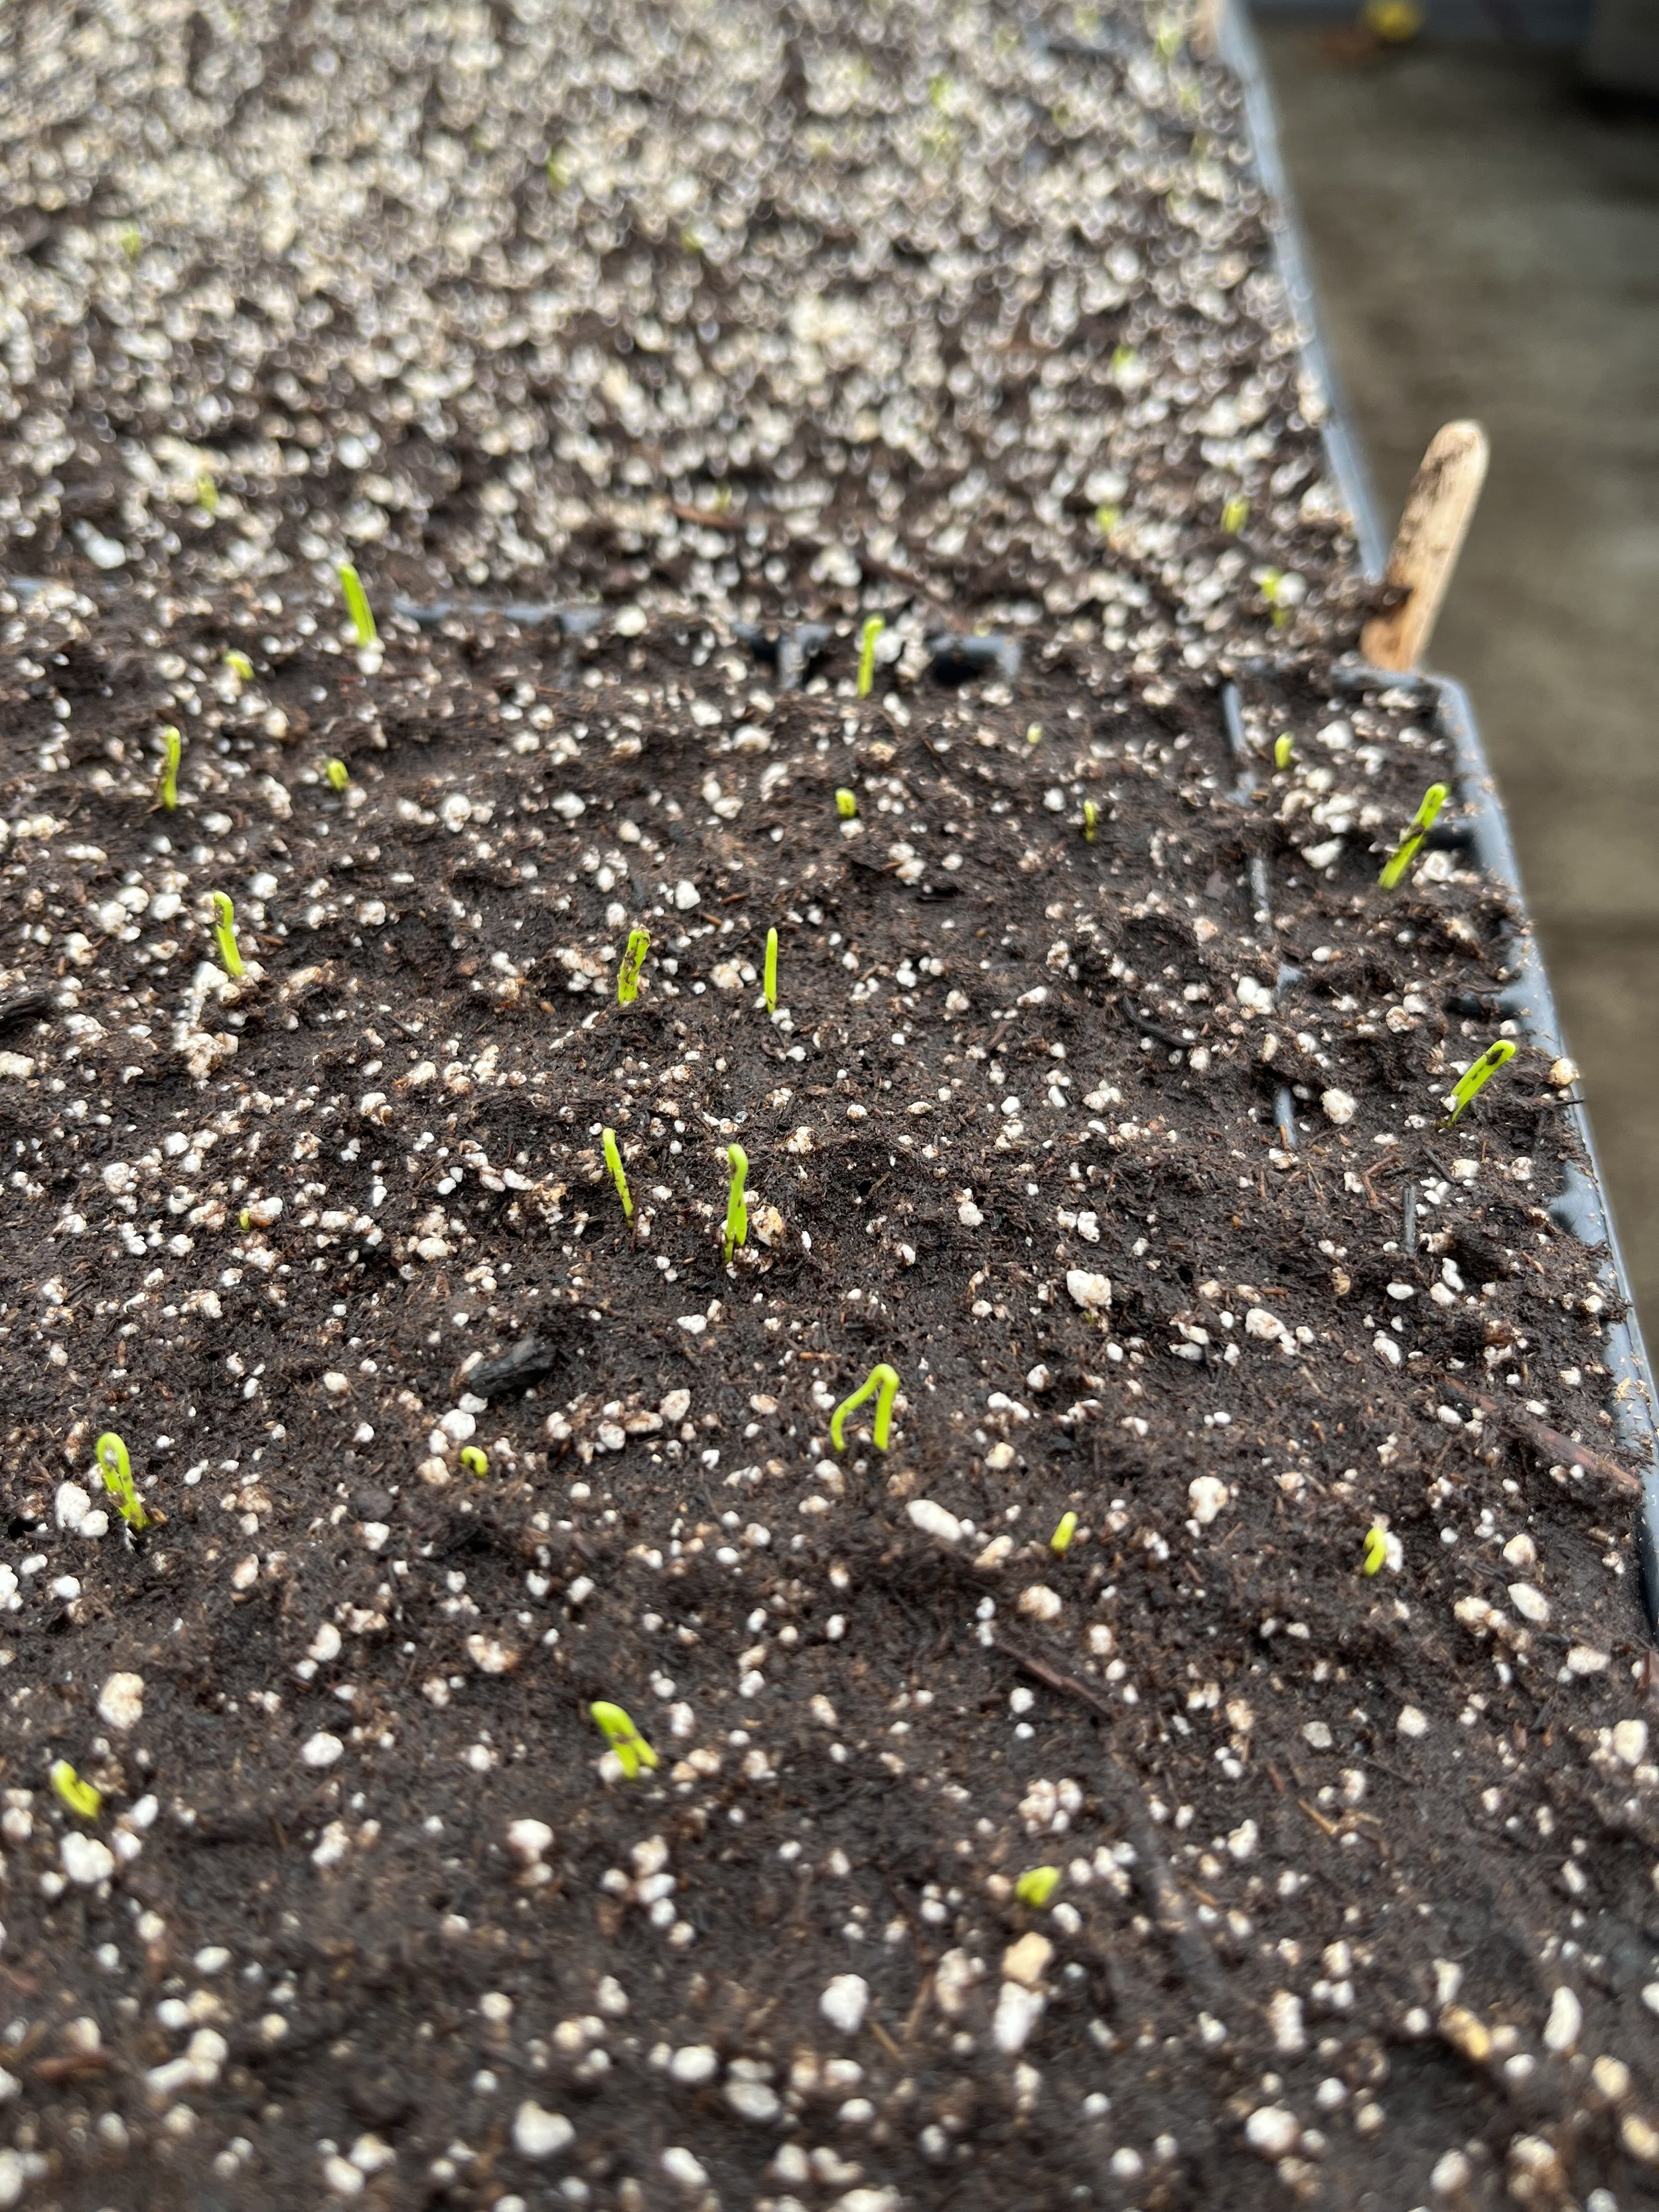
Meanwhile, our seeding and field crews have also had lots on the go. Keep scrolling for a sneak peek at what they’ve been up to!

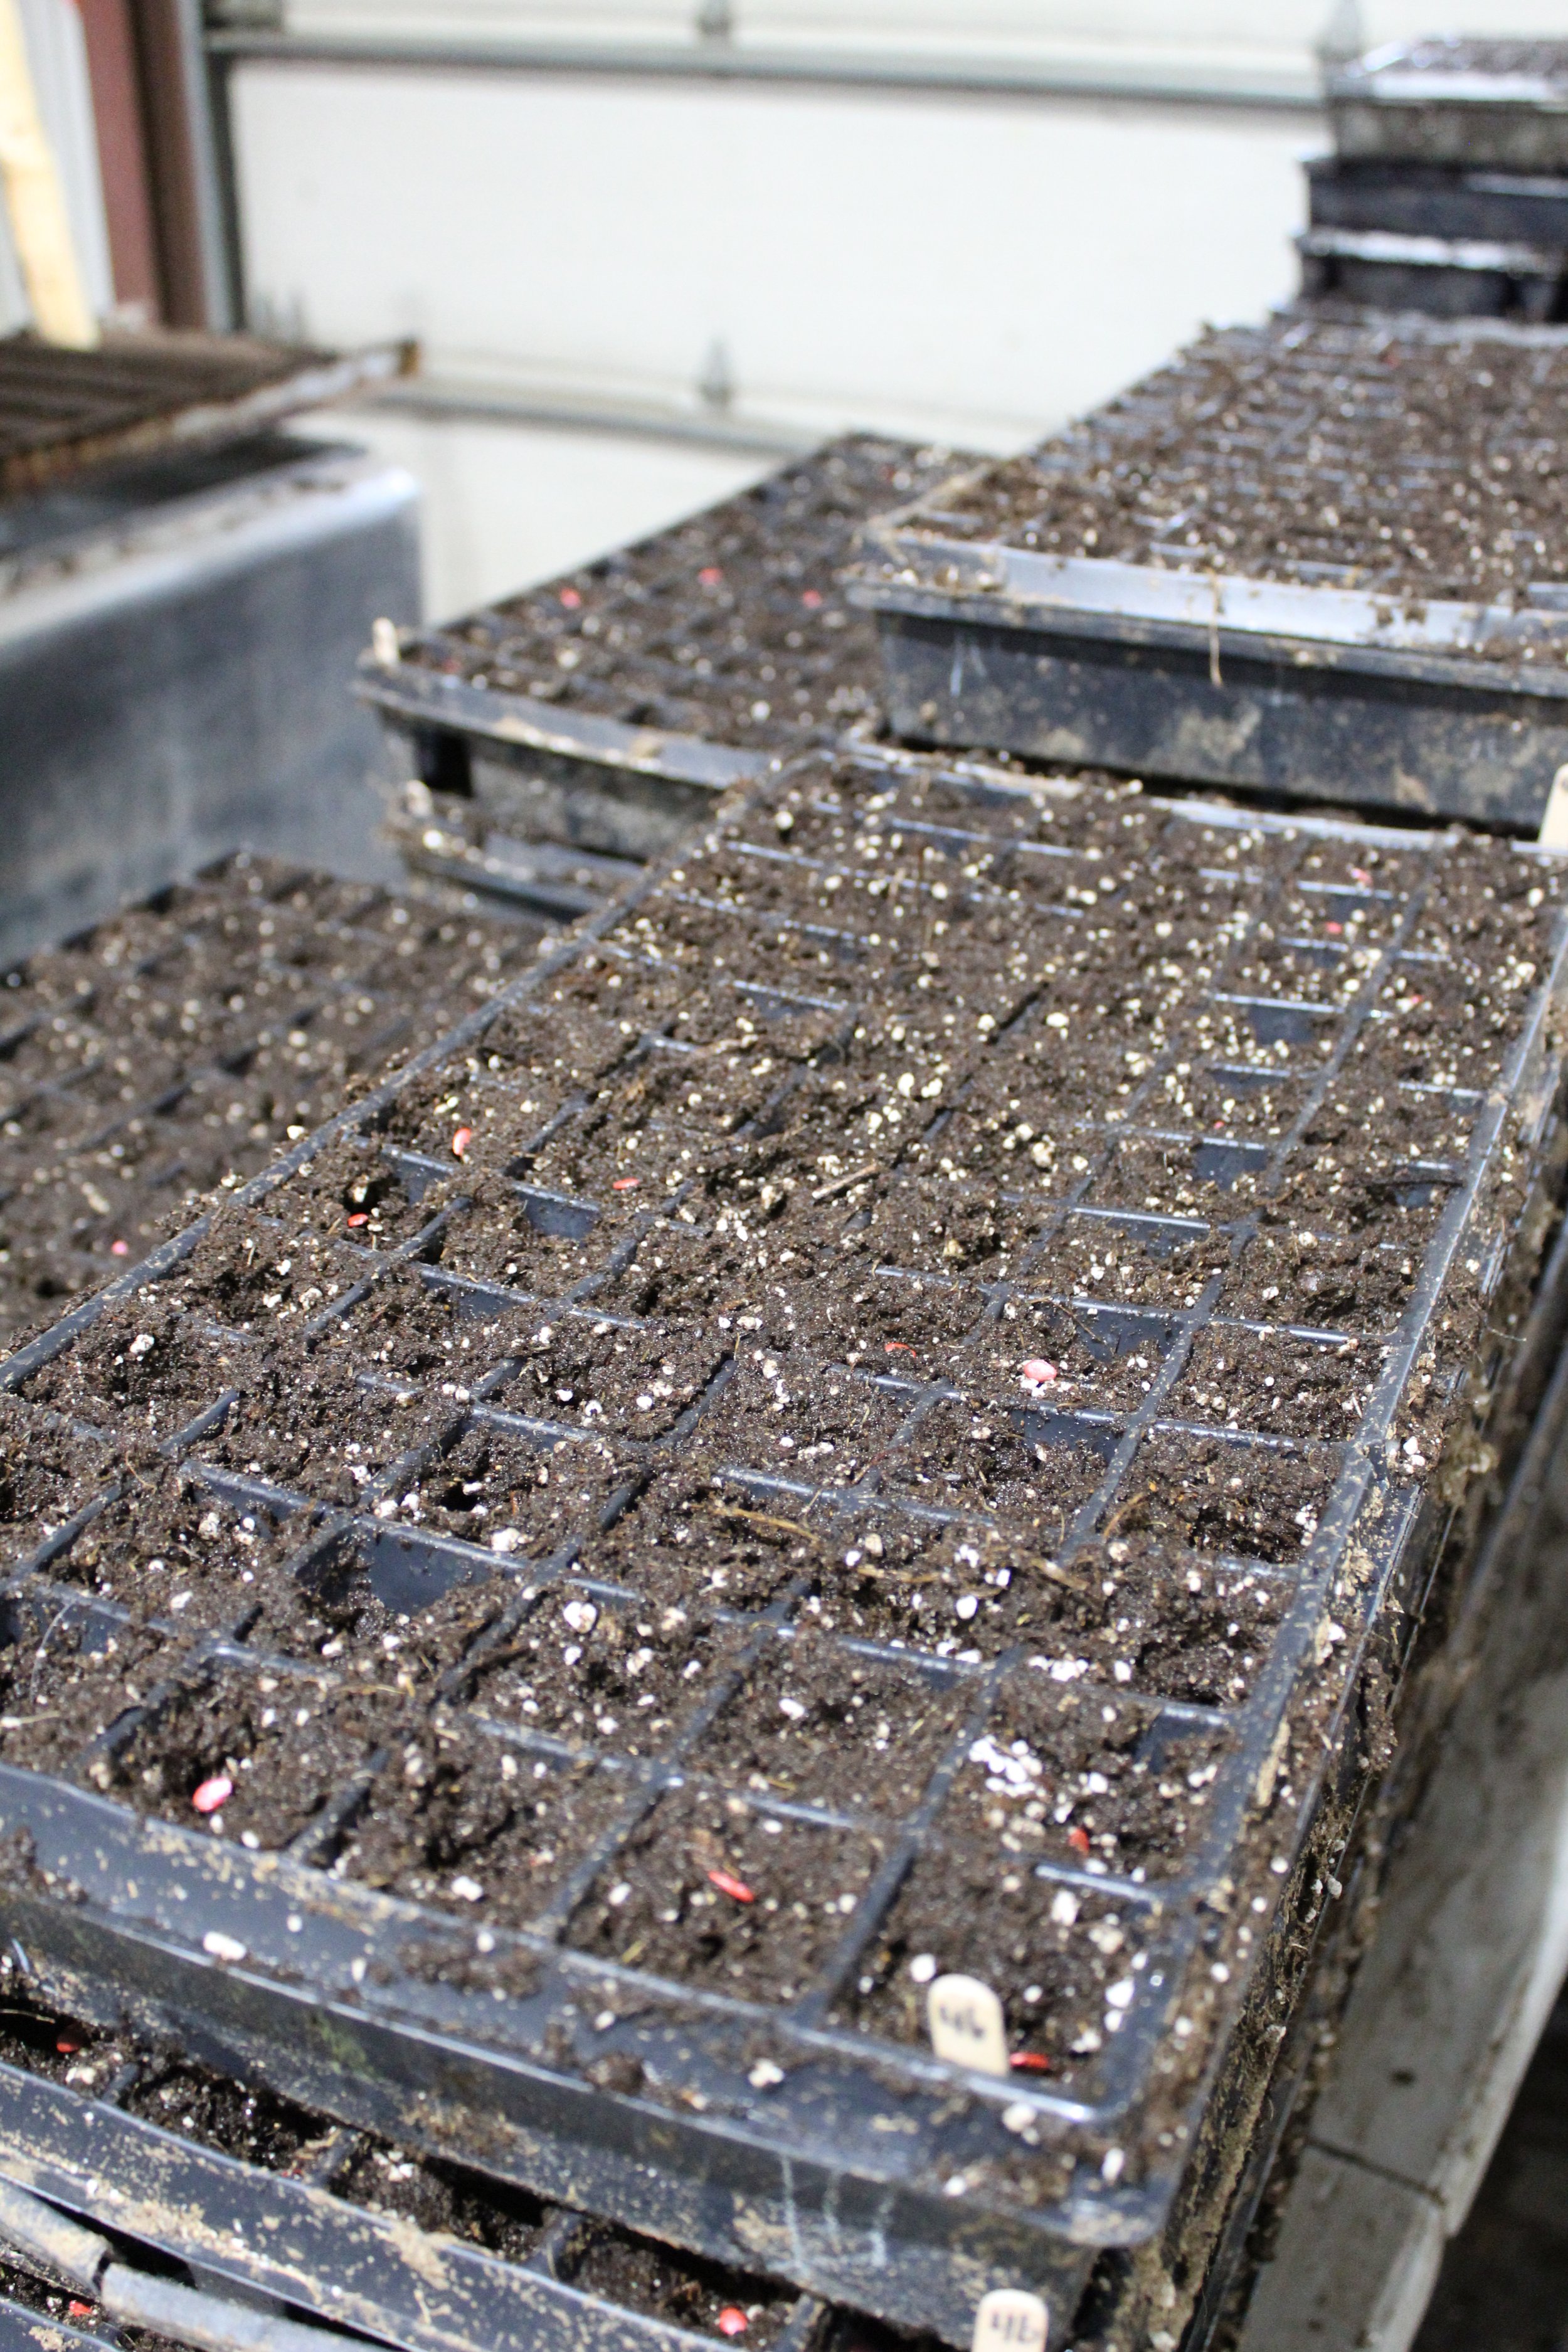
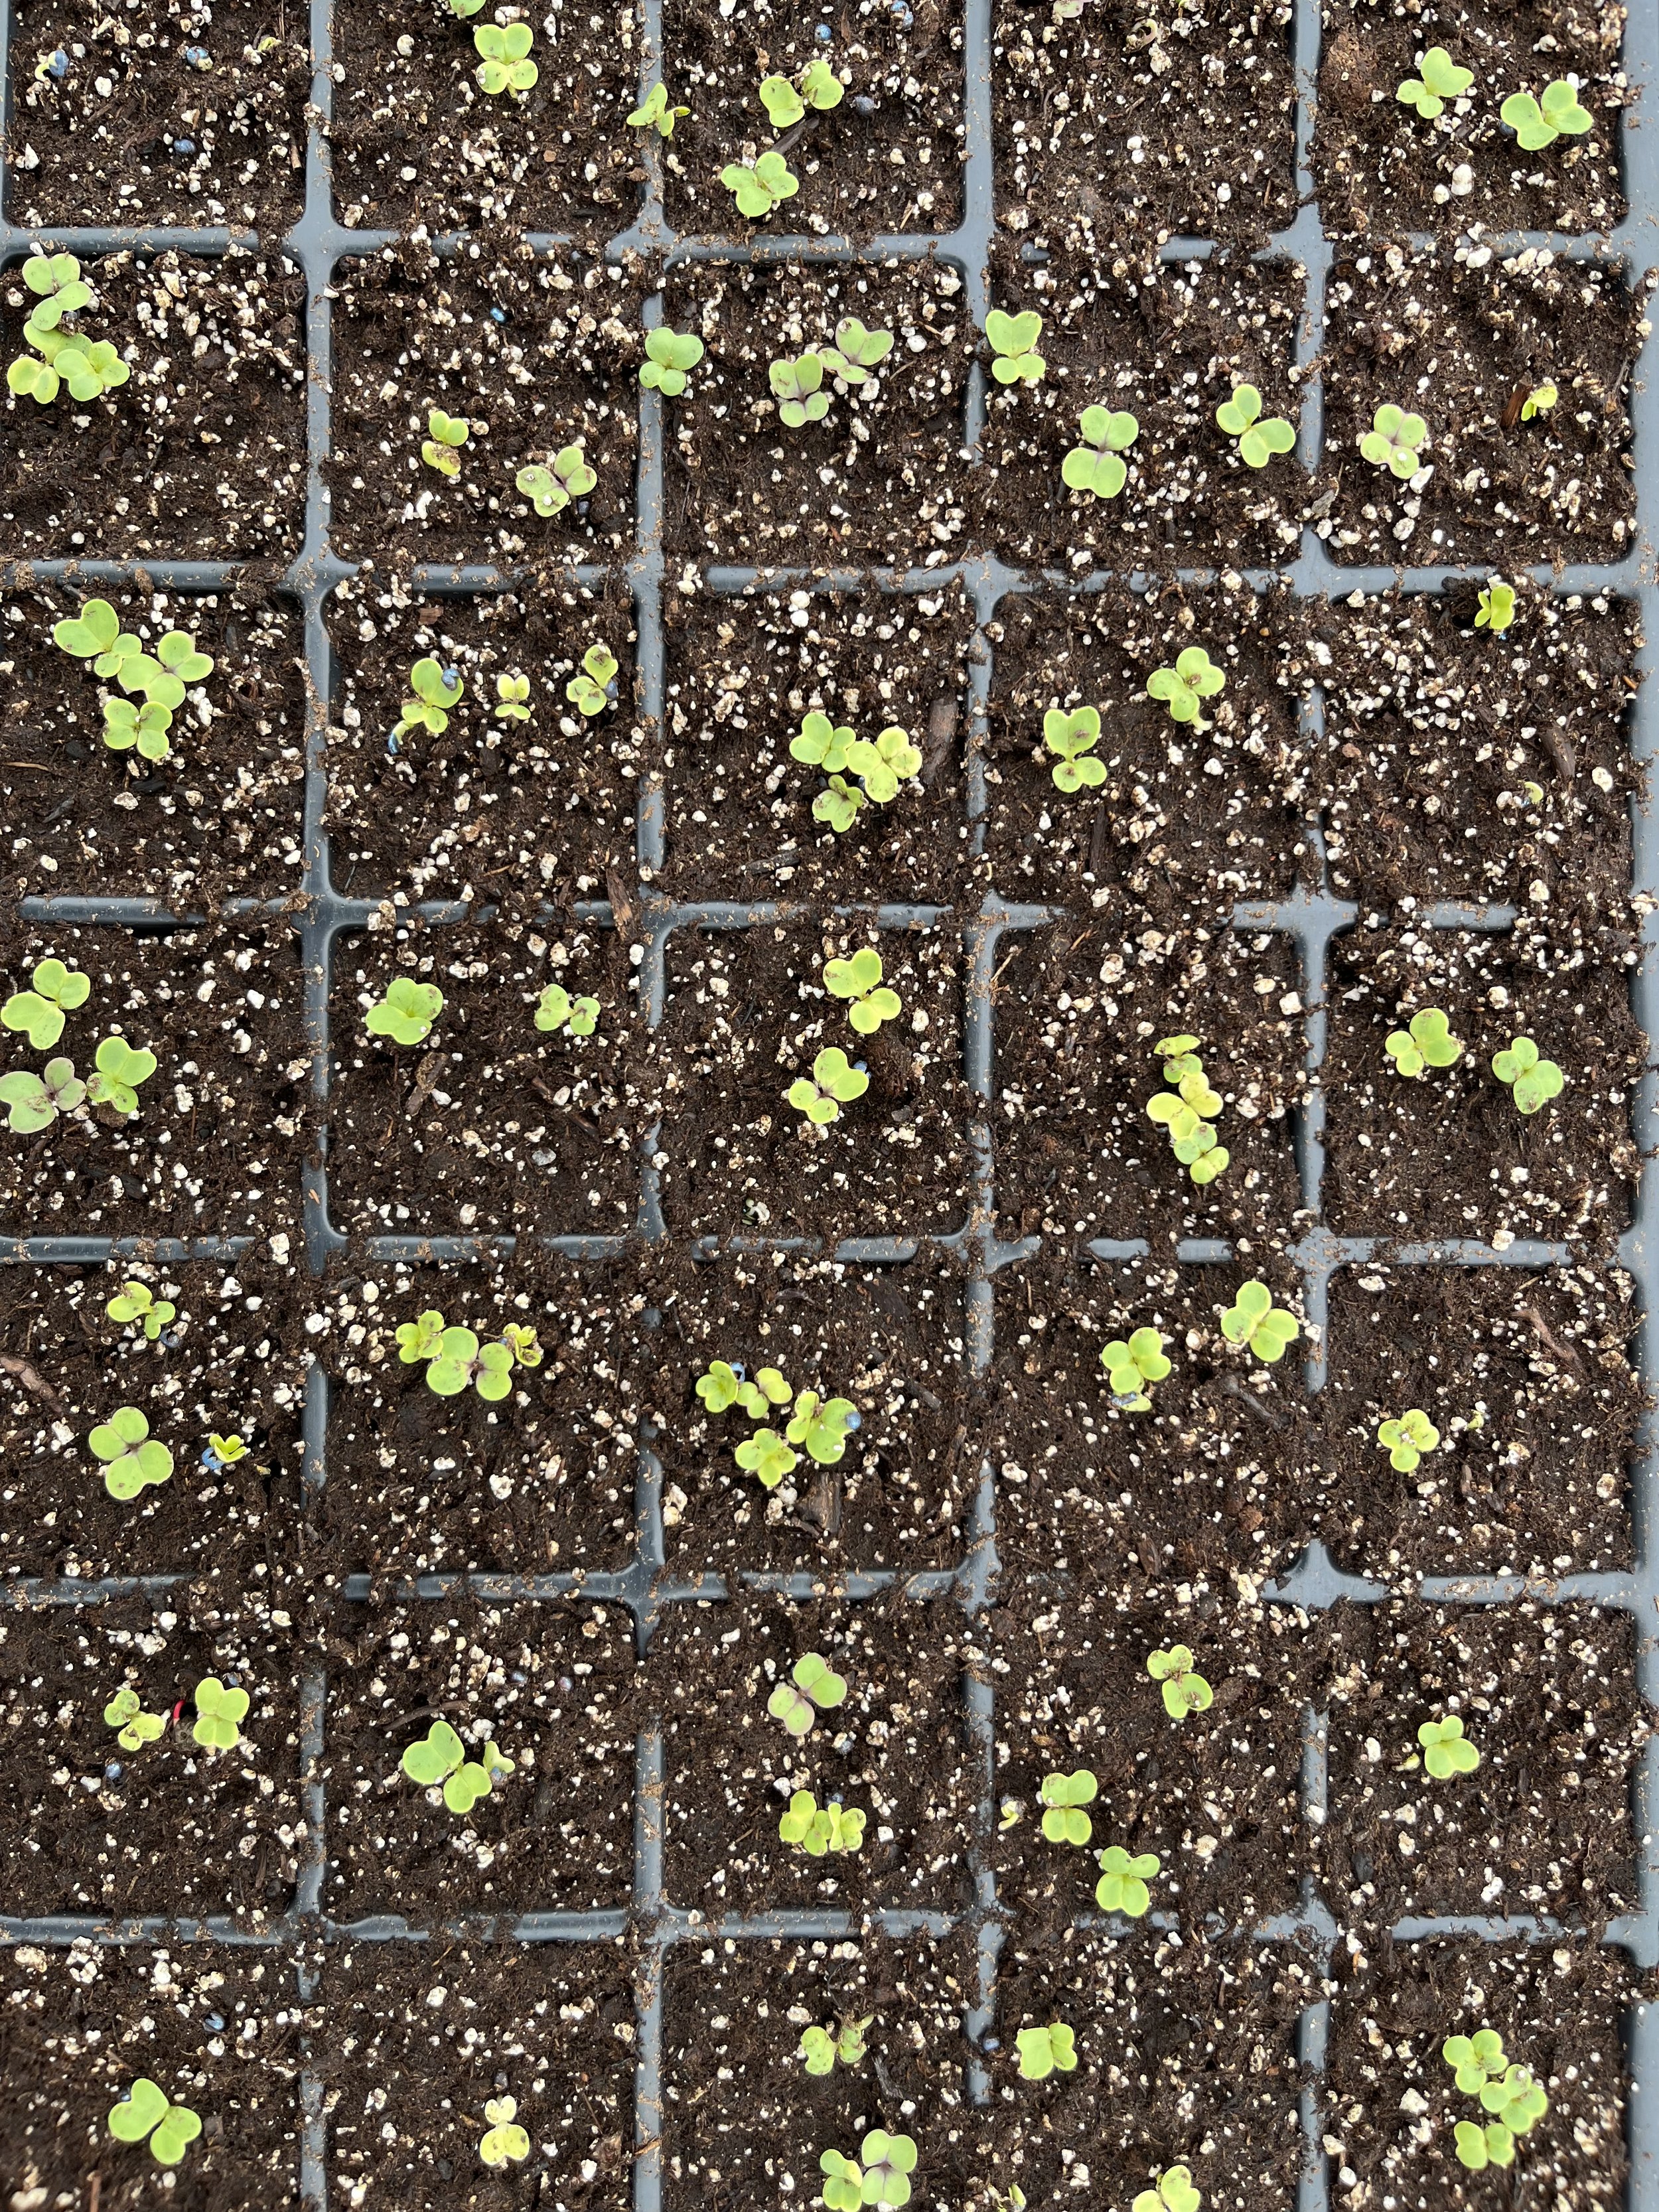
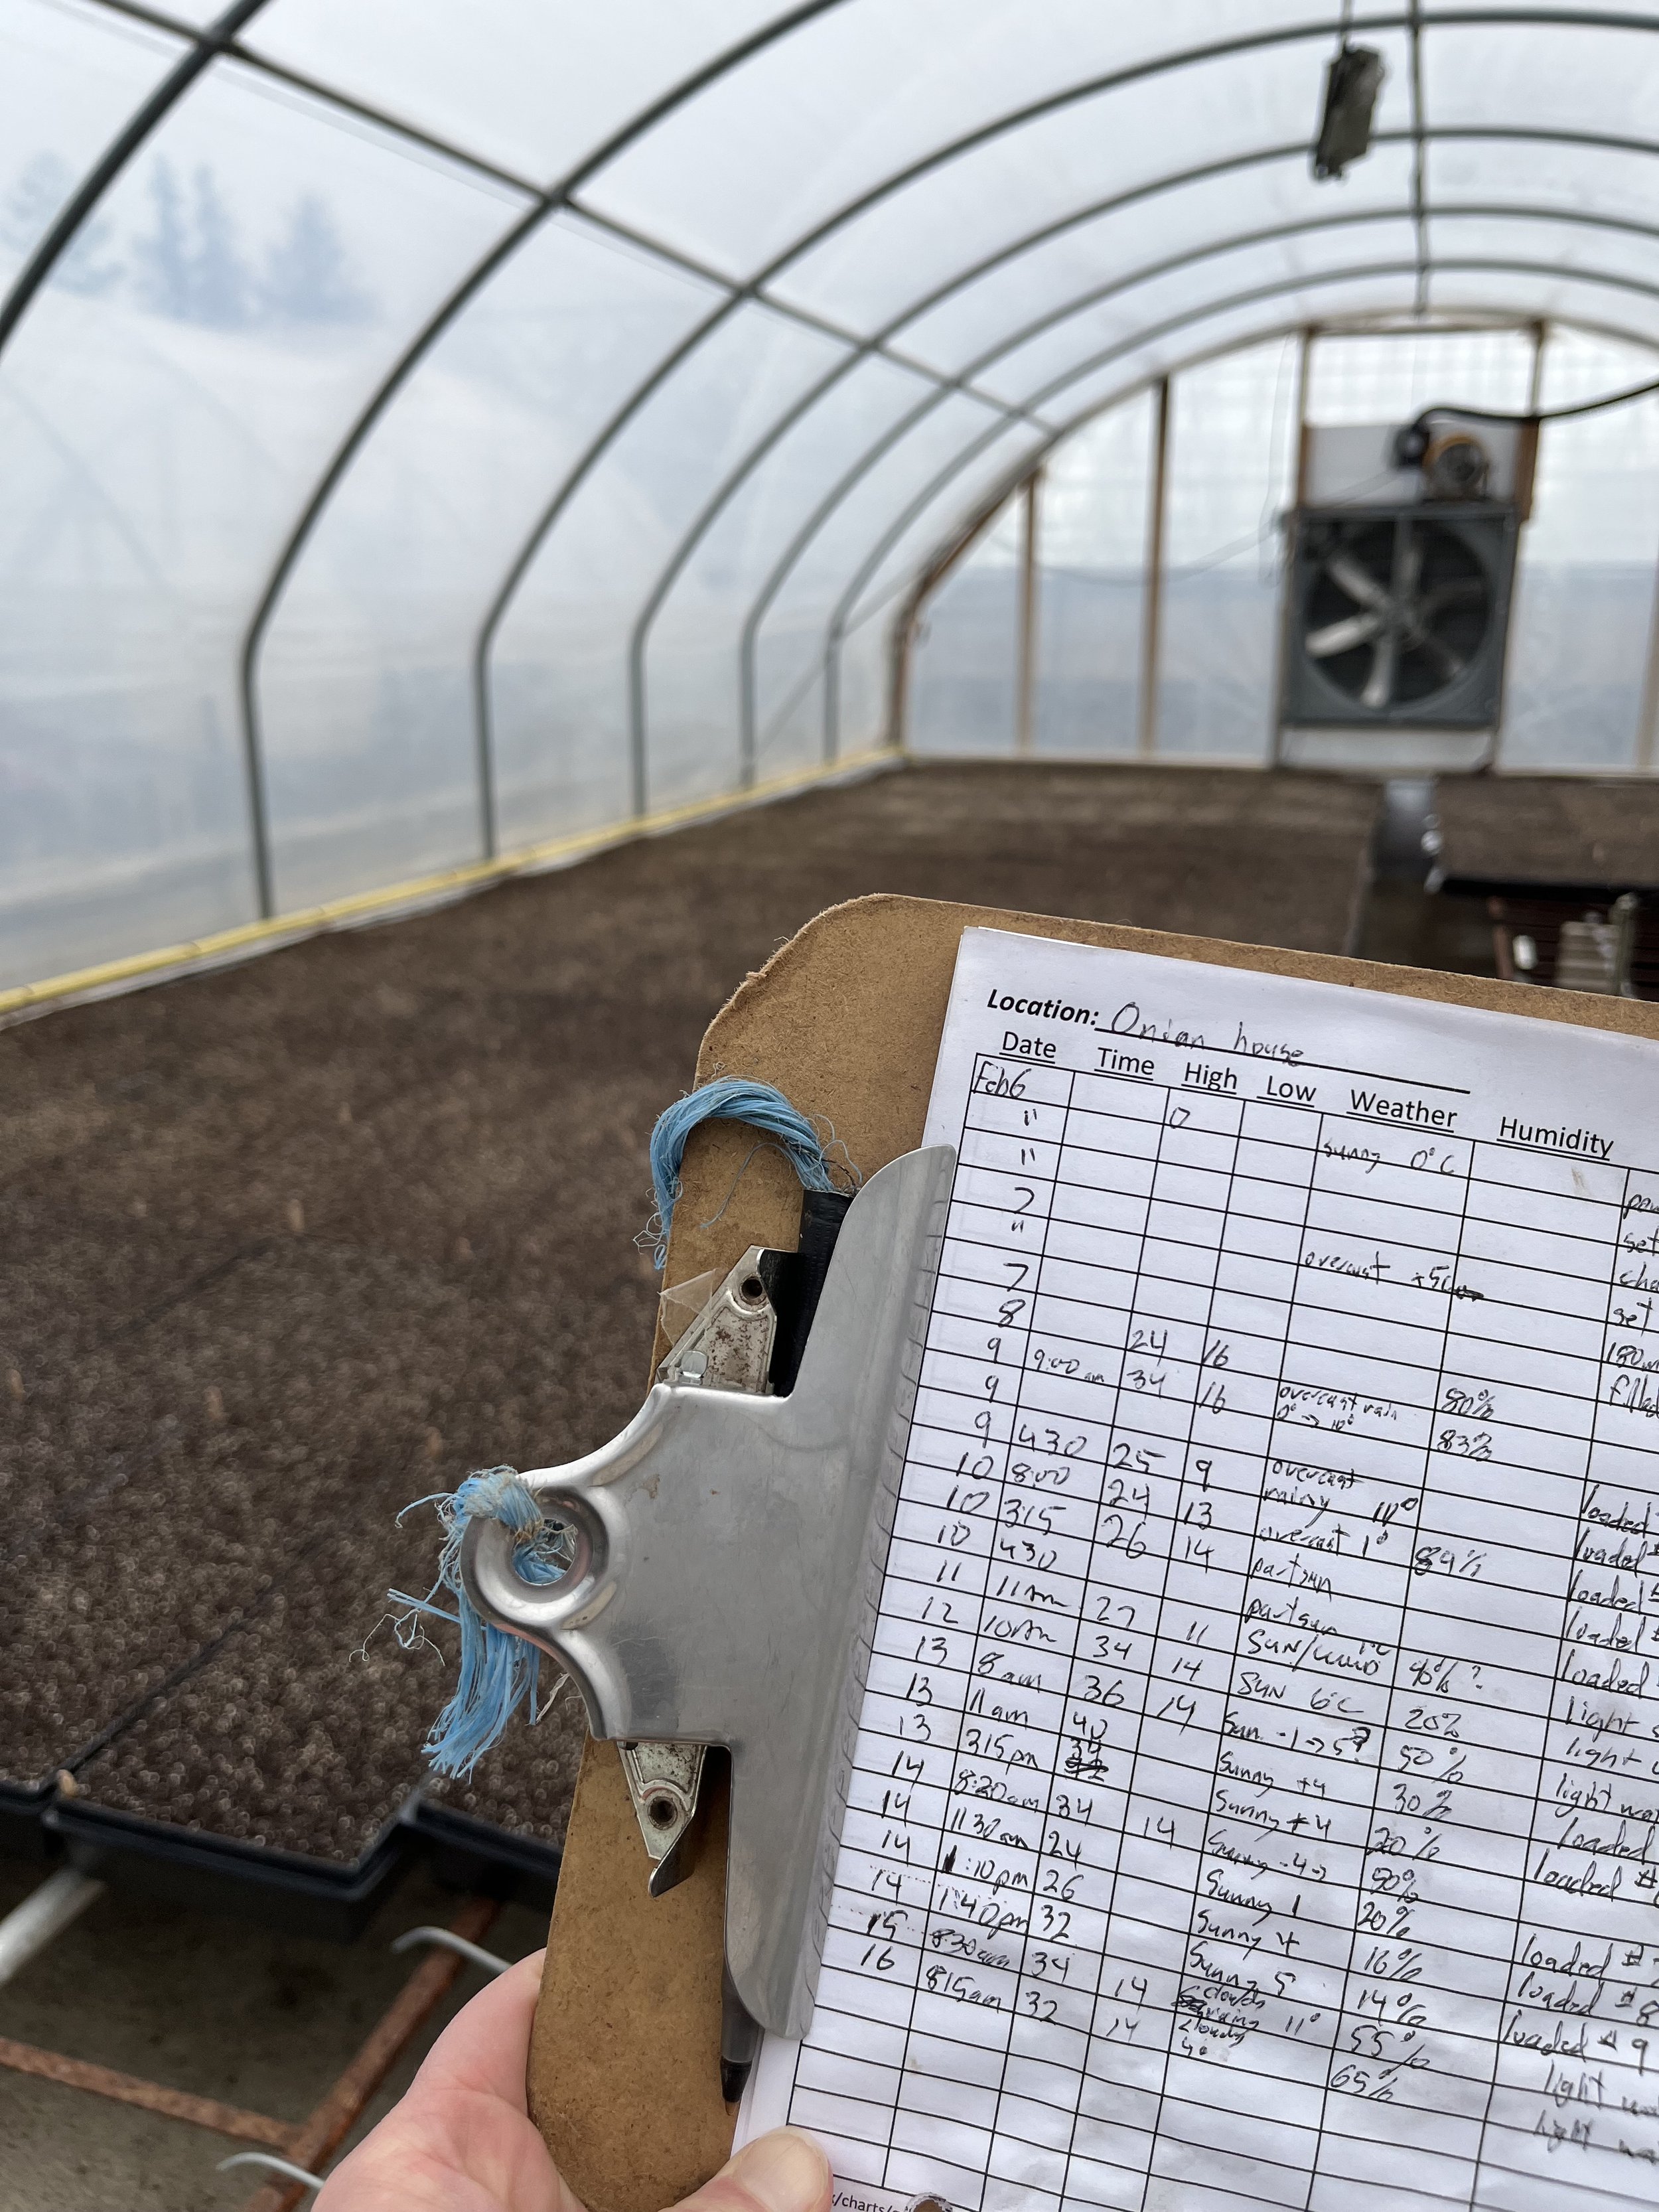
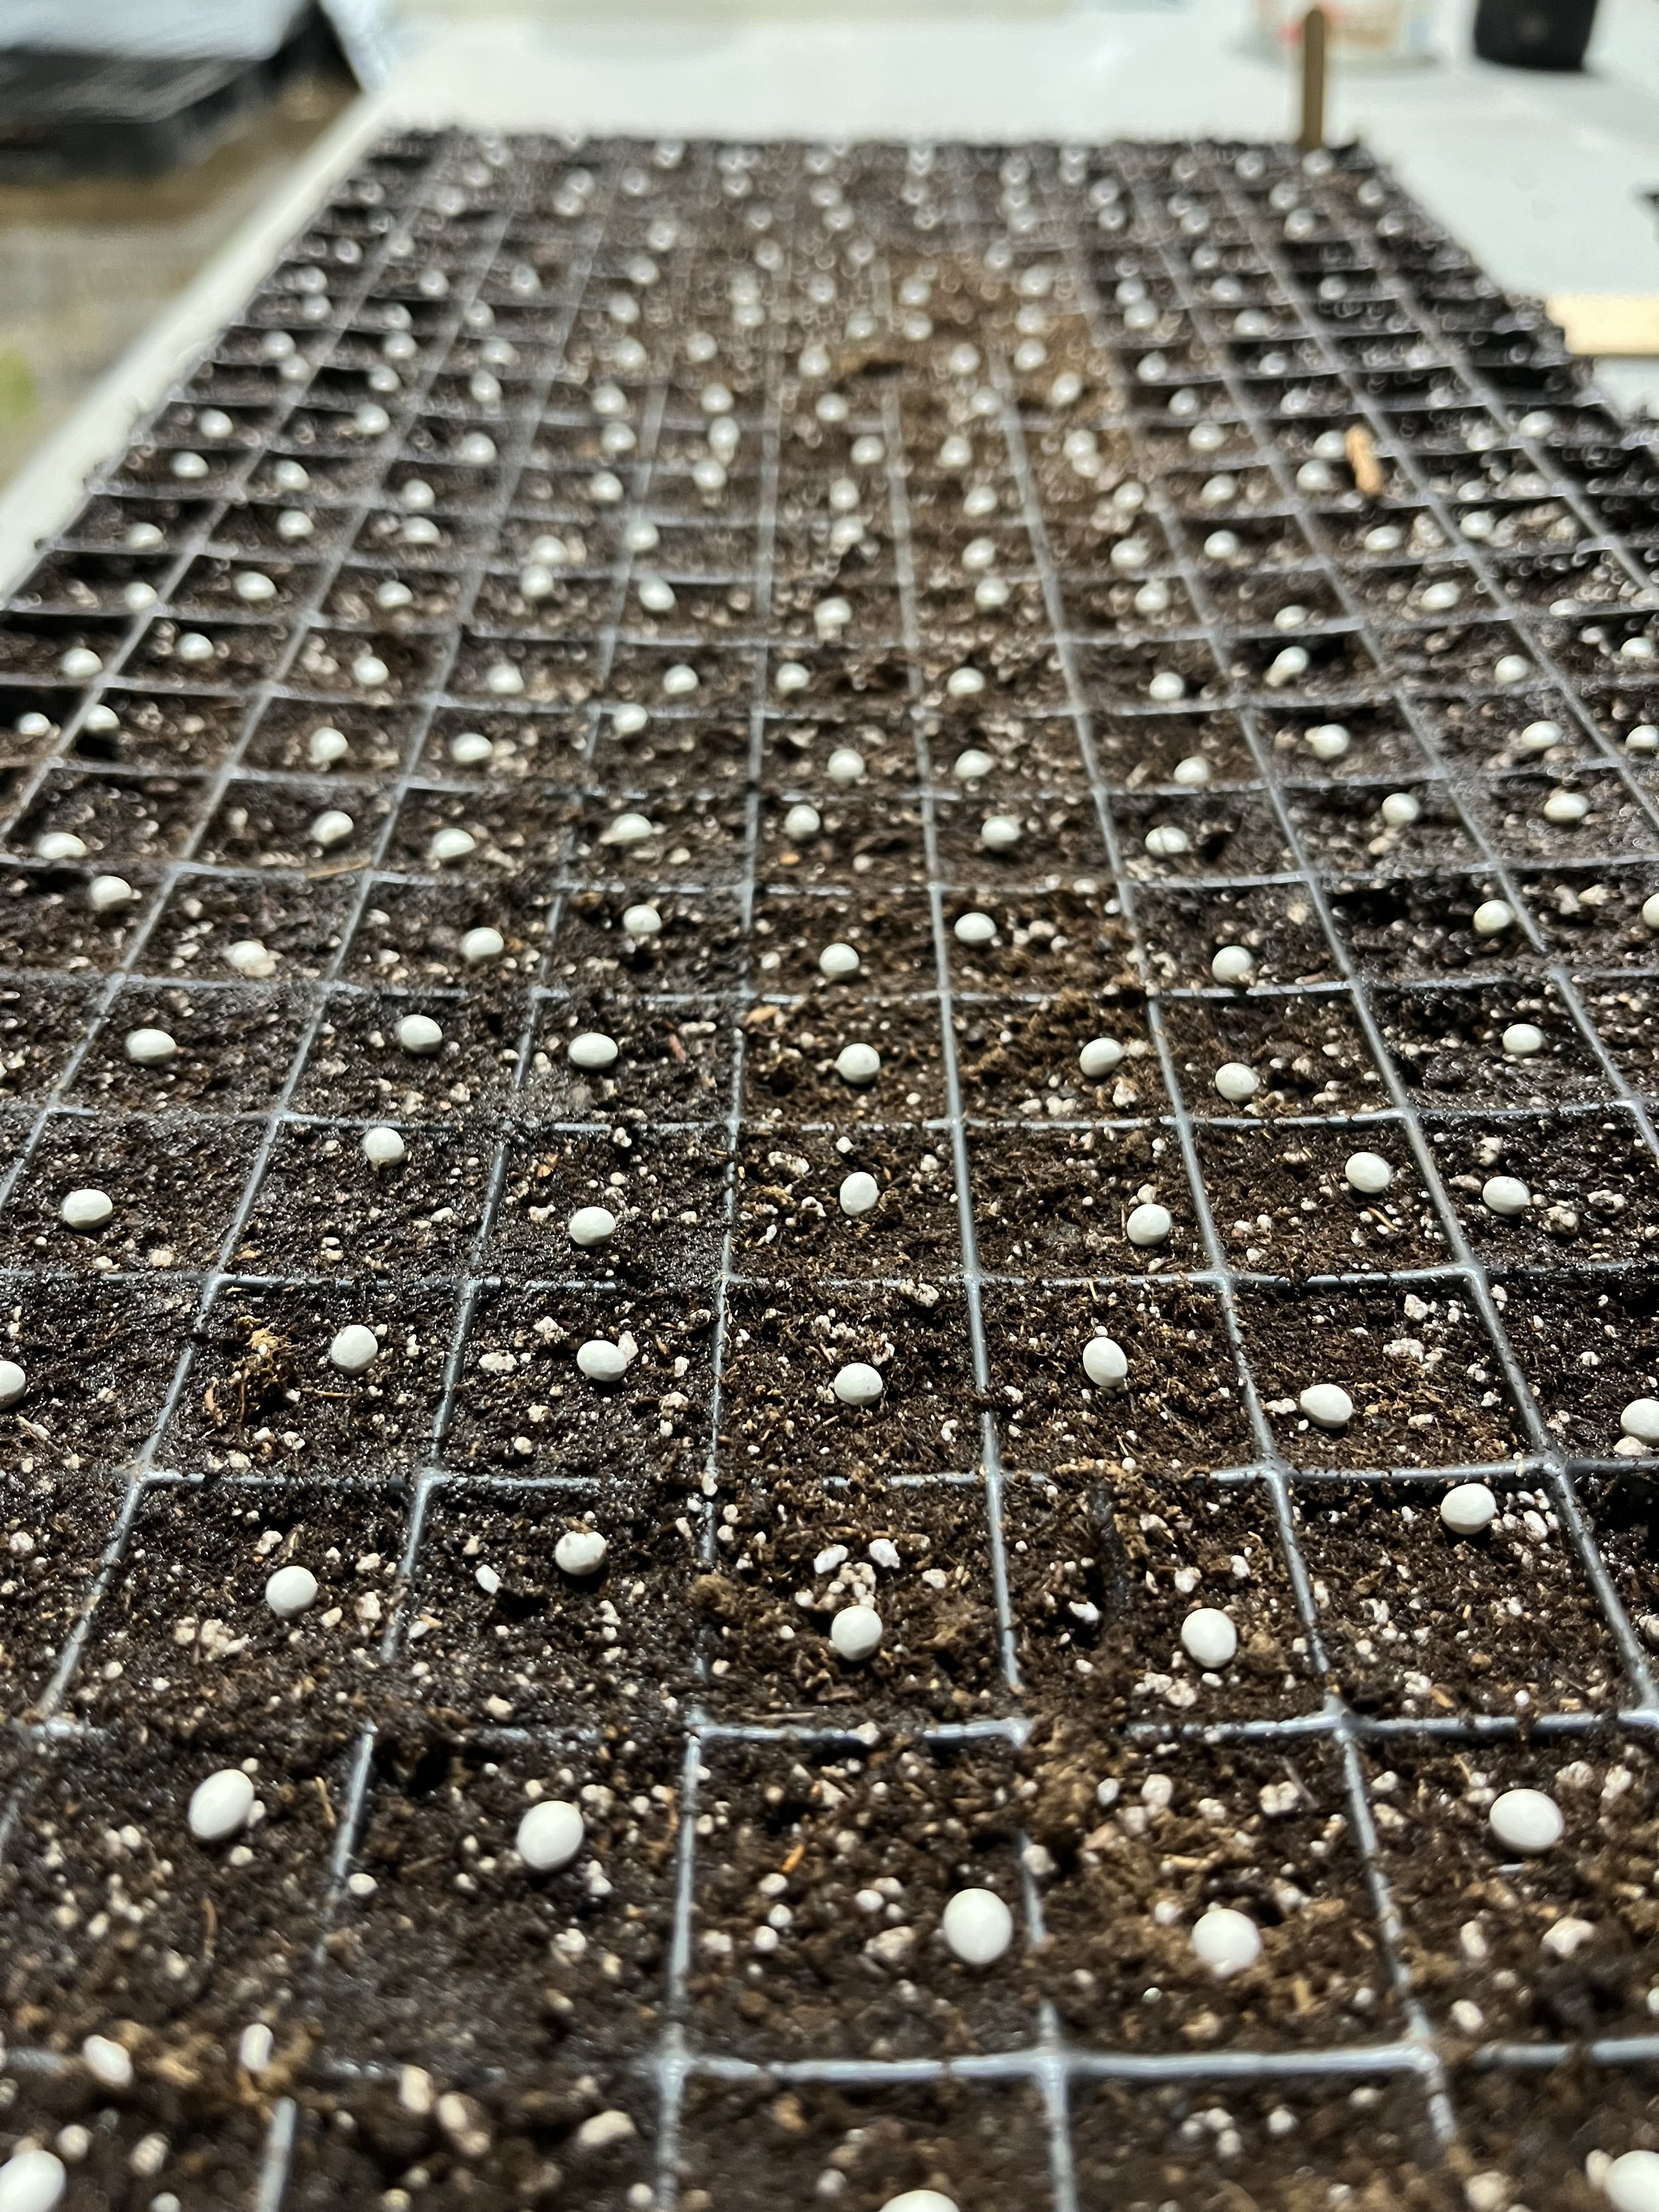
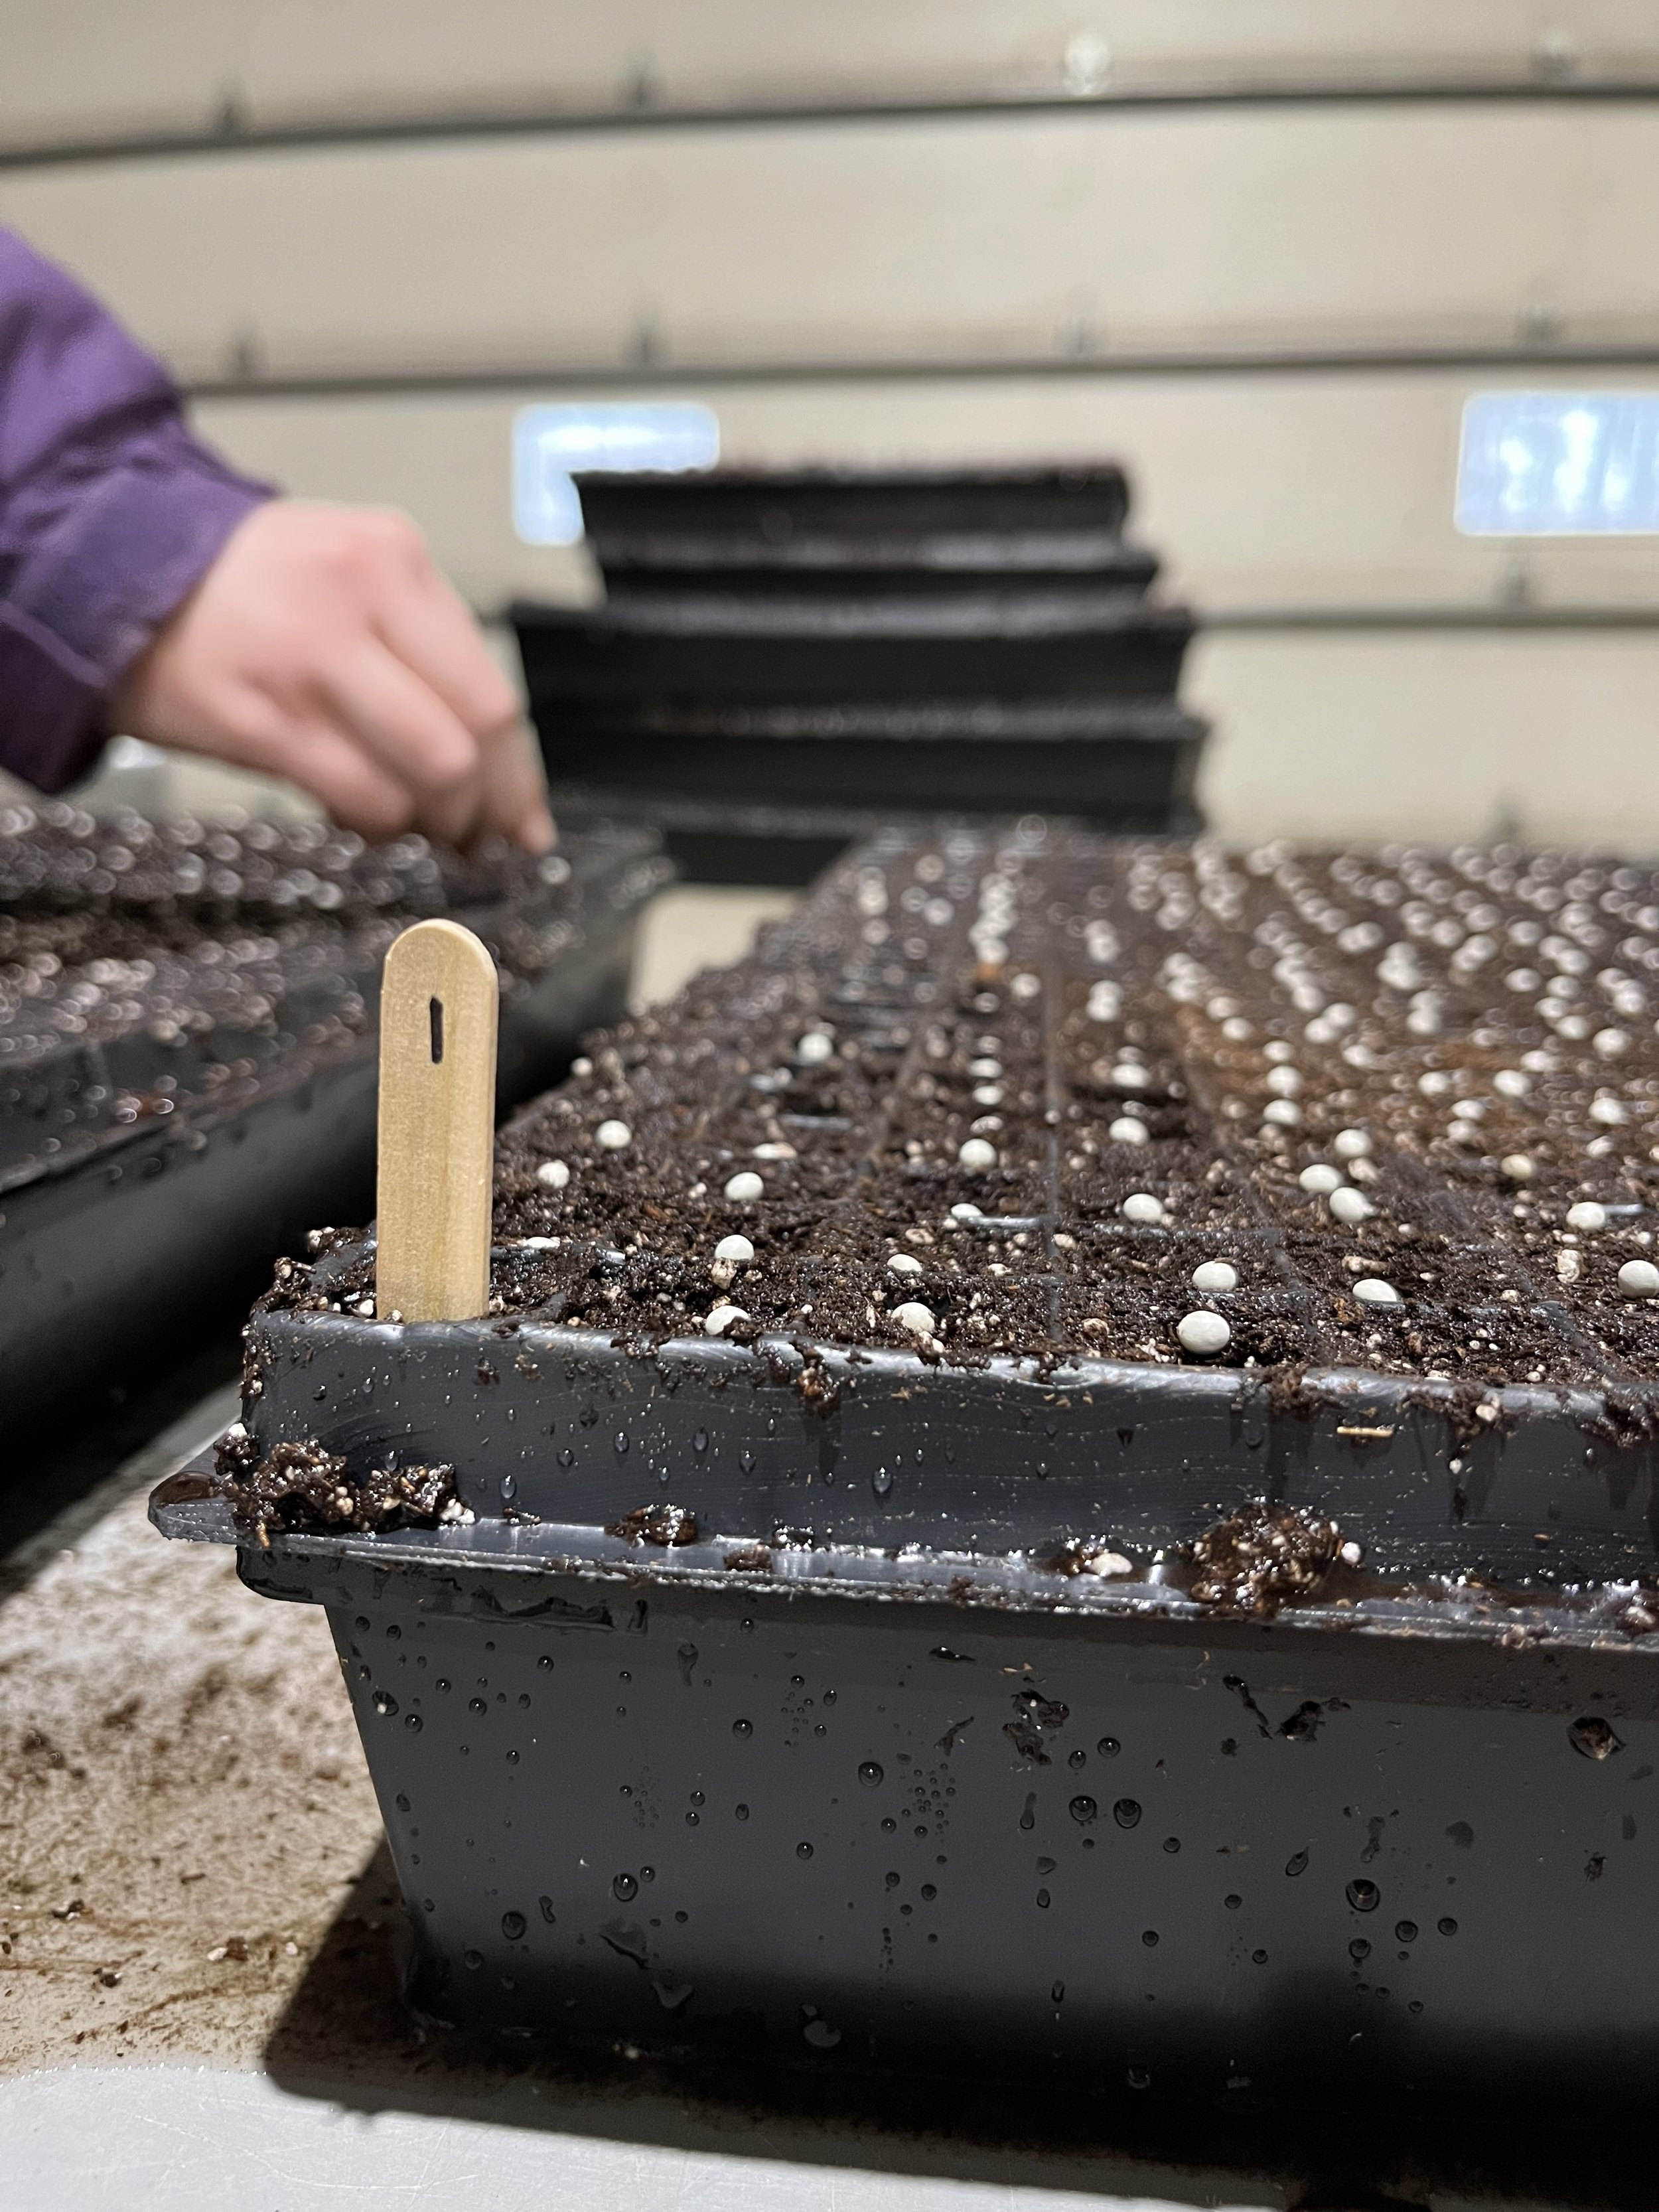
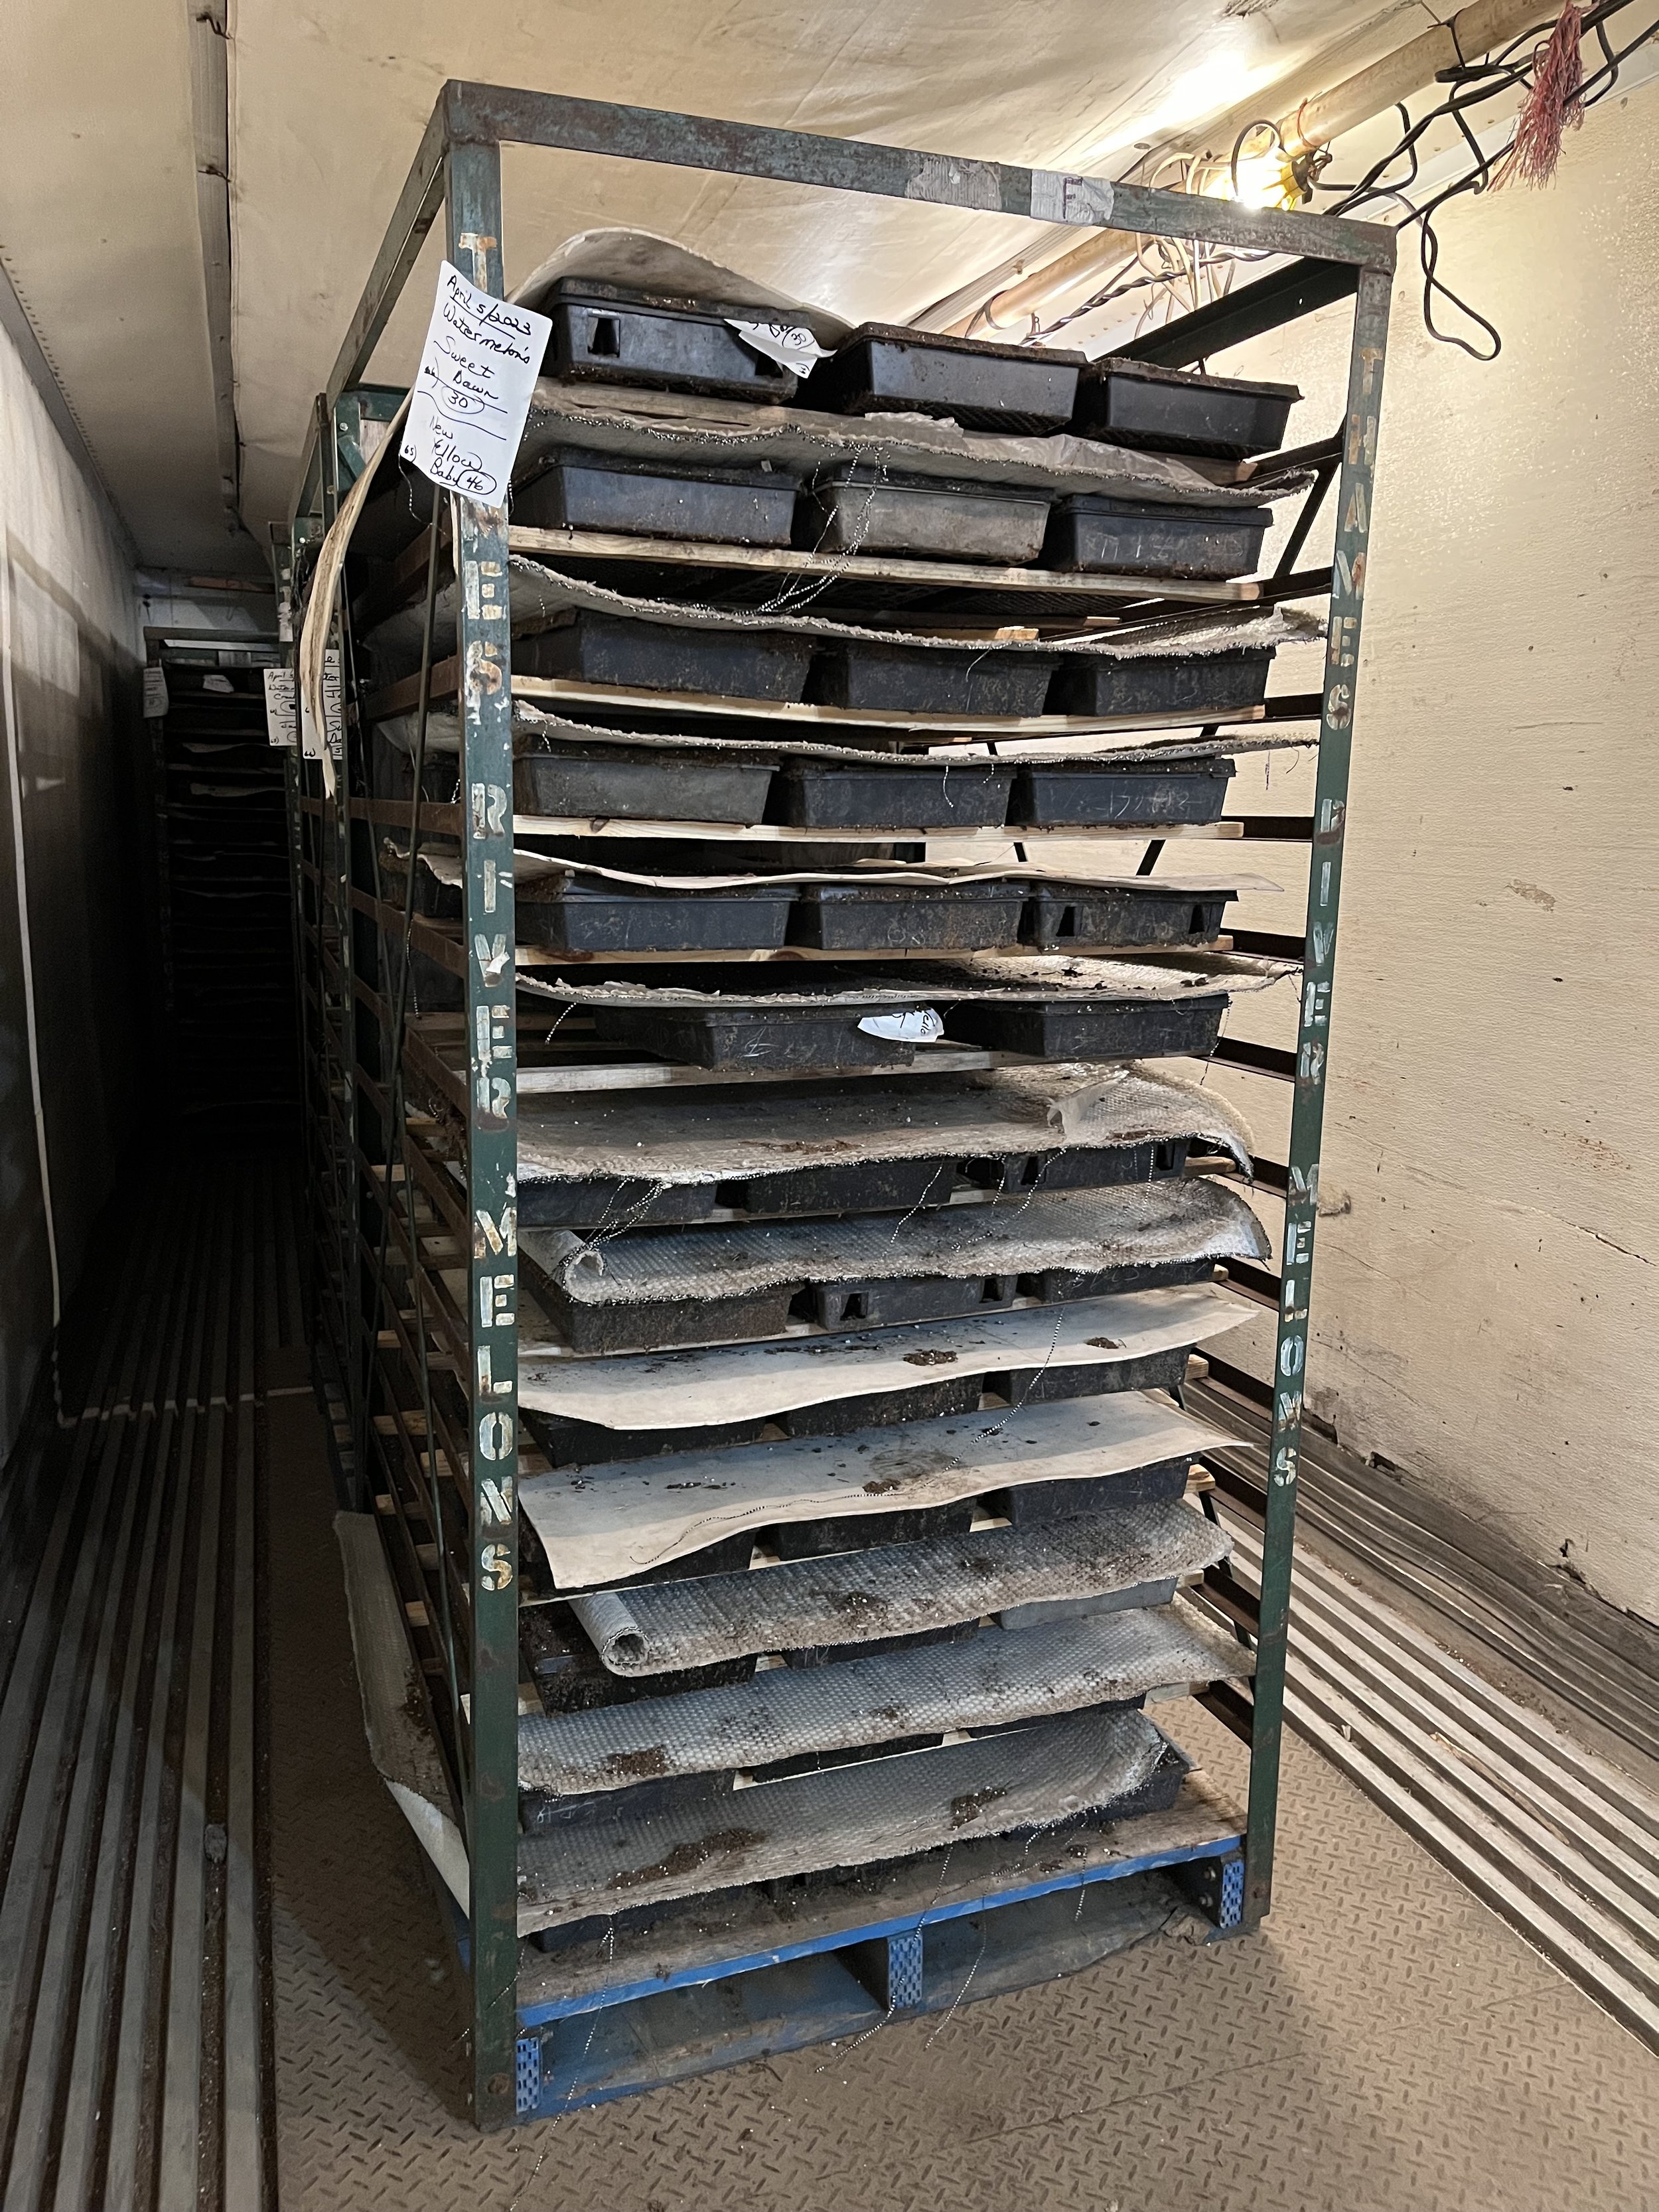
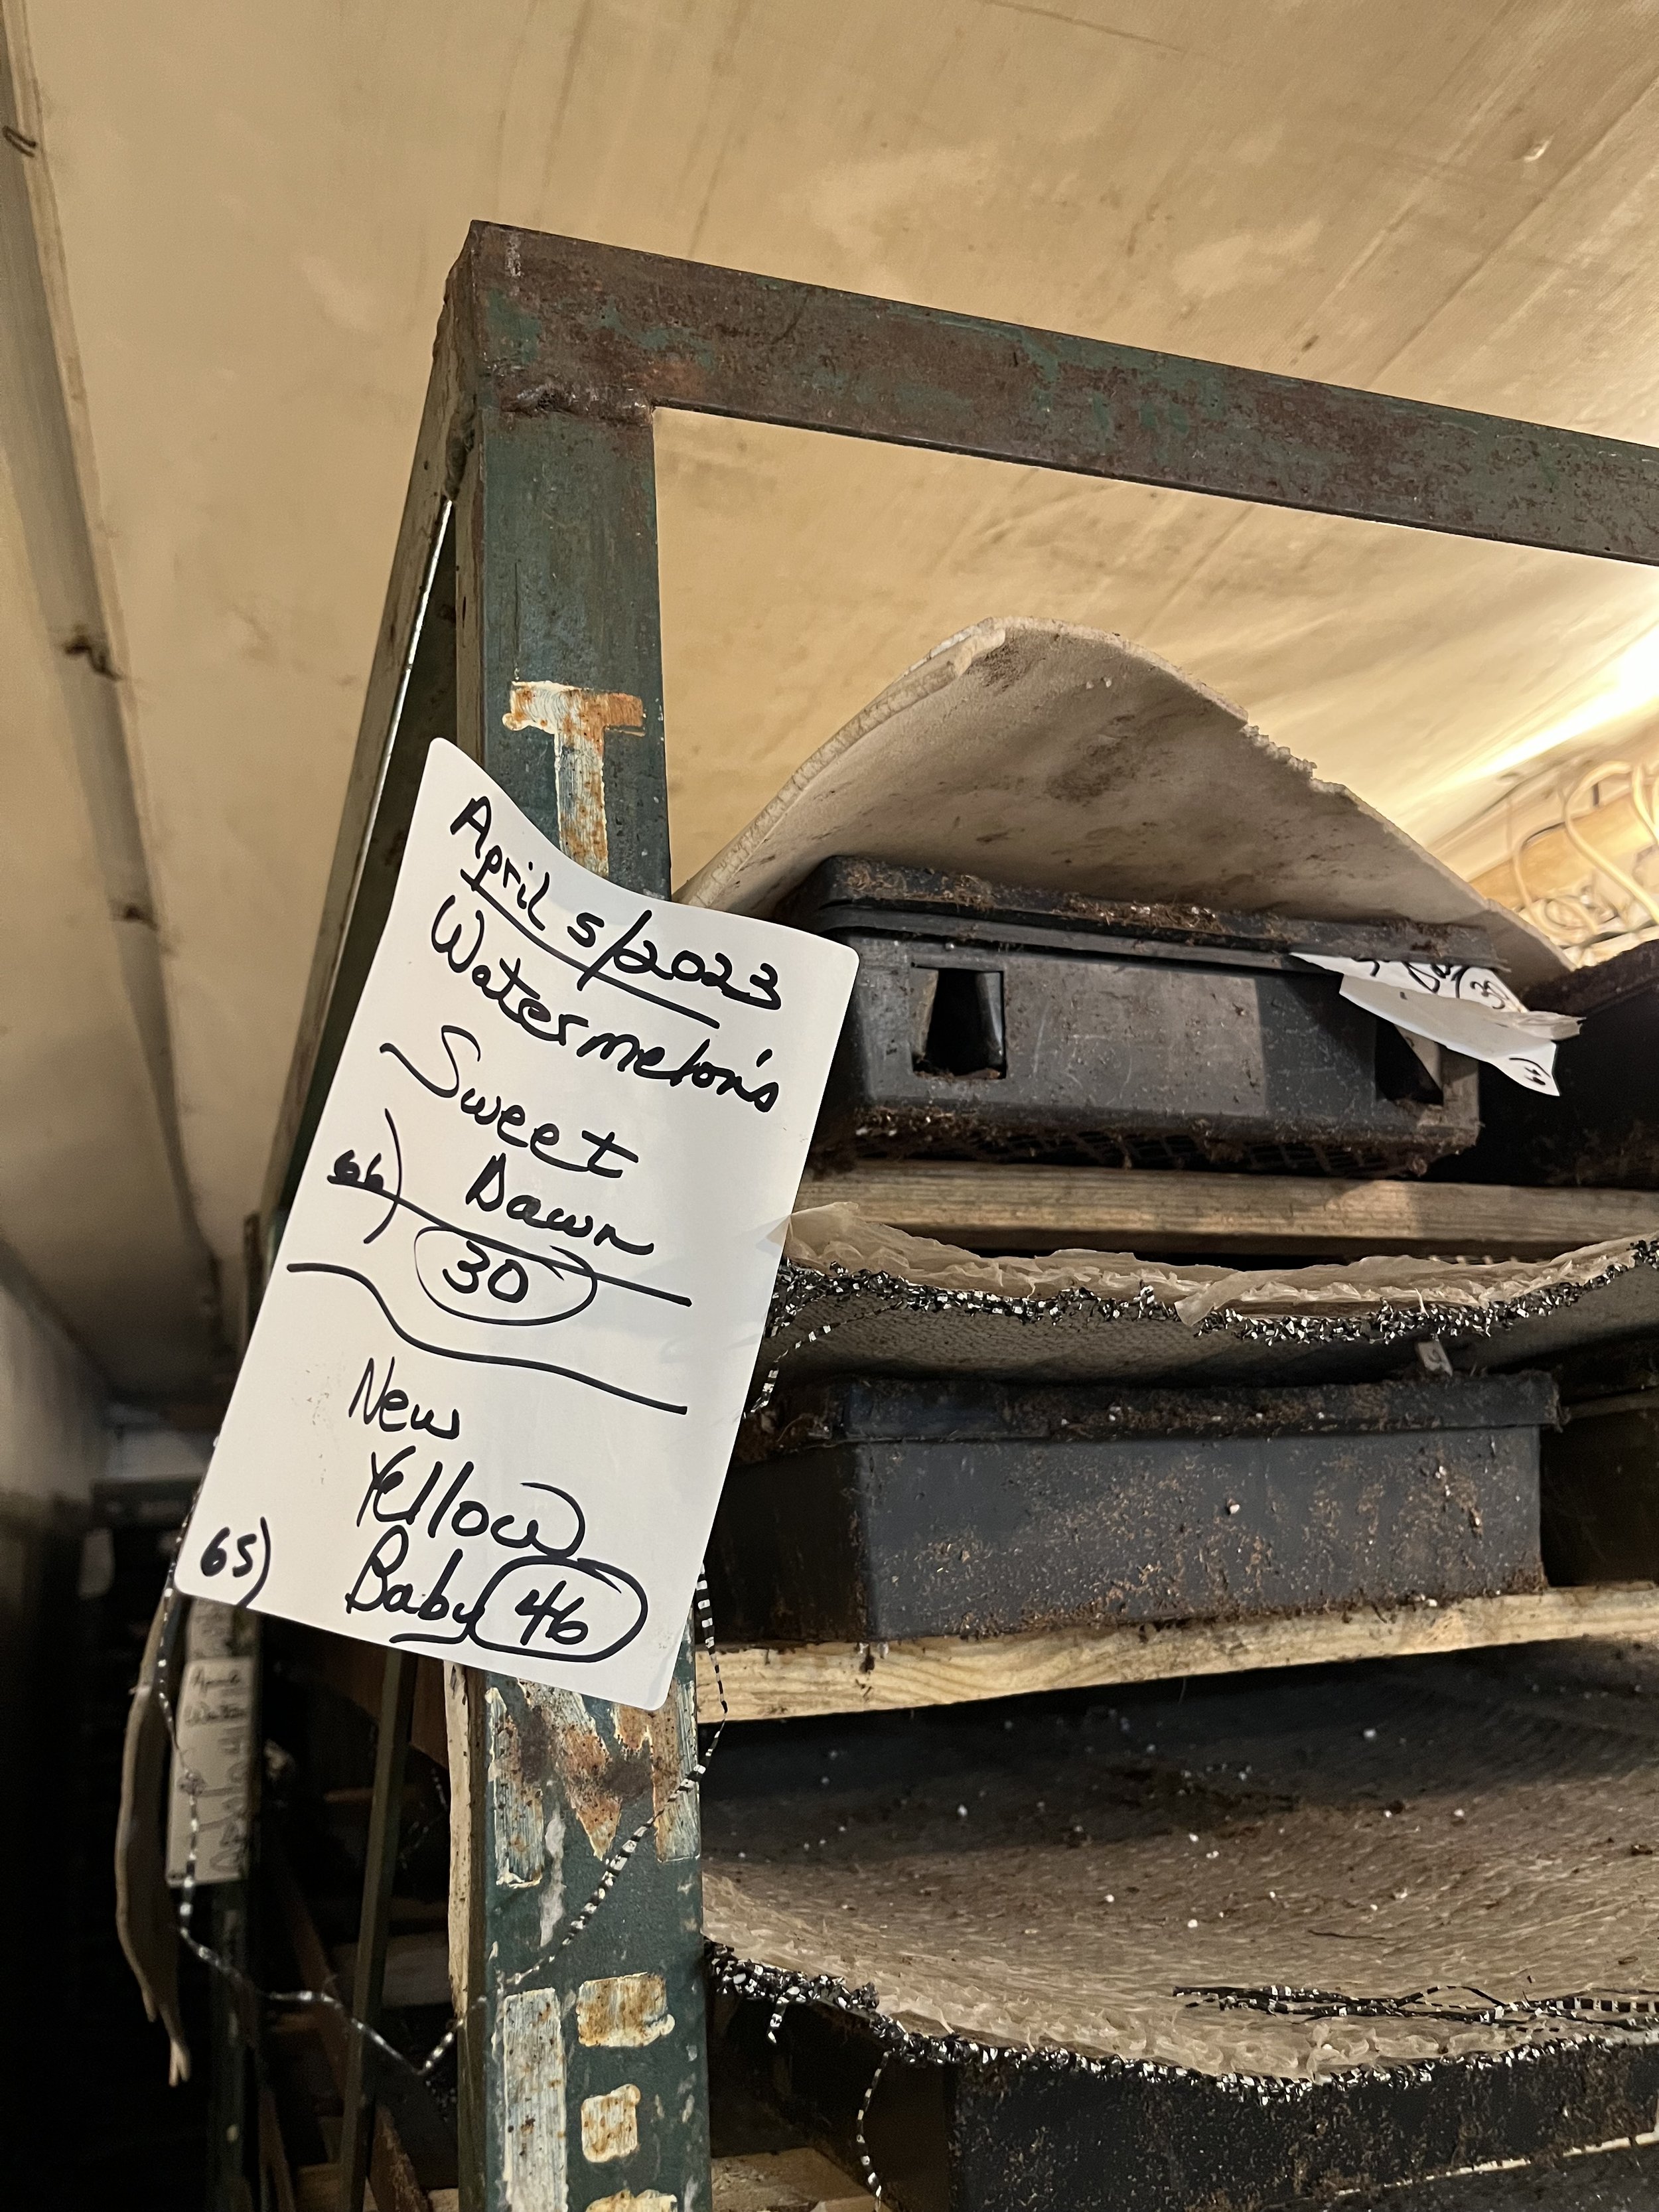
First up, as requested by our youngest reader (a 6-year-old from Toronto!) here are some photos of our germination trailer. Several of our crops hang out in here after being seeded into trays, and before heading out into the greenhouse. The germination trailer is heated to 85°F and has a humidity of 90%. The humidity is actually just thanks to the moisture found in the trays themselves, which are wetted down after being seeded. The trays stay in the germination trailer for anywhere from 24 – 72 hours: muskmelon for 24 hours, watermelon for 48 hours, and tomatoes for 72 hours. This time in the germination trailer allows for the emergence of 1/8 of an inch of the radical root (primary root) and sets the plant up for success throughout the season.

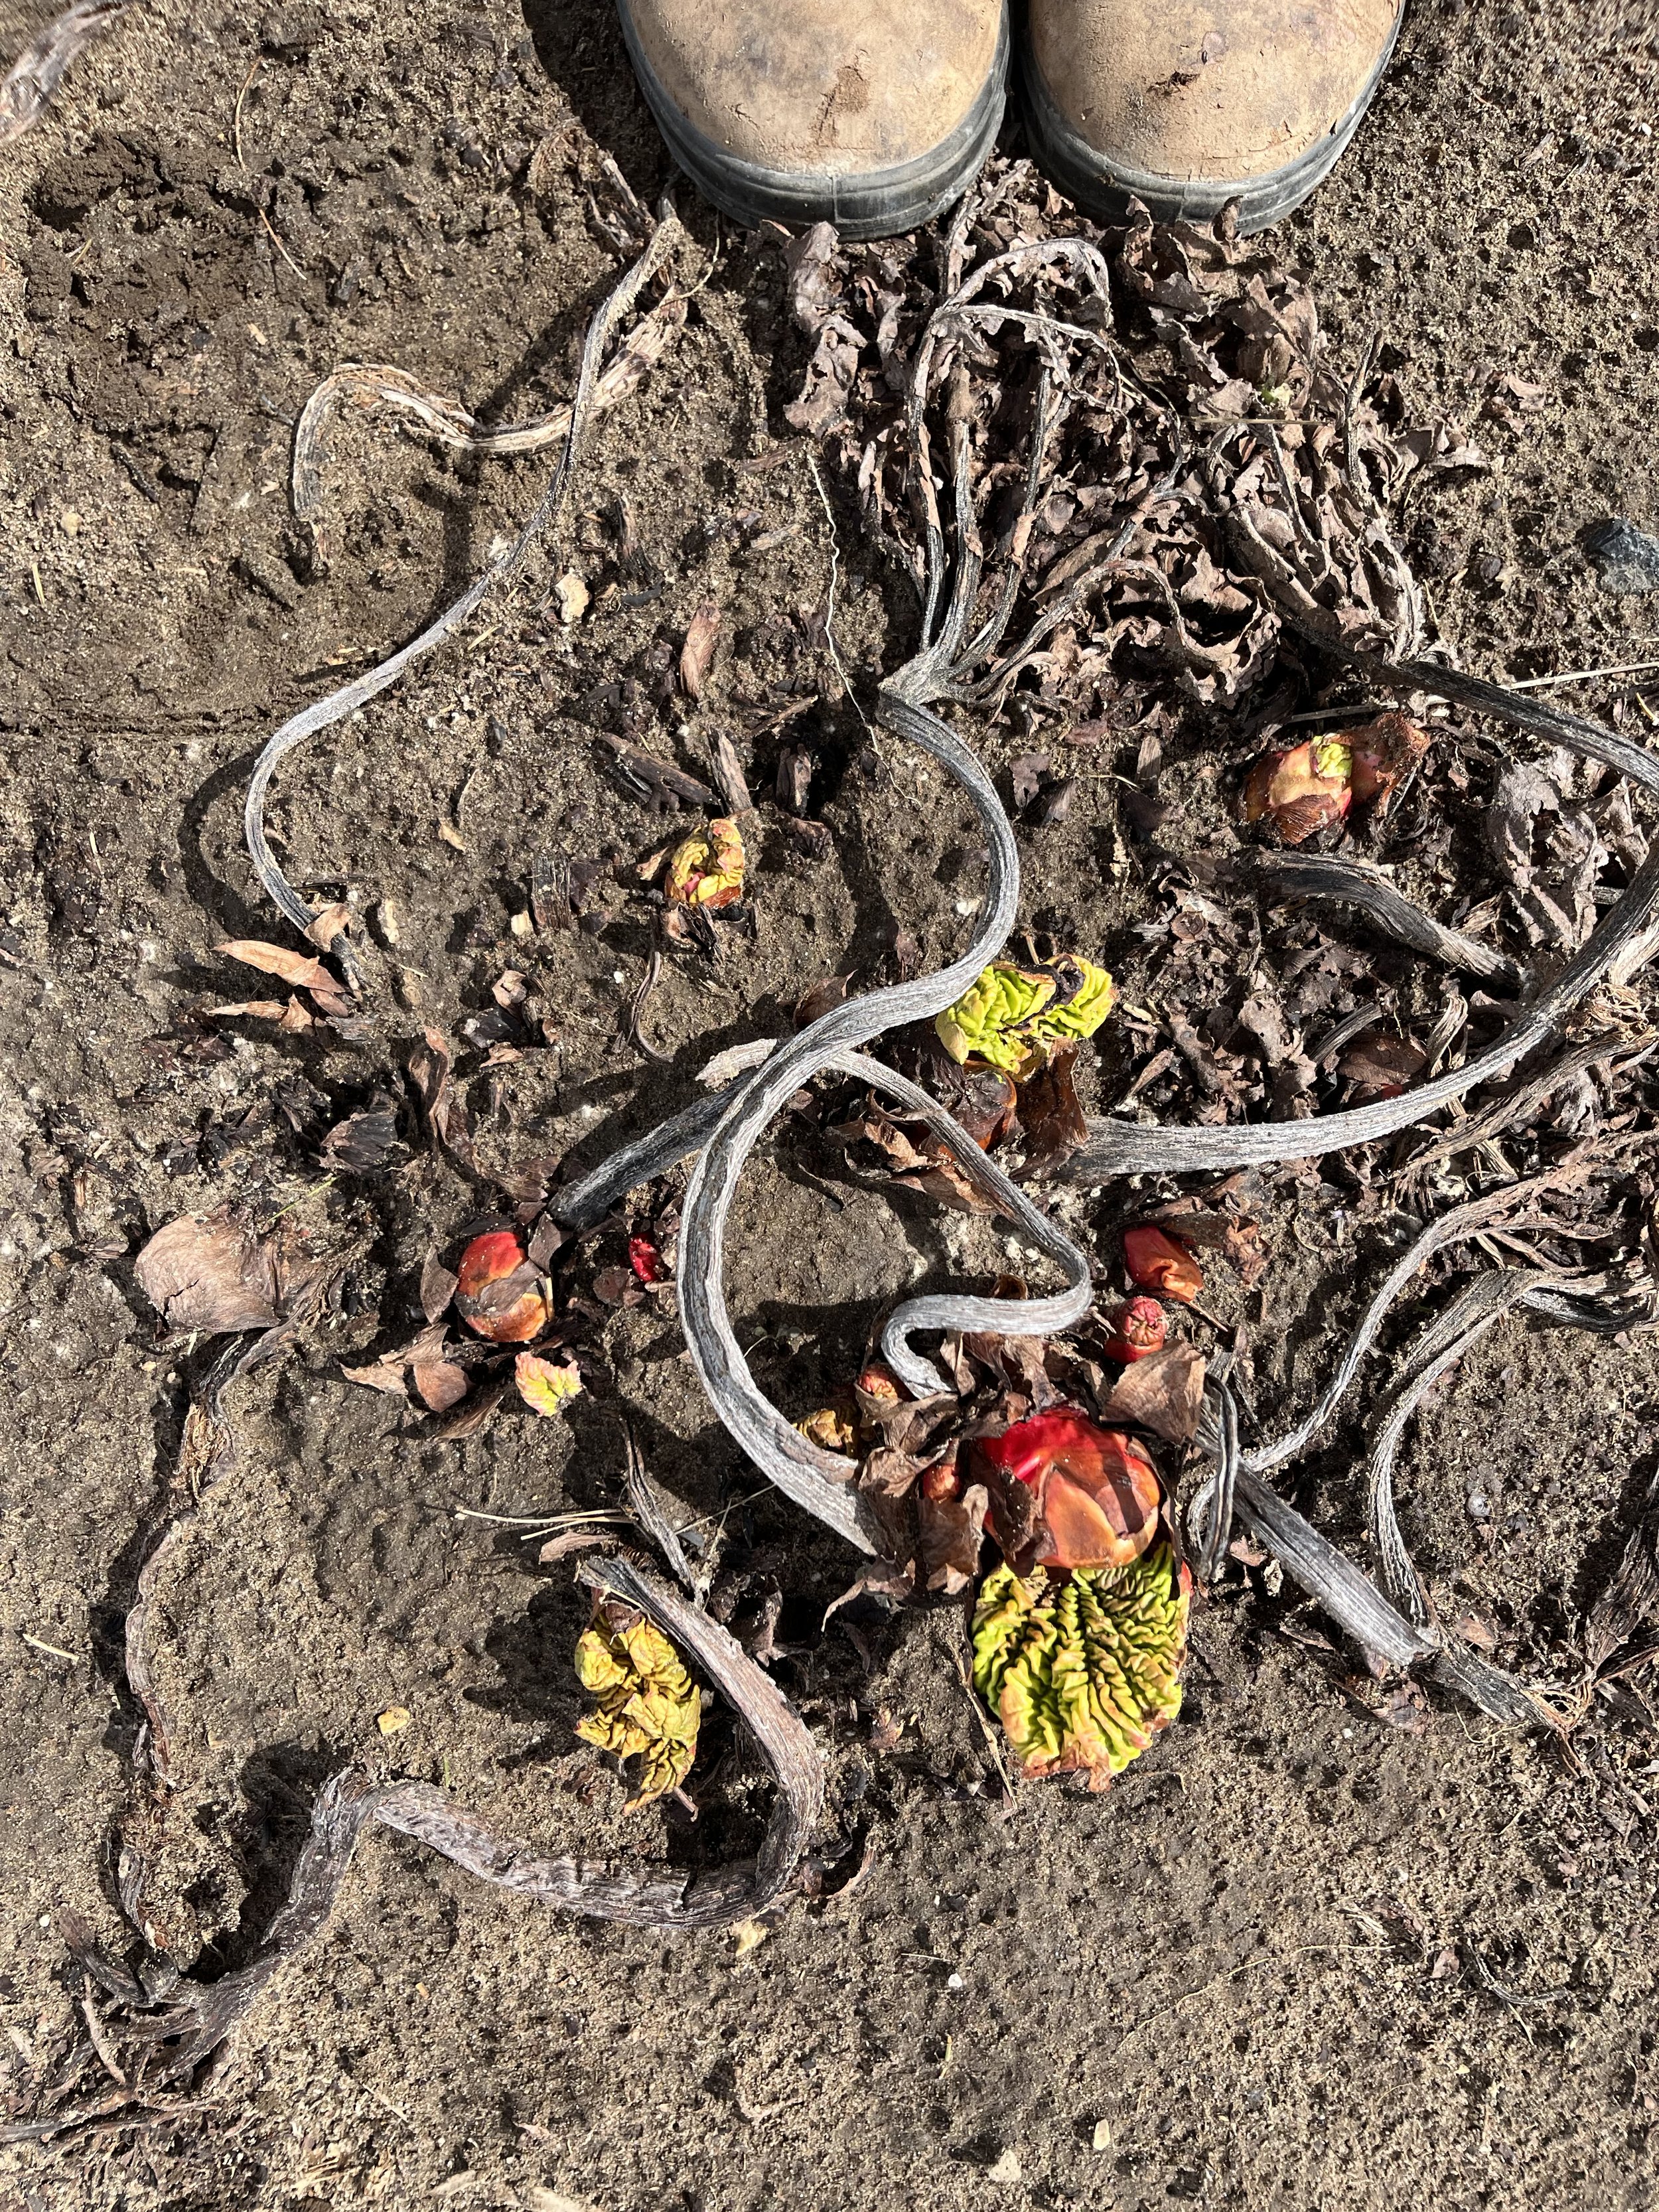
Next, two of our earliest crops (rhubarb and asparagus) are in their beginning stages of the season. Our asparagus fields are being mowed: the previous season’s plants grow up and go to fern after we finish harvesting, and we leave them out in the field over the fall and winter to act as a natural windbreak. Meanwhile, the rhubarb is starting to push its way up out of the soil for another year.

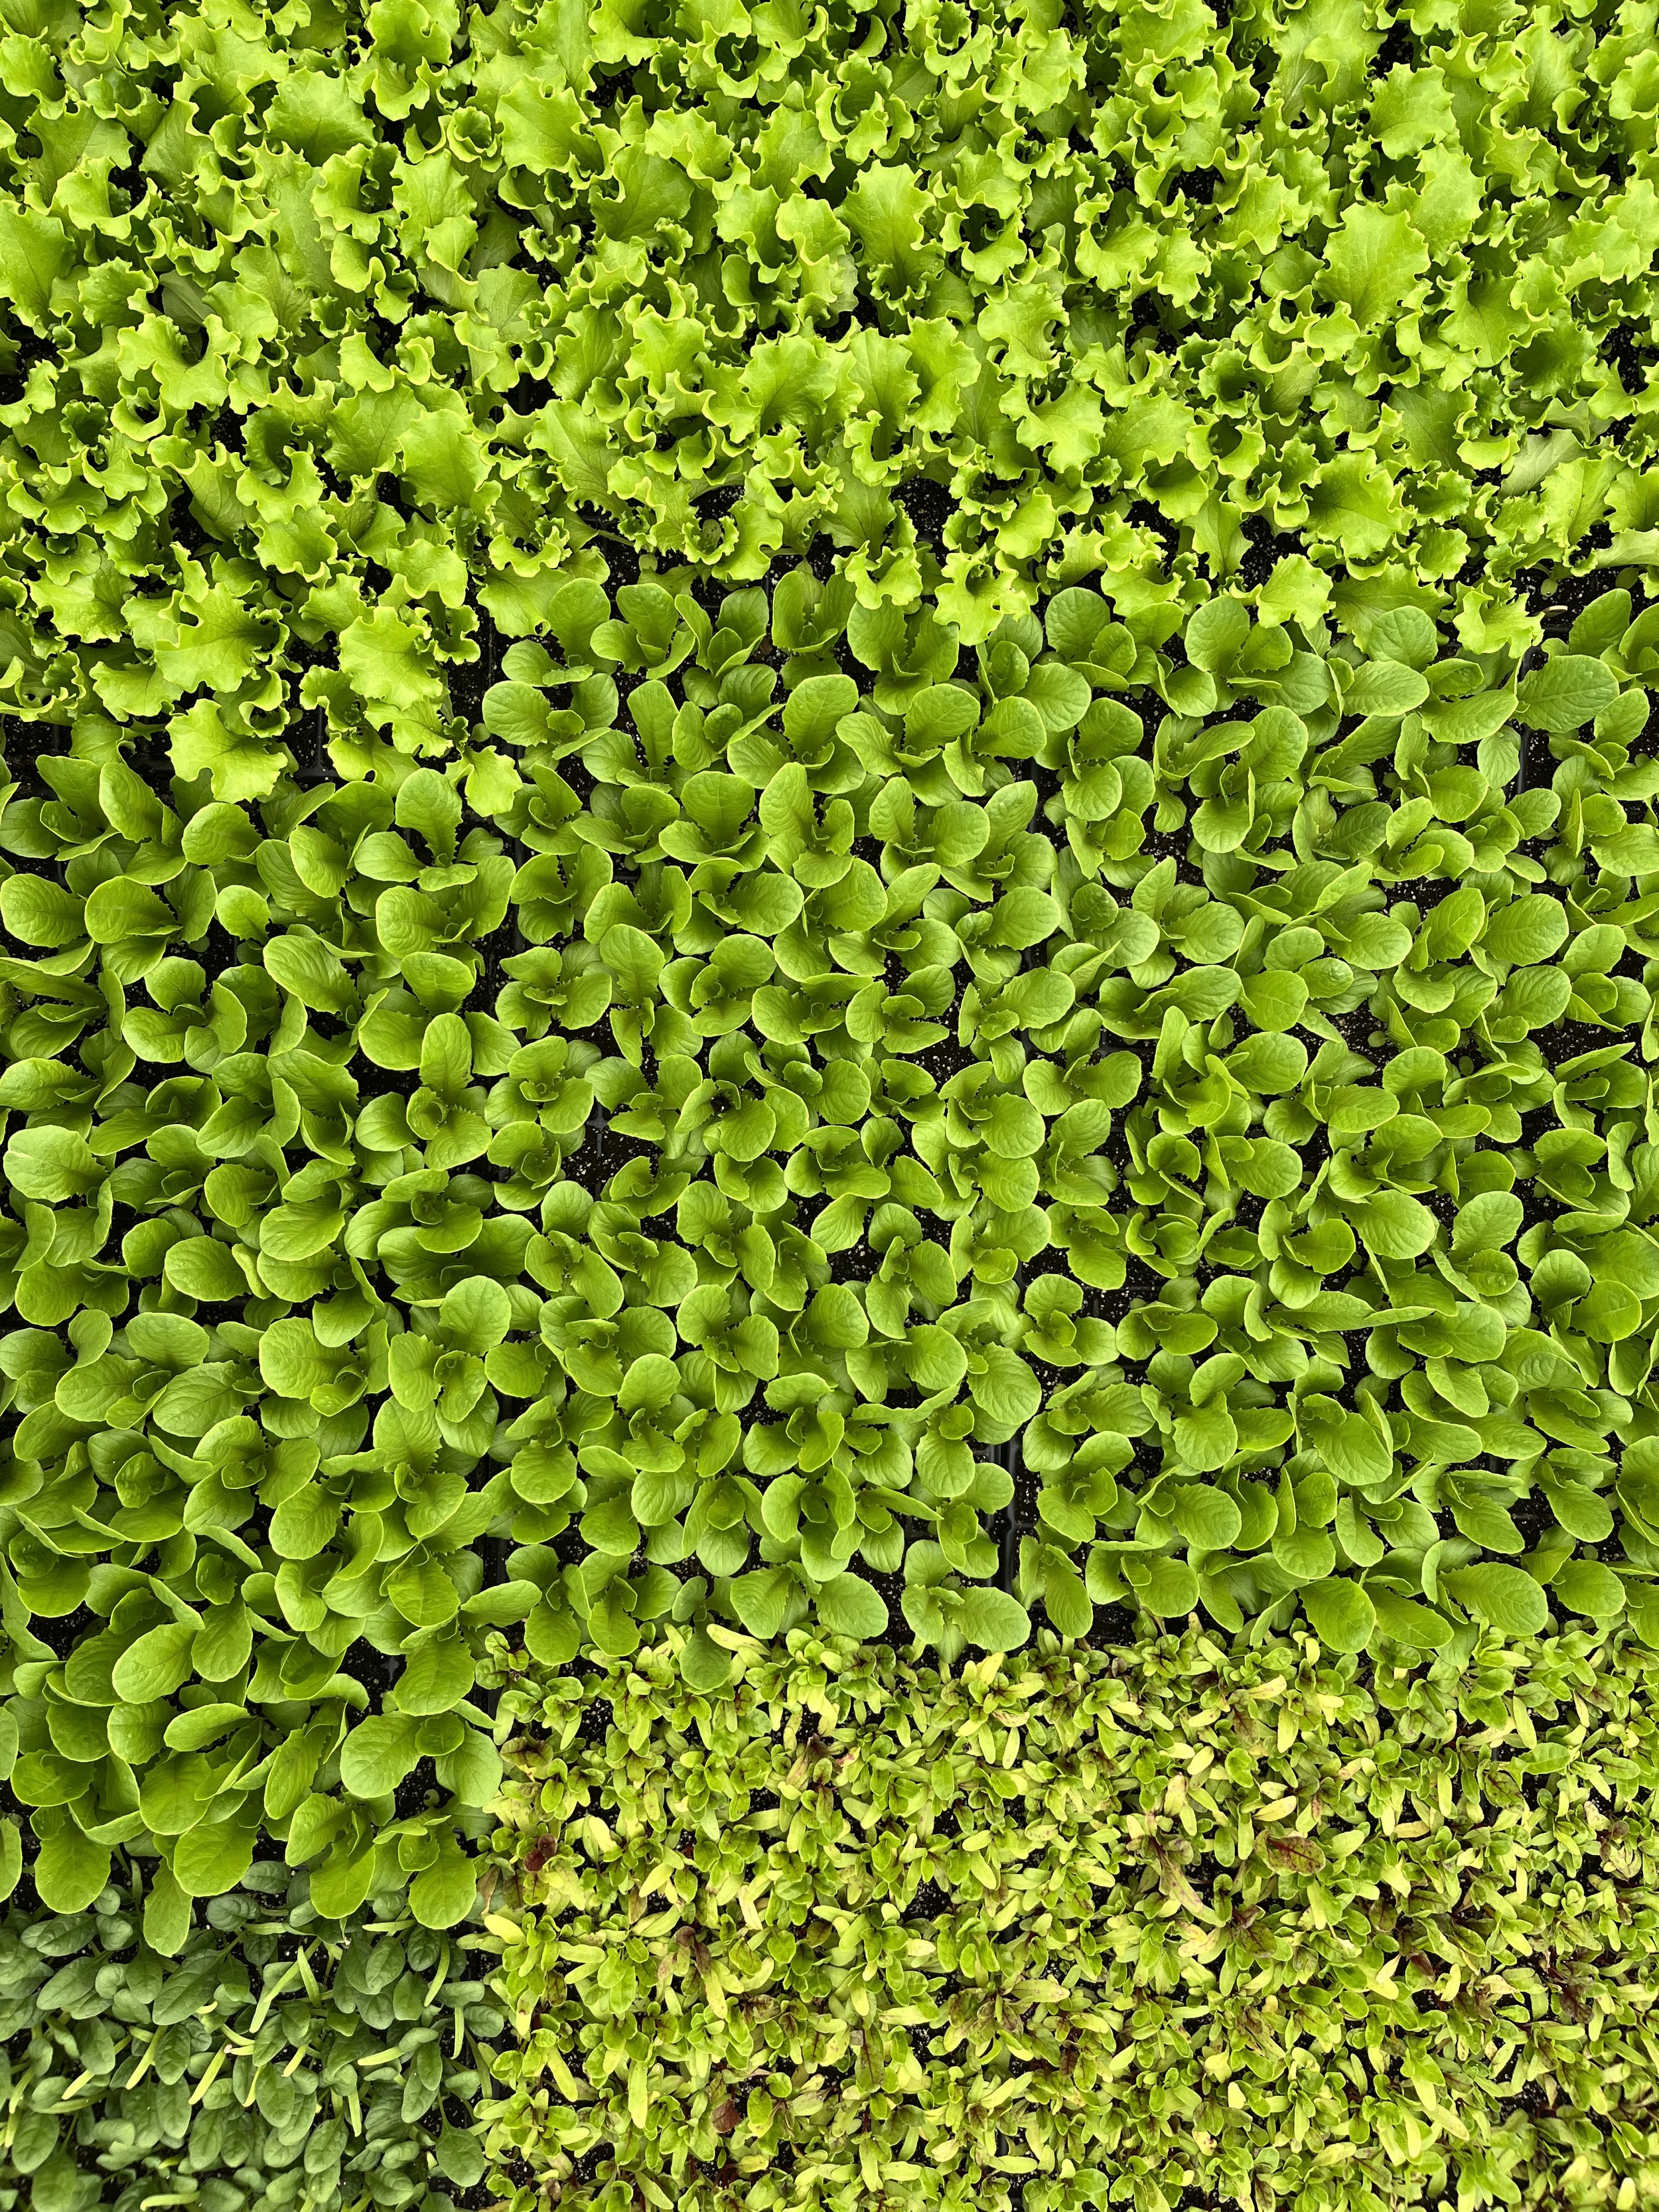
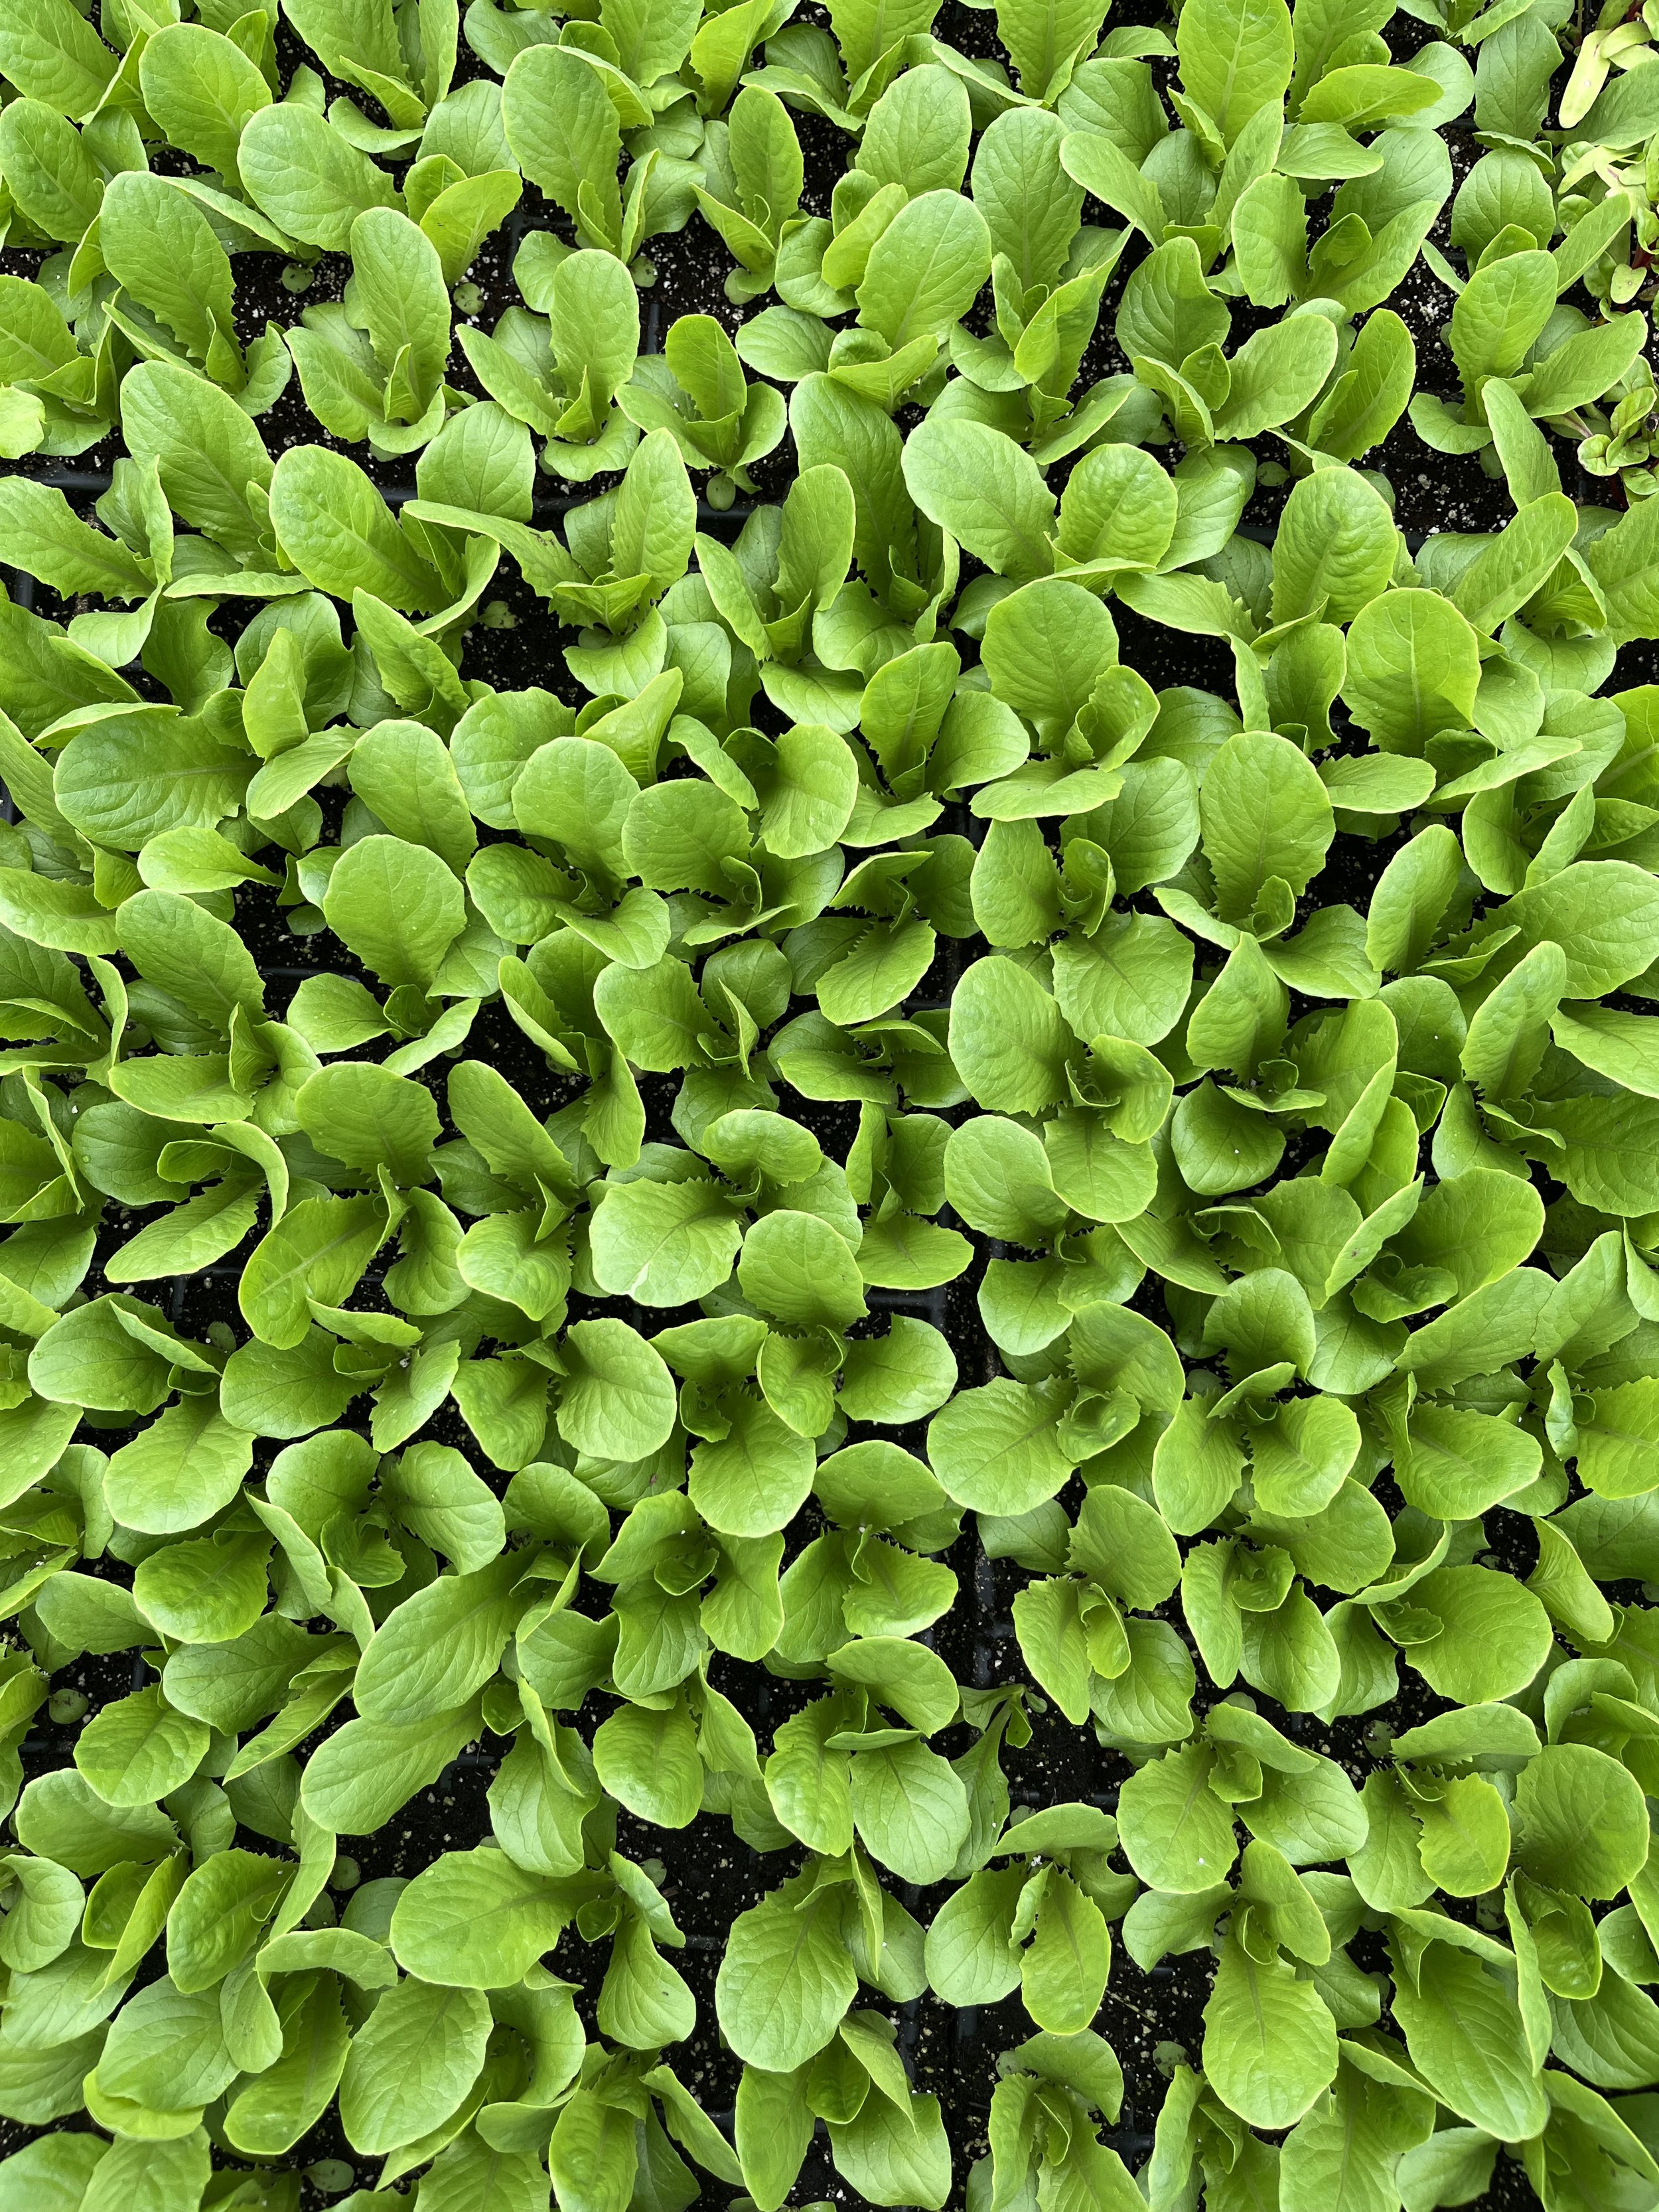
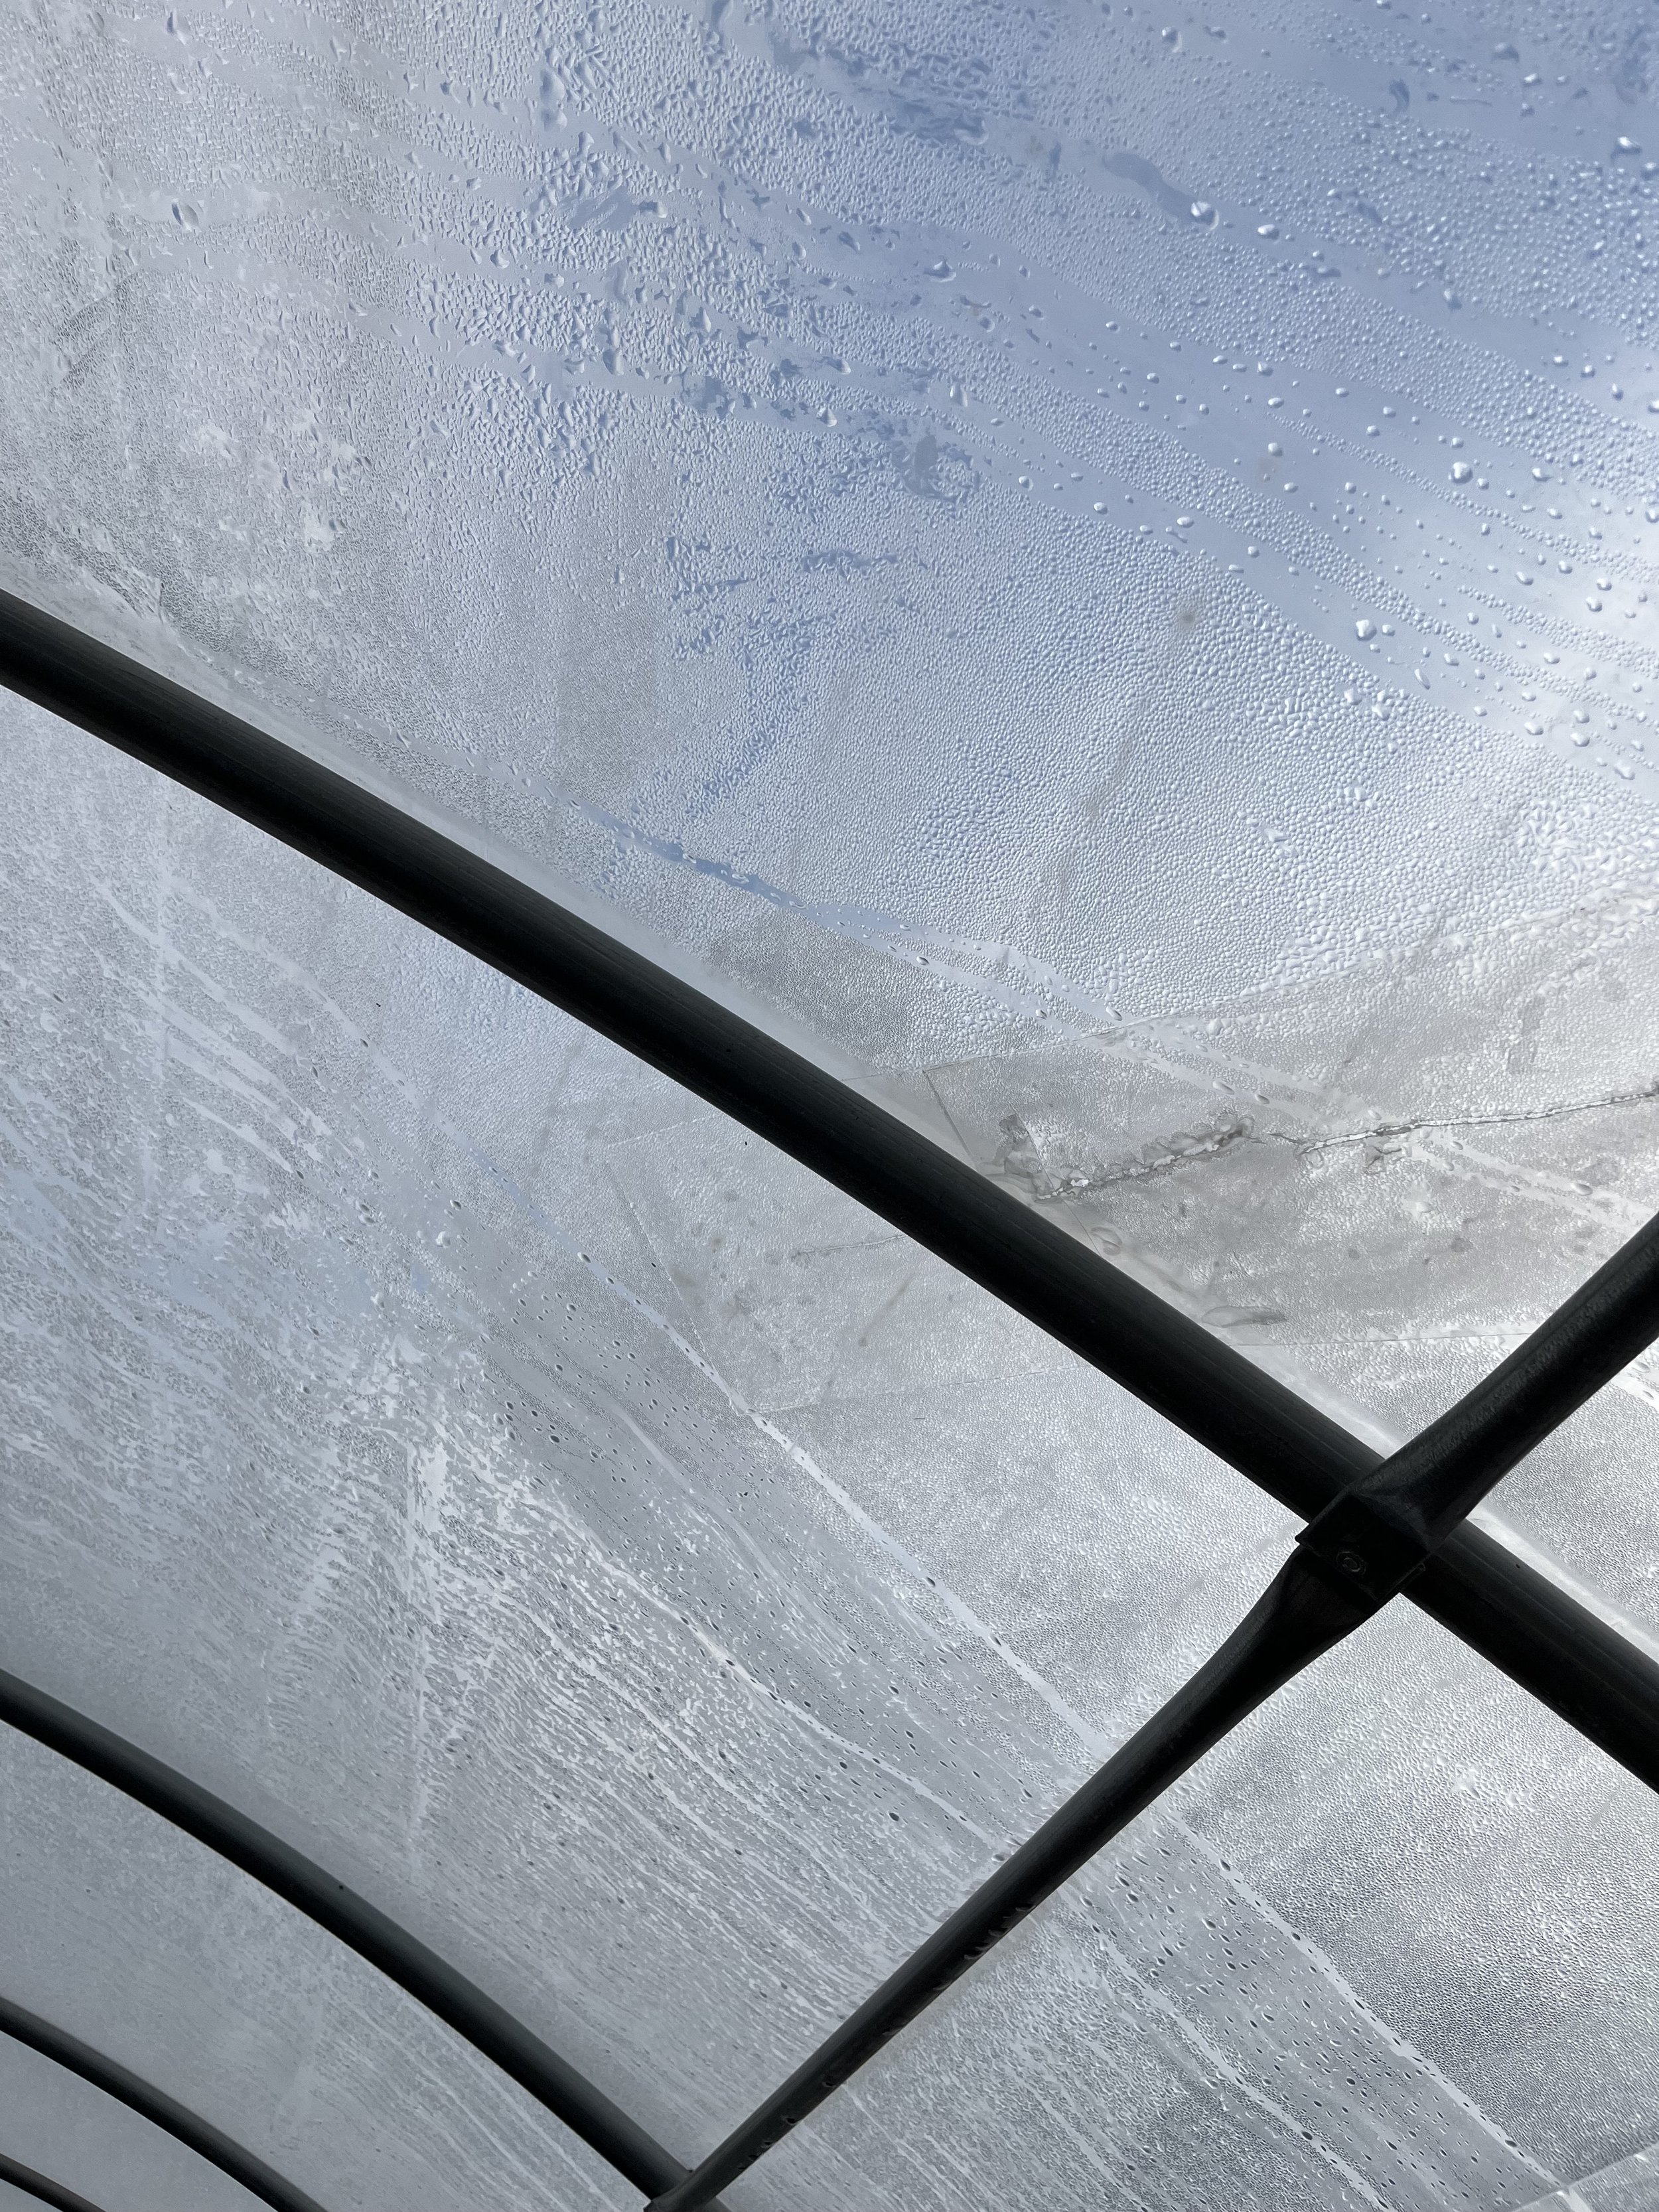
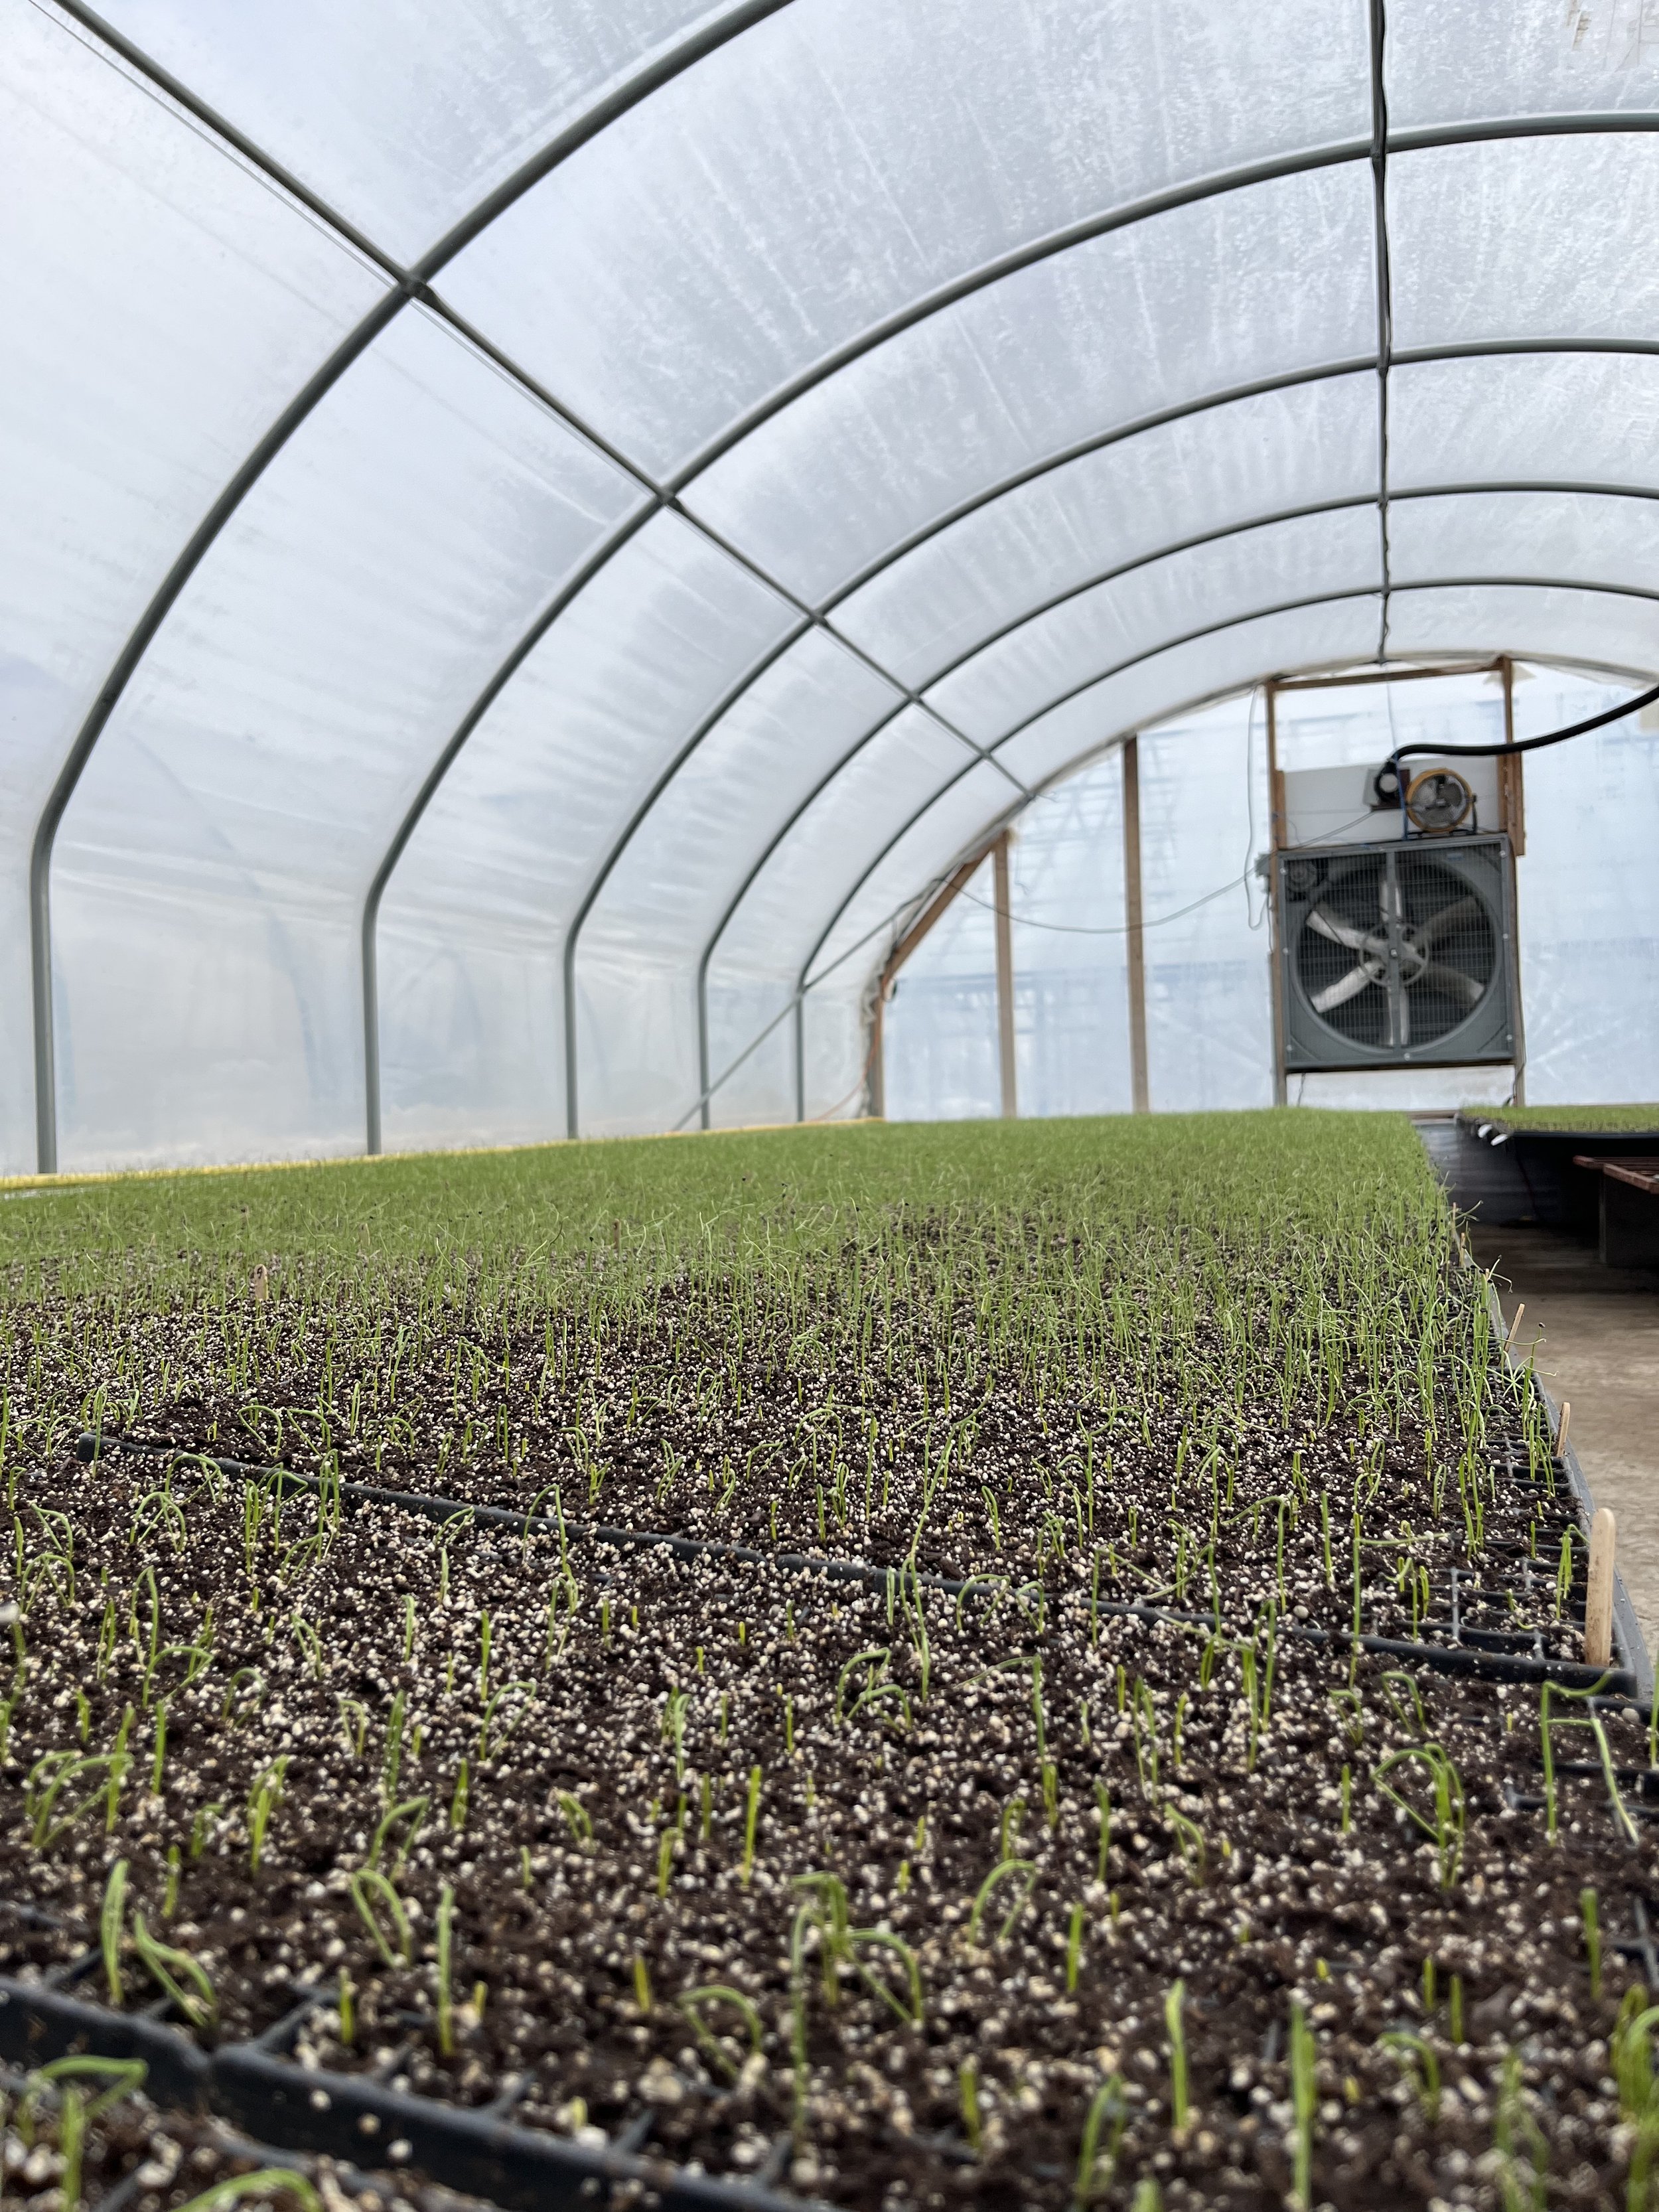
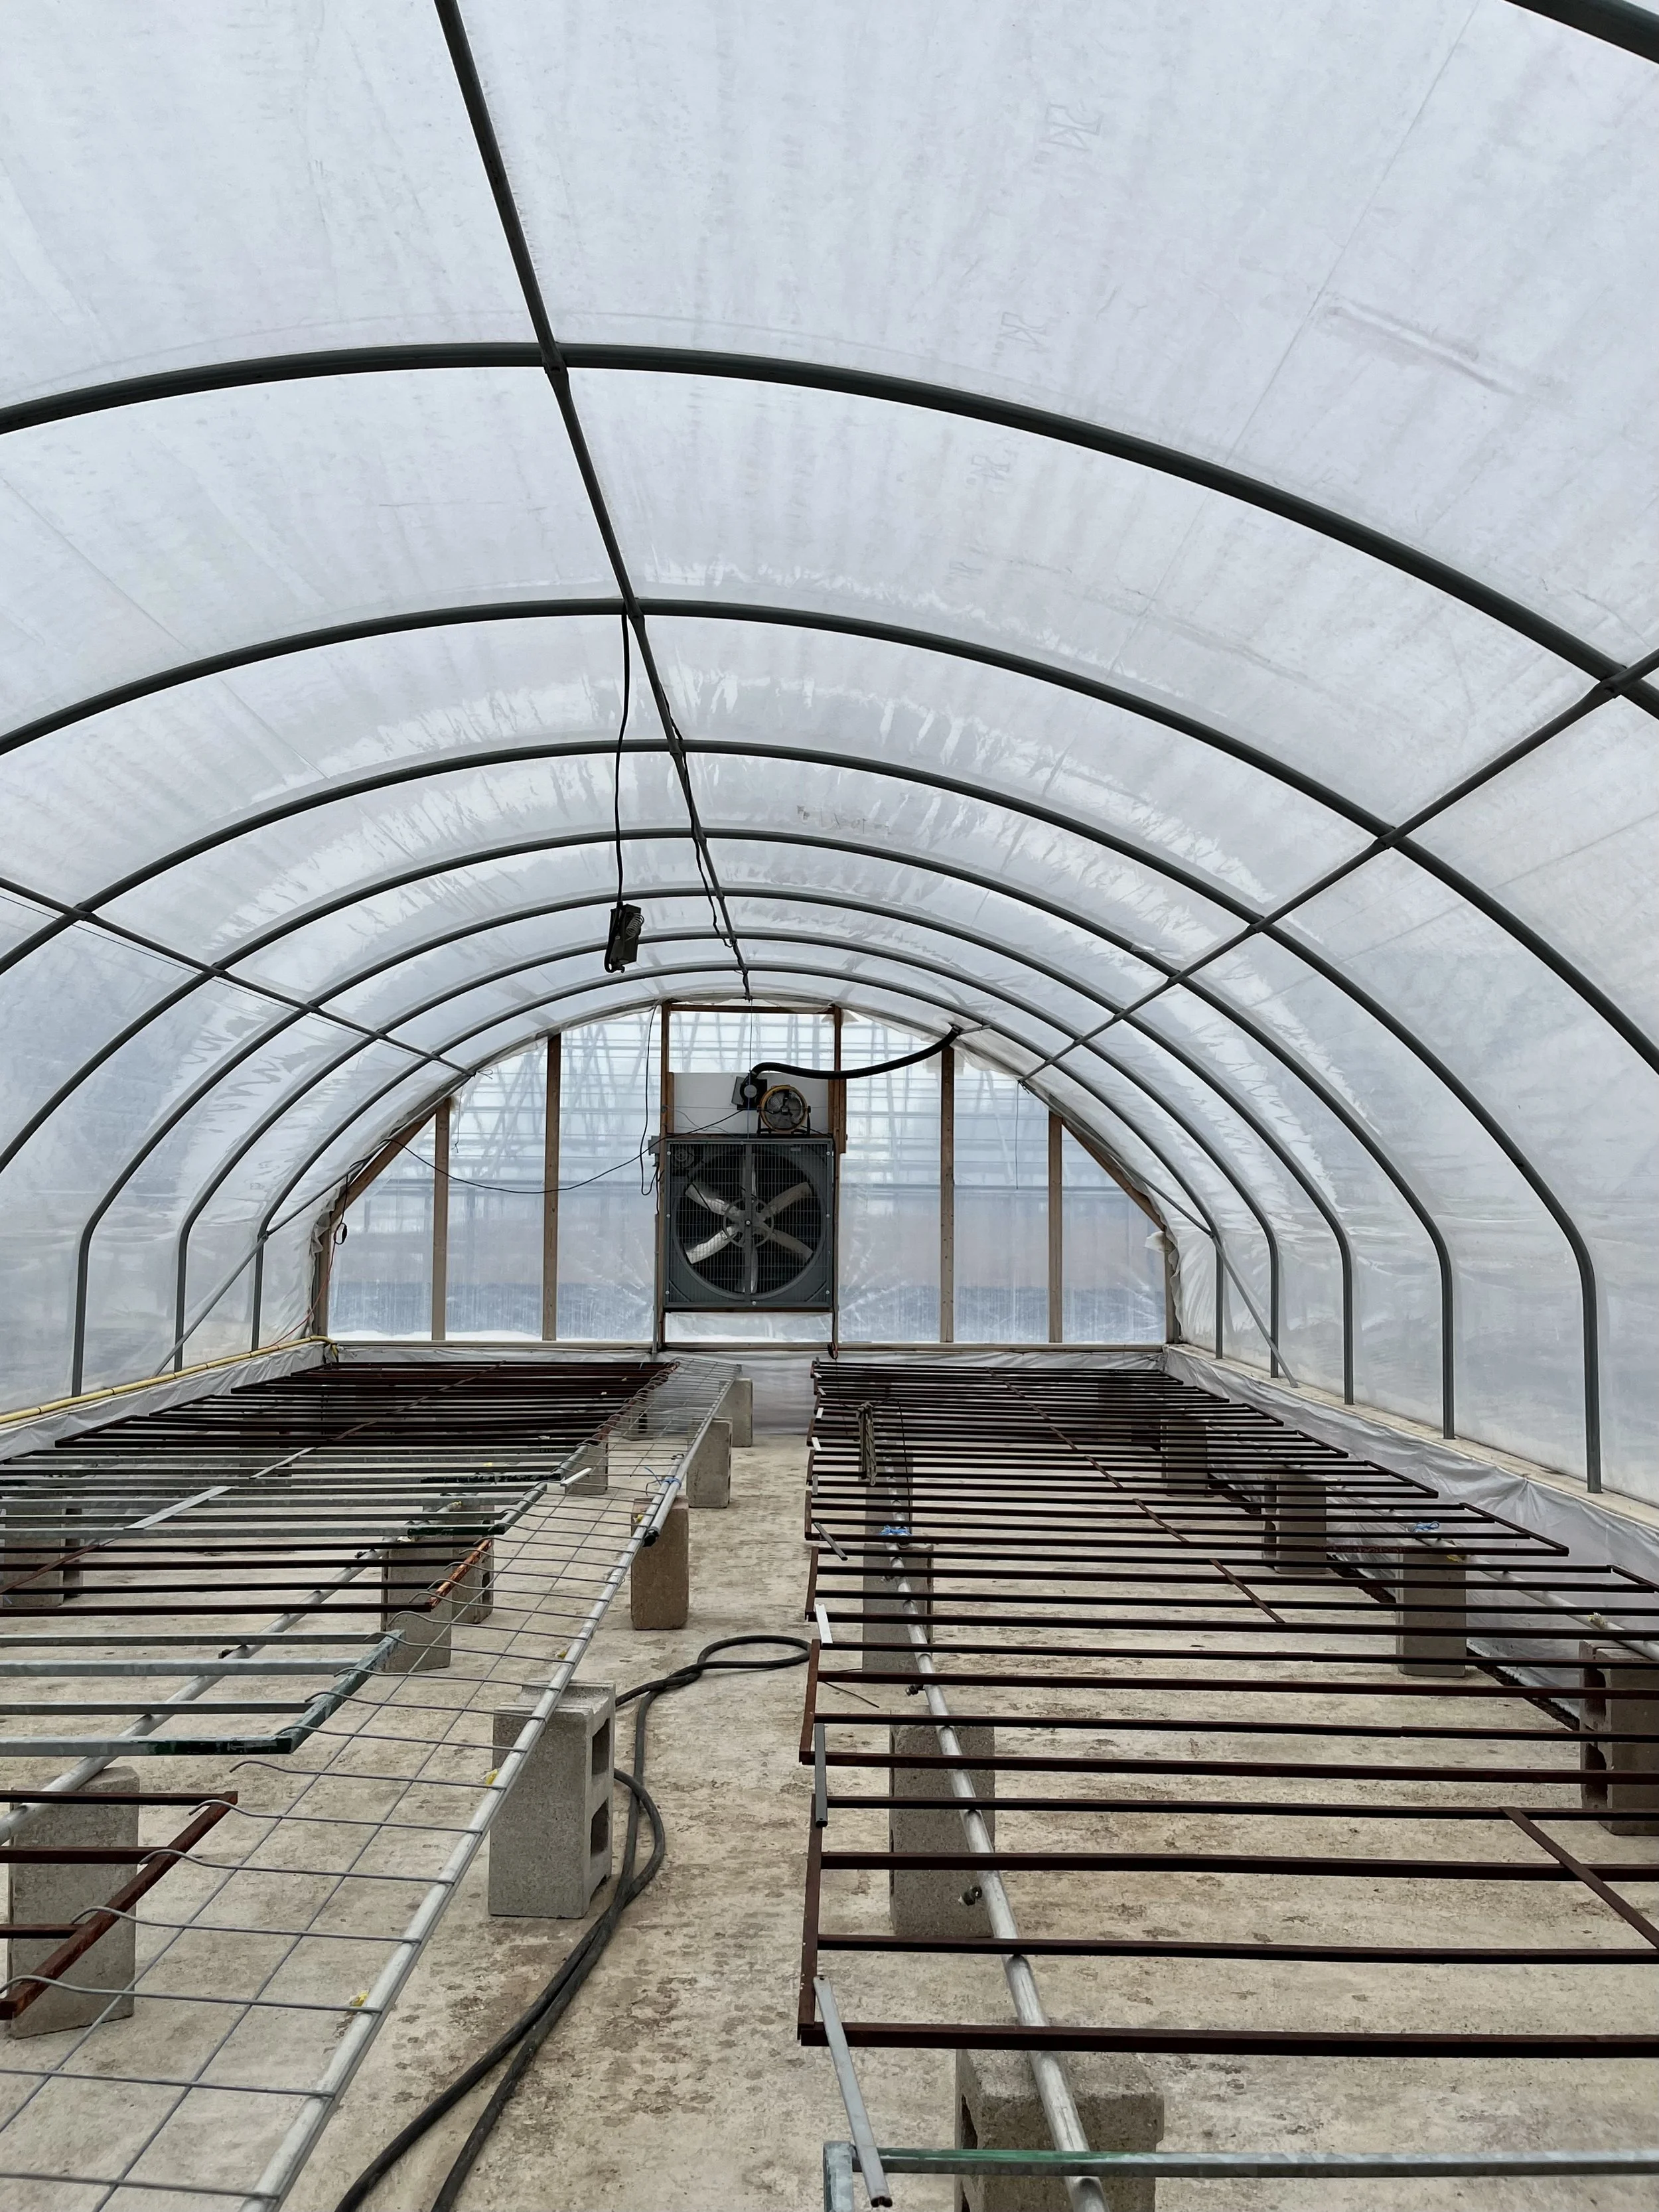
The first of our two cold frame greenhouses is officially full! We’ve got red, green, and Boston lettuce in there, along with spinach, Swiss chard, and potted chives and basil.

Our beekeeper Nathan was out checking on the beehives earlier this week, and we are thrilled to report that they are looking great! Check out this packed hive!

Finally, (not pictured) our blueberry bushes are being pruned this week! It may seem counterintuitive to cut off parts of a plant, but cutting back the older canes on the bush encourages more productive growth of new canes for future seasons. We will repeat the same process with our raspberry crop!

Seeding Situation

The weather around here continues to be pretty wild. One minute the ground is covered in snow, the next it’s pouring rain, and then the sun is shining. And now? It’s snowing again! Thankfully it seems like this snow isn’t going to stick around for long, but it certainly makes our day to day a little less enjoyable.

As we mentioned last week, our heated greenhouse has been slowly filling up with trays of seedlings. And as of today, it’s at capacity! So that means it’s time for transplanting. We’ll be shifting the furthest-along greens and herbs out to the cold frame greenhouses within the next day or so. After that, new trays filled with soil and seeds will take their place. This process of seeding a few trays at a time, on a regular basis, is called succession planting. It helps ensure we will have a steady supply of crops throughout the season.

In the meantime, we have also started to seed the first of the season peppers, tomatoes, and… (drumroll, please!) melons! That’s right, muskmelon and yellow watermelon, our earliest melons of the season, are making their way into soil as we speak.

While the herbs and greens will be transplanted to the cold frame and then continue to grow there until they are harvested, the peppers, tomatoes, and melons go through a slightly different process.

An empty greenhouse is prepared for growing season in Innerkip Ontario Canada

Peppers, tomatoes, and melons are also transplant crops, but they will eventually be transplanted outdoors, not into another greenhouse setting. The greenhouse these crops will hang out in while they get established is pictured above. It’s a traditional glass greenhouse and is heated by the sun. Fans at either end of the structure help regulate temperatures by controlling access to fresh air and cycling out hot air from inside

Before heading to the greenhouse though, the trays of pepper, tomato, and melon seeds have to make one more stop — a germination trailer! This is a dark space that slowly warms the soil and helps the seeds ‘wake up’ before heading into the greenhouse.

Blog post written & photographed by Alex Chesney, RD

Transition to the Cold Frames

Our heated greenhouse is full of seedlings, and they’re getting big enough that it’s officially time to transition them out to our cold frame greenhouses! We’ve got lettuce (green, red, and Boston), Swiss Chard, spinach, and a variety of herbs that will be making the move. The herbs will be transplanted into pots which will then hang out in the cold frames, while the greens will be transplanted directly into the soil. We will begin the transplant process next week and are hard at work preparing the cold frames this week so that they’re ready to go in time.

Most of these preparations already took place last fall. We removed last season’s landscape fabric, prepared the soil (removed all remnants of last season’s plants and added a dose of fertilizer) formed the soil beds for planting, left spaces for pathways, added rows of trickle tape irrigation tubes, and then laid down new landscape fabric. Gravel stones were placed on top of the landscape fabric along the walking pathways to make for easier movement up and down the rows.

This week we set up the watering system and have begun to run water through the trickle tape to start to rehydrate the soil. We have a handy probe that helps monitor moisture levels. Right now it’s reading 5%, and our goal is 18%, so it’s well on the way!

A watering system is set up at Thames River Melons greenhouse.

The greens will be included in our May and June Market Boxes, as well as sent out to some of our farmers’ markets. We can’t wait to have these fresh veggies available again! They will pair nicely with our spring field crops (asparagus, rhubarb, and green garlic) as well as our overwintered vegetables -- cabbage, potatoes, and sweet potatoes. As always, our preserves, baked goods, and merch will also be available as add-ons each week to help round out your grocery delivery.

Blog post written & photographed by Alex Chesney, RD

Irrigation Education

Happy Friday! All this rain today has us thinking about water, and the essential role it plays here on the farm. And although it feels like the rain is never-ending right now, by the time summer rolls around there are no guarantees! We’ve been known to experience some very hot and very dry seasons, and our crops can’t survive without a consistent water source. One way around this? Irrigation! We utilize both overhead and trickle irrigation, but today we wanted to teach you a little bit about our trickle tape system.

Trickle irrigation works by sending water from pipes through lines of tape – essentially small, flat, plastic tubing that has built in pressure-compensating emitters. These emitters are located 16-inches apart, and they ensure that water is evenly distributed (within 15% or so) all along the tape. In general, trickle irrigation uses 1/10th of the amount of water used by overhead irrigation, so it’s much more efficient!

We use trickle irrigation on high-value crops like strawberries, raspberries, zucchini, and tomatoes. There are certain instances where overhead irrigation is required (like for frost protection) but when trickle irrigation is an option we try to use it!

Right now, our team is hard at work preparing the trickle tape for another season of use. To back up, at the end of last season we worked our way through the fields, picking up the trickle tape and wrapping it onto spools for storage over the winter. Each row in the field has its own section of trickle tape, and we tied them together for easy storage on the spool.

Now, we are working to put them back together into a single strand, for use again this coming season. And the way we do this is pretty interesting, so we thought we’d fill you in!

The spools of old trickle tape are set on a stand on one end of the workspace and the tape is then strung along to a second stand about 20 feet away. This second spool is controlled by a small motor that turns it round and round. In the middle there’s a nifty machine used to seal the tied ends of tape back together, as well as an old wringer washing machine that’s been converted to create tension and ensure the tape wraps onto the second spool neatly.

The nifty machine we mentioned is the real hero here. As the tubes of tape run from the old spool to the new one, our team is watching for the tied-together sections. When one is reached, they stop the motor and cut the tied section out. Now it’s time to meld them back together, to create that single strand we talked about earlier.

To do this, we pop the tube open and insert a small piece of plastic inside it, then slide the other end of tubing over top. We then place this recreated tube into the machine, and it presses down, applying heat - the heating panels are powered by a 12-volt battery! This heat application essentially melts the two sections of tubing together, creating a single unit, and the small piece of plastic keeps the tubing open, and prevents it from being sealed together. The heat is applied for 20 seconds or so, and then the tube is transferred into a water dish for about 10 seconds. From there, the motor is turned back on and the tubing continues to be fed through the old wringer washing machine and onto the new spool.

And that’s it! The new spools of trickle tape will then be taken out to the field and laid down on the rows for use for another season. We typically get 2 – 3 seasons of use out of these tubes. After that, the small emitters start to get plugged up, and don’t work anymore. Overall though it really reduces how much plastic we have to use, and how often we have to buy replacement tape.

If you made it this far, thanks so much for reading! This is fairly niche information, but it’s an important step in the complicated process of preparing for the upcoming season, and thought you may find it interesting!

Explore our produce boxes.

Blog post written & photographed by Alex Chesney, RD

An Update from the Heated Greenhouse

Hey there, friends of the farm! As I write this from my office in the barn, snow is falling steadily outside. It seems like Fridays are snow days lately, hey? We’re happy to report it’s not affecting us or our crops too much at this point, though! We did have one more repair to make on the greenhouse plastic, but we’ve otherwise managed to survive it all unscathed. In fact, snow actually adds a nice layer of insulation on top of our strawberries, which helps them survive colder weather more successfully.

All this white stuff does make it hard to believe that asparagus will be popping up through the soil in just two months or so from now, though! Time is starting to move awfully quickly.

In the meantime, we wanted to fill you in on a few more updates. Our heated greenhouse continues to get a little fuller each week, with more and more seeded trays making their way into the warmth. We now have onions, shallots, Swiss chard, spinach, and mustard greens on the go, and it’s so fun to see them develop each week!

Remember a few weeks ago I mentioned how our onions and shallots would eventually need a haircut? Well, the time has come! Over the next few days we will be trimming these little guys down so that they don’t get too top-heavy and start to topple over. This process is made possible thanks to a modified tobacco trimmer.

Rob grew up on a farm, and his parents (my grandparents!) first grew tobacco. Our family has since transitioned out of this crop production, but we still have a lot of the equipment and supplies around here, so we decided to put some to use!

It’s really quite simple, albeit time-consuming: we set the trays on the tabletop (fashioned out of a wooden skid placed on some sawhorses) on which the trimmer is built and slide them through one at a time. The top parts of the onions are trimmed off and swept out of the way, and then we return the trays to their position in the greenhouse. We then use a battery-powered leaf blower to blow all remaining onion tops off of the trays, and sweep them up off of the floor. This trimming process ensures the plants stay upright and strong and continues to promote healthy root production.

Blog post written and photographed by Alex Chesney, RD

More Onion Updates!

We’re seeing seedlings in all directions! This is Alex writing to you, by the way — farmer, dietitian, and the one behind most of these emails & social media posts. I’ve been so excited to see these little onions popping up through the soil that I figured I’d share some of that with you and include a rare photo with me in it :)

I was away from the farm for a few days at the annual Ontario Fruit and Vegetable Convention. It’s an opportunity for folks from across the province (and in some cases the country!) who work in the horticultural field to come together and learn, explore the trade show, and connect.

My dad (Farmer Rob) joined for a couple of day as well, but had to head back a bit early. It was a good thing he did, because it turns out we had a bit of unwelcome excitement this week as well! The ice storm overnight Wednesday and into Thursday left our heated greenhouses covered with sheets of ice. As things started to shift around in the wind some of the ice broke, slid on its’ side, and cut a whole through the plastic! This let valuable heat out, and also disrupted the insulation layer — more details on that later on. Fortunately he caught it early, and was able to patch it up with help from one of our team members Gord. In the meantime, the furnace was running continuously to keep the temperature up! There are some photos below (the first two below me!), though it’s a bit hard to tell exactly where the patch is, and you may need to zoom in to get a good look. I guess that means Rob & Gord did a great job patching it up!

Last week I told you about how we monitor temperatures and humidity within the greenhouse, and I thought I’d get into a few more details this time around.

The greenhouse is heated by a small furnace, and the temperature is set to 72°F. I know we’re in Canada and typically operate in Celsius, but my dad is old-school and insists on Fahrenheit for all things on the farm, so that’s why I’m using those terms!

The large fan in the greenhouse (pictured in the first photo on the left below) is programmed to turn on once the temperature reaches 85°F. The sensor for this fan hangs from one of the bars along the top of the greenhouse. The large fan helps circulate in fresh air, and brings the temperature back down to the 72°F range.

The first year we grew our onions from seeds (this is only the third season we’ve done that, we used to purchase seedlings from a nursery) we didn’t have this system quite figured out. We had the furnace temperature set a bit higher, which meant the furnace and fan were constantly competing. We’ve found that lowering the furnace slightly gives us a better result in the end.

Another change we’ve made since Year 1 is the way we circulate the hot air. During our first go at growing onions from seed, we had a set of bag-like tunnels running below the trays of seeds, in a u-shape around the greenhouse. The hot air from the furnace blew into these bags and they inflated. The bags had holes to let the air out all along the ‘U’. The problem was, this system concentrated the heat more than we expected, and the trays right below the bag tunnels grew very quickly and also dried out very quickly. Meanwhile, the trays on either side that were further away from the bag tunnels did not grow so quickly, and the soil stayed wet for longer.

We learned from this, and made adjustments. We now rely on the large fan to circulate the air as well as a secondary fan at the opposite end of the greenhouse. This secondary fan deals more with the humidity, and basically runs continuously to keep the humidity around 60%.

Finally, in addition to the furnace, we also rely on insulation to maintain the temperature. The greenhouse is made up of a double poly-layer (aka 2 layers of plastic). In addition to sucking air into the greenhouse interior, the fan also has a pipe that blows air in between the layers of plastic, which inflates a small space between them and creates an insulating layer. This is why the ice cutting through the plastic caused such a big problem — heat was being released and the insulating layer was compromised!

Learn about our organic produce.

Although we monitor the greenhouses daily and manually check the temperatures, humidity, and moisture, as mentioned last week we also have a monitoring system installed. We input parameters, and the system lets us know if things go outside of them. For example, we are alerted via text message, phone call, and email if the temperature dips below 50°F or goes above 100°F.

Well, that’s all for now! If you made it this far, thanks so much for reading. I hope you enjoy these fun farm updates!

Blog post written and photographed by Alex Chesney, RD

Digital Marketing Agency

An Update on Our Onion Seedlings

It’s been one week since our first onions of the season were sown into soil-filled trays. Since then they’ve been transferred to our heated greenhouse, where they’ve been cozying up and germinating.

Typically we don’t see much growth until Day 10, but because it’s been unusually warm outside, the seeds have gotten a bit of a boost, and we’re seeing signs of shoots already!

Right now the onions are in what’s called the pre-bulb growth stage. This is a vegetative growth stage, meaning the plant is focused on growing ‘roots and shoots’. What you can see here, poking up through the soil, are radical and flag leaves of the plant. Later on additional leaves will emerge before the plant begins to focus growth on the bulb.

We have been checking on these seedlings daily, monitoring temperatures and moisture level, and keeping track of both in our record log. In addition to our manual checks, we have an alarm system installed that will alert us should the temperatures drop below or exceed our programmed limitations.

Blog post written and photographed by Alex Chesney, RD

Day 1 of 2023 Seeding

The season has officially kicked off around here, with the first seeds of the year making their way into trays. Today we’re working on red, white, and yellow Spanish onions!

The seeding process is quite intricate, with many steps required:

  1. Trays are filled with potting soil.

  2. Next, they are wetted down with water, by running them through a line with overhead nozzles.

  3. The filled and wetted trays are then transferred to our seeders, who carefully place one seed at a time (by hand!) into the individual cells in the trays.

  4. The seeded trays are then topped with more soil and marked with a popsicle stick with a number that corresponds with the planting. That number is recorded in our seeding binder with a reference to the date and seeds sowed.

This system is carefully supervised by arguably everyone’s favourite team member, Pumpkin Spice Latte, or Pumpkin for short.

The seeded trays are then transferred to our heated greenhouse (pictured below!) where they will hang out for the next 12 weeks. Onions take quite some time to grow from seed, which is why we’re starting them so early.

Throughout the next 3 months they will be watered daily, and will receive a couple of “haircuts” while they grow, also known as trims. Trimming is required because as the onions start to shoot up they get too tall and top-heavy, and can topple over if left unattended.

By Week 10 or 11 we will begin to let the seedlings spend some time outside, to get them used to the elements before being formally transplanted into the field. This process is called “hardening off” and it’s something we do with all of our greenhouse-started seedlings. It ensures a better chance of survival!

Blog post written and photographed by Alex Chesney, RD

Vegetable Pesto Gnocchi

Ingredients

2 tbsp olive oil

2 cups broccoli florets

2 cups leeks, sliced

1 pepper, sliced

1 tbsp garlic, minced

2 handfuls fresh spinach

700g gnocchi

2 cups heavy cream

½ cup pesto

1 cup parmesan cheese, shredded

Salt

Pepper

Instructions

  1. Follow cooking instructions for gnocchi and set aside

  2. If wanting to add a choice of protein such as chicken, shrimp, lentils, etc make now and set aside with gnocchi.

  3. In a medium sauce pan add cream and pesto and season with salt and pepper. Bring to a boil. Once boiling bring heat down and simmer for about 10 minutes, occasionally stirring the mixture. During this time the vegetables can be started in the following step.

  4. In a medium frying pan add olive oil, then add broccoli and peppers. Sauté on medium-high heat for 3 minutes. Then add chopped leeks and sauté for another 5 minutes.

  5. Add garlic to pan and sauté for 1 minute before adding in fresh spinach. Continue stirring mixture around until spinach is cooked.

  6. Going back to the sauce, after 10 minutes stir in 1 cup of parmesan and then let simmer another 5 minutes, until sauce begins to thicken. Sauce should be able to coat the back of a spoon when finished.

  7. Once sauce is done add to pan with vegetables. At this time also add gnocchi and choice of protein to the pan. Top with a bit of parmesan cheese and serve hot.

Recipe Developed and photographed by Dietetic intern Rae Wilcox.


PYO Back to School Lunches

Back to school season is right around the corner! Are you looking for quick and inexpensive lunches to make for your little ones? In this blog post, we’re providing you with lunch inspiration using fruits and vegetables from our PYO patch!

Did you know that if you pick your own fruits and vegetables on our farm, you can get them for half the price? For example, if you buy one of our pre-picked watermelons, it will cost you $8, but if you pick your own it’s $3.50! Our blueberries are $4.25 per pound, which would cost you $1.44 per cup. Our pre-picked blueberries would cost you $4 per cup! Our carrots are $1 per pound, which could cost you only $0.30 for a cup. We have so many more vegetables available for you to pick as well!

Now, for the lunch ideas. Each option provides fruits and/or vegetables, a protein source, and a grain source based on Canada’s Food Guide recommendation. You can learn more about nutrition in the Nutrition Hub section of our blog. Feel free to modify each lunch idea and mix and match. You can add foods to make them more filling or take some away!

Lunch 1: Cheese and crackers with vegetables — broccoli florets, carrot sticks, and bell pepper slices.

Cost: ~$2.19. 2 oz cheese — $0.90; 10 crackers — $0.66; ¼ cup broccoli florets — $0.31; ½ cup carrot sticks —$0.15; ¼ cup bell pepper slices $0.17.

Lunch 2: Hardboiled eggs, crackers, watermelon, and blueberries.

Cost: ~$2.08. 2 hardboiled eggs — $0.60; 10 crackers — $0.66; ½ cup watermelon (medium) — $0.10; ½ cup blueberries — $0.72.

Lunch 3: Whole wheat pita bread, hummus, watermelon, blueberries, and vegetables – broccoli florets, carrot sticks, and green bell pepper slices.

Cost: ~$2.32. 1 pita bread — $0.53; 3 tablespoons hummus — $0.75; ¼ cup watermelon — $0.05; ¼ cup blueberries — $0.36; ¼ cup broccoli florets — $0.31; ½ cup carrot sticks — $0.15; ¼ cup bell pepper slices $0.17.

Lunch 4: Vanilla yogurt, granola, blueberries, and muskmelon.

Cost: ~$2.55. ¾ cup vanilla yogurt — $1.06; ½ cup granola — $0.31; ½ cup blueberries — $0.72; ½ cup muskmelon — $0.46.

Lunch 5: Pasta salad containing rotini noodles, chickpeas, feta cheese, vegetables – diced green bell peppers and tomatoes, and Italian salad dressing.

Cost: ~$1.62. 1 ½ cups whole grain rotini noodles — $0.54; ½ cup chickpeas — $0.30; 1 tablespoon crumbled feta cheese — $0.26; ½ cup green bell peppers — $0.35; ½ cup tomatoes — $0.10; 1 tablespoon Italian salad dressing — $0.07.

You can find more recipe inspiration on our recipes page!

This blog post was created by dietetic internship student Amy Campbell.

References:

Health Canada. (2021). Canadian nutrient file. Government of Canada. Retrieved July 25, 2022, from https://food-nutrition.canada.ca/cnf-fce/index-eng.jsp.

Walmart Canada. (2022). Walmart Grocery. Retrieved August 19, 2022, from https://www.walmart.ca/cp/grocery.

Vegetable Personal Pizza

Ingredients

1 whole wheat naan bread

1/4 cup pizza sauce

1/3 cup cheese

1/2 cup diced vegetables (we used sweet peppers, zucchini, and garlic scapes for this one!)

6 pepperoni slices (optional)

Instructions

  1. Preheat the oven to 375°F and line a baking sheet with parchment paper.

  2. Spread the pizza sauce over the naan bread.

  3. Add the cheese on top.

  4. Place the pepperoni slices and vegetables on the naan bread.

  5. Bake at 375°F for 15-20 minutes until the cheese is melted.

  6. This recipe makes one serving, but feel free to make several personal pizzas for your whole family!

This recipe was developed and photographed by dietetic internship student Amy Campbell.

Learn more about fruit and veg delivery.