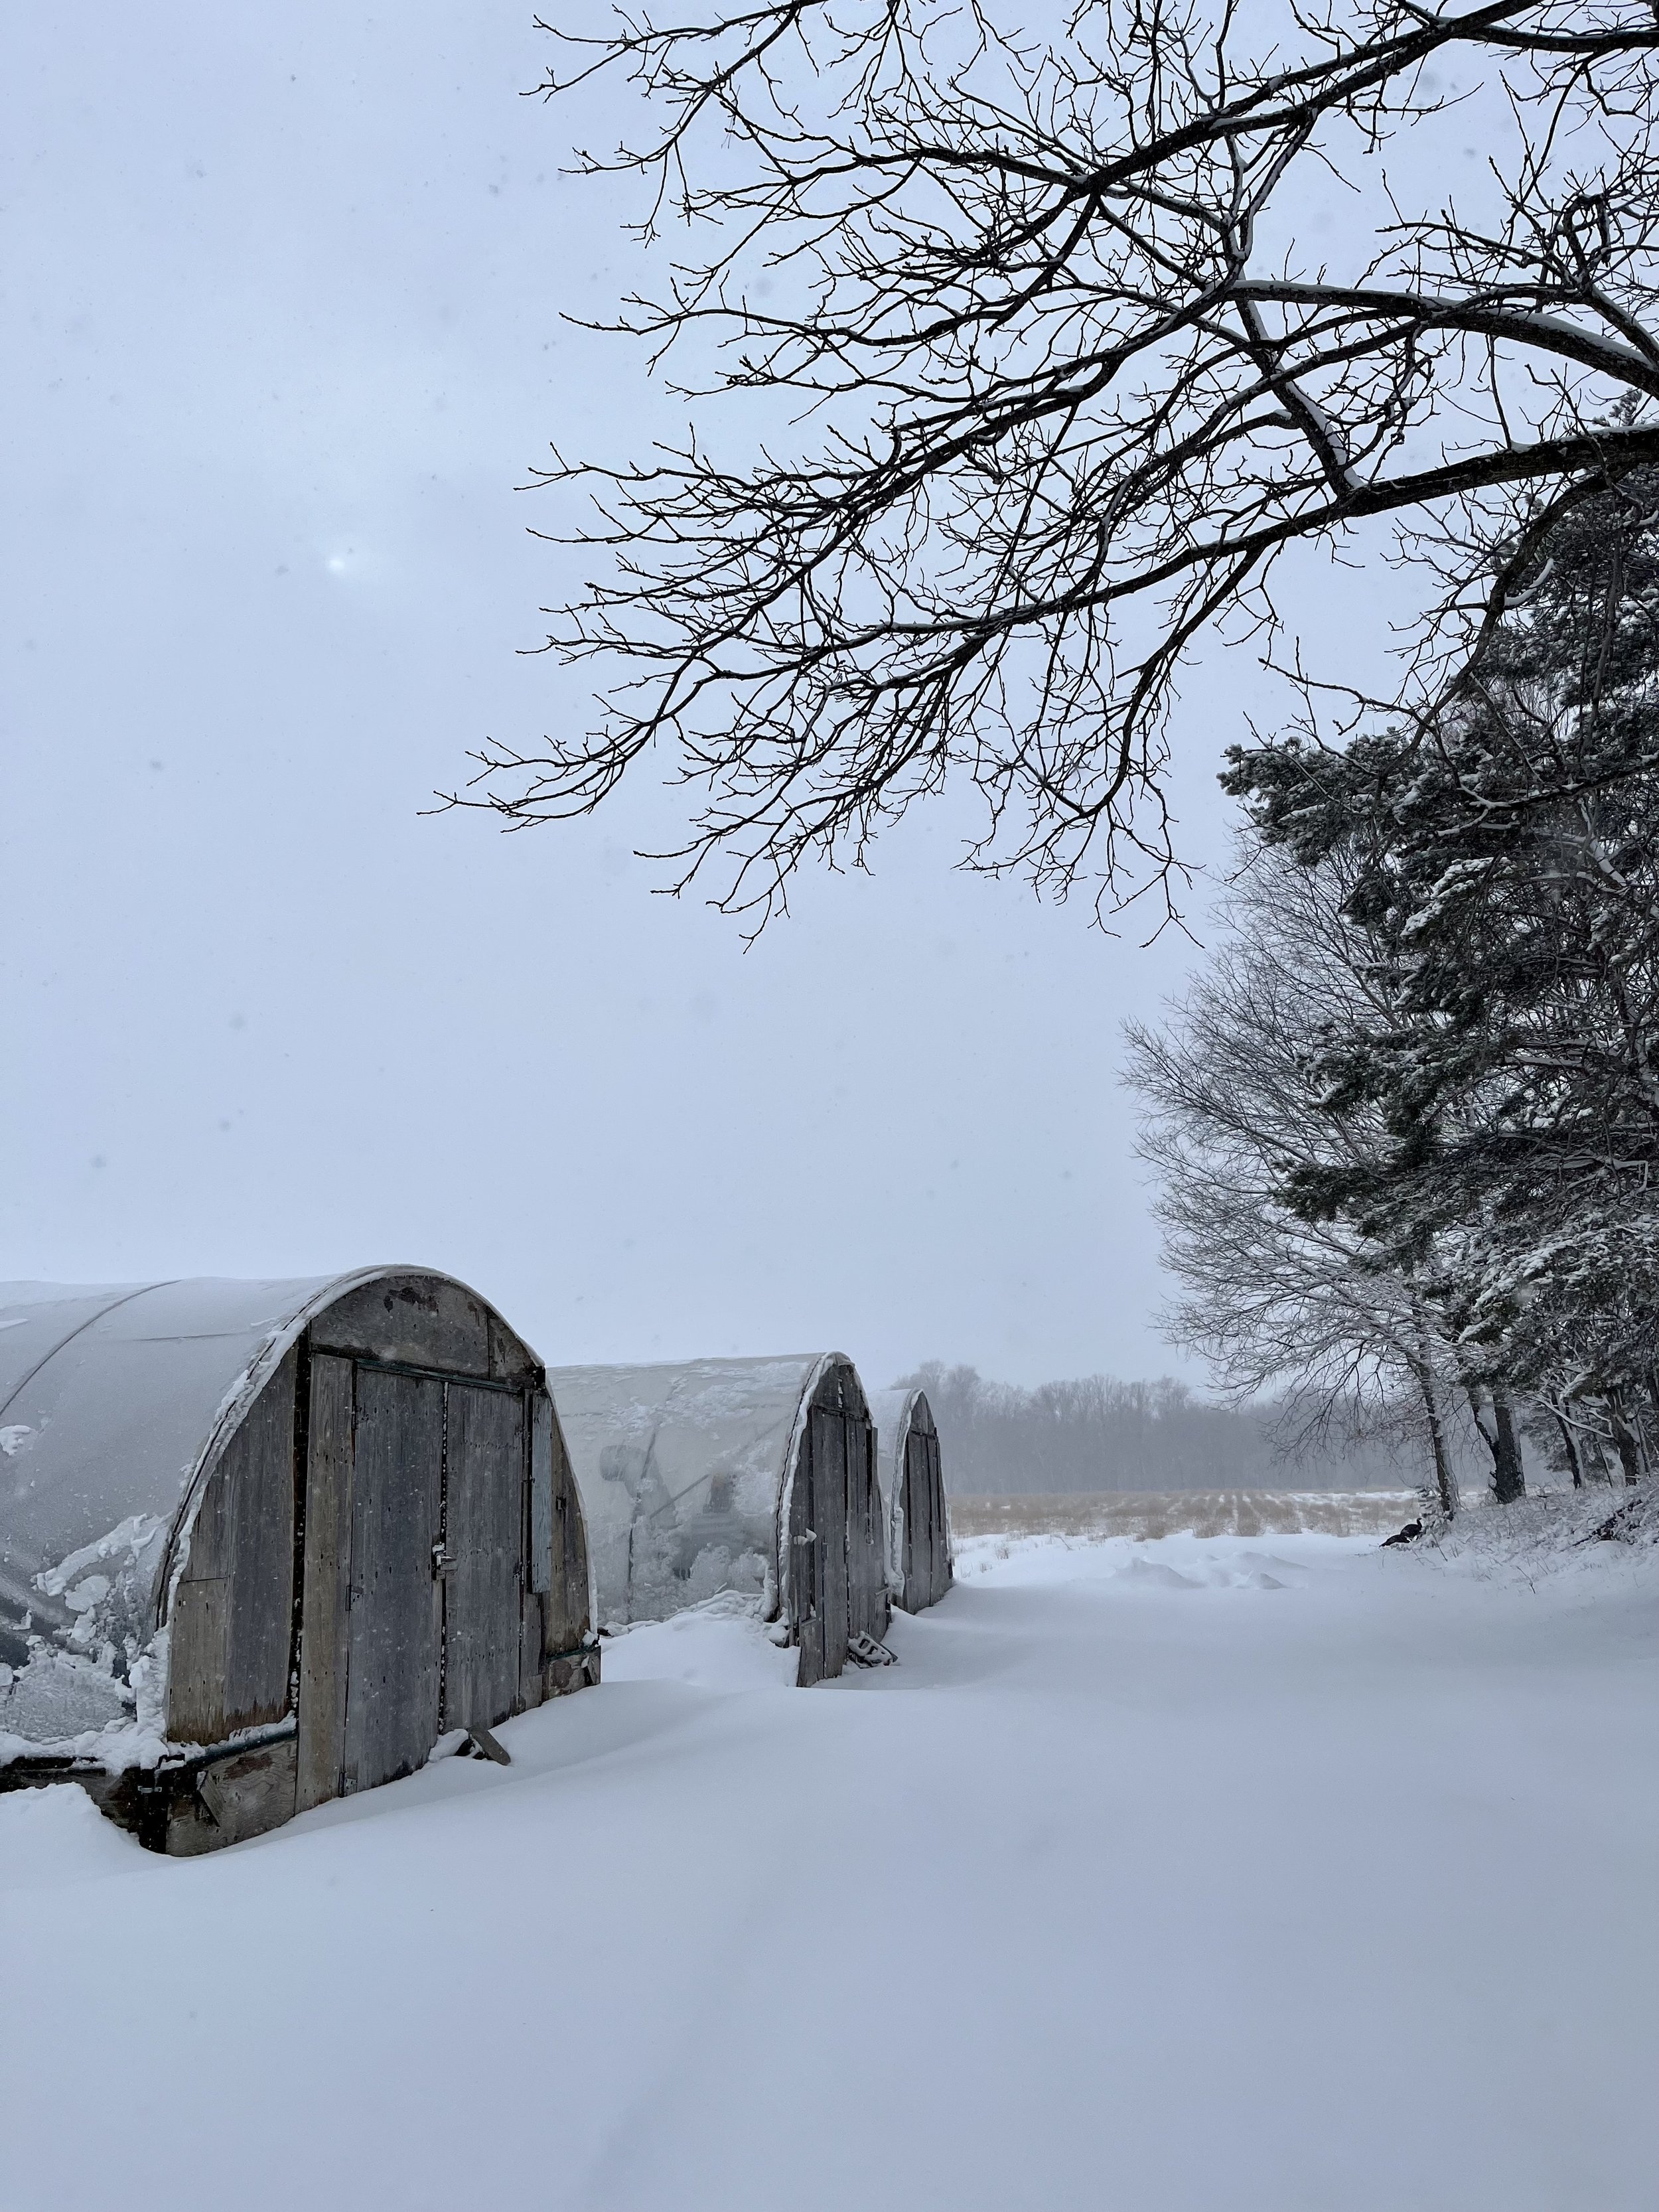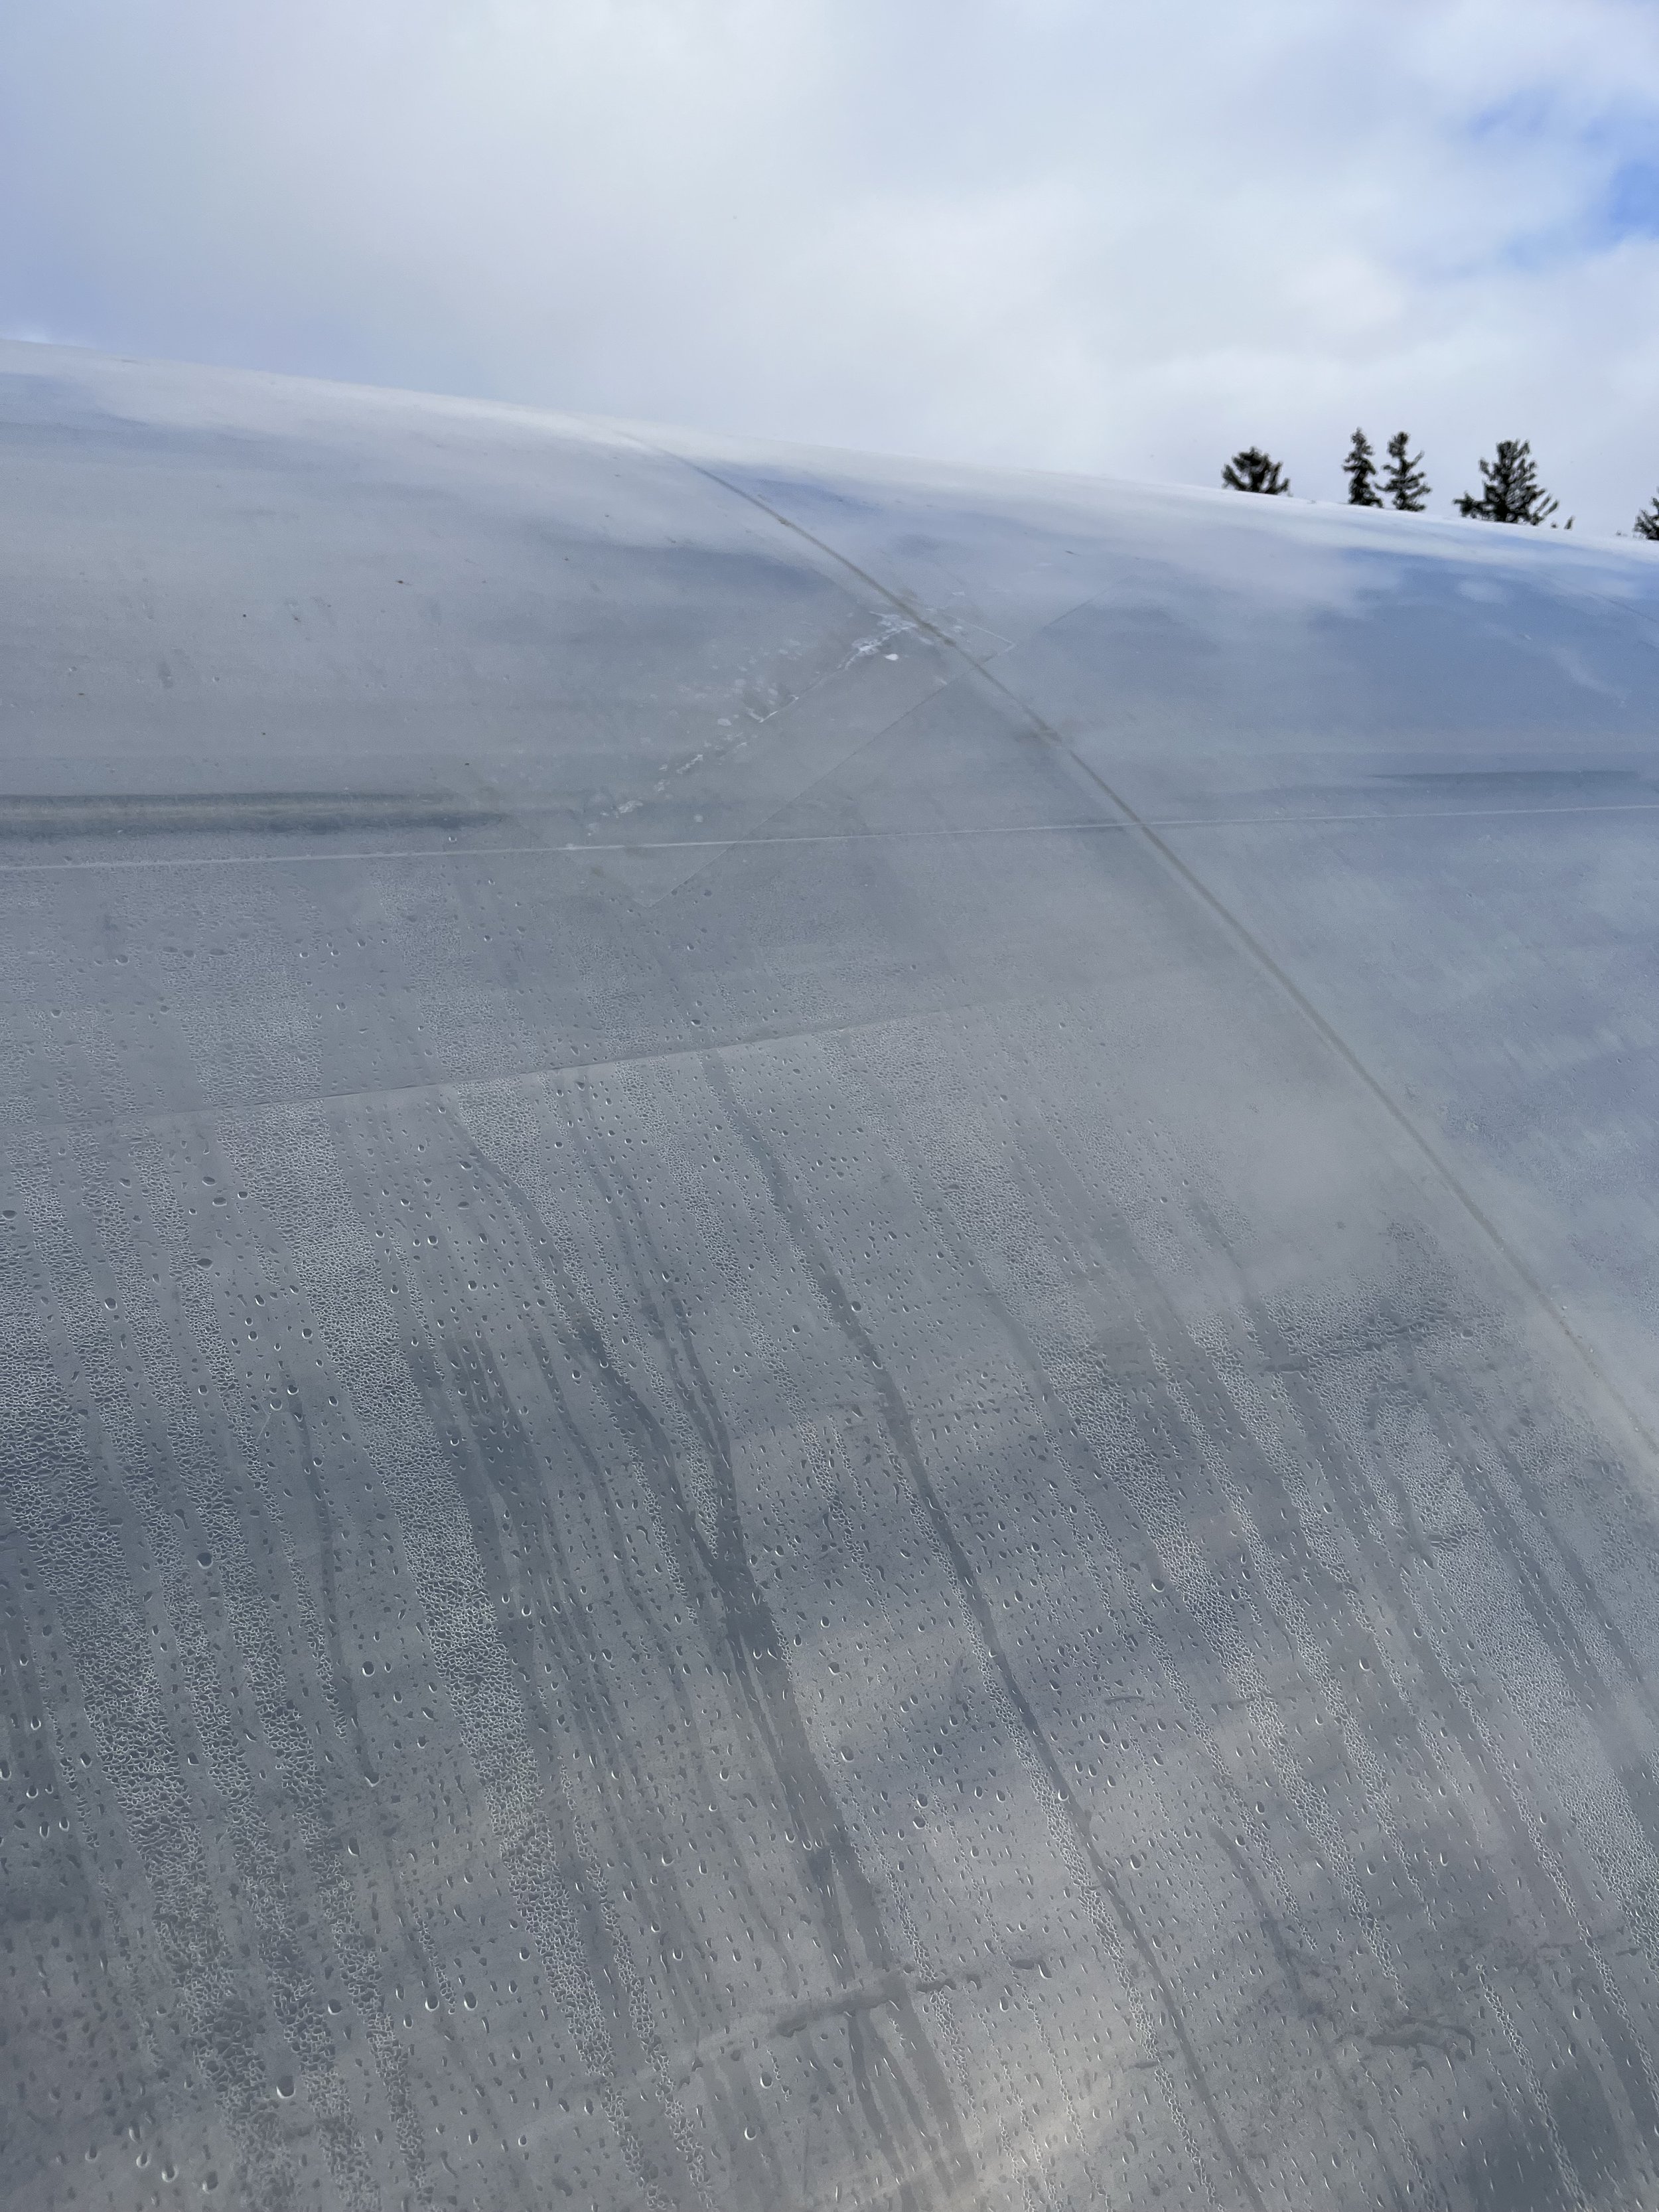
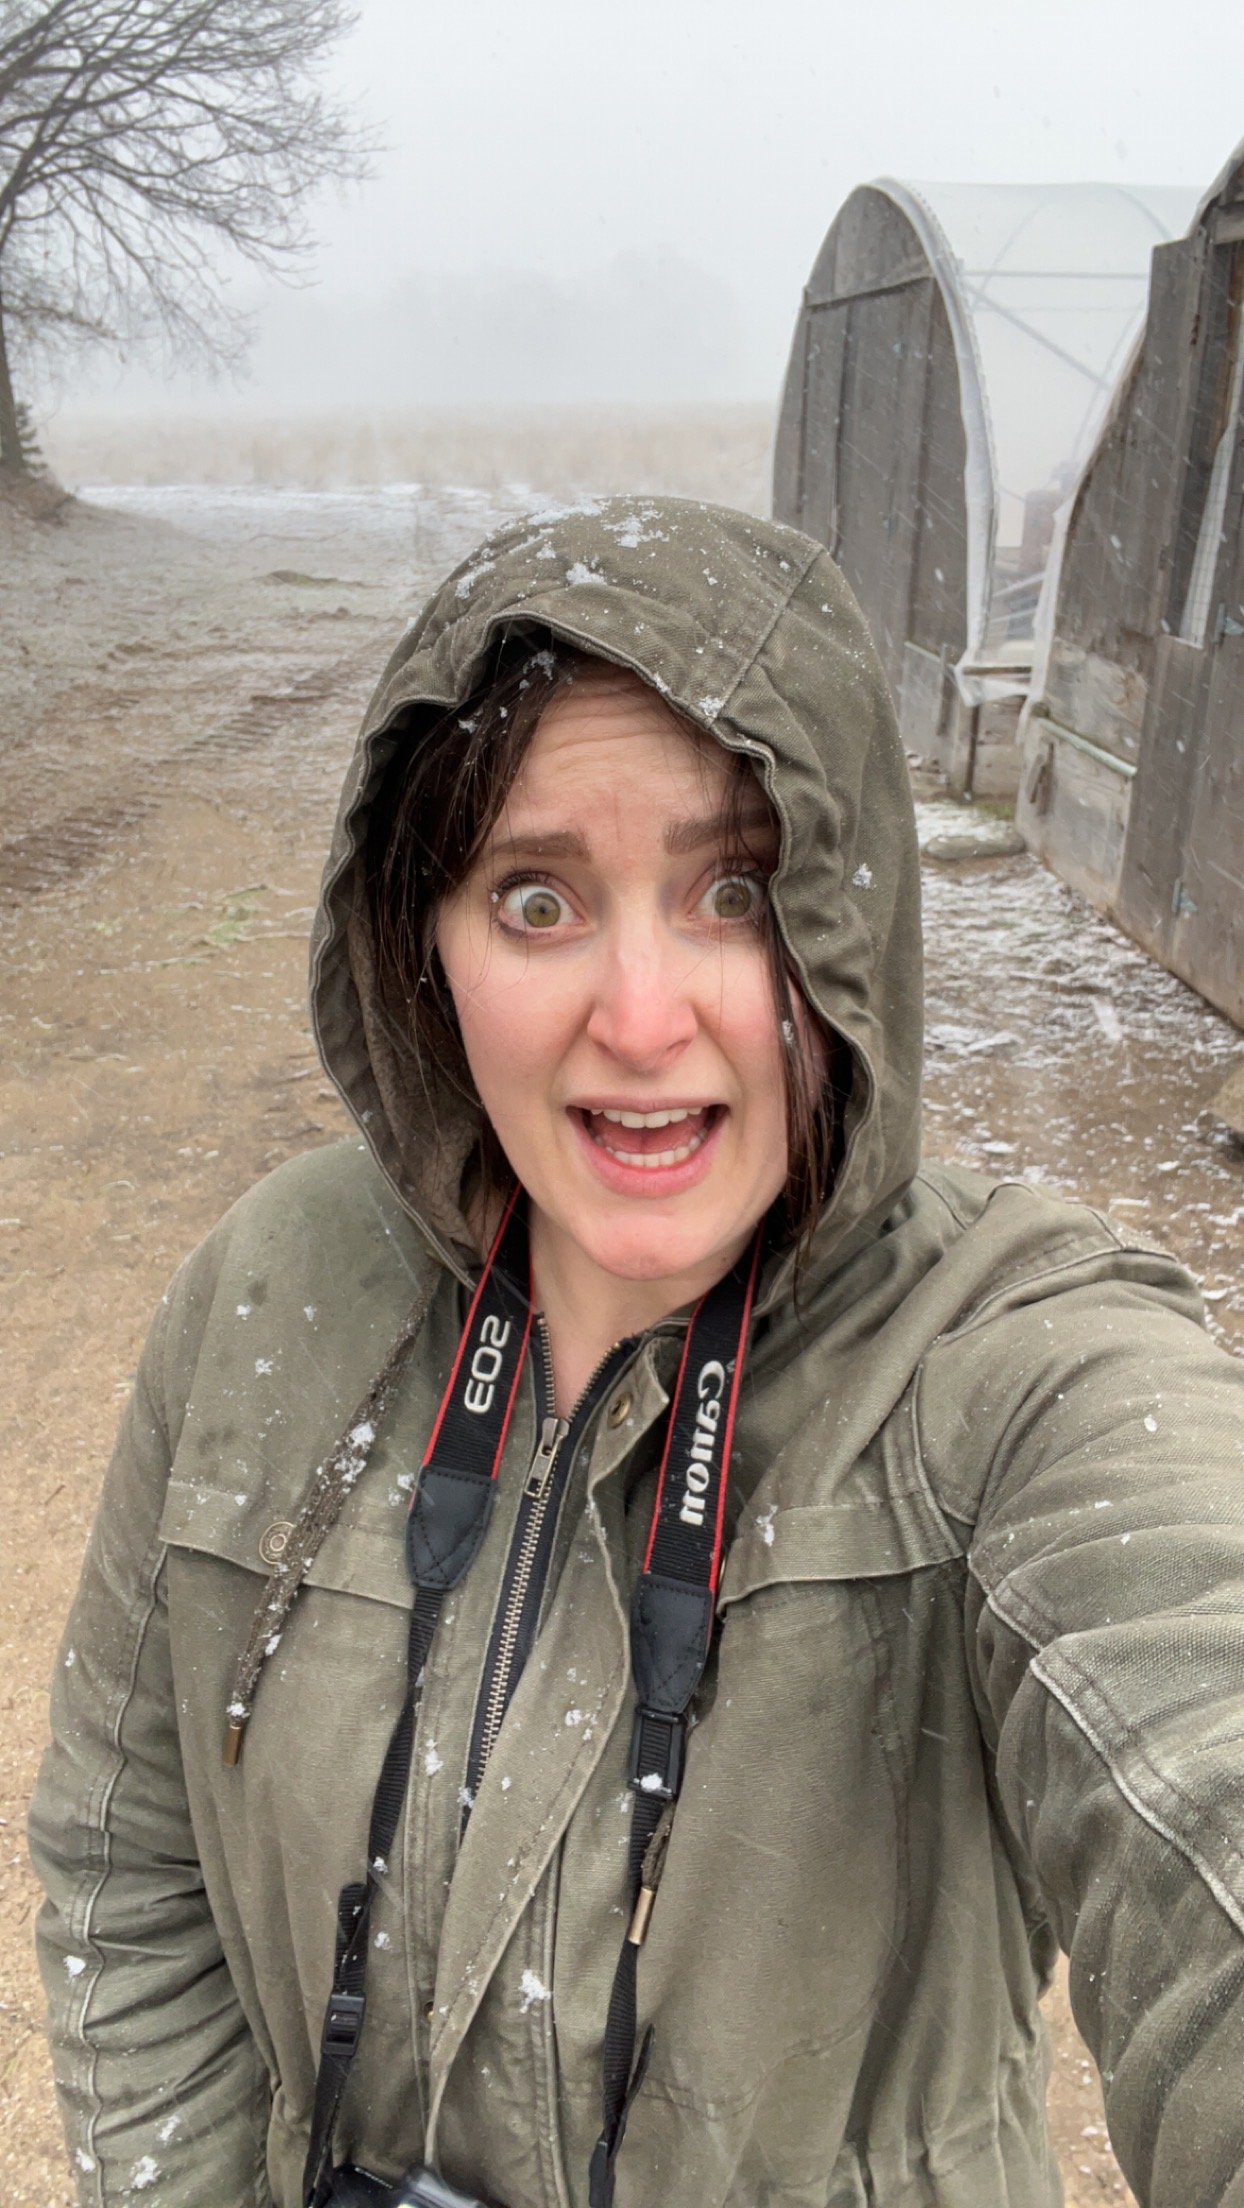
The weather around here continues to be pretty wild. One minute the ground is covered in snow, the next it’s pouring rain, and then the sun is shining. And now? It’s snowing again! Thankfully it seems like this snow isn’t going to stick around for long, but it certainly makes our day to day a little less enjoyable.

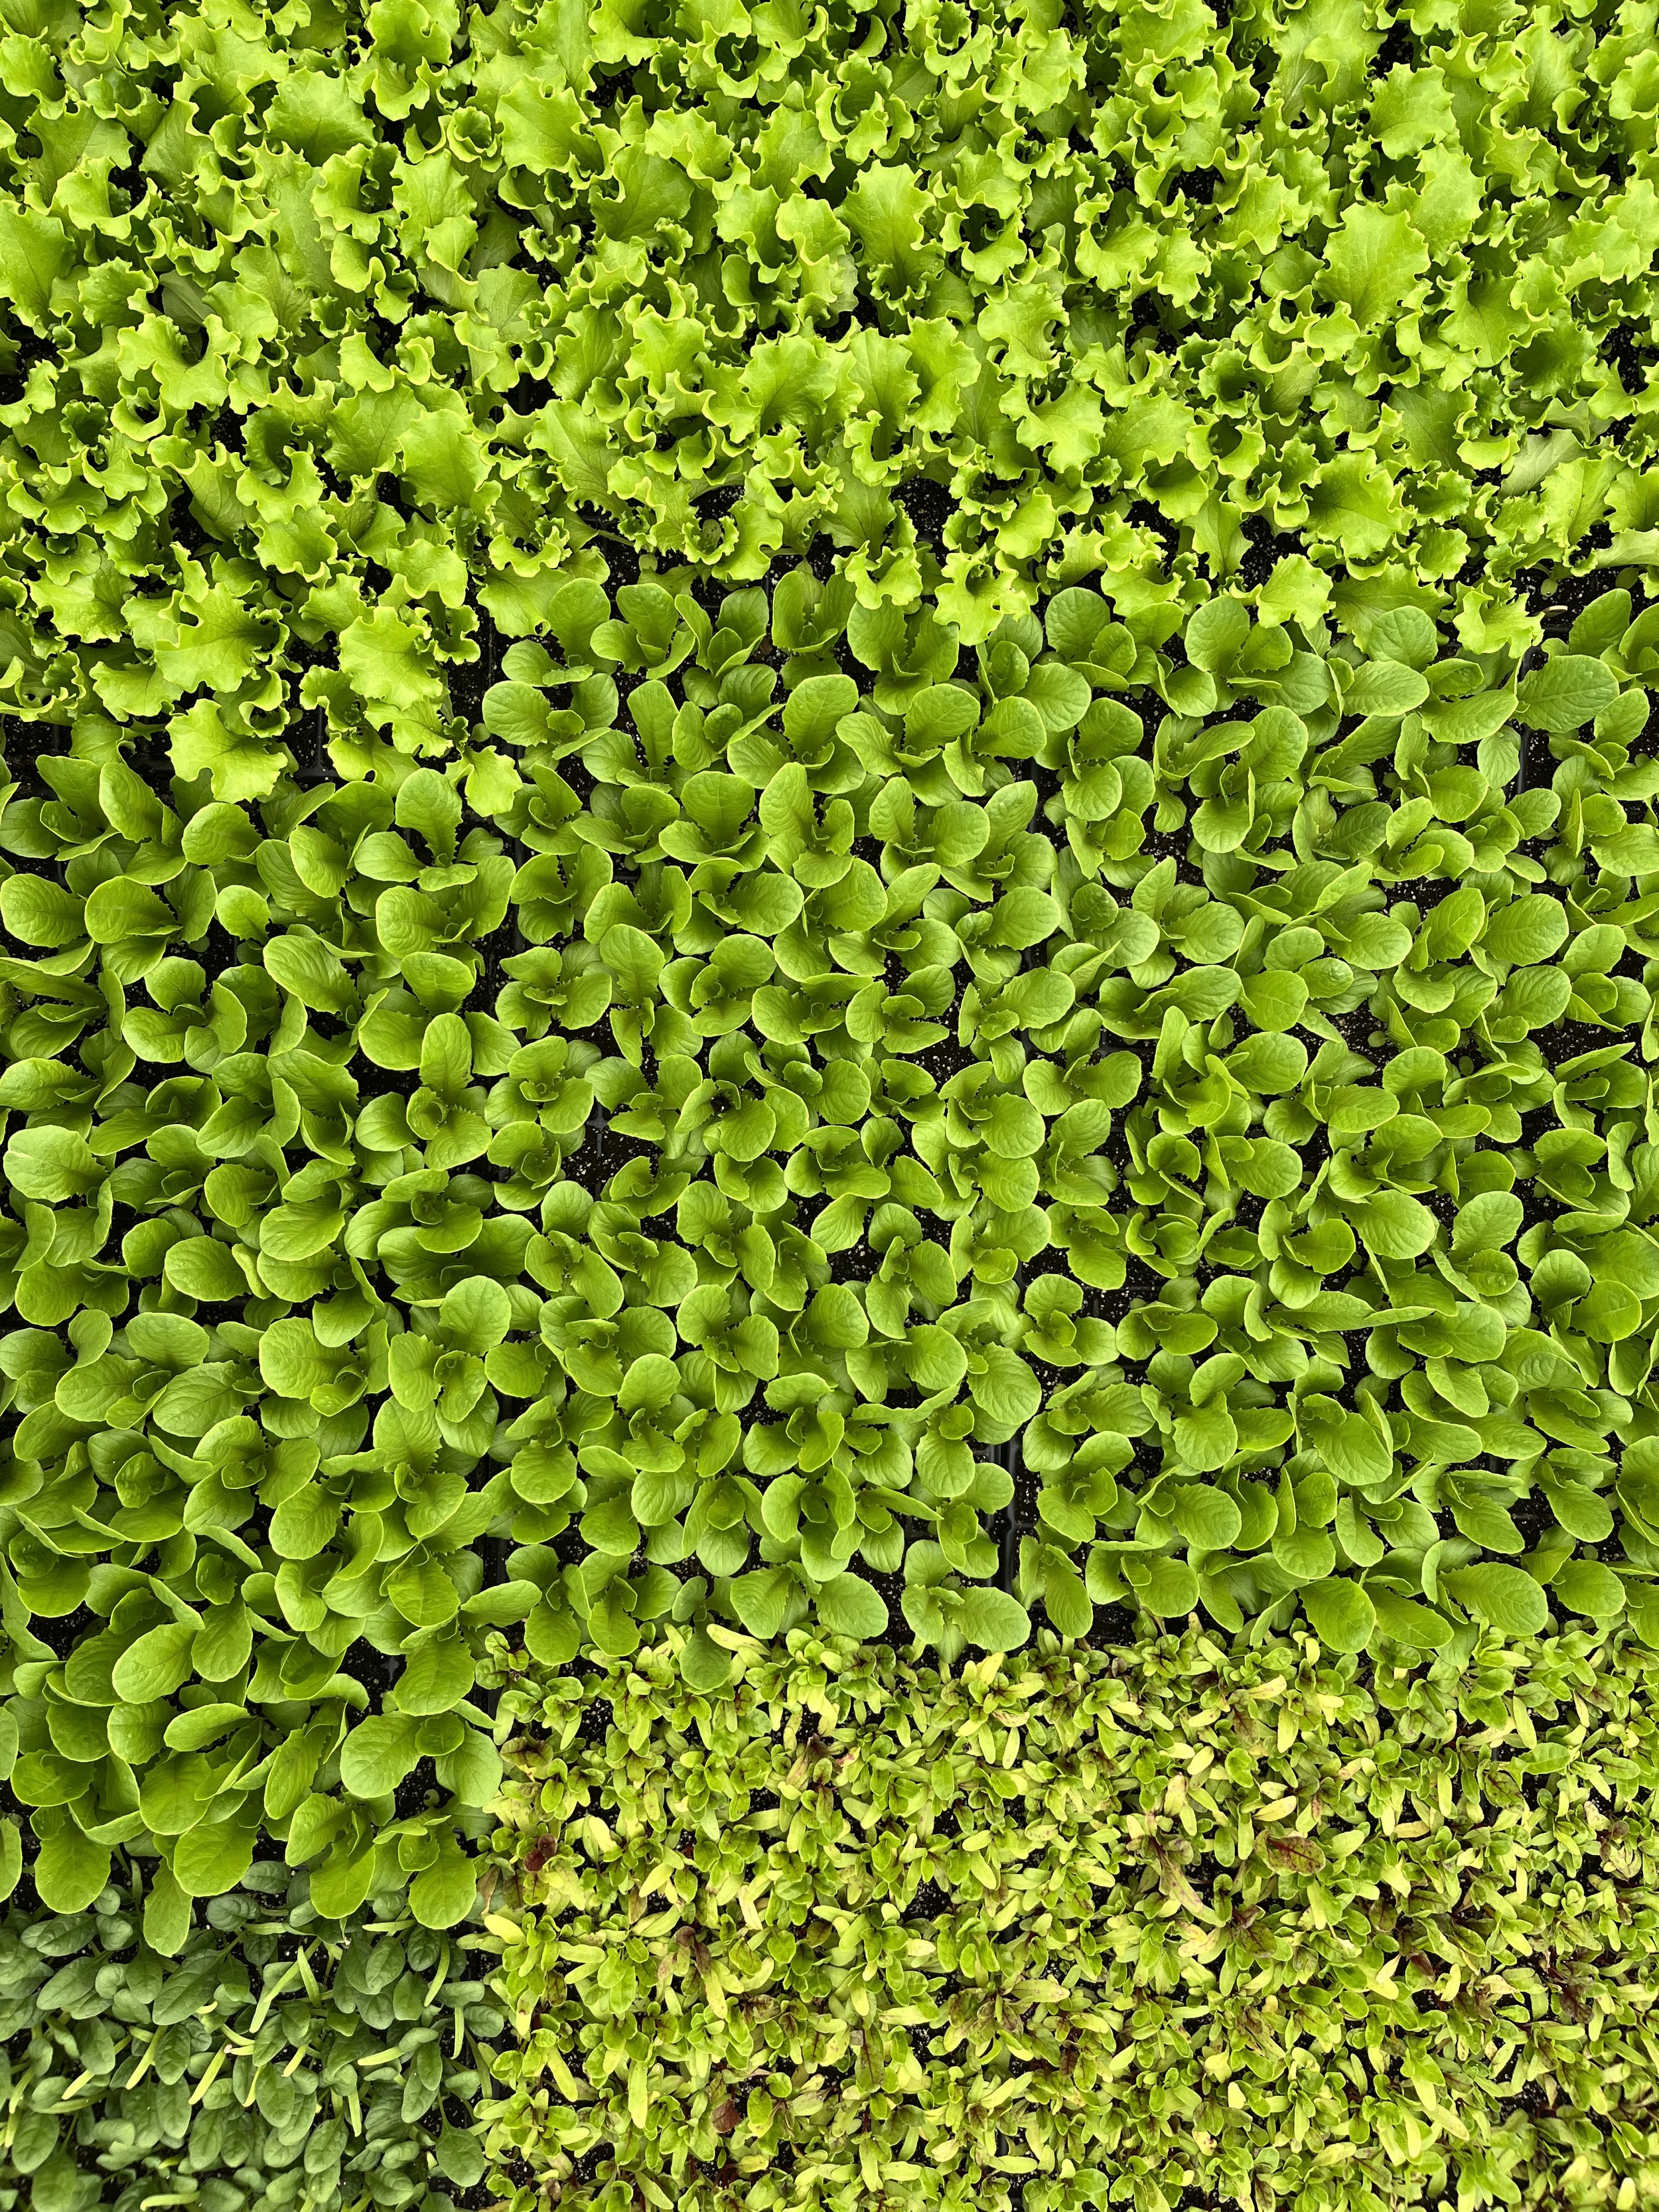
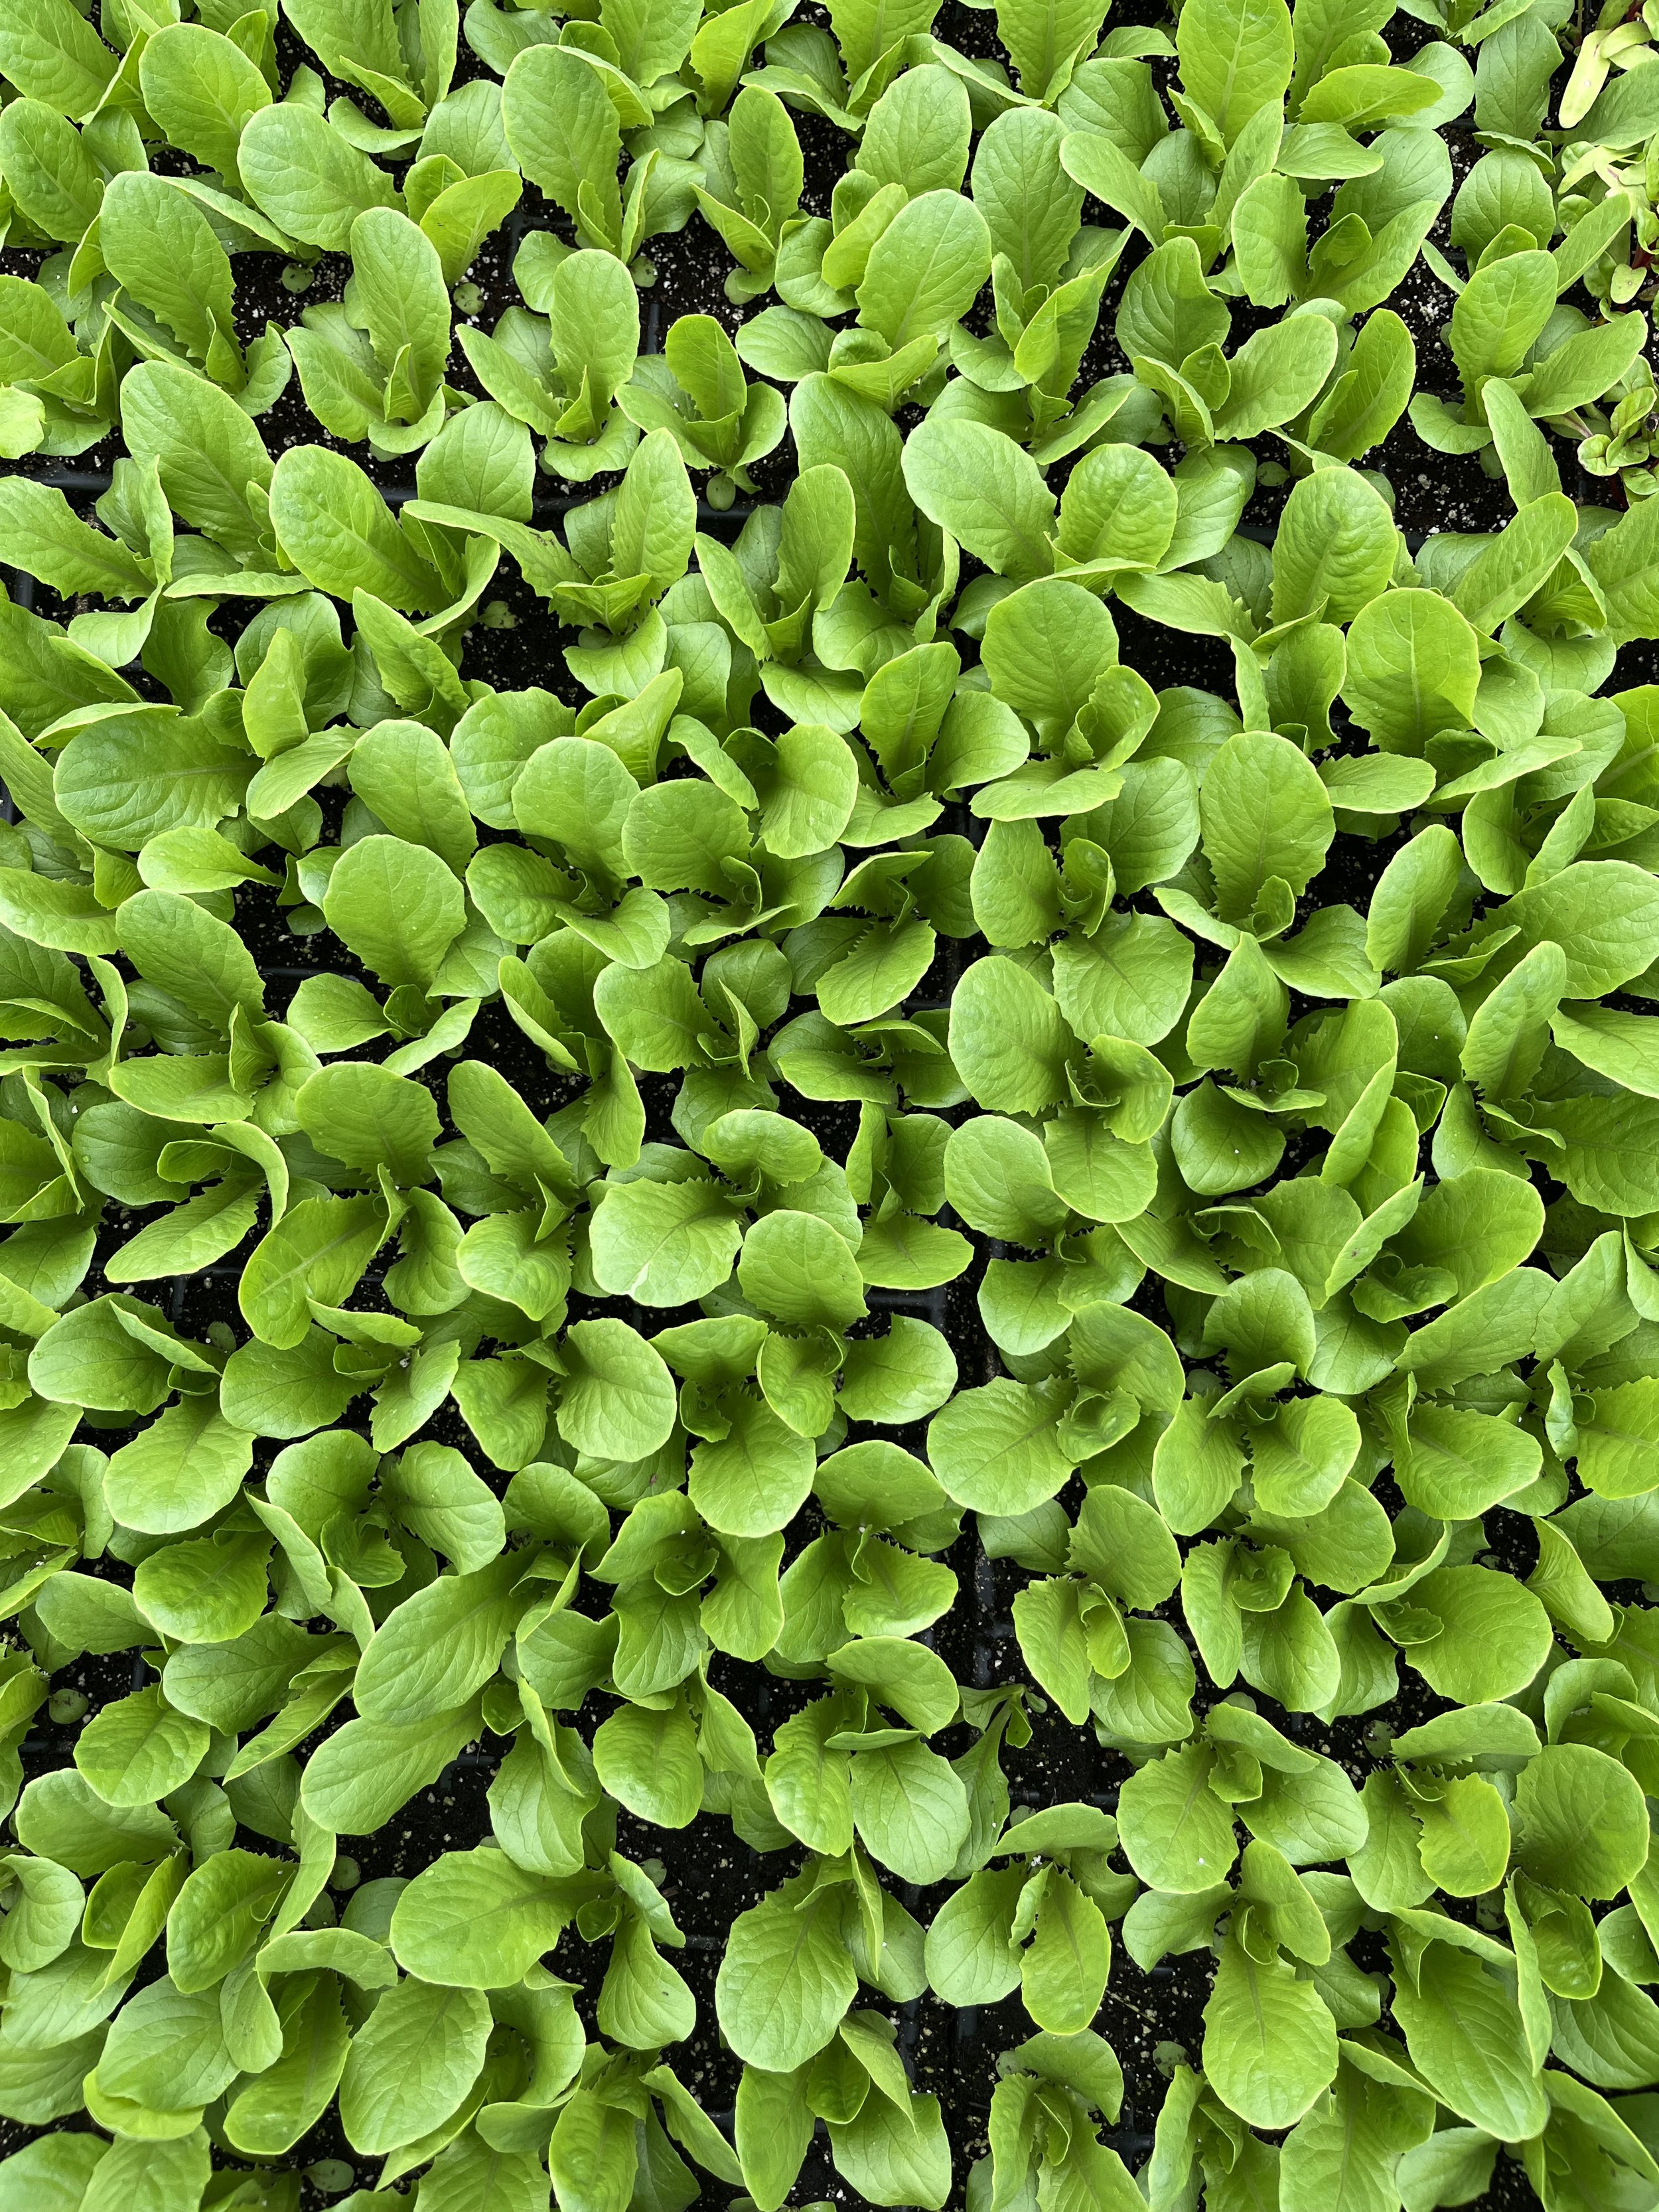
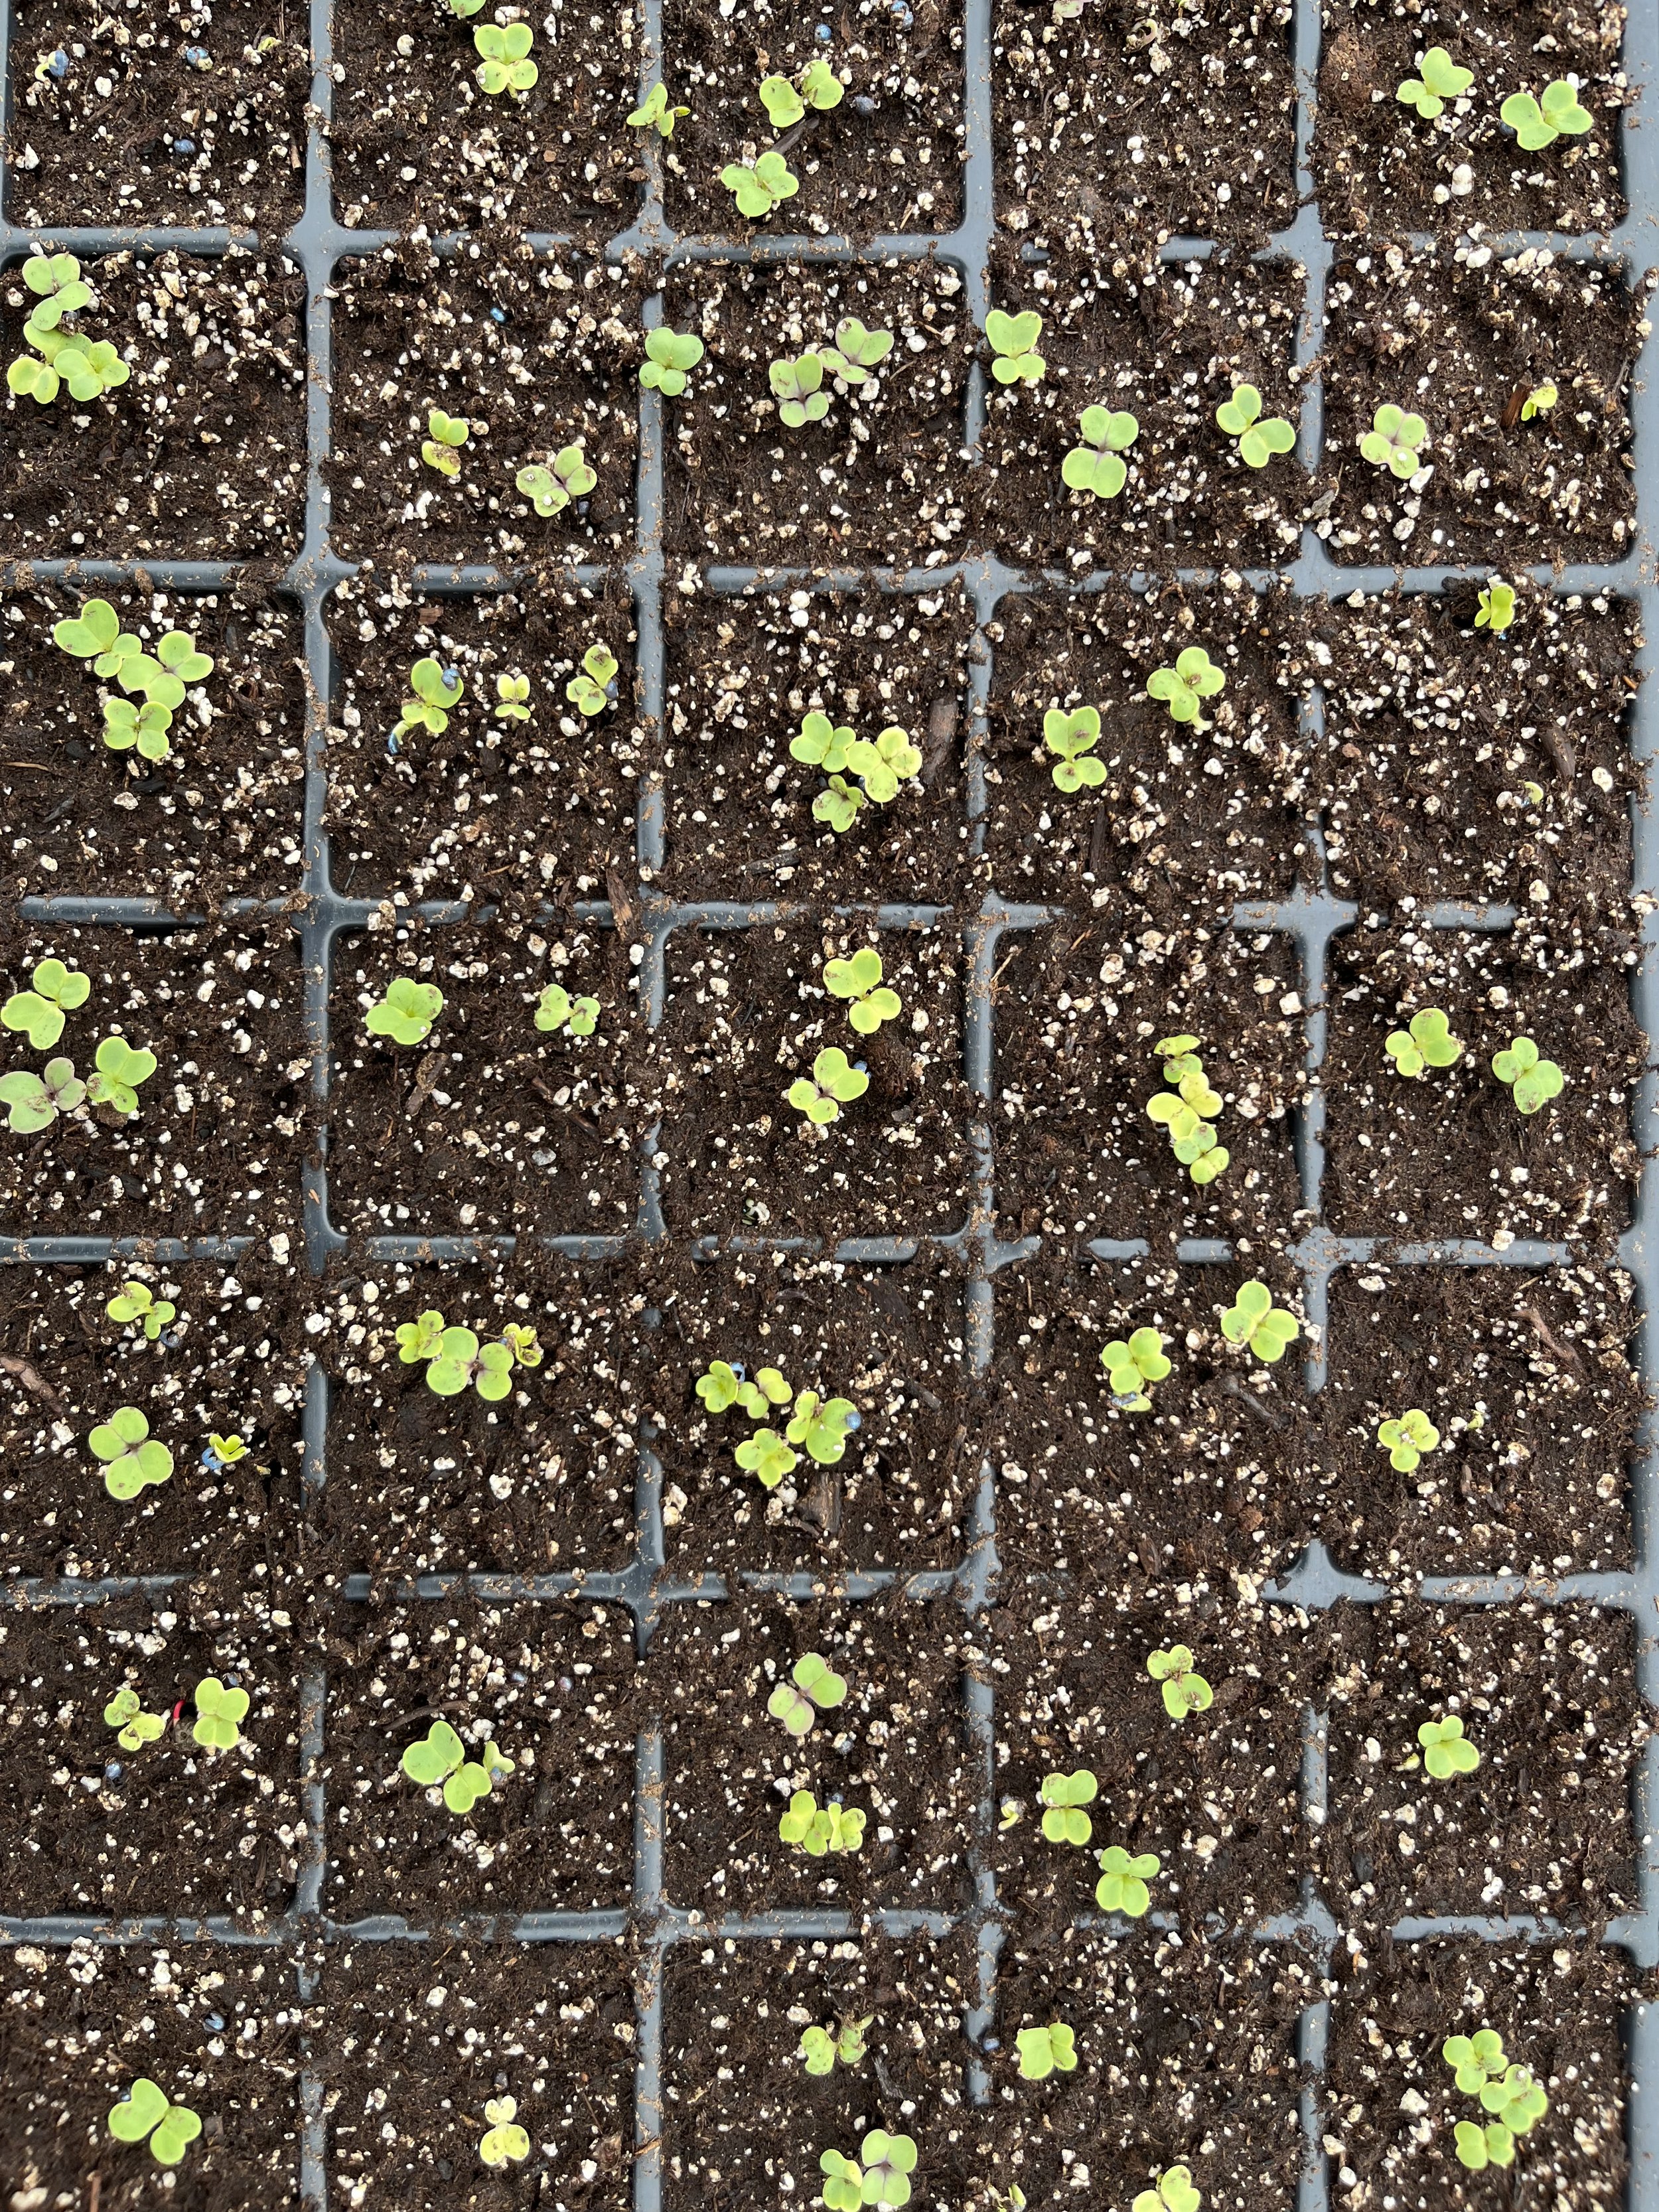
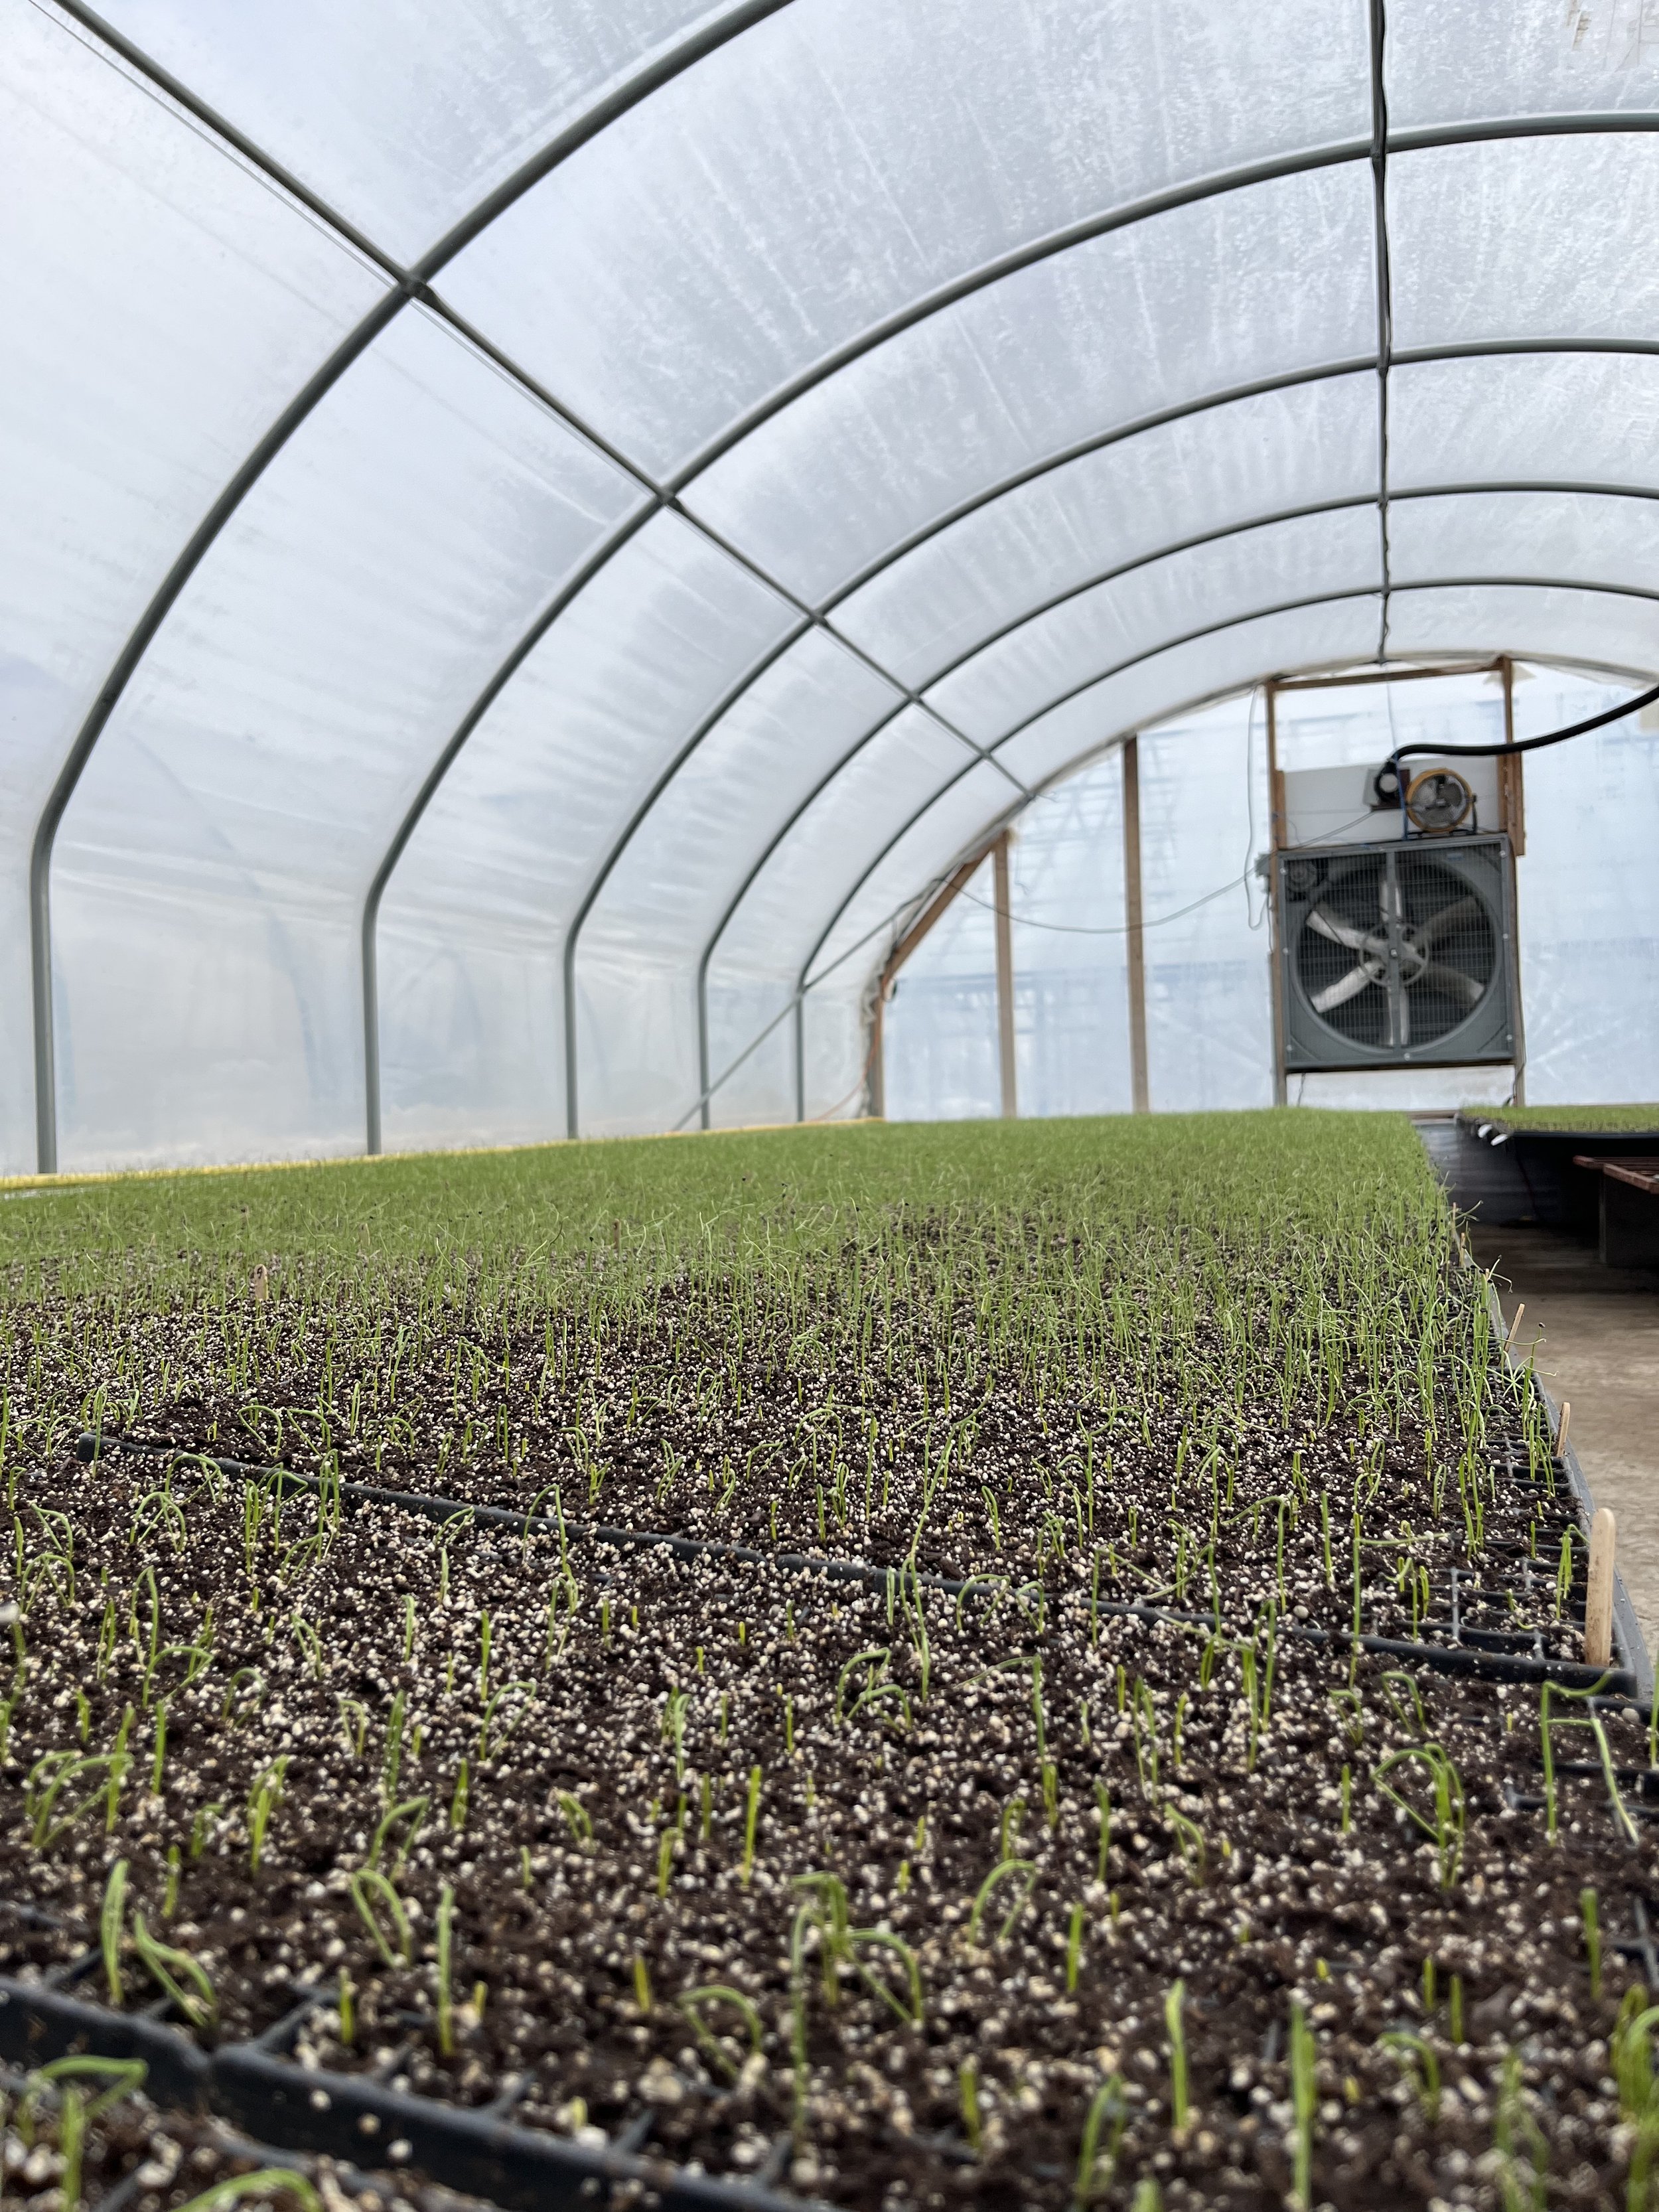
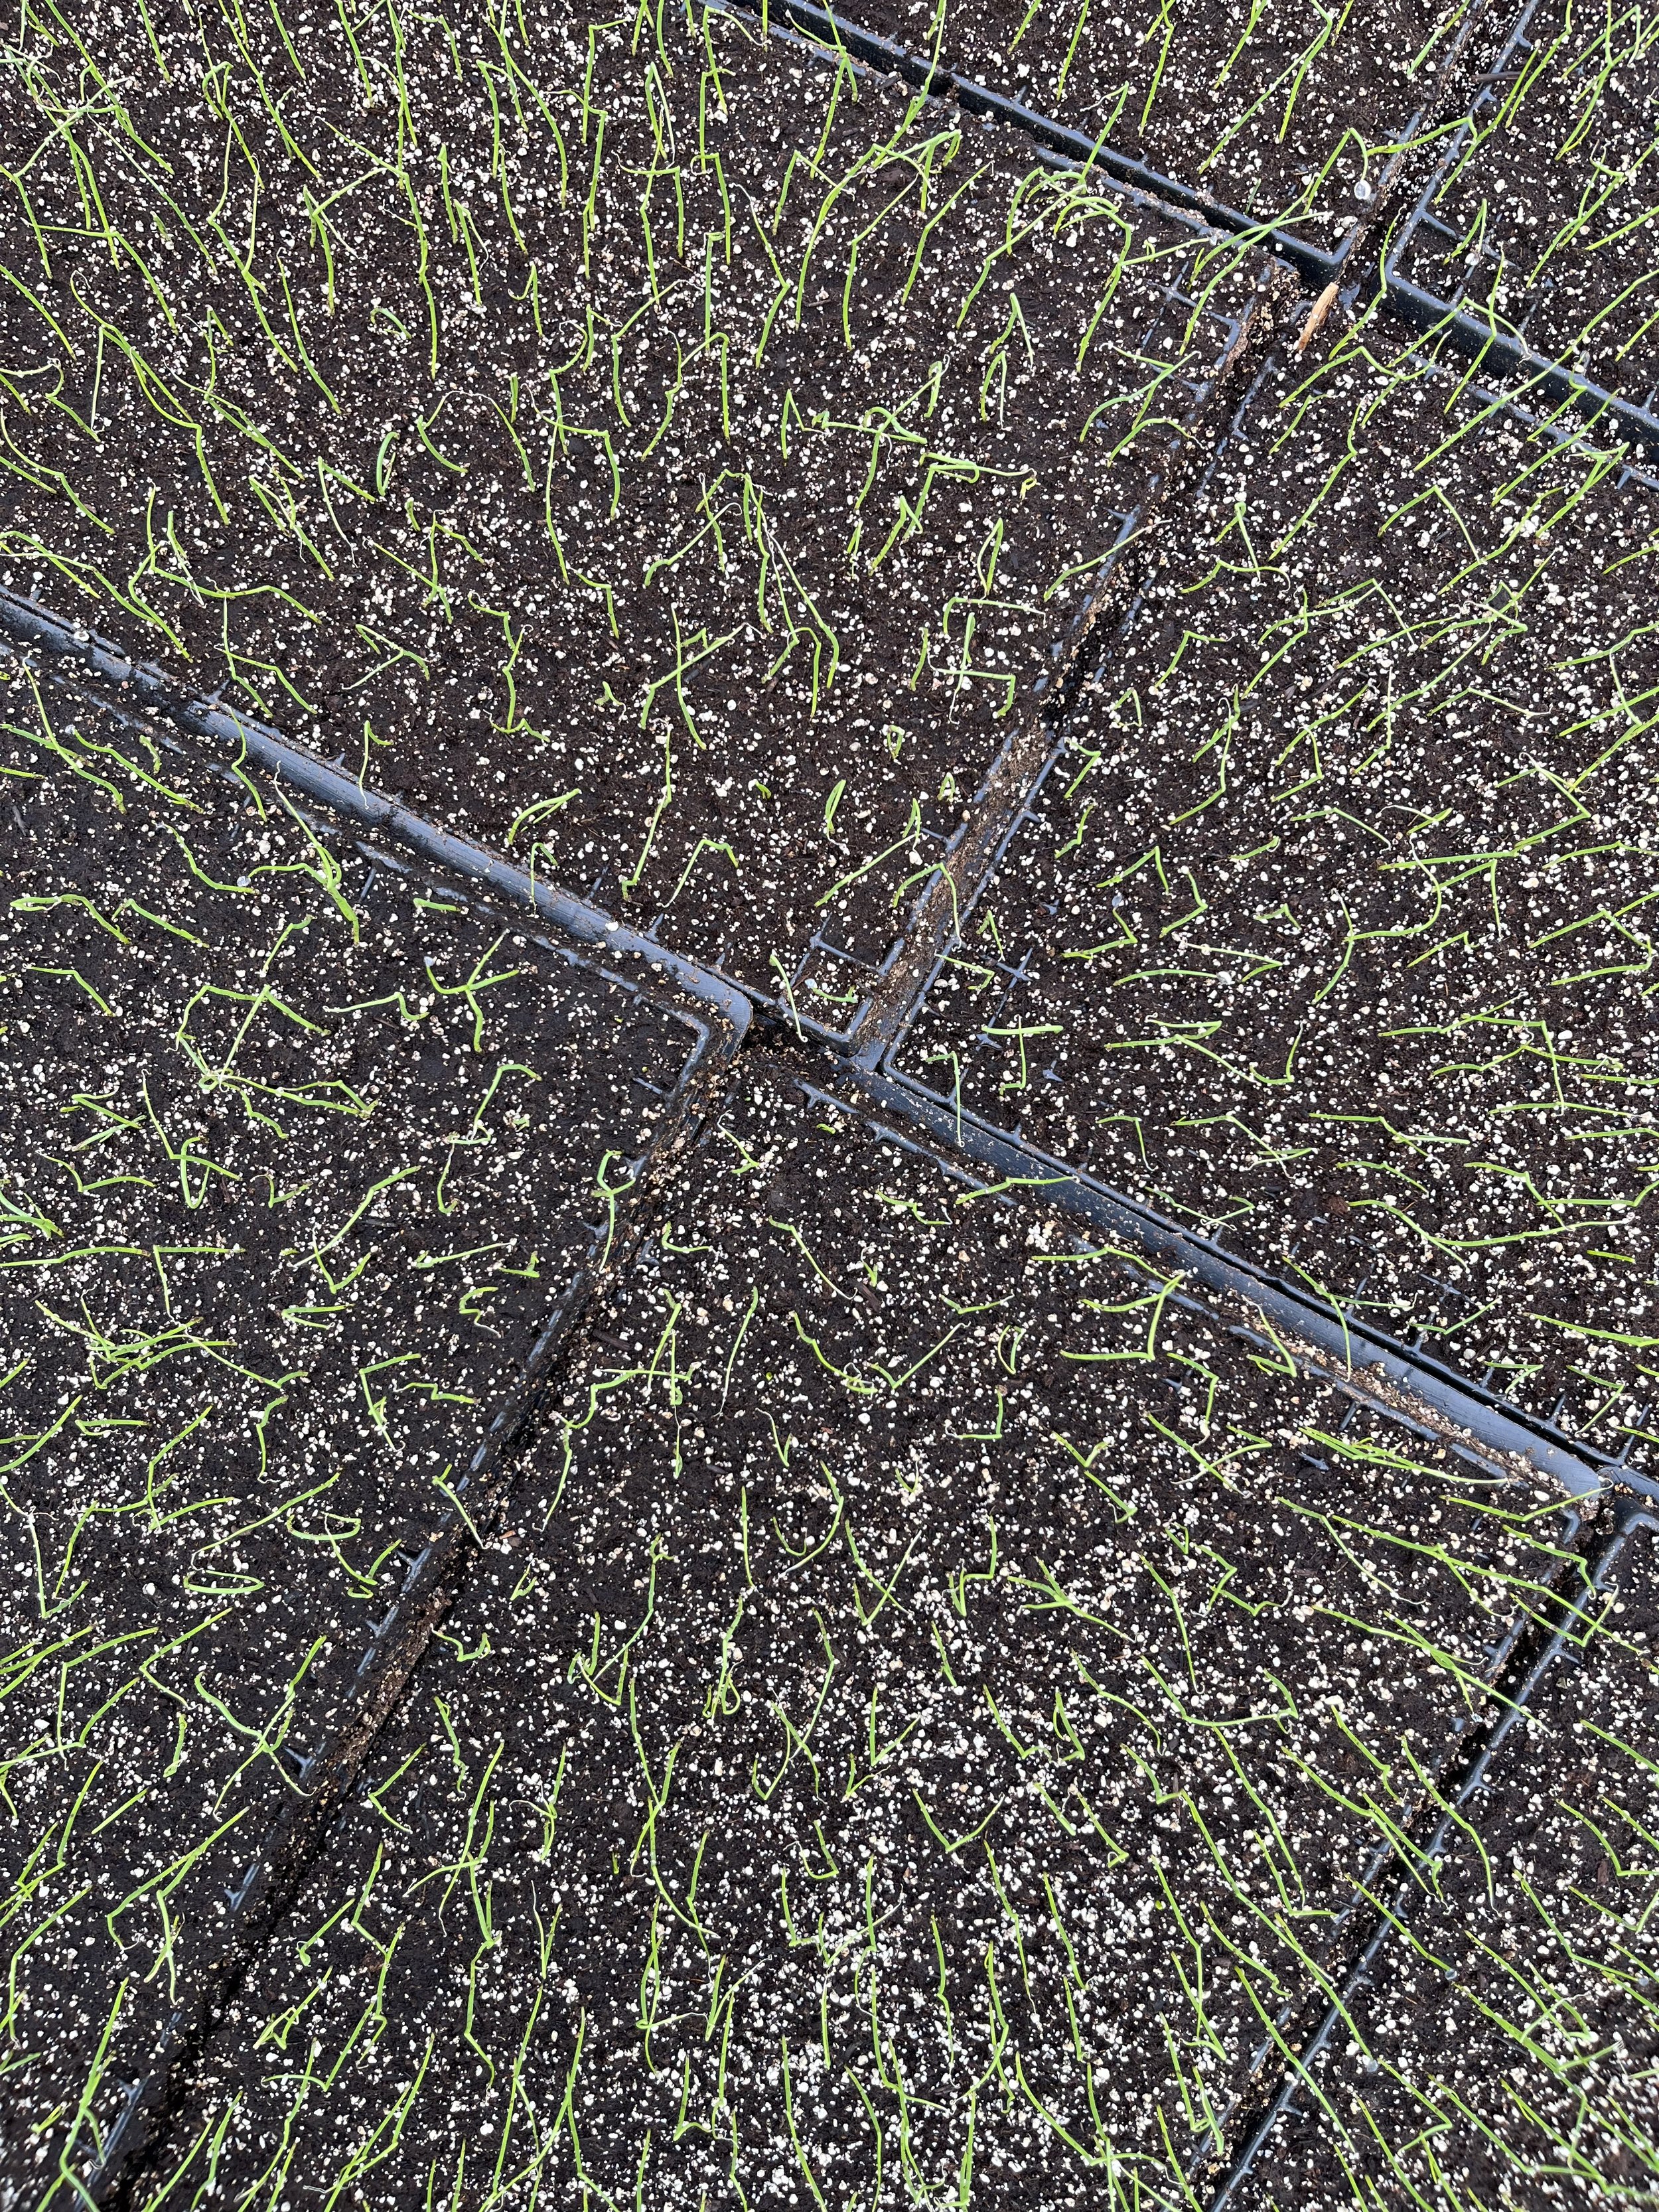
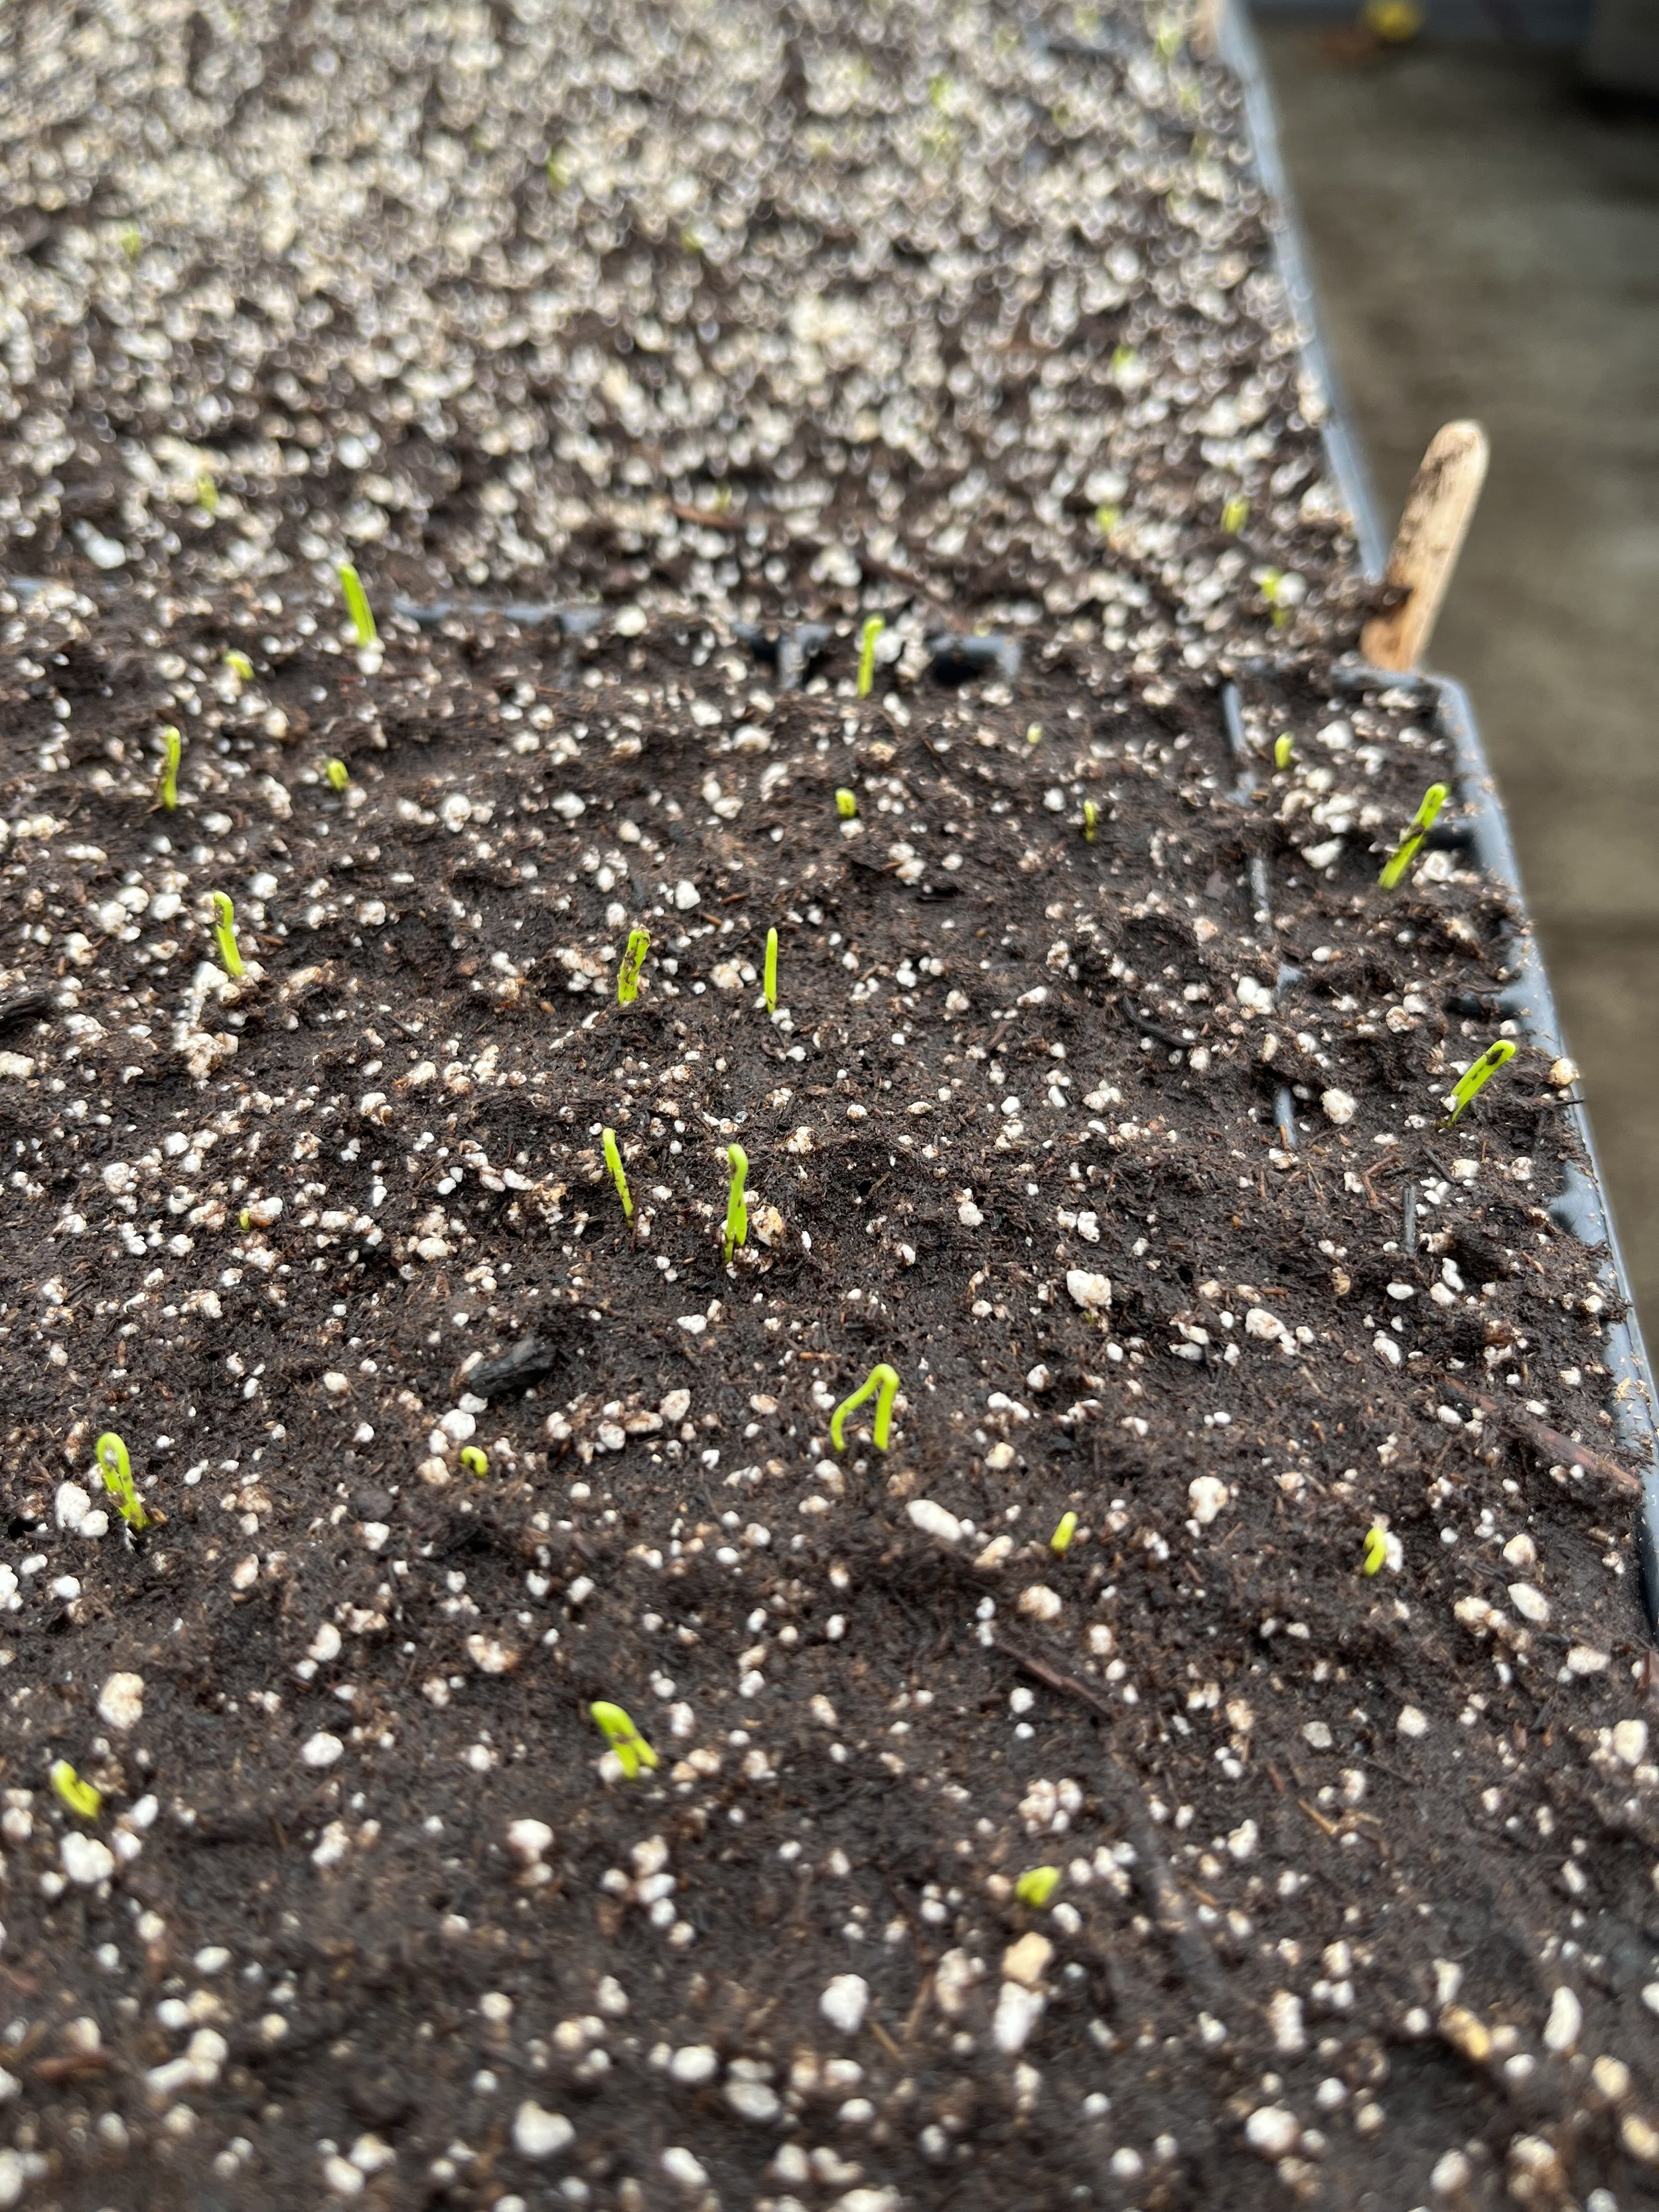
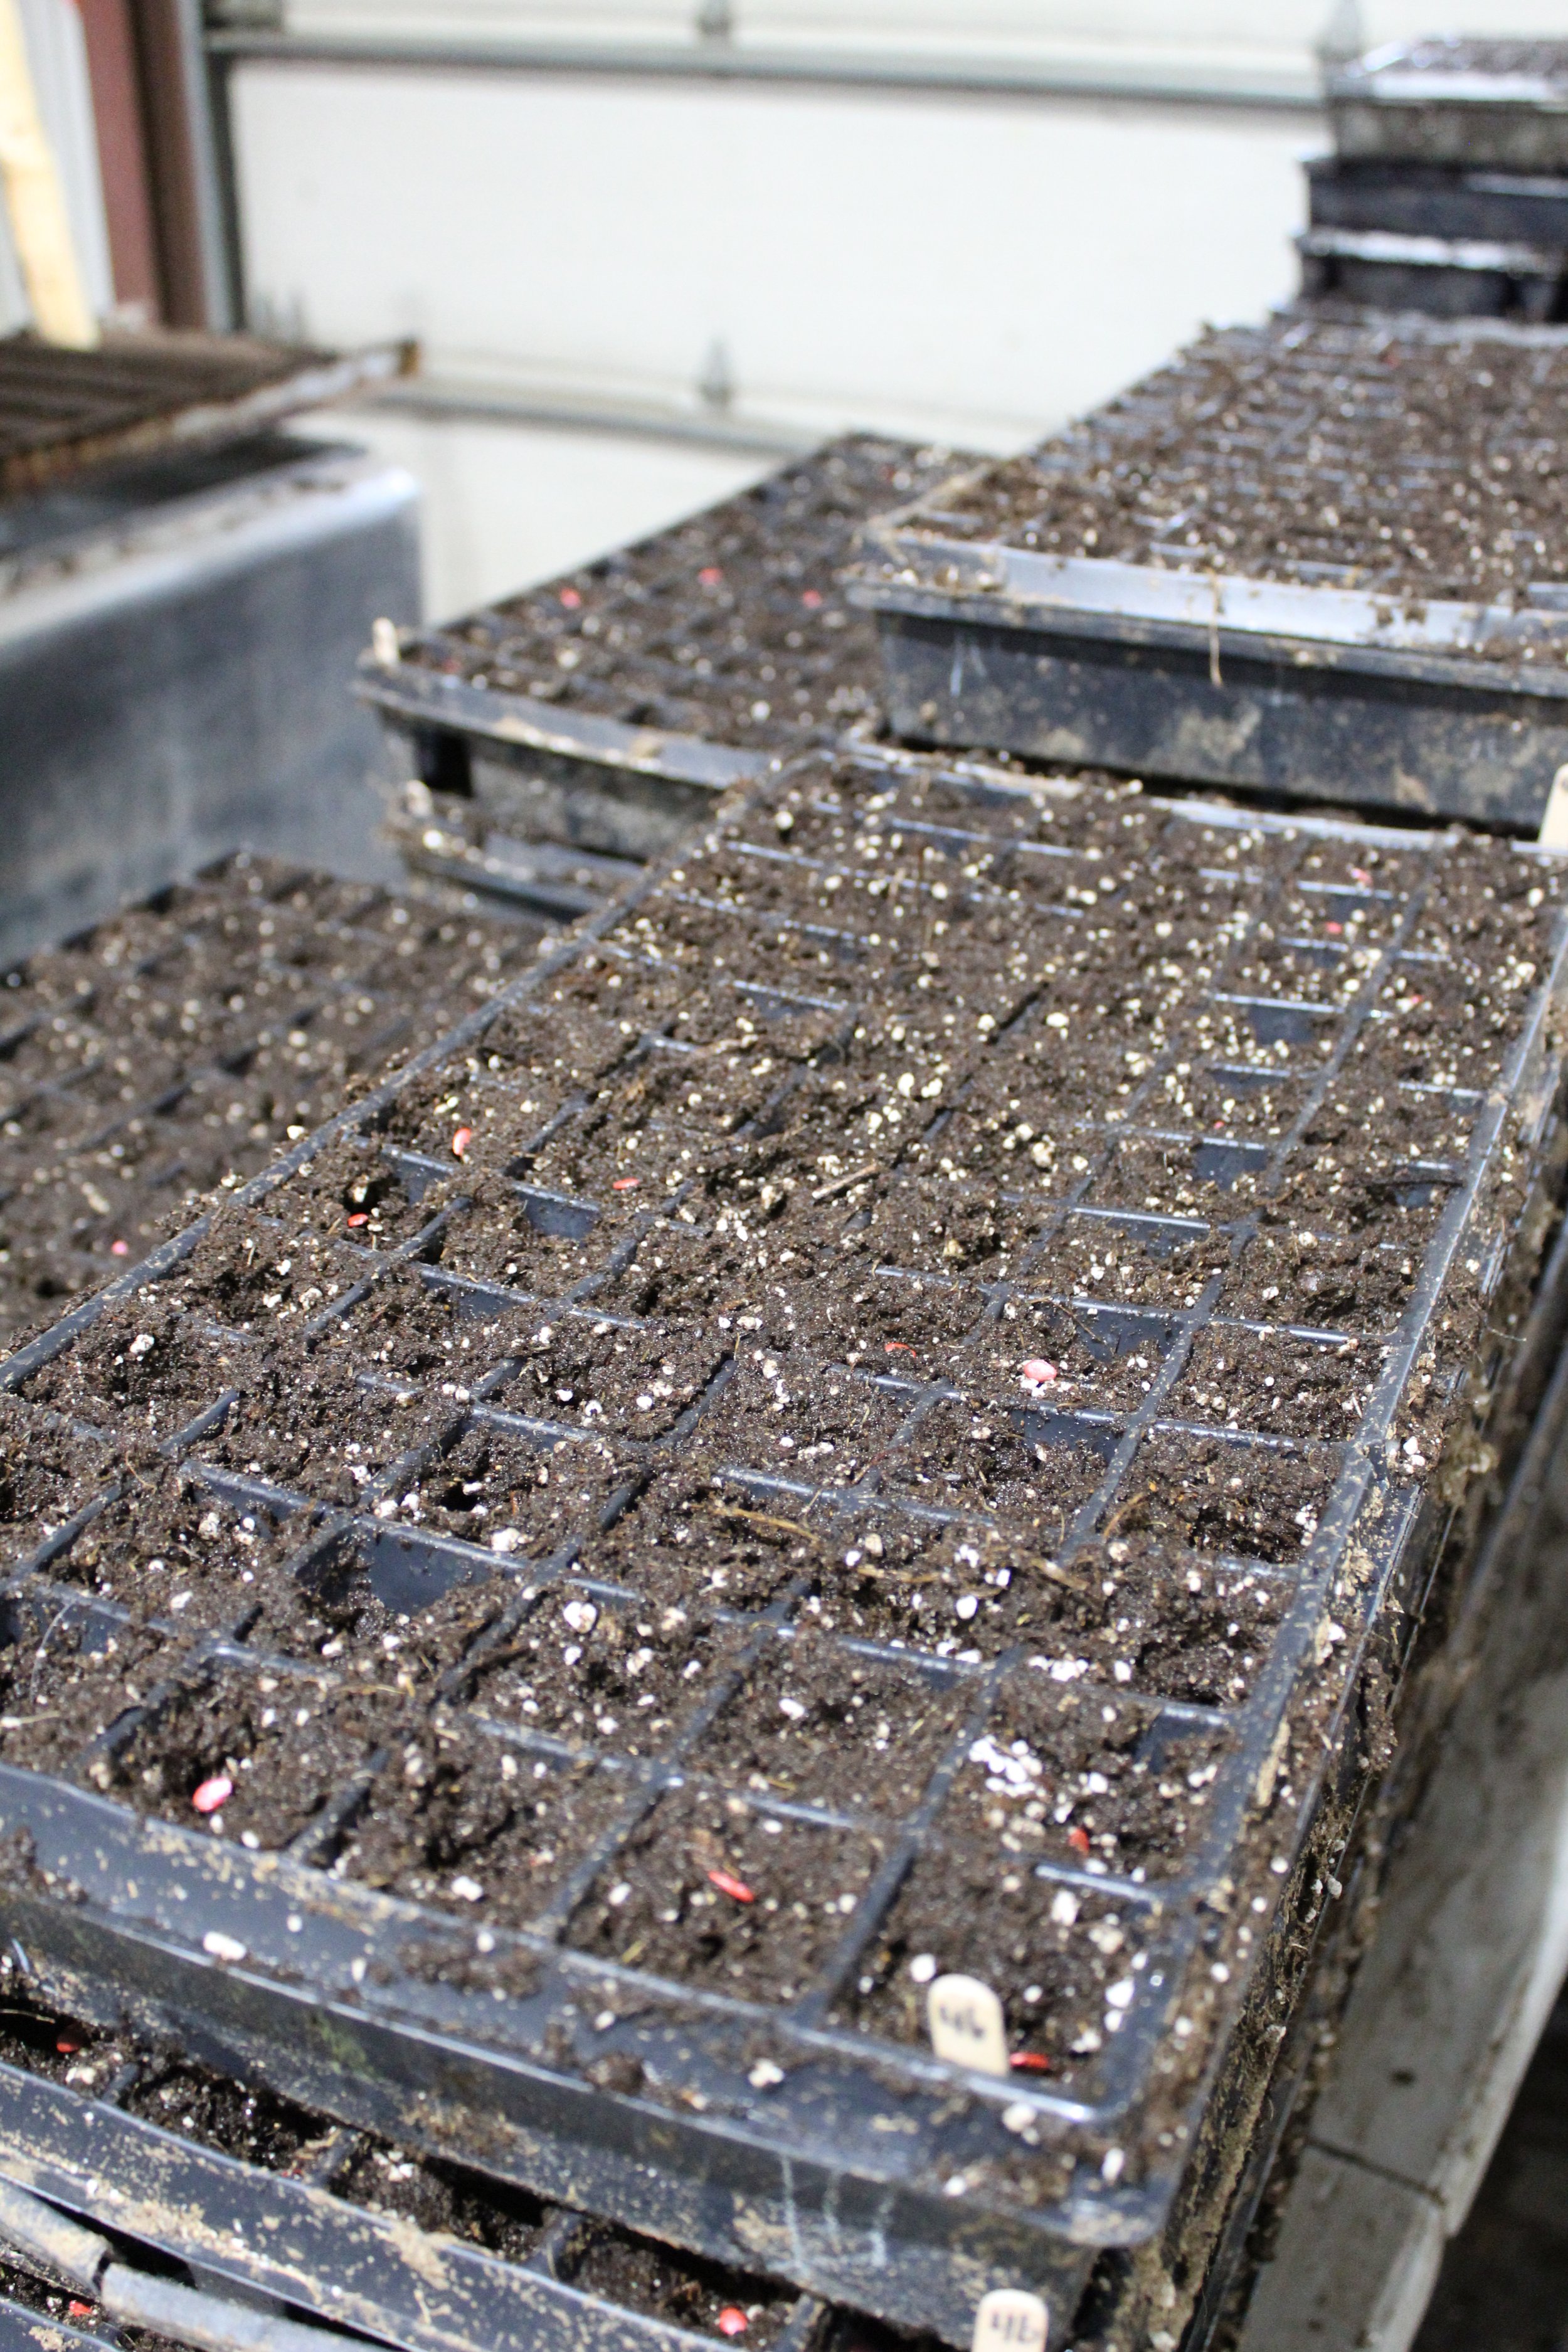
As we mentioned last week, our heated greenhouse has been slowly filling up with trays of seedlings. And as of today, it’s at capacity! So that means it’s time for transplanting. We’ll be shifting the furthest-along greens and herbs out to the cold frame greenhouses within the next day or so. After that, new trays filled with soil and seeds will take their place. This process of seeding a few trays at a time, on a regular basis, is called succession planting. It helps ensure we will have a steady supply of crops throughout the season.

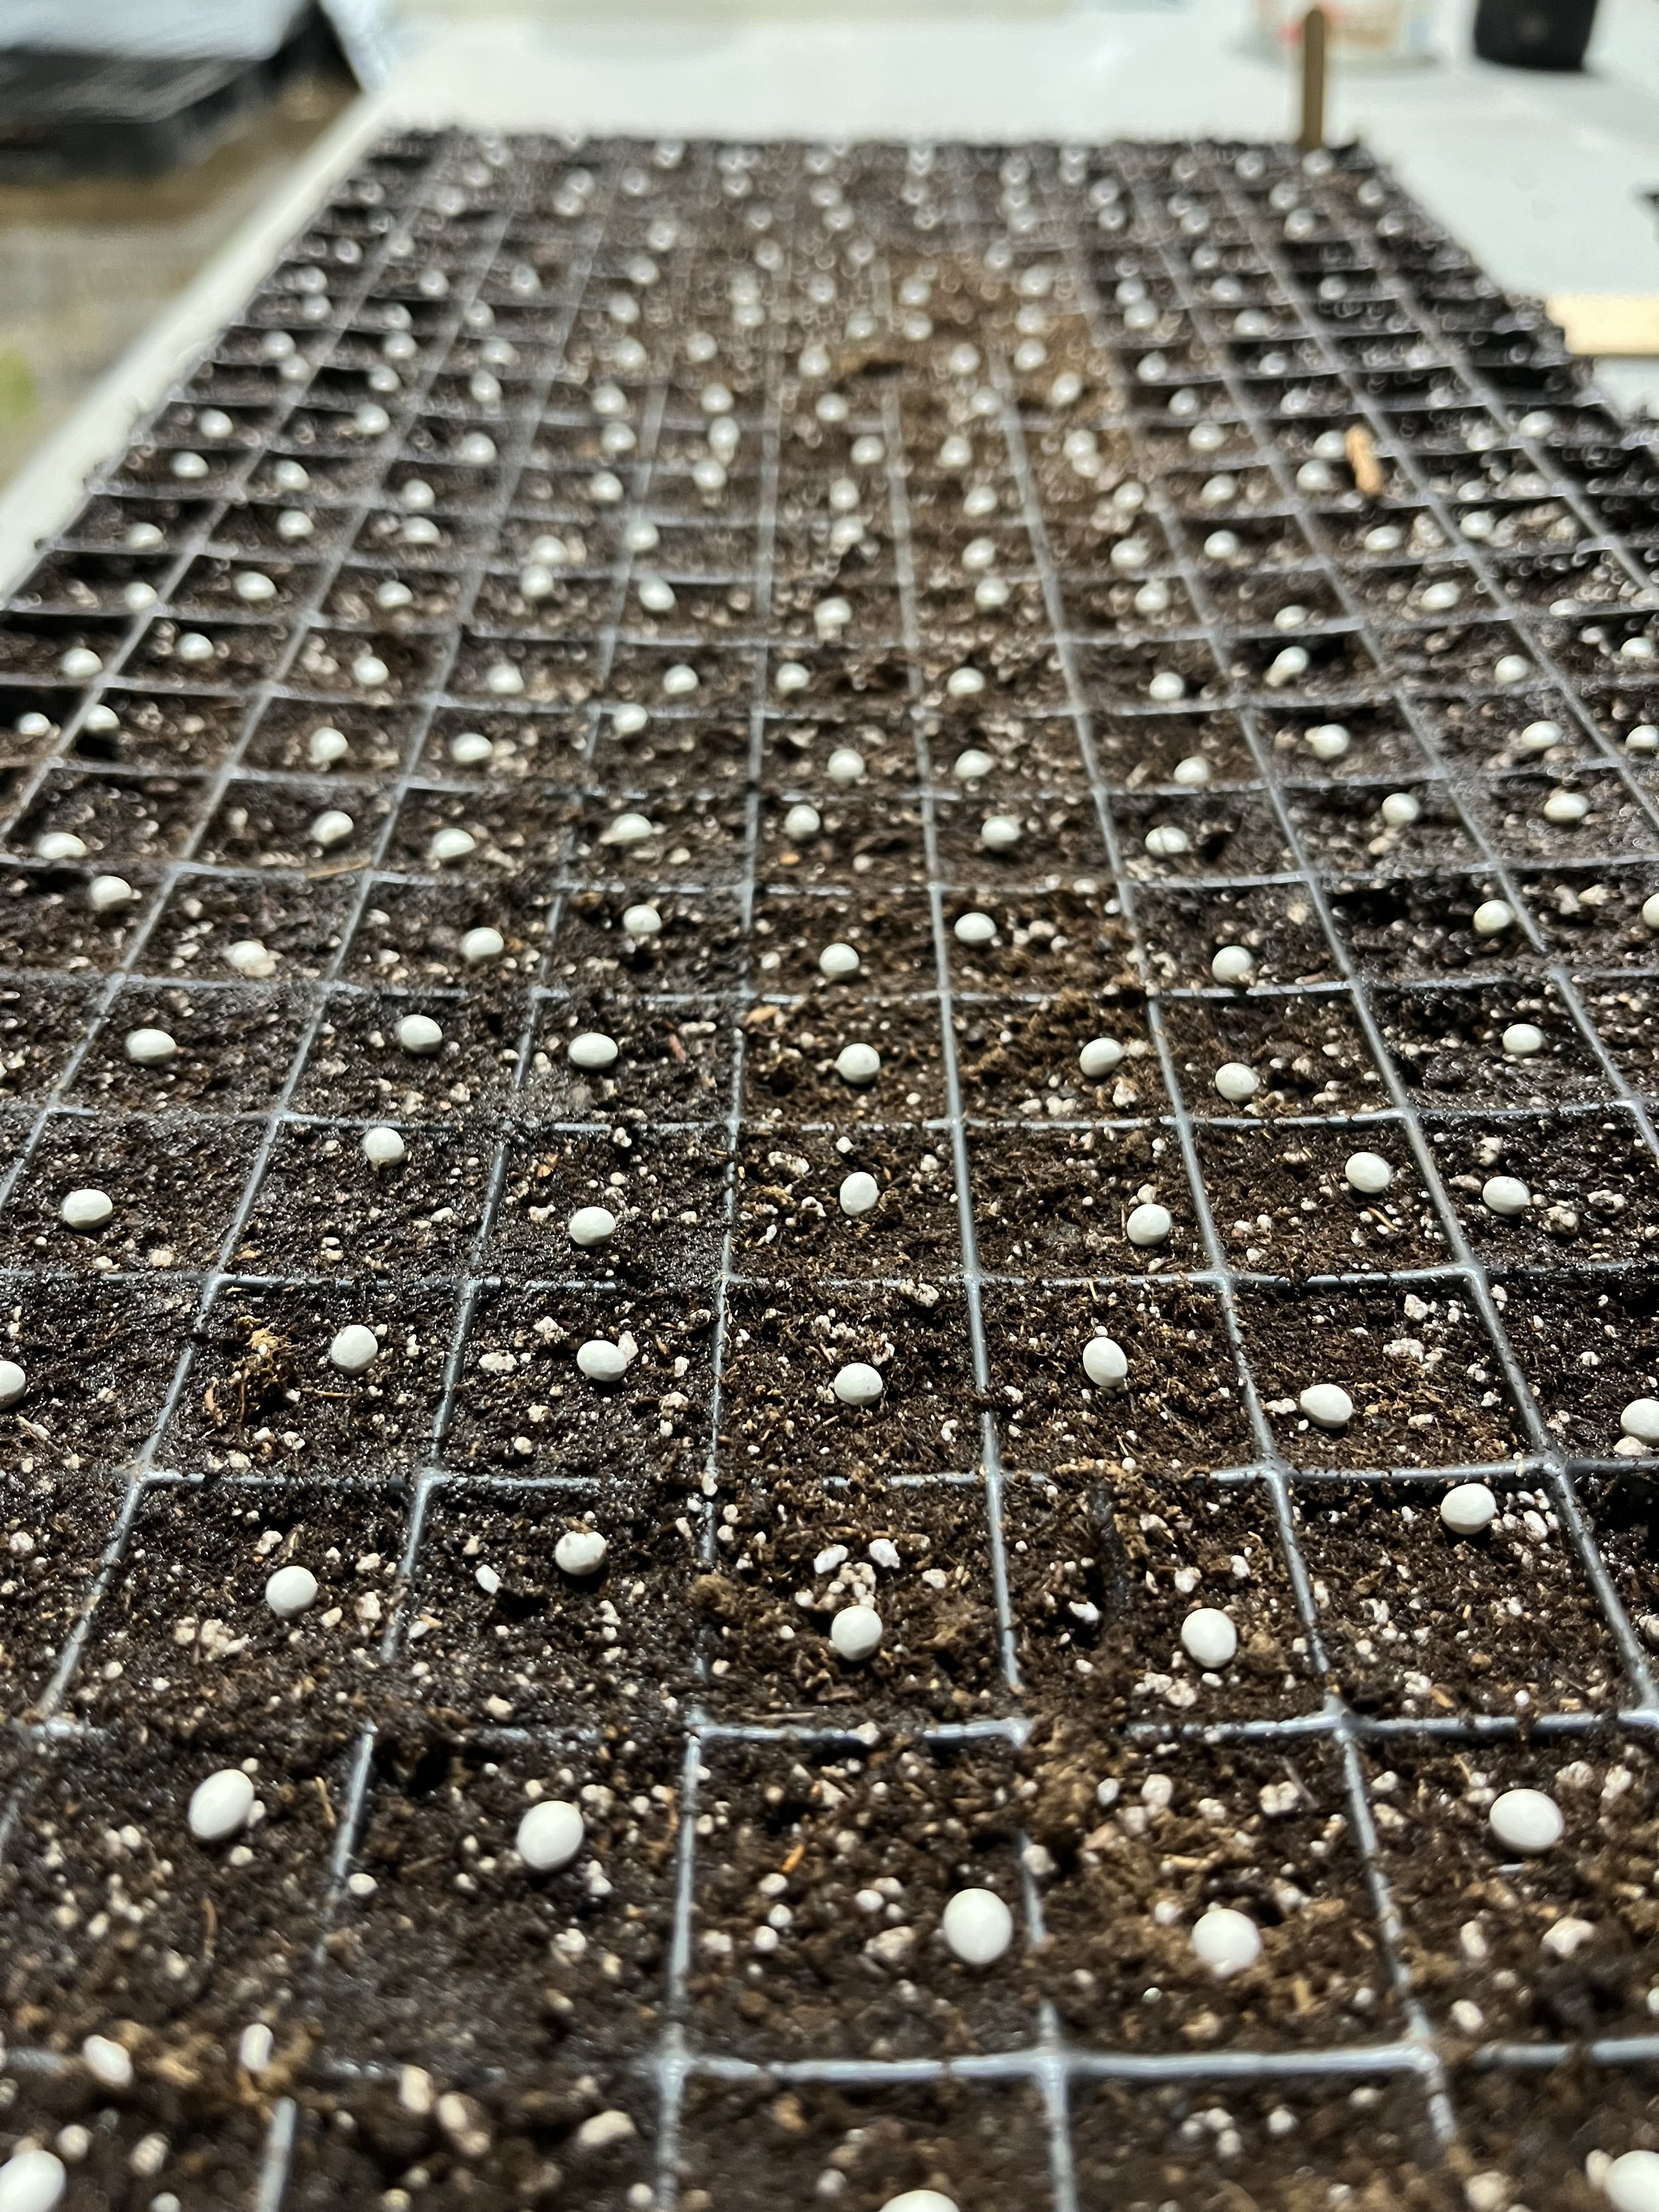
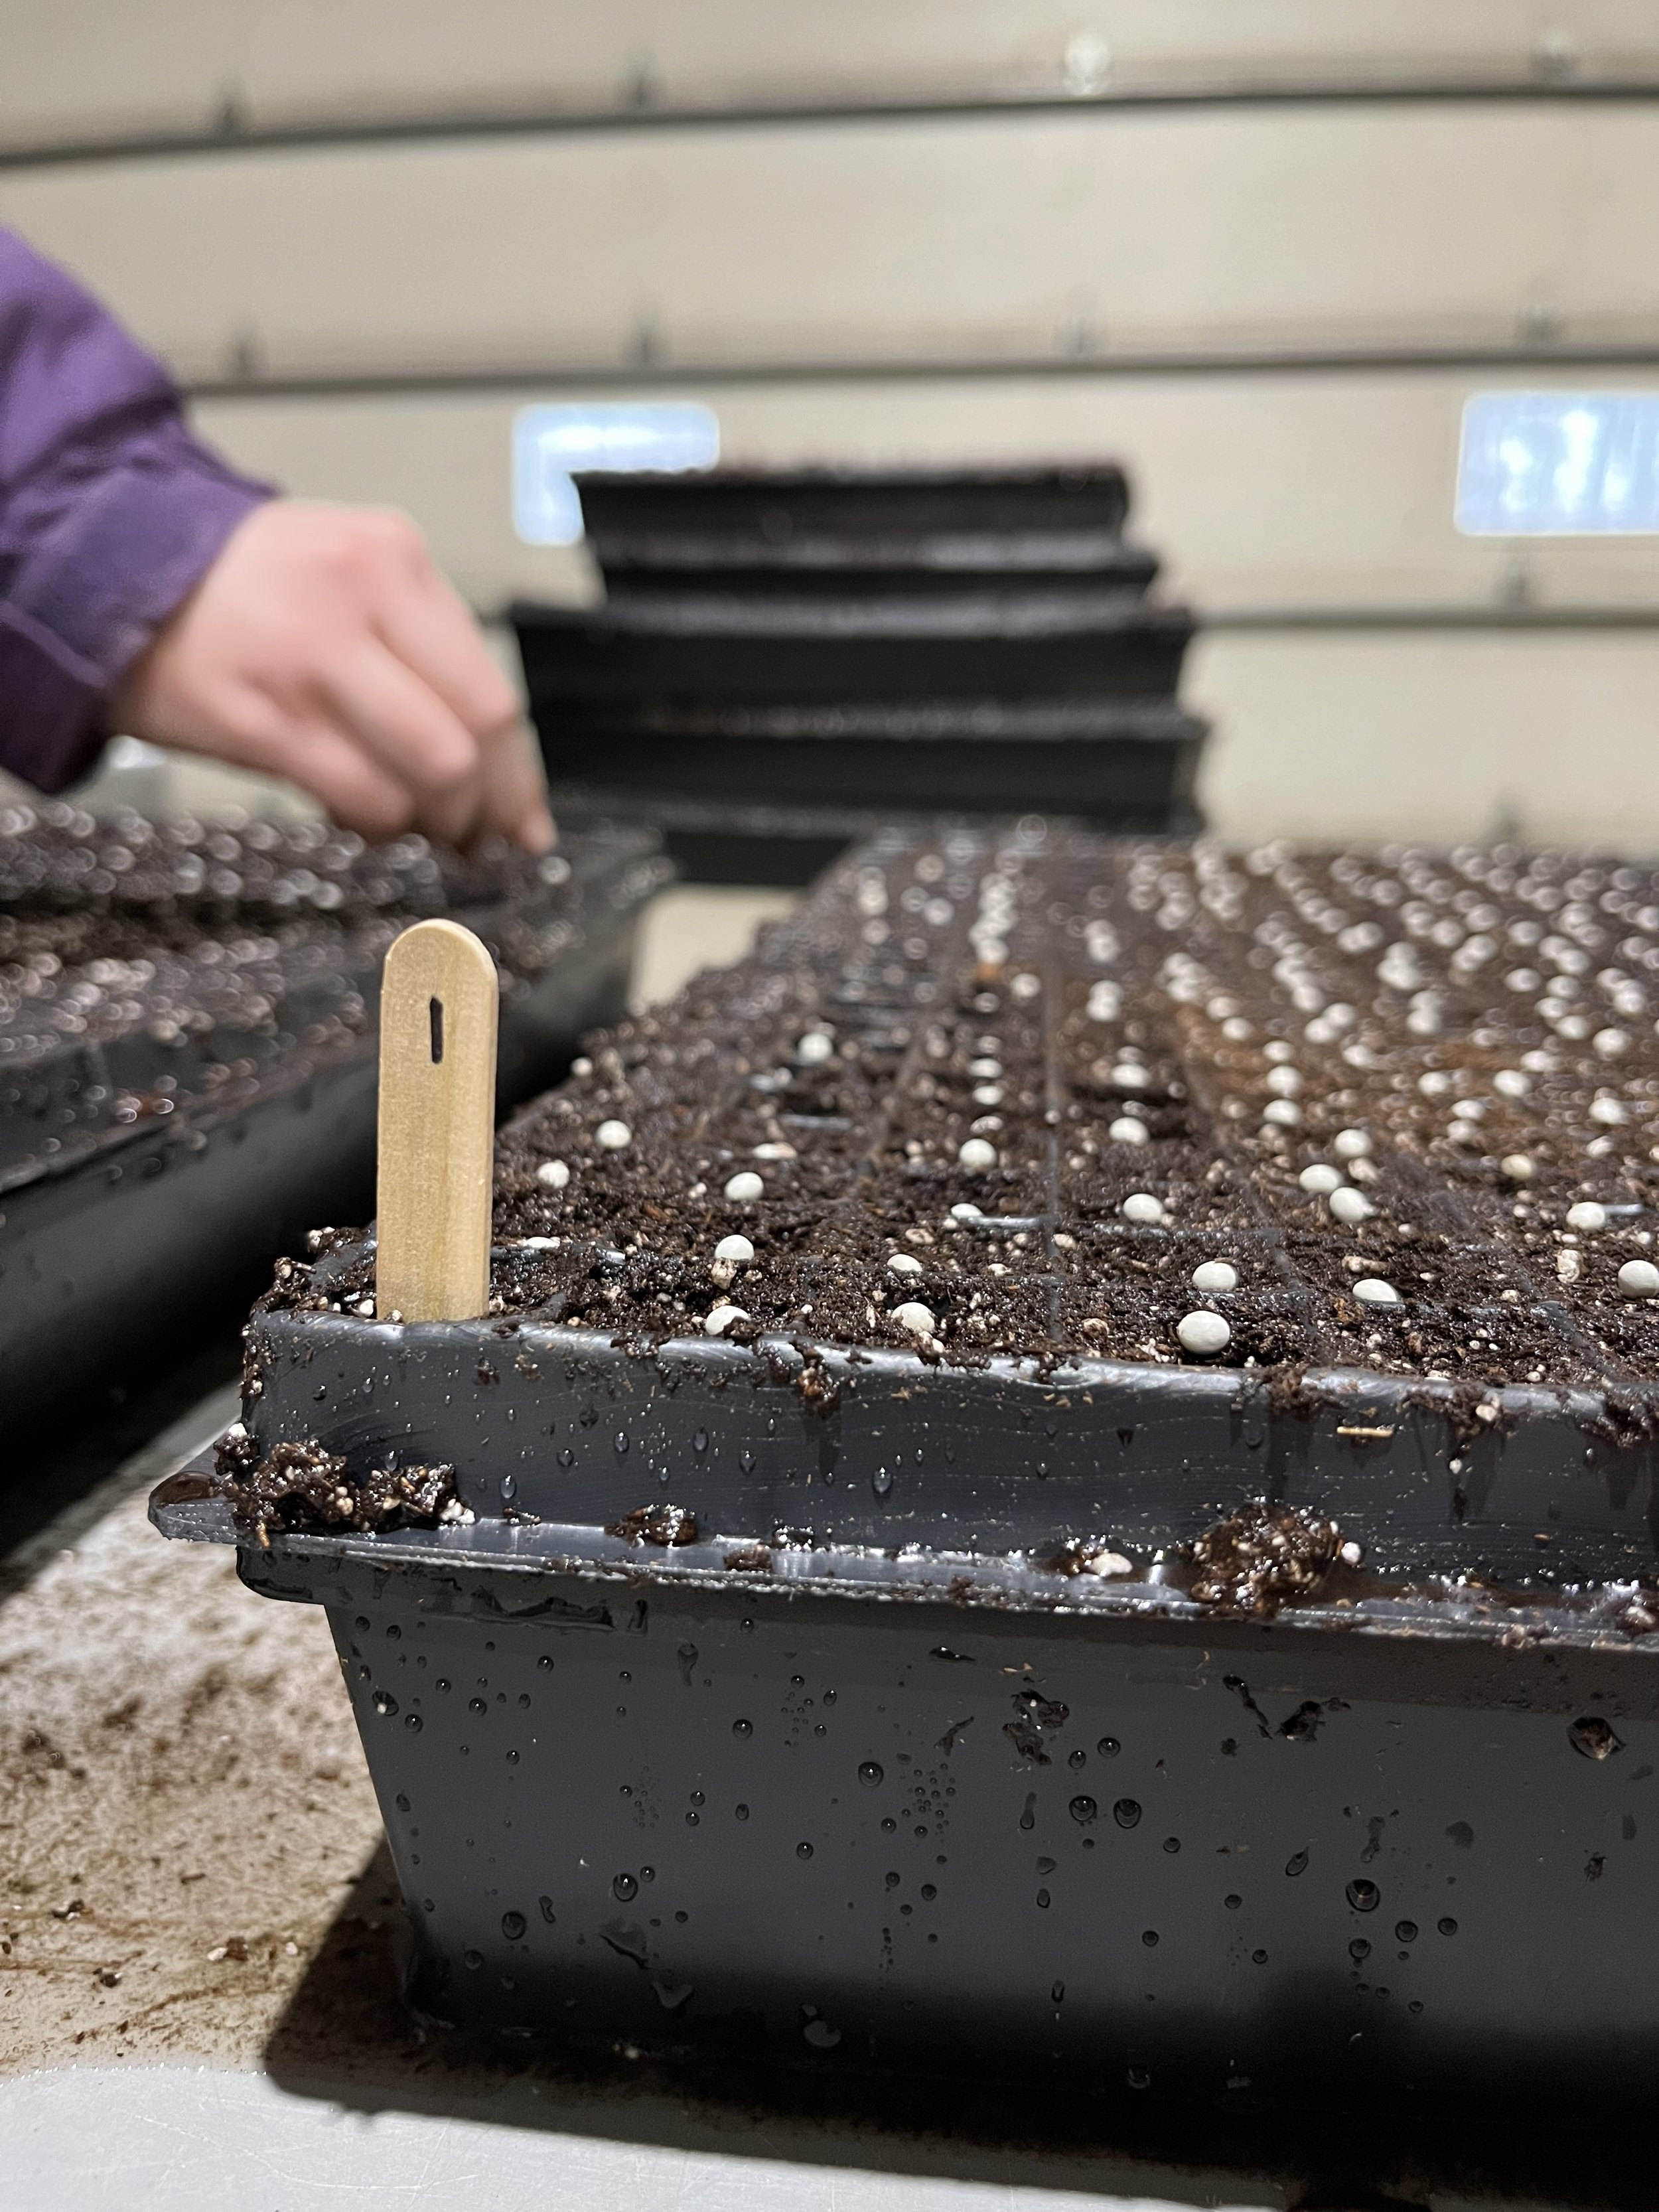
In the meantime, we have also started to seed the first of the season peppers, tomatoes, and… (drumroll, please!) melons! That’s right, muskmelon and yellow watermelon, our earliest melons of the season, are making their way into soil as we speak.
While the herbs and greens will be transplanted to the cold frame and then continue to grow there until they are harvested, the peppers, tomatoes, and melons go through a slightly different process.


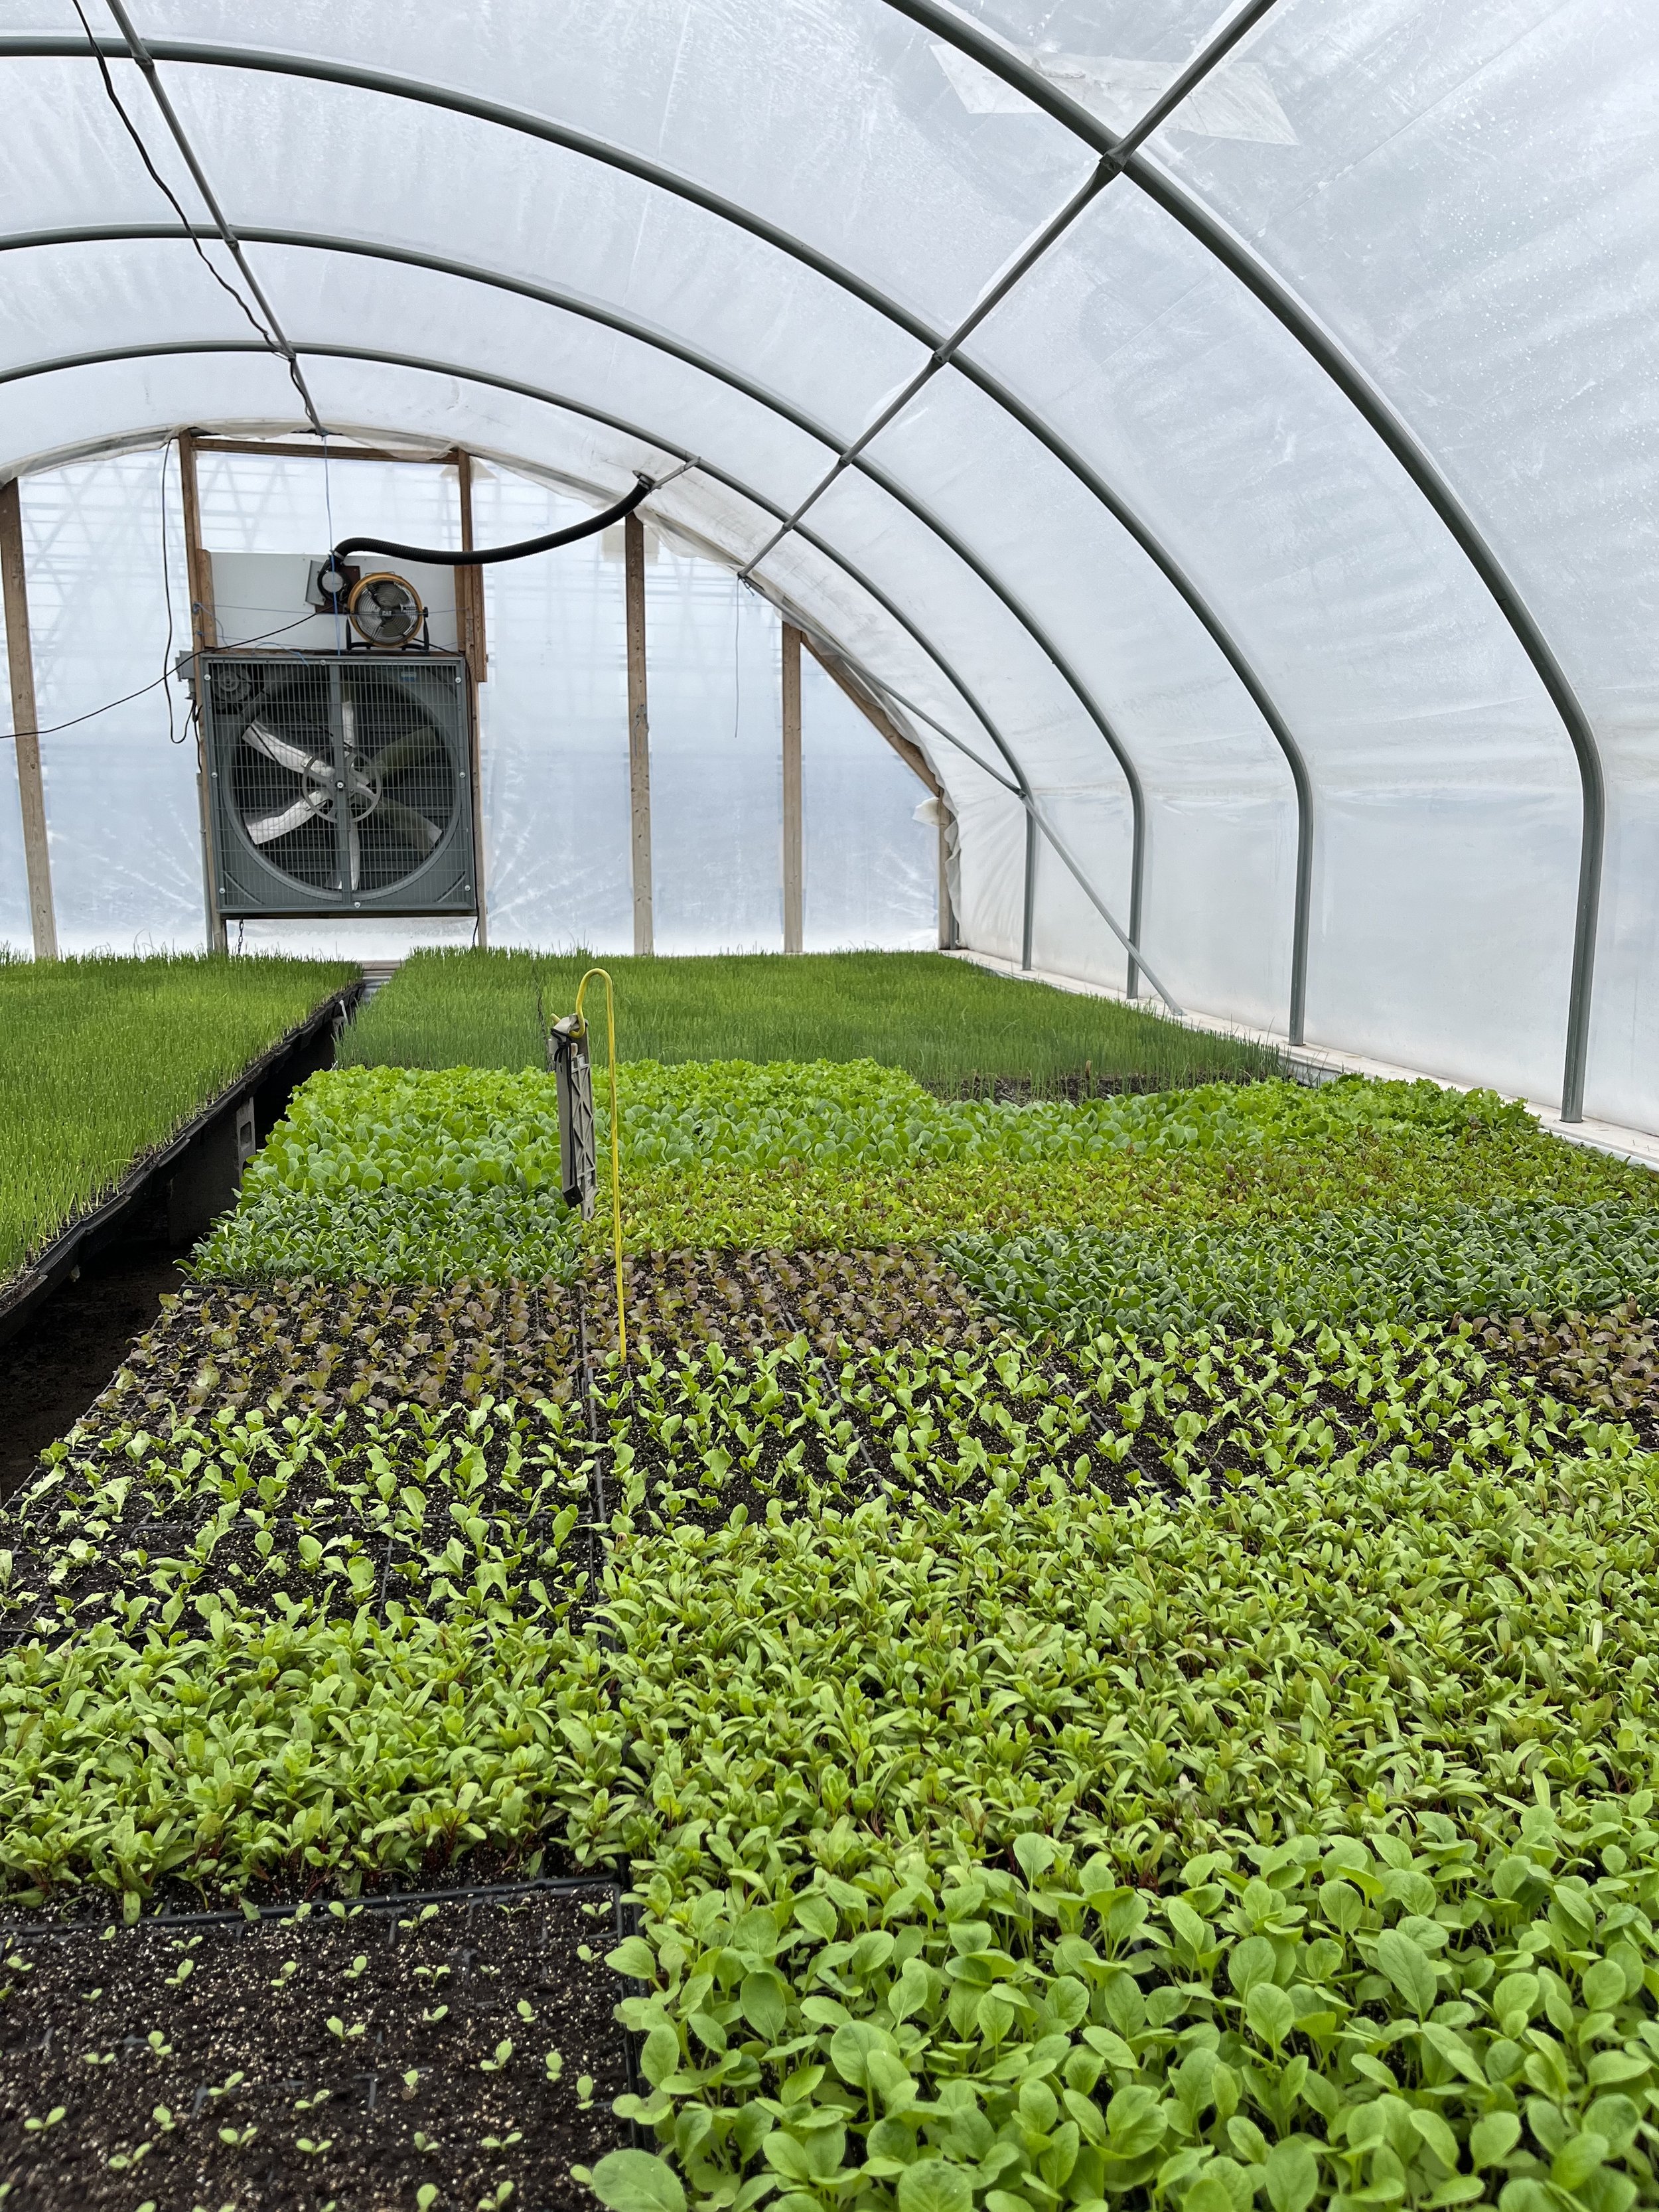
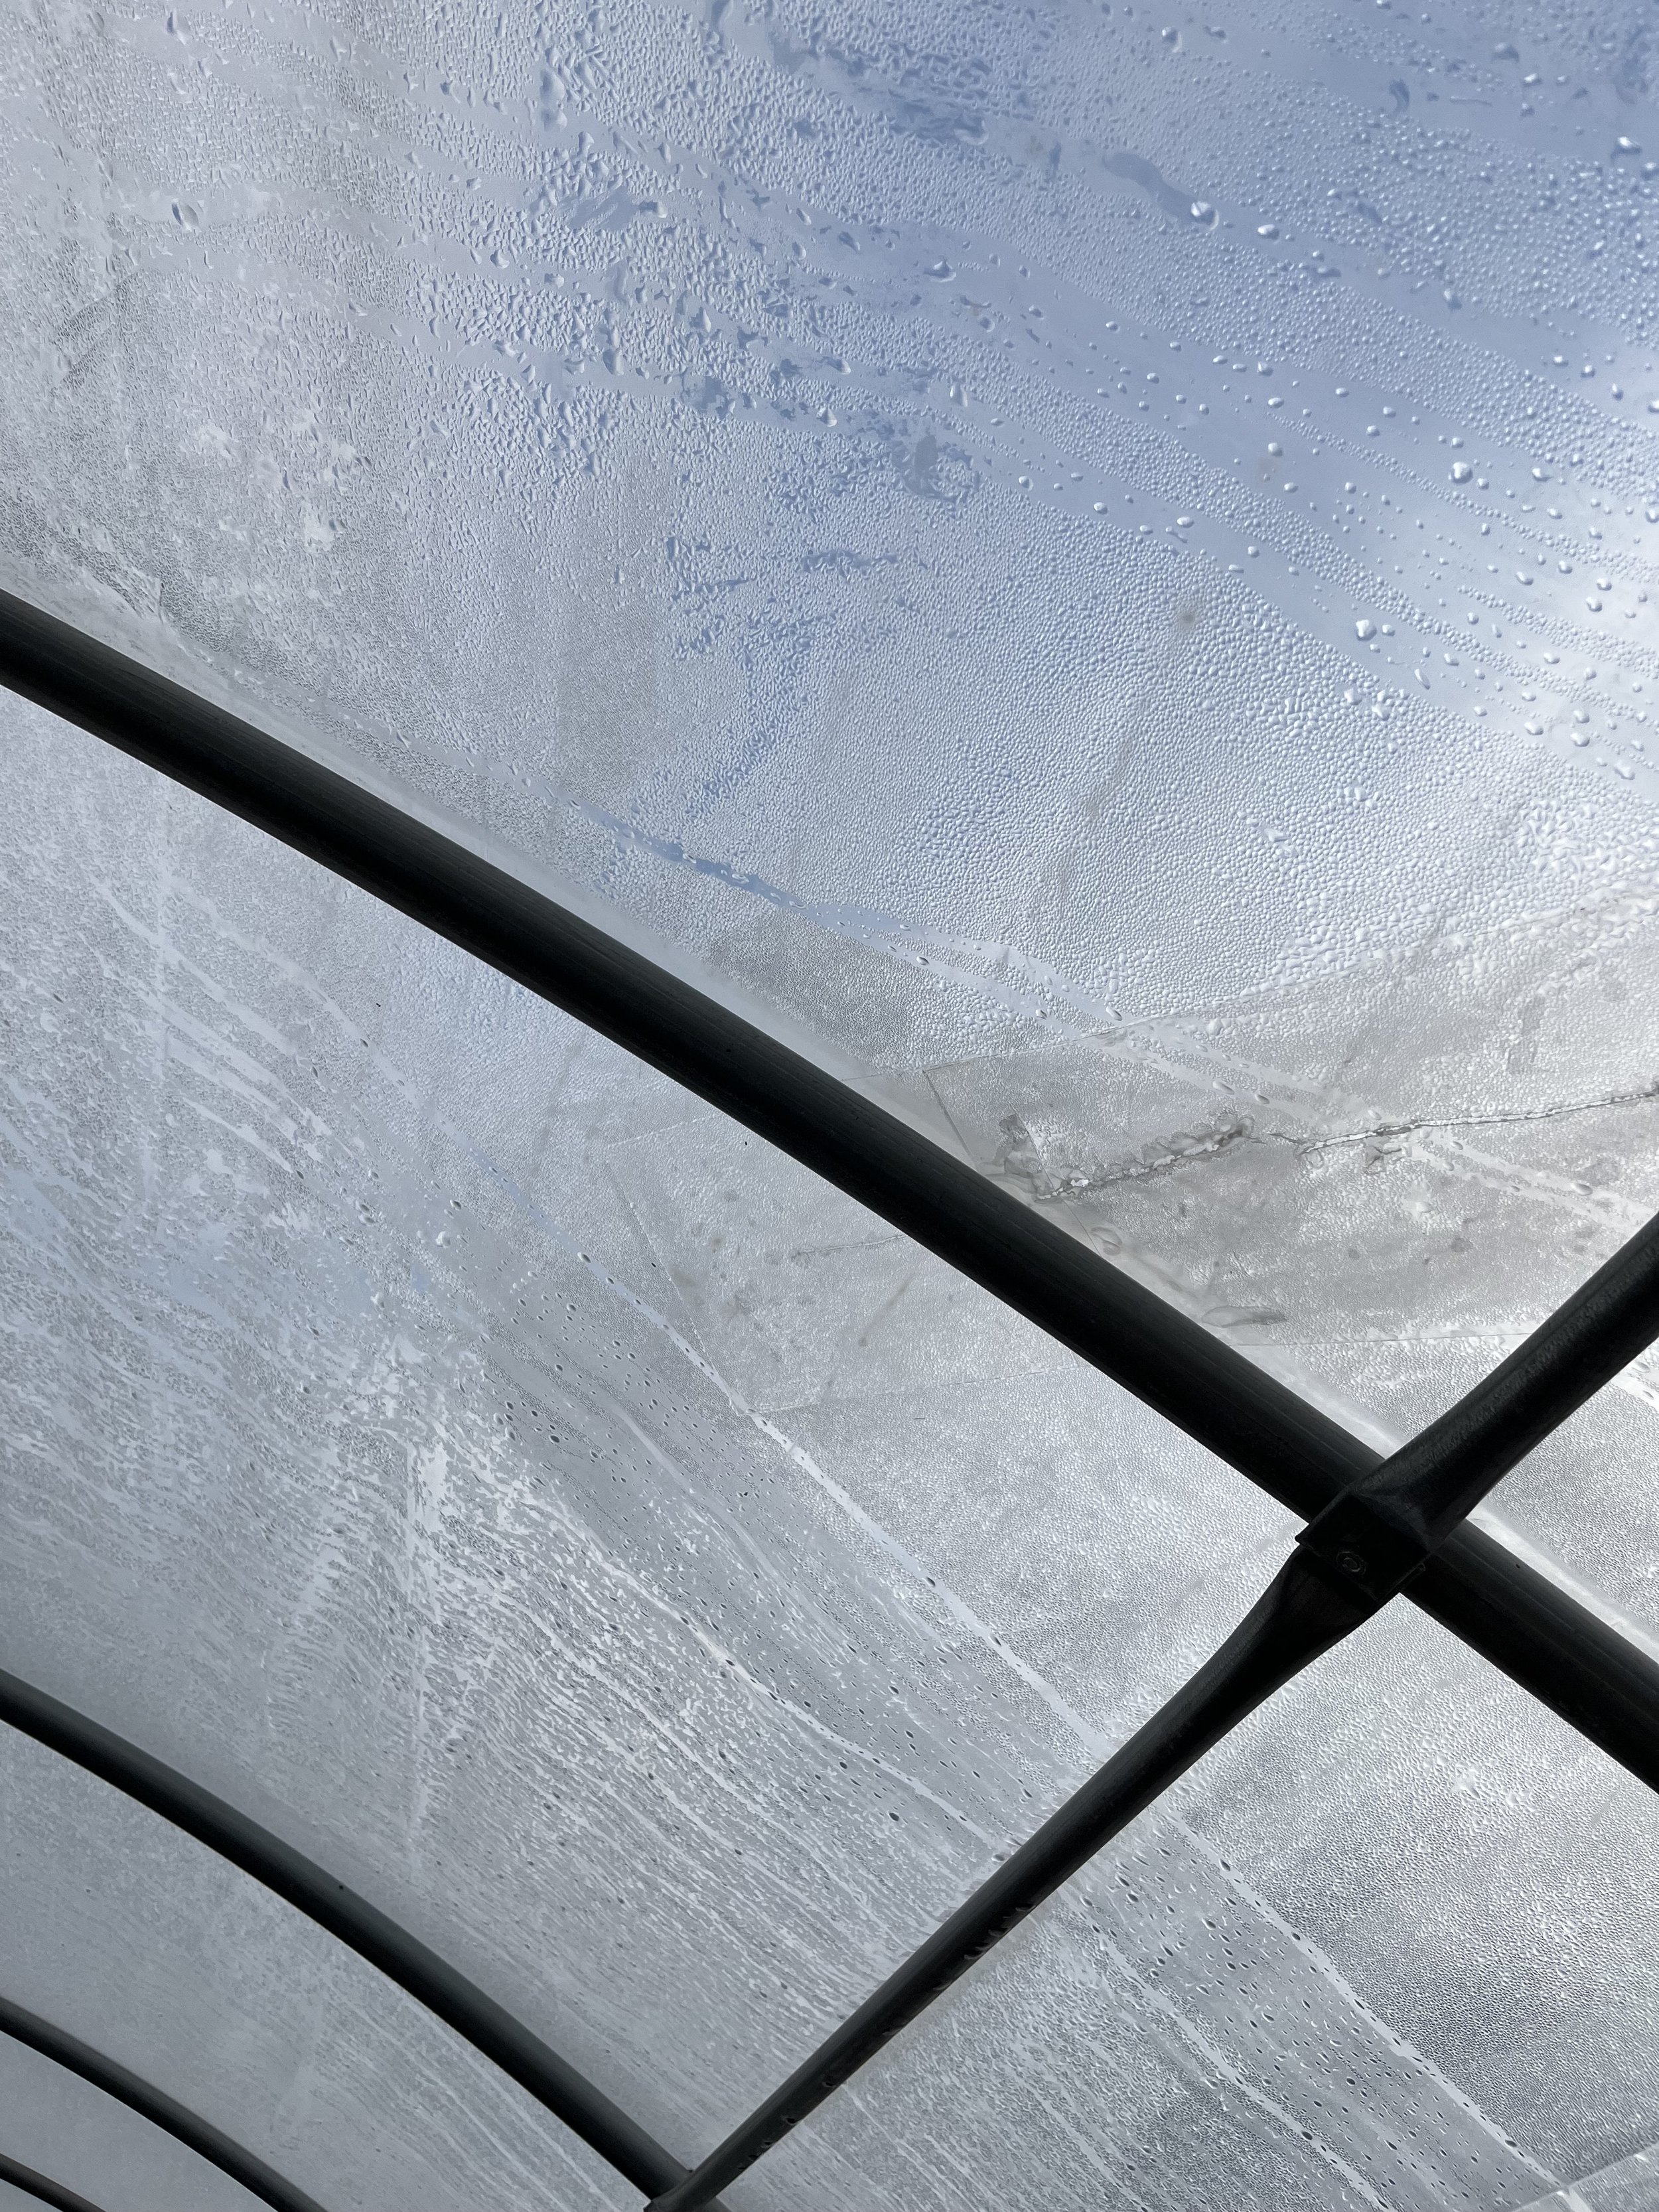
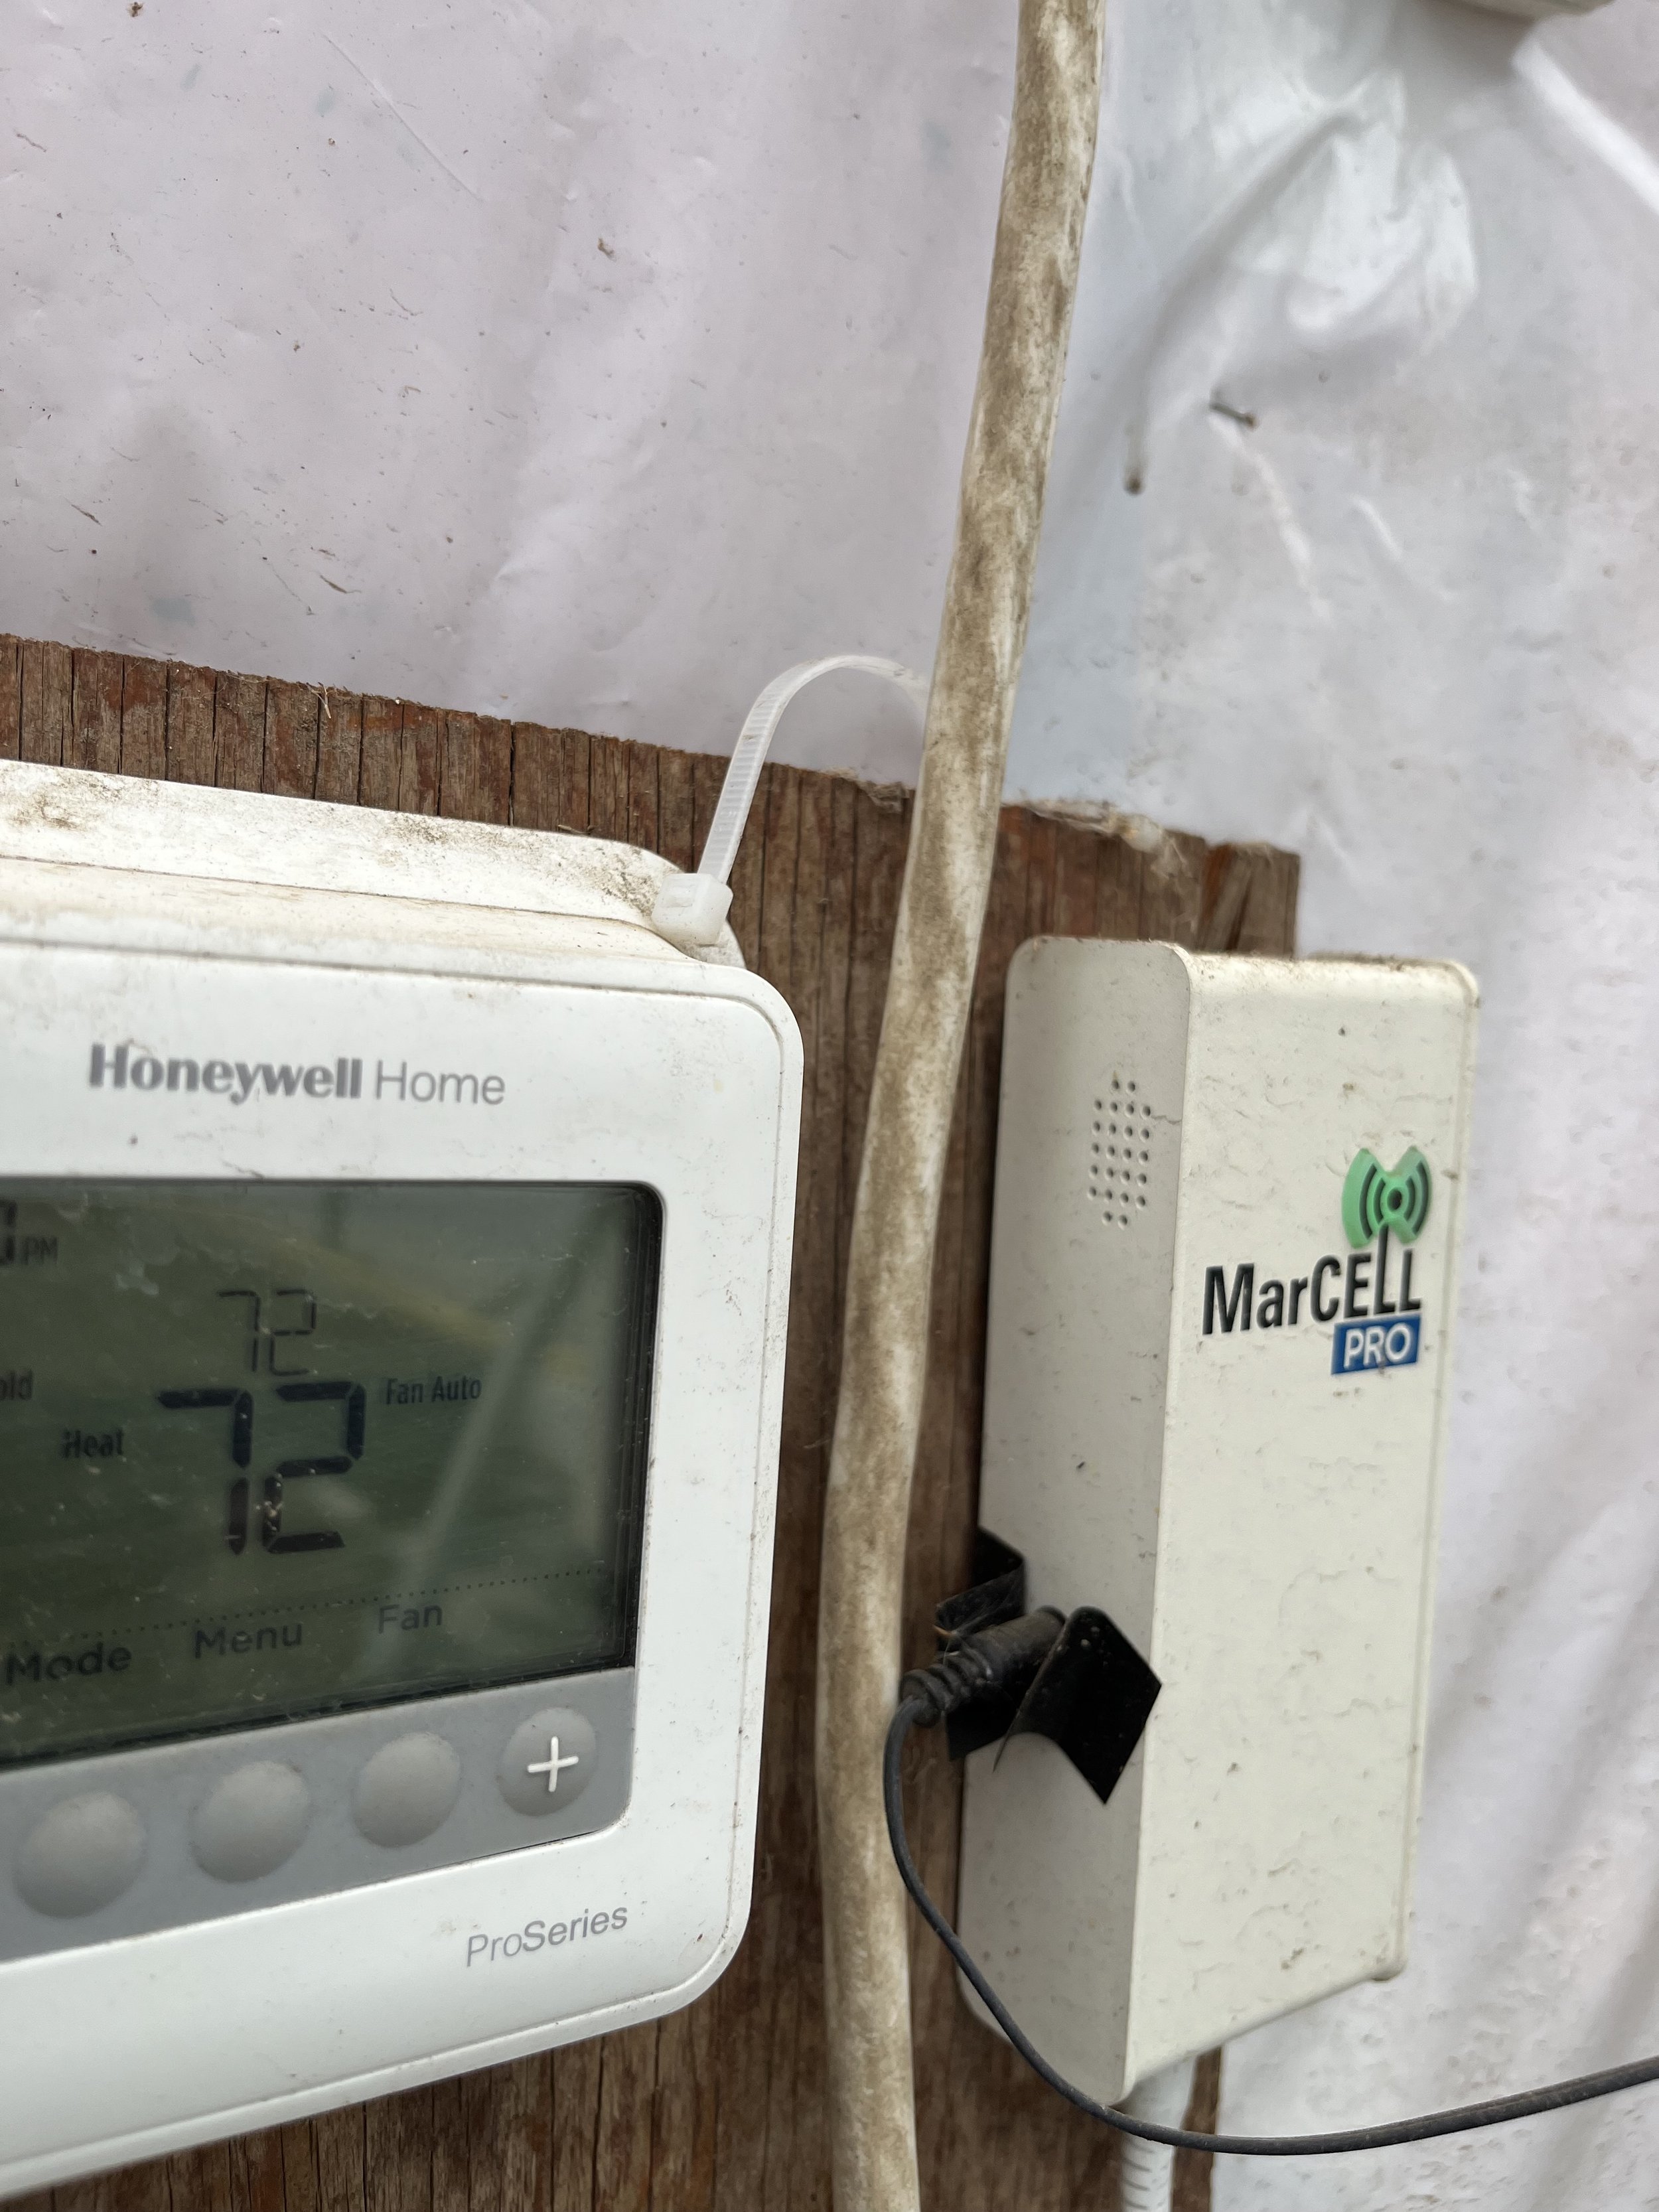
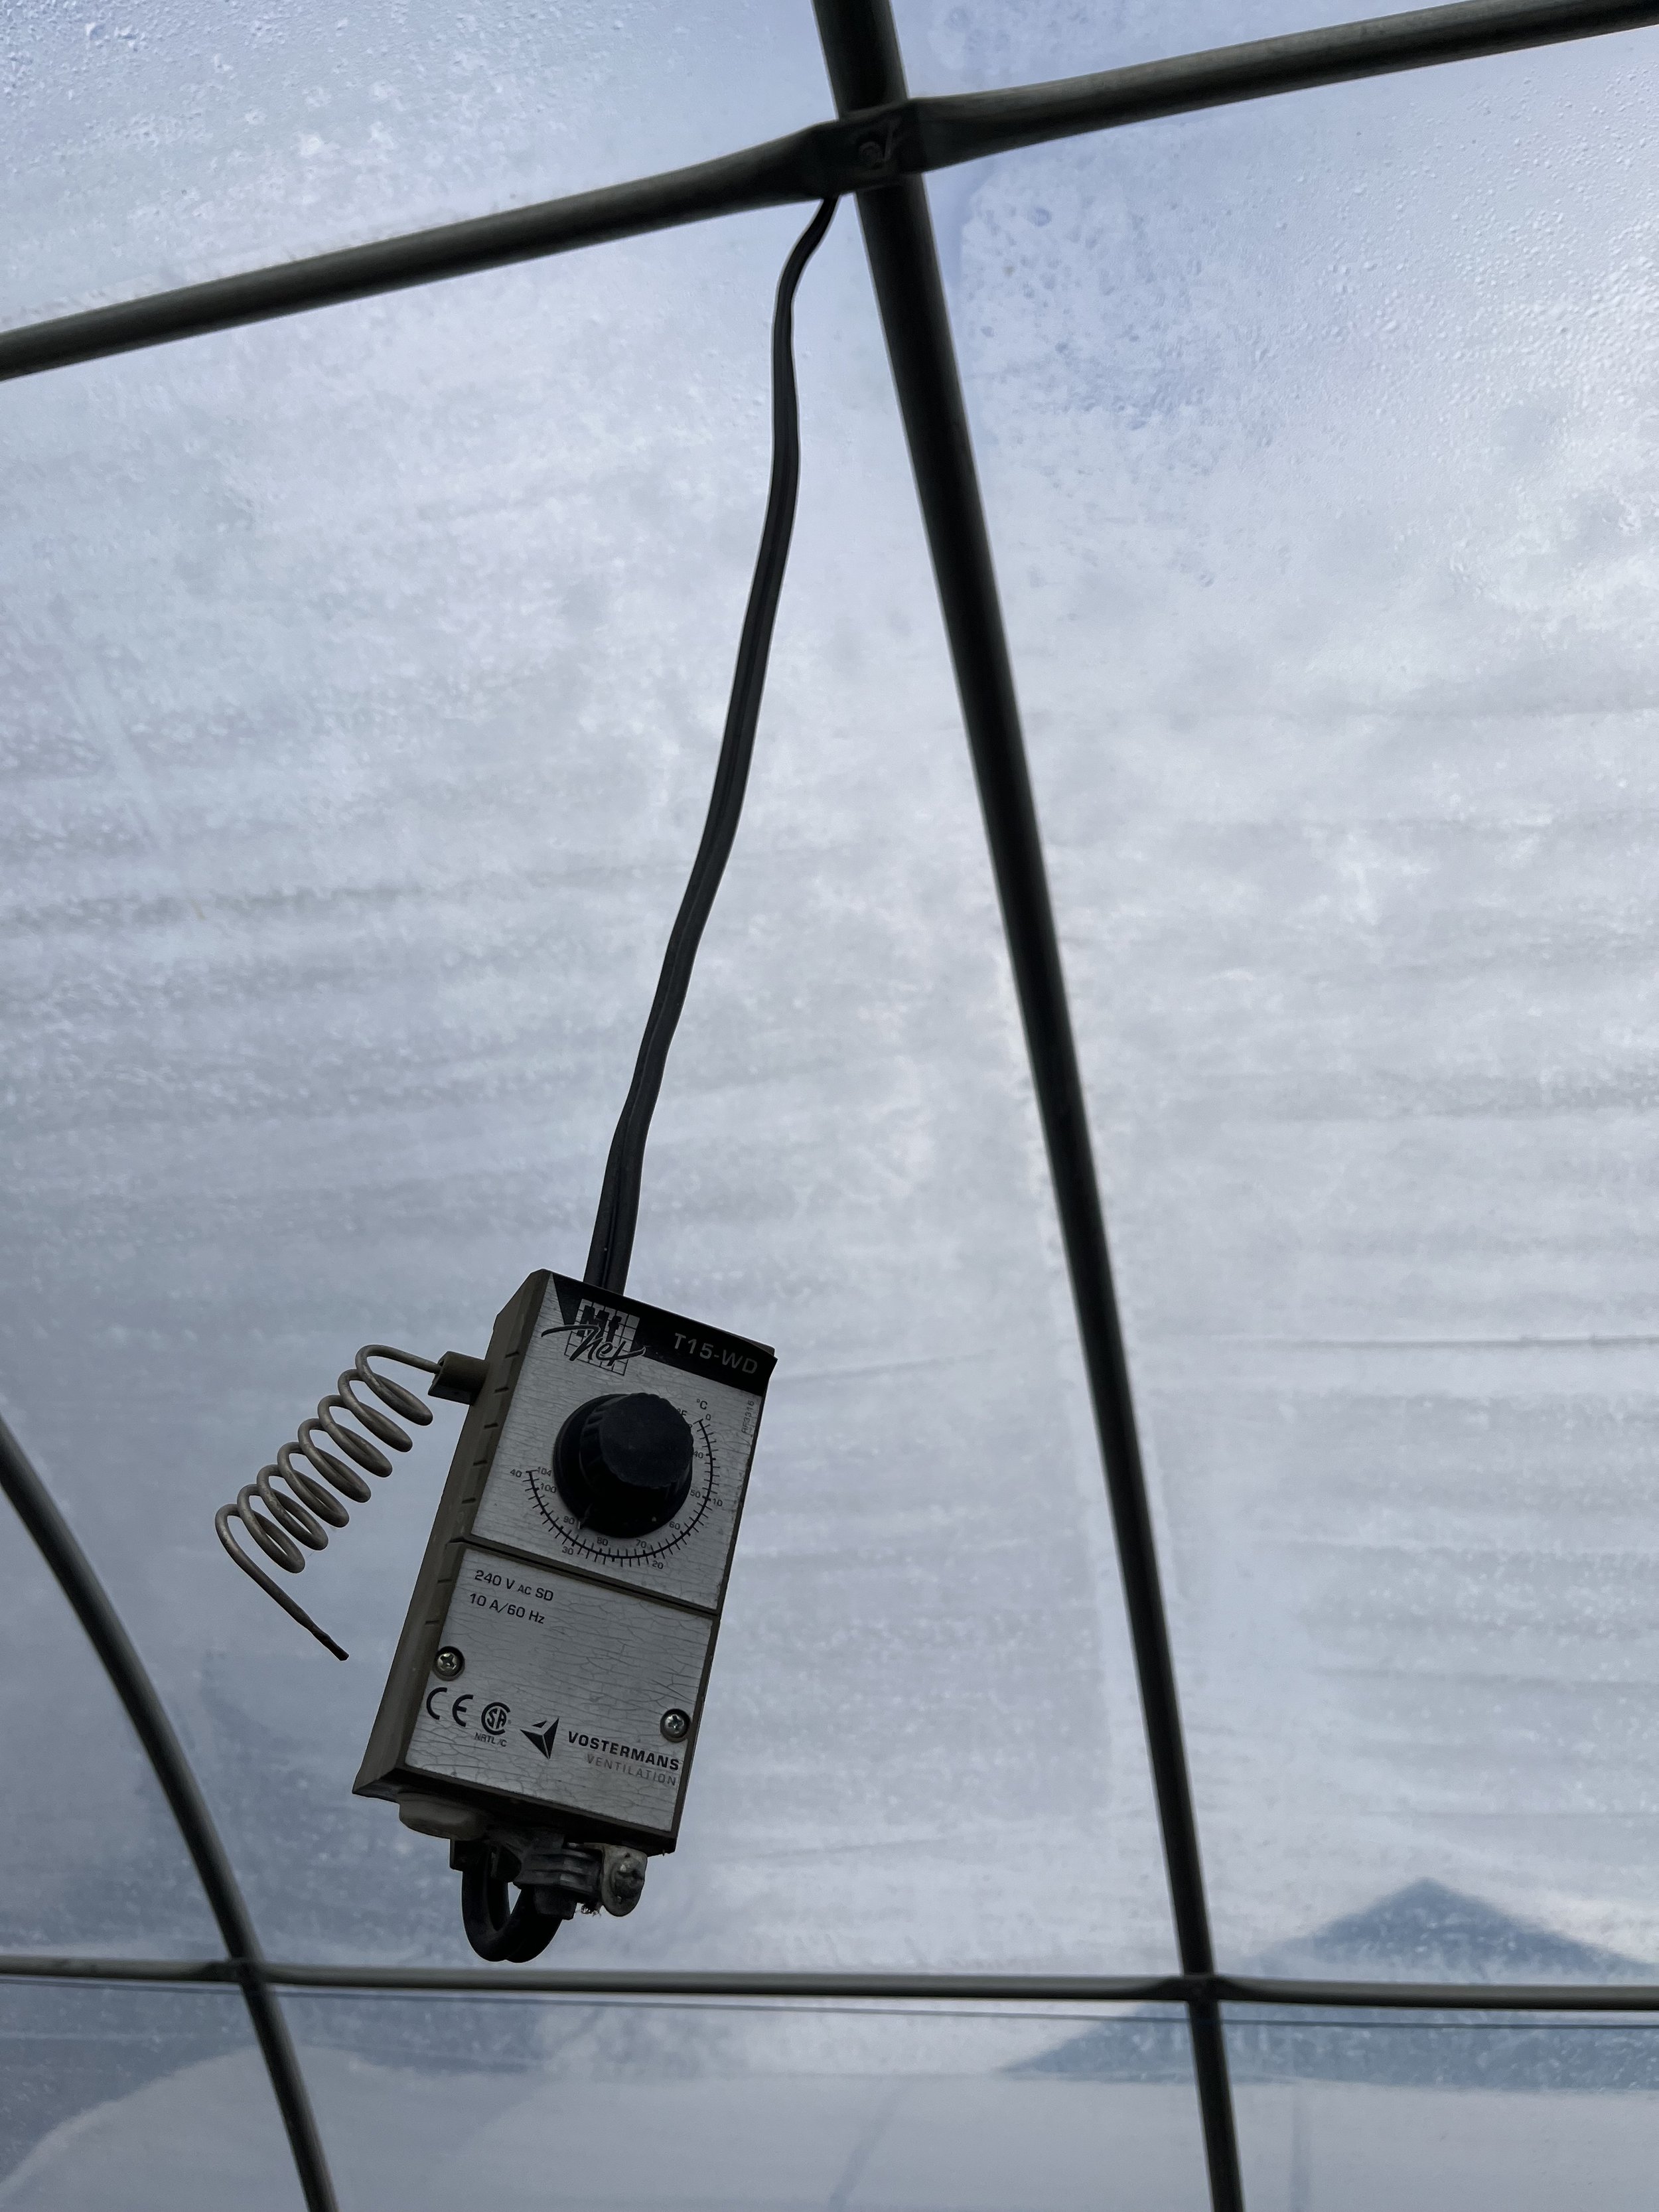
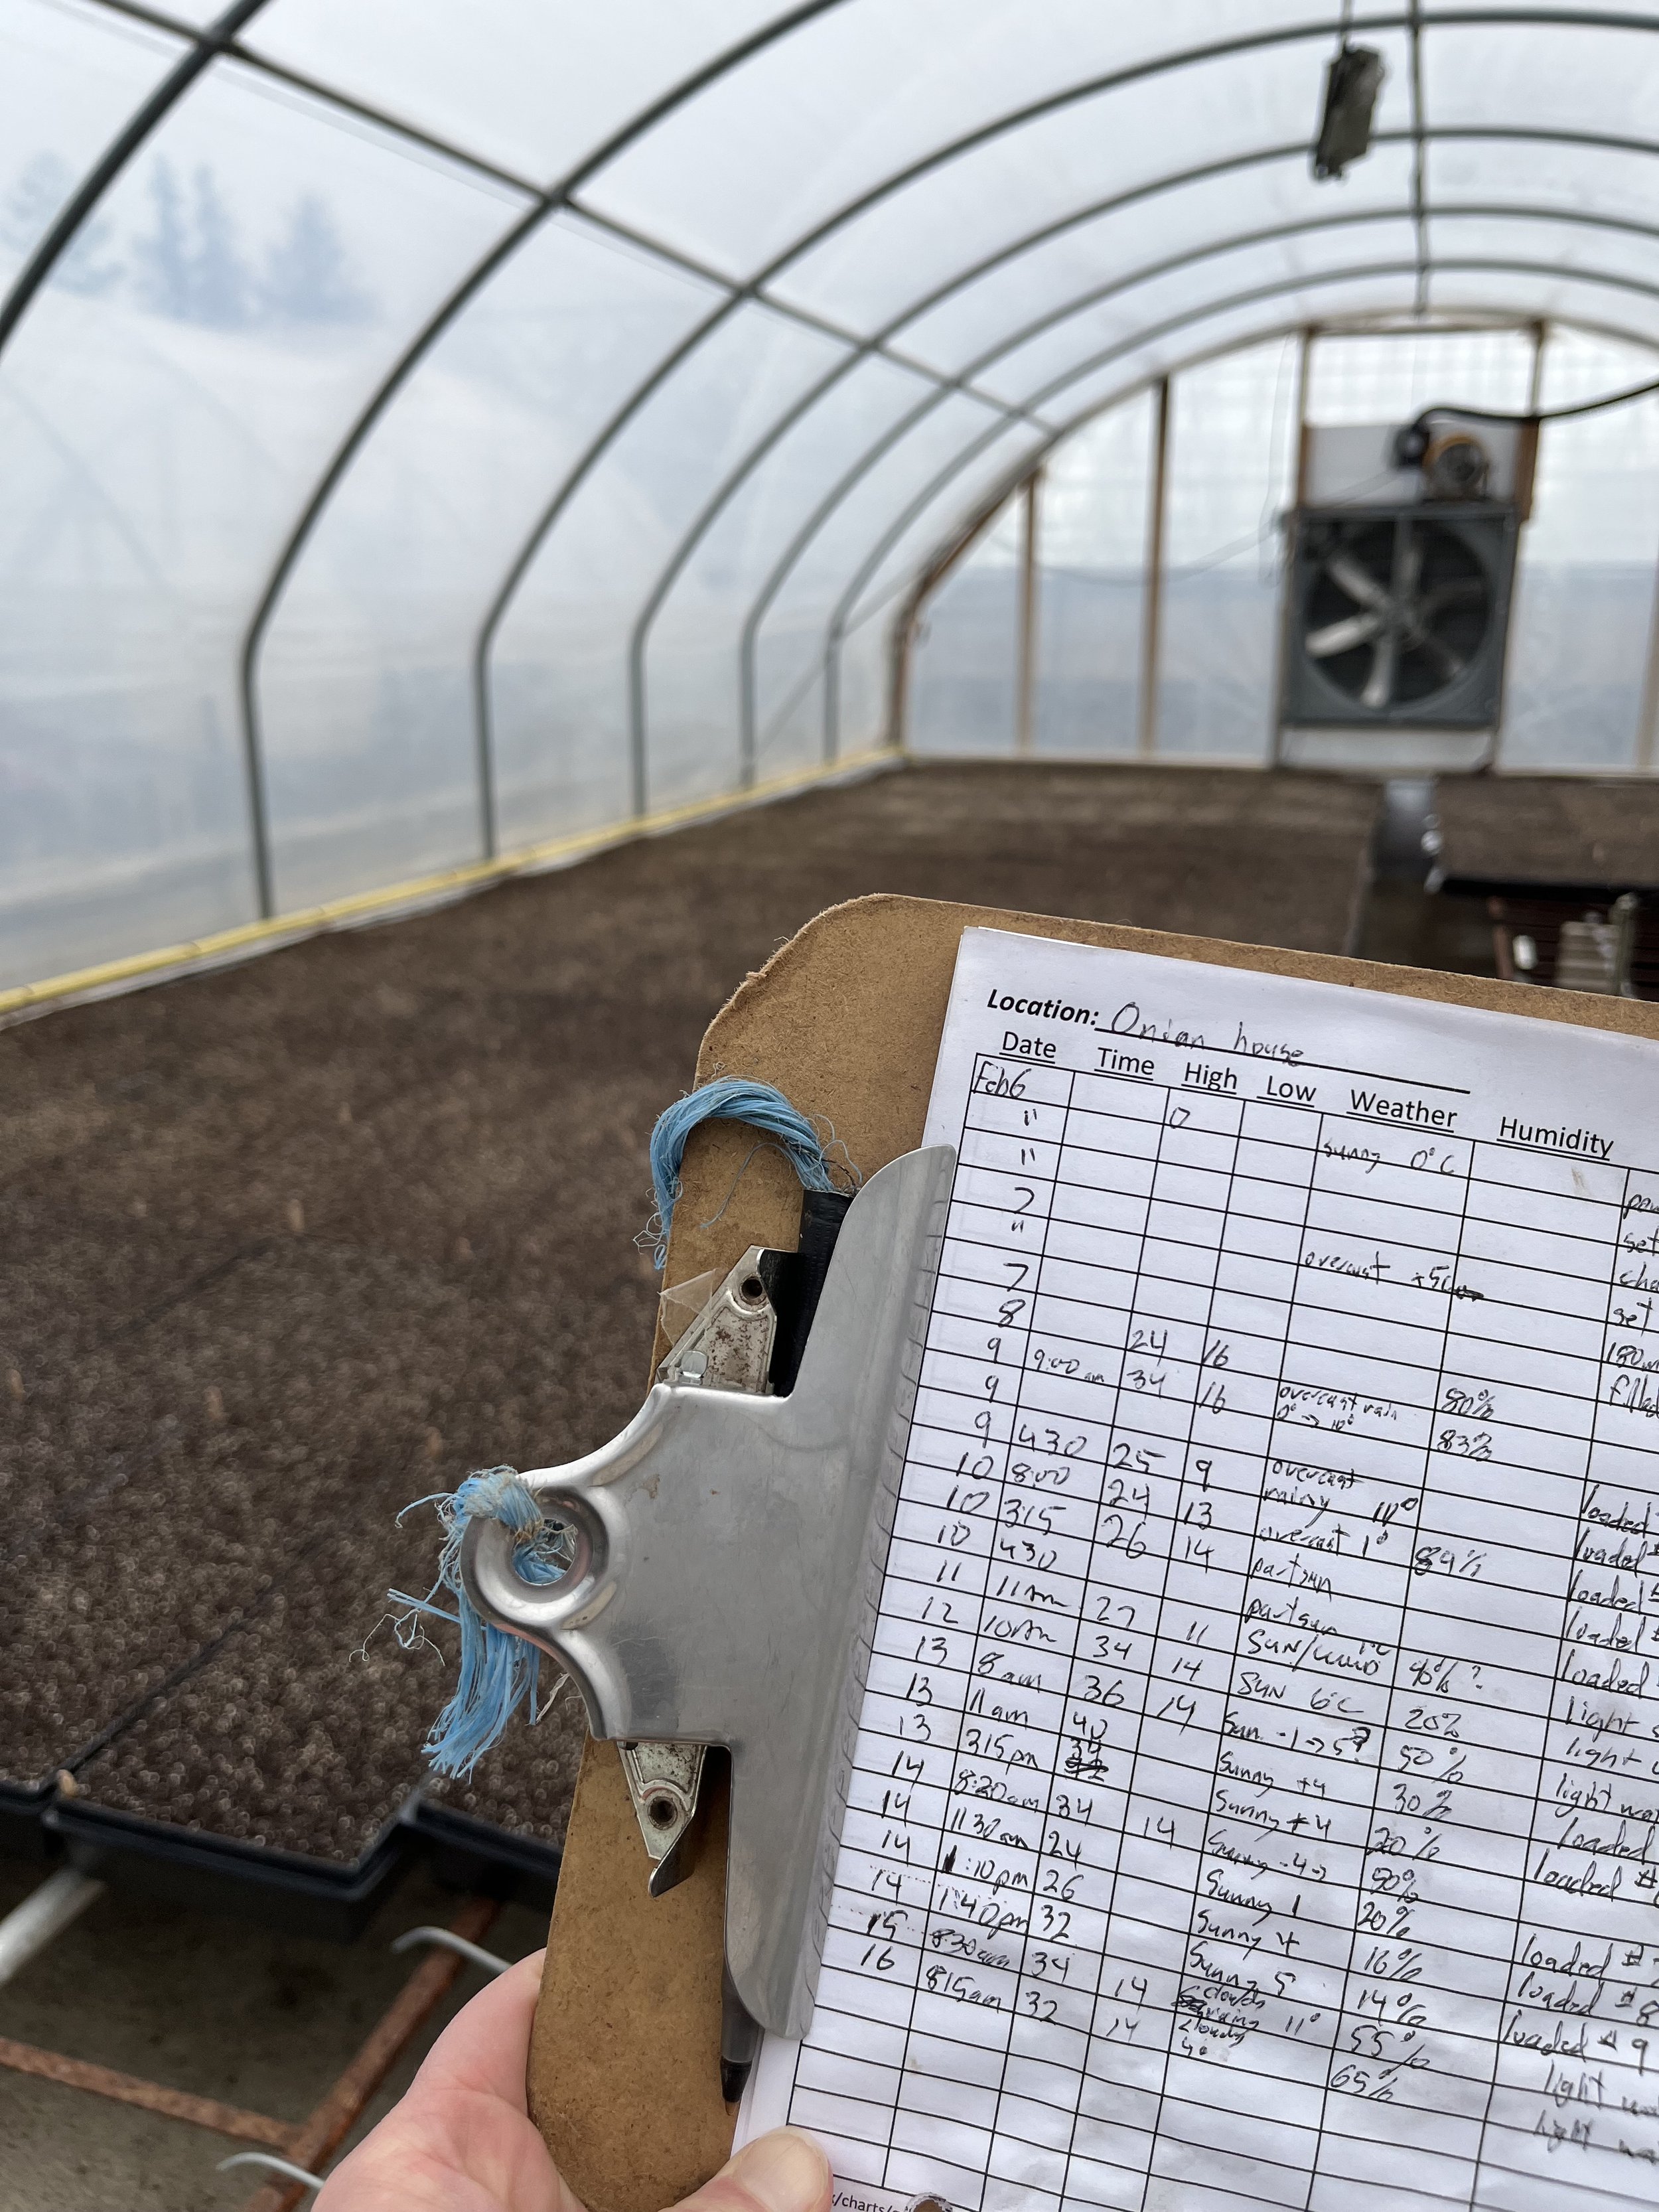
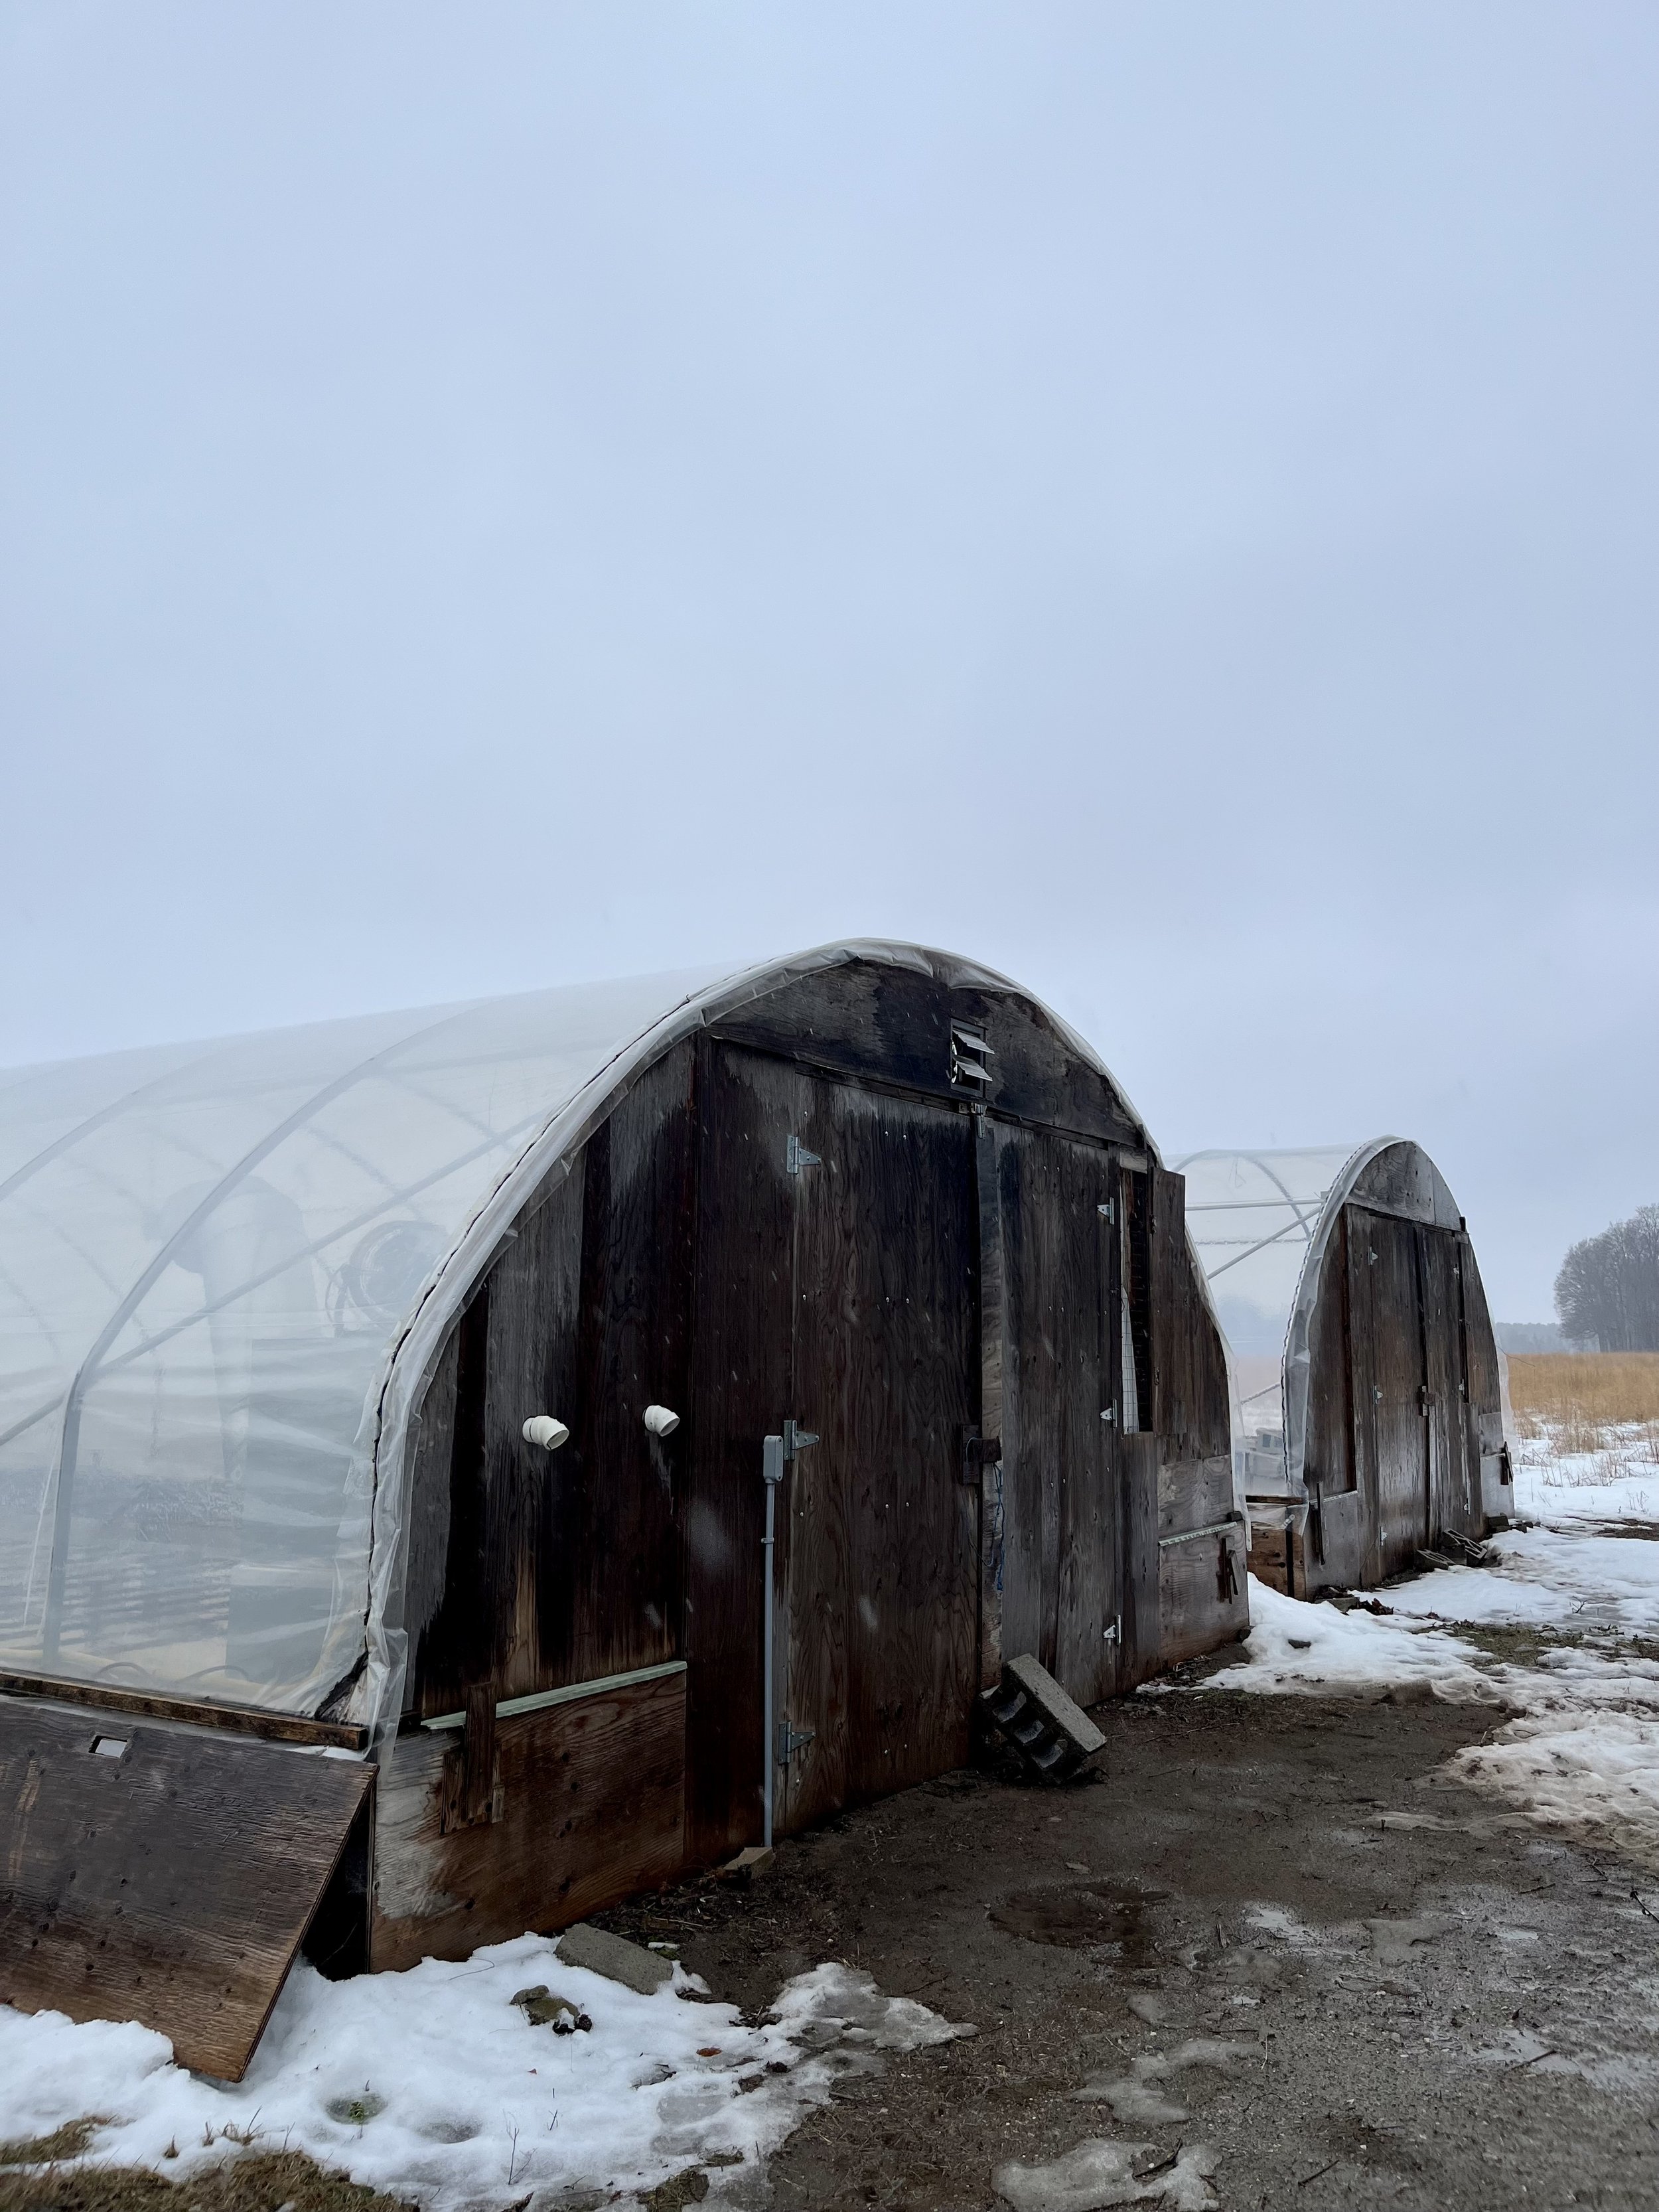
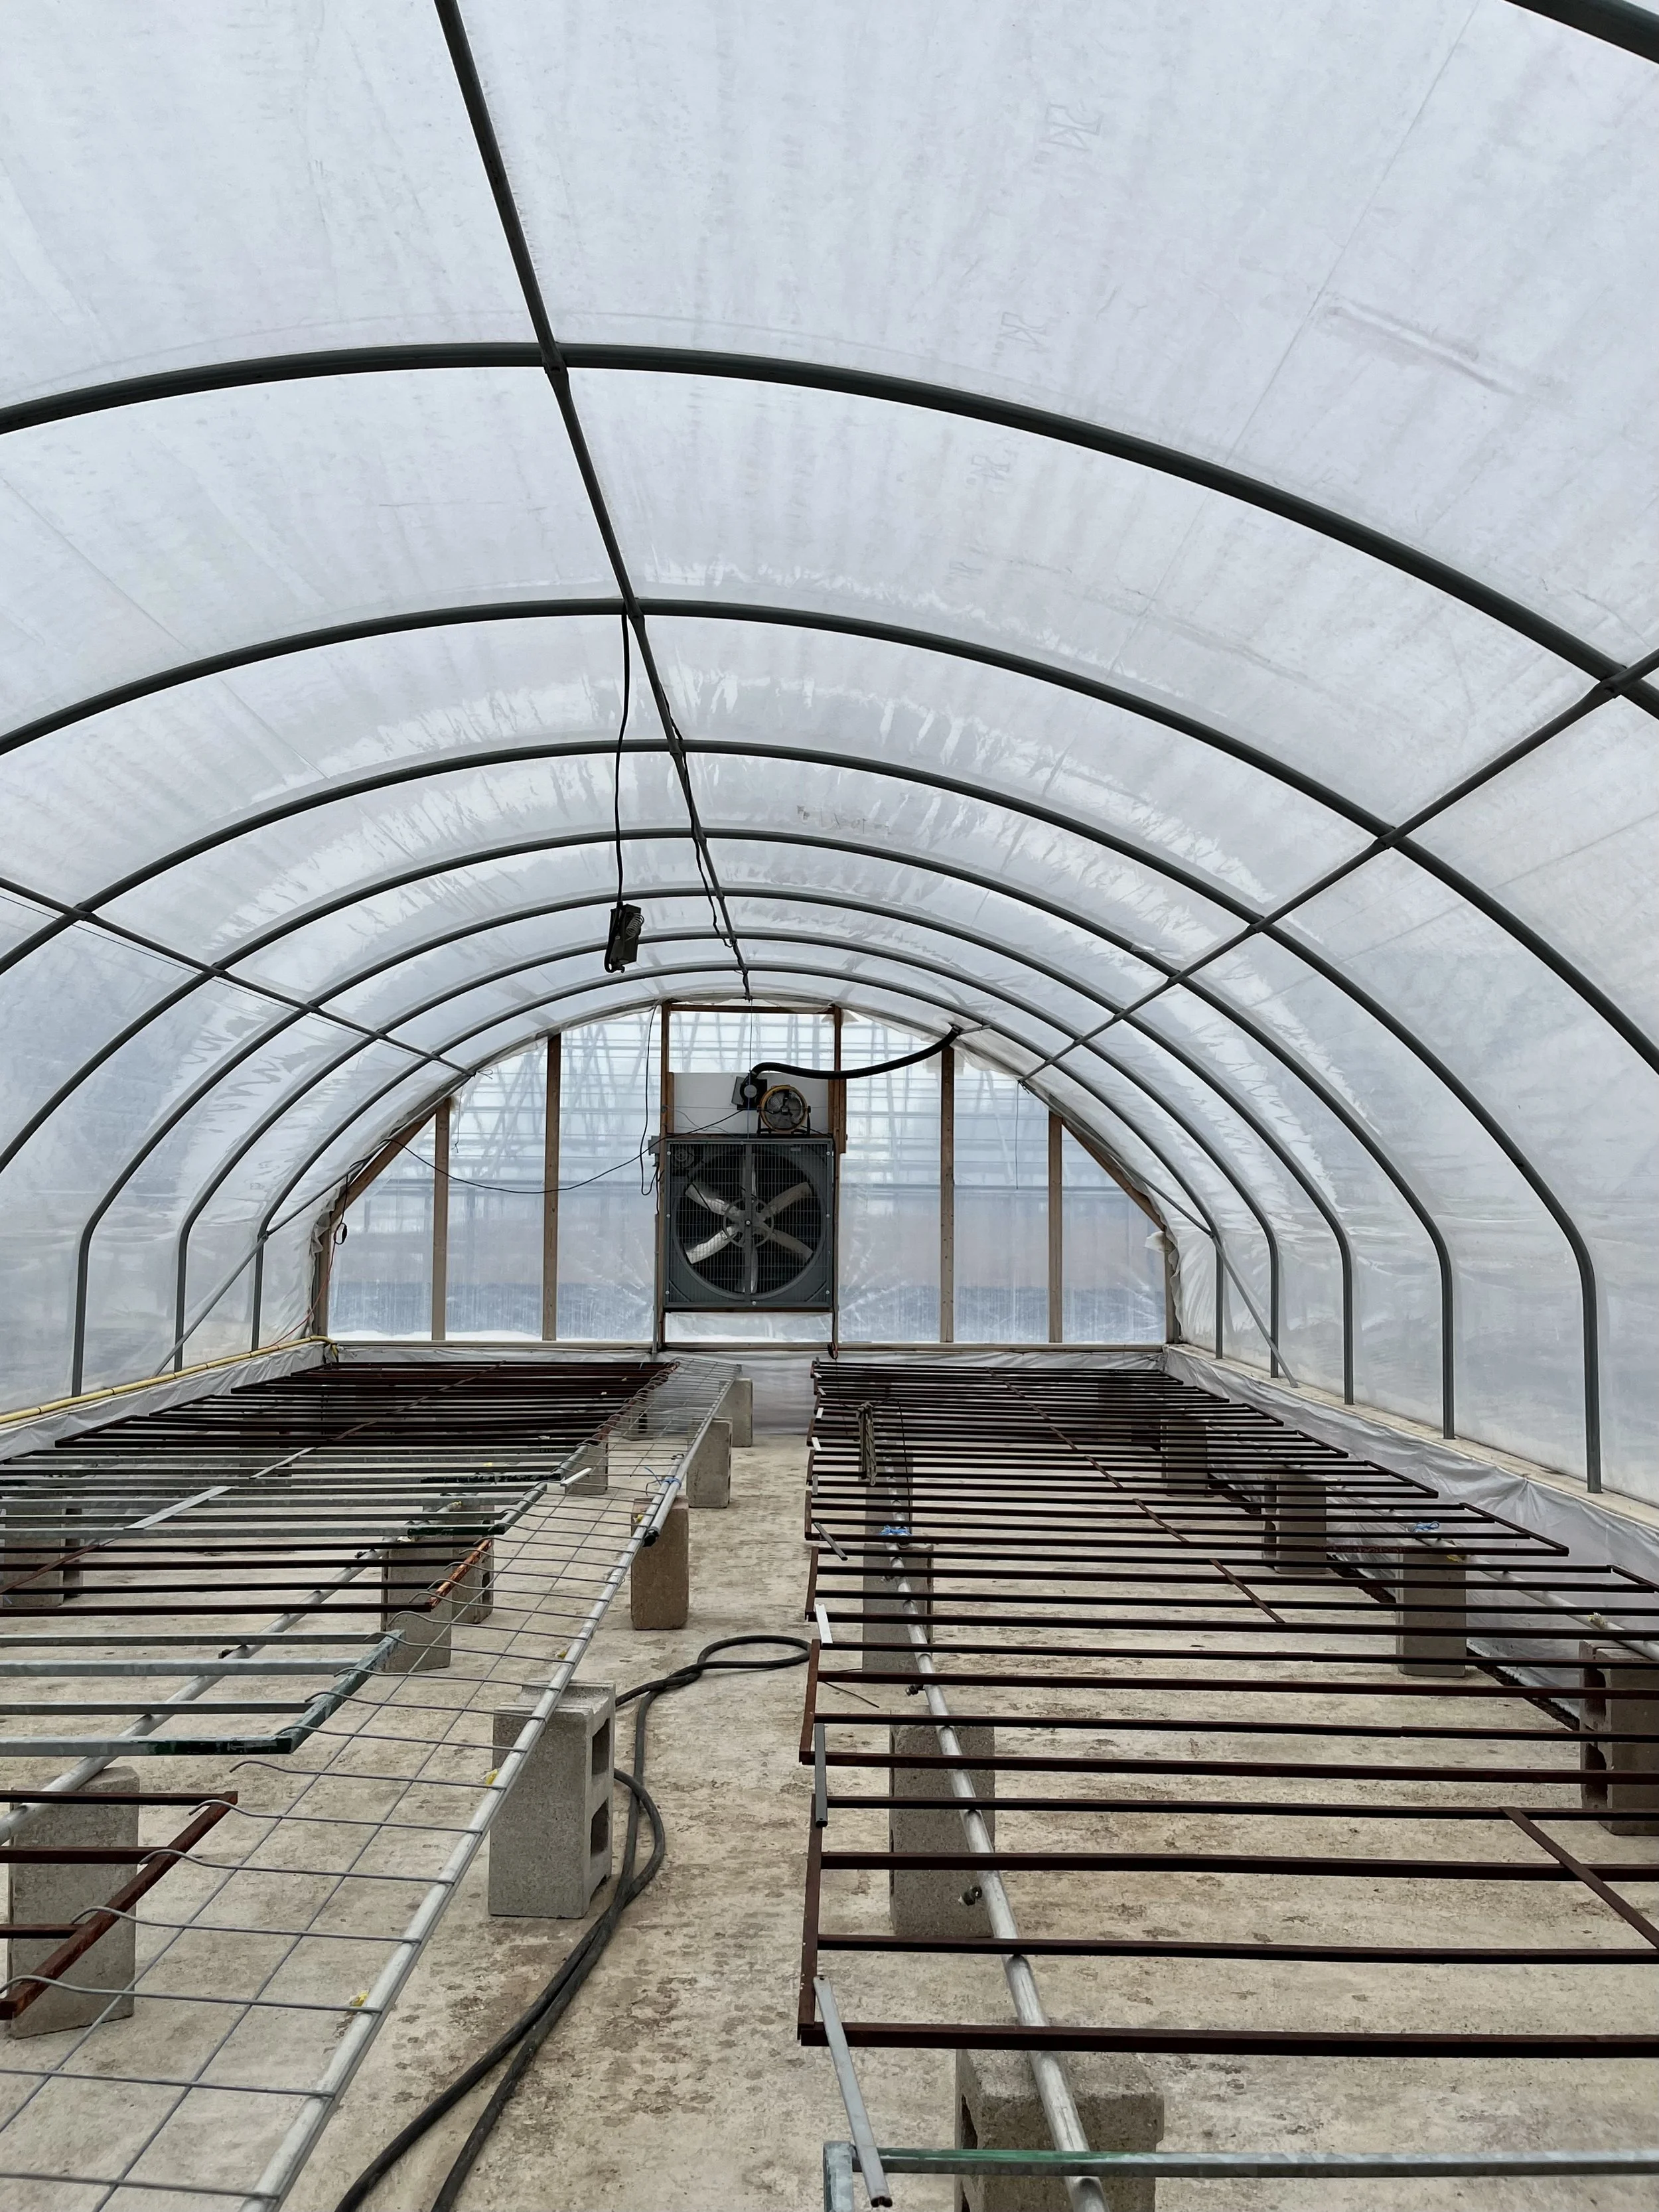
Peppers, tomatoes, and melons are also transplant crops, but they will eventually be transplanted outdoors, not into another greenhouse setting. The greenhouse these crops will hang out in while they get established is pictured above. It’s a traditional glass greenhouse and is heated by the sun. Fans at either end of the structure help regulate temperatures by controlling access to fresh air and cycling out hot air from inside
Before heading to the greenhouse though, the trays of pepper, tomato, and melon seeds have to make one more stop — a germination trailer! This is a dark space that slowly warms the soil and helps the seeds ‘wake up’ before heading into the greenhouse.
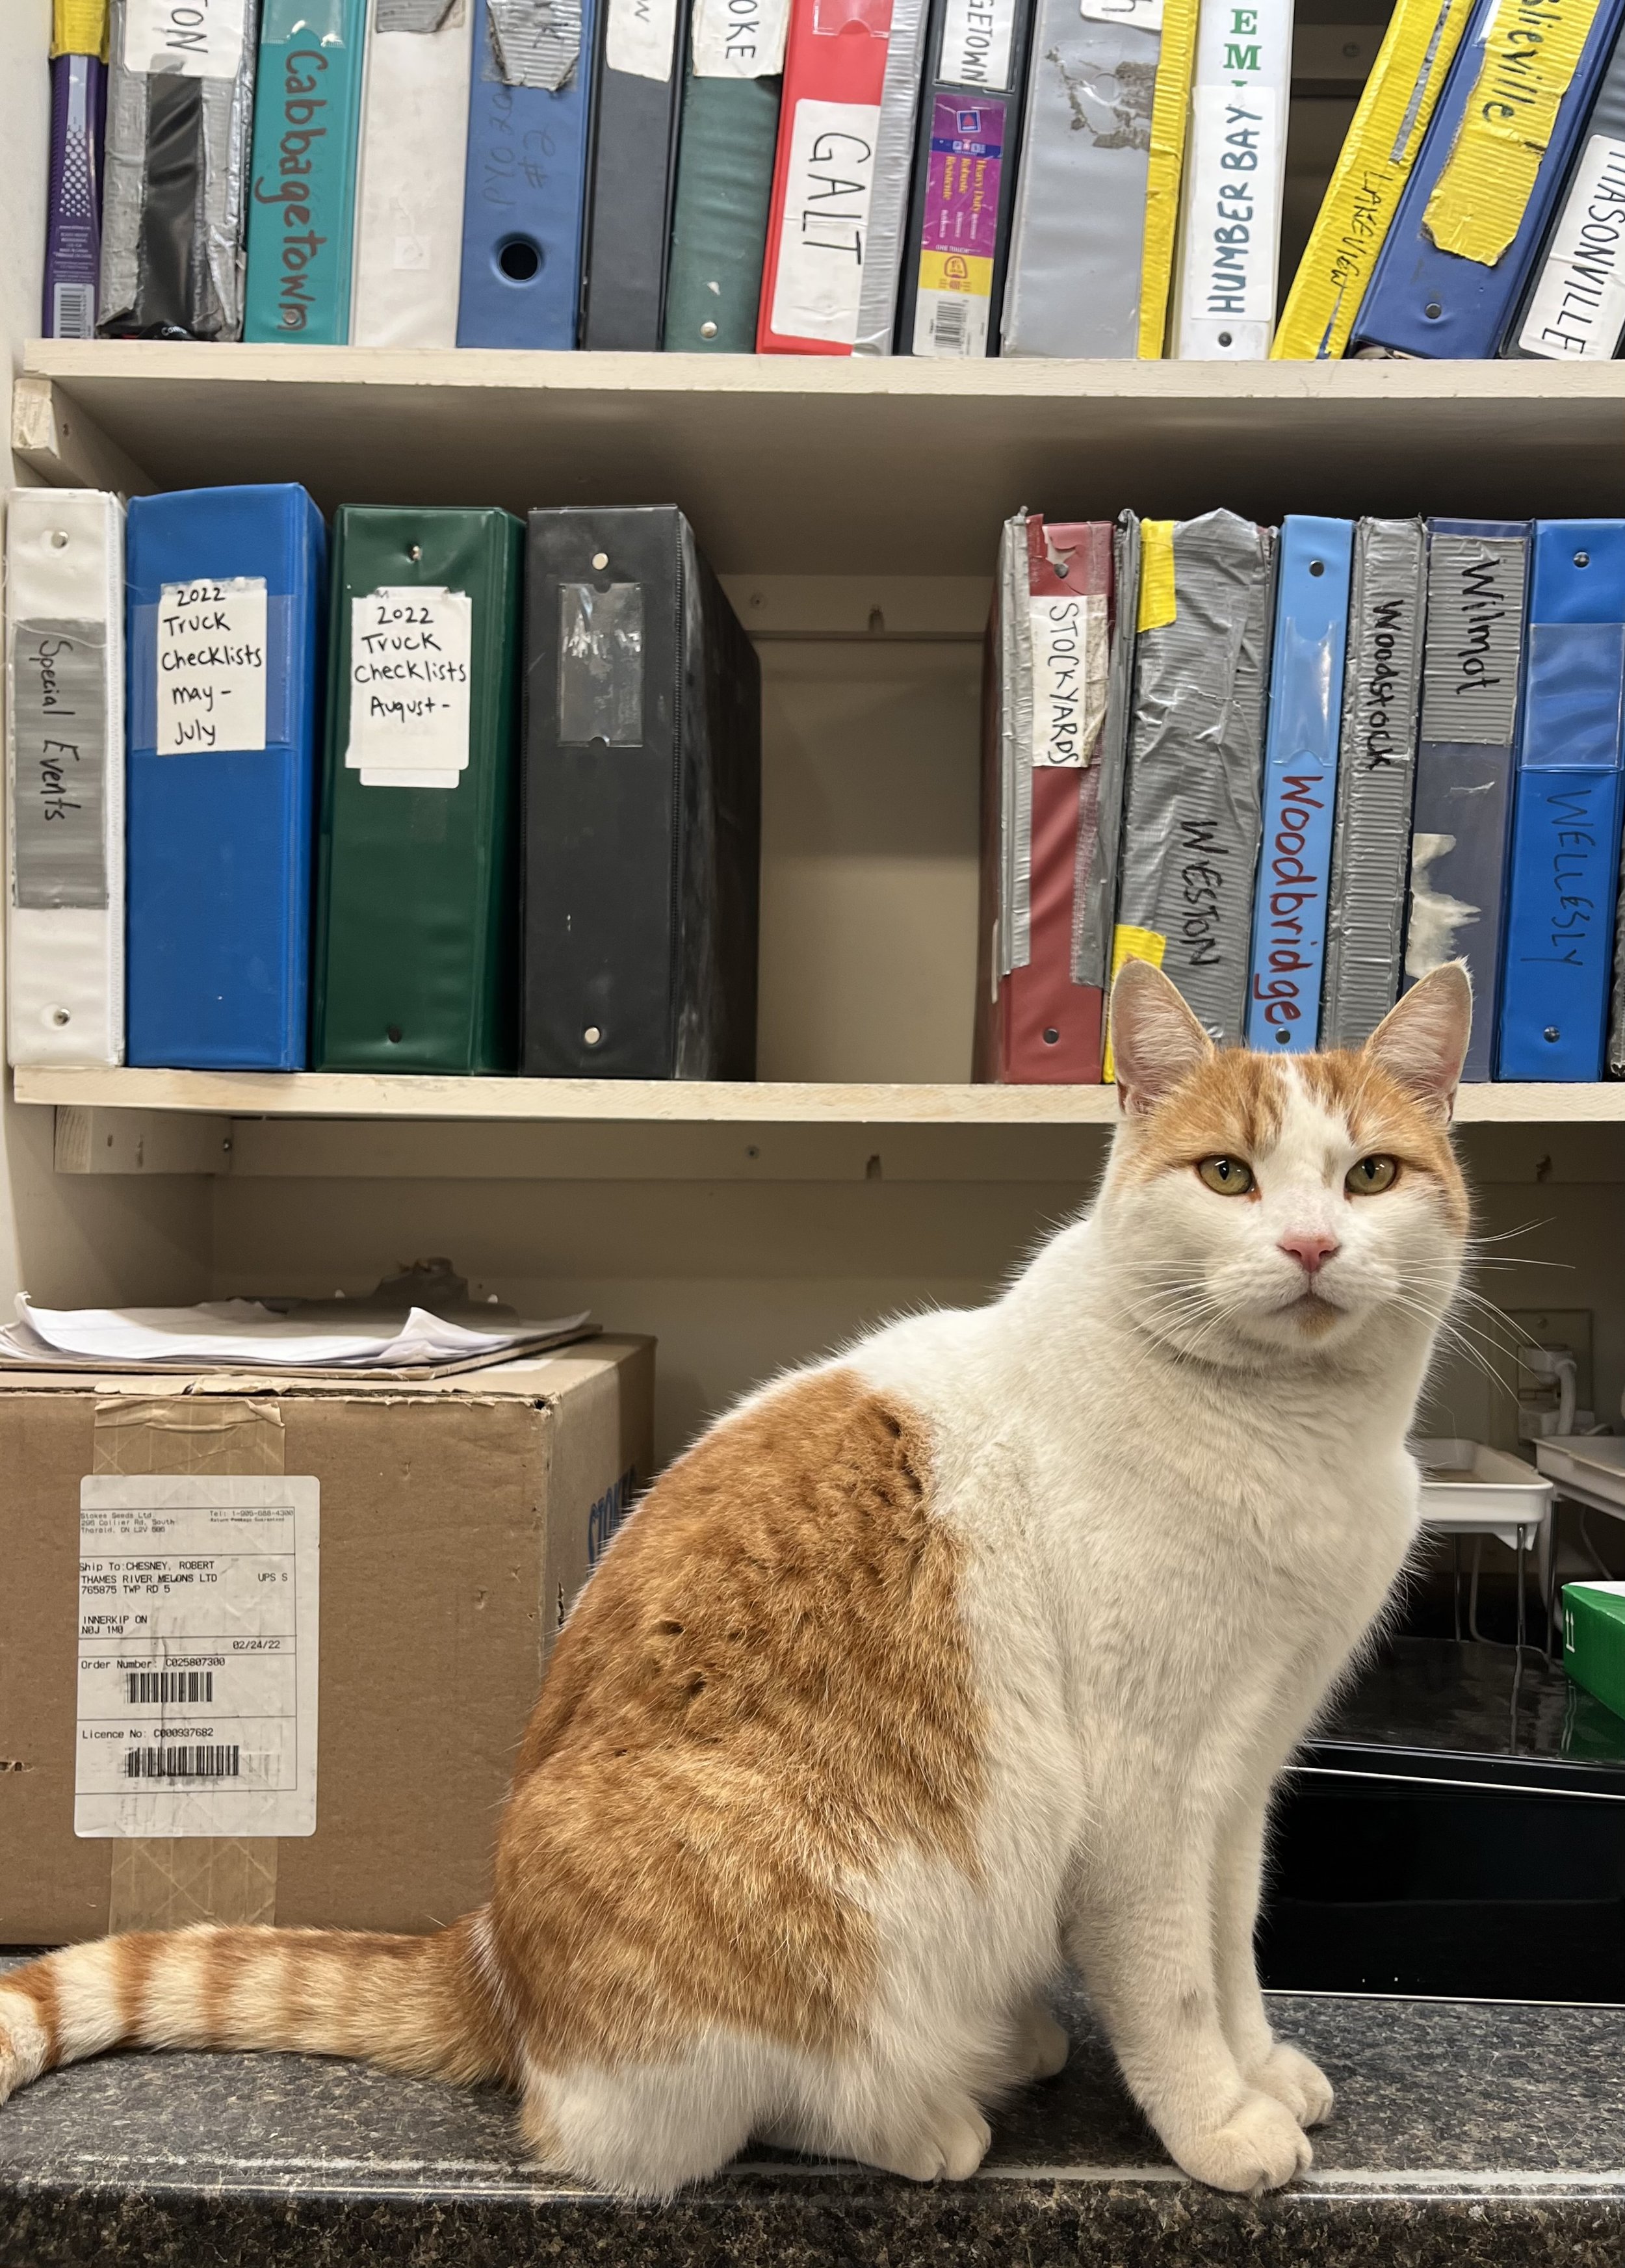
Blog post written & photographed by Alex Chesney, RD