Brie and Raspberry Panini

Ingredients

2 slices of bread

4 slices of Brie

1/3 cup raspberries

1 tbsp butter

1 tbsp honey

Instructions

  1. Butter both slices of bread on one side.

  2. Place the sliced Brie on the none buttered side of one piece of bread.

  3. Top the sliced Brie with drizzled honey.

  4. In a bowl mash raspberries with the back of a fork until the raspberries look similar to a jam.

  5. On the other slice of bread without the Brie and honey, spread the mashed raspberries on the non buttered side.

  6. Combine the two slices of bread like you would a sandwich or a panini.

  7. Place the panini on a frying pan and heat to medium-high temp. Flip the panini until golden brown on each side, about 3 minutes on each side and Enjoy!

Recipe developed and photographed by Dietetic Internship student Rae Wilcox

Zucchini Cornbread

* Serves 9

Ingredients

1 ½ cup zucchini, shredded

¼ cup granulated sugar

¼ cup light brown sugar

½ cup butter

2 eggs

1 cup buttermilk

½ tsp baking soda

1 cup cornmeal

1 cup all-purpose flour

½ tsp salt


Instructions

  1. Preheat oven to 375 degrees Grease an 8-inch square pan.

  2. Melt butter and add to a mixing bowl. Stir in sugars until well combined. Add eggs and stir well, until combined.

  3. Combine buttermilk with baking soda and stir into the bowl.

  4. Add cornmeal, zucchini, flour, and salt and stir until combined. Avoid over mixing the batter doesn’t need to be completely smooth.

  5. Pour batter into the prepared pan. Bake at 375 degrees for 22-30 minutes, or until a toothpick inserted in the center comes out clean.

  6. Cut yourself a piece of cornbread and top with a little butter and honey and enjoy!

Recipe modified from tastebetterfromscratch.com by Dietetic Intern student Rae Wilcox

Learn more about organic food box delivery from TRM.

Strawberry Bruschetta

Ingredients

2 cups strawberries, chopped

1/3 cup tree nuts

½ cup feta

¼ cup olive oil

2 tablespoons basil, chopped

¾ cup balsamic vinaigrette

Instructions

  1. In a bowl combine strawberries, tree nuts, feta, olive oil and basil. Let sit in fridge until balsamic vinaigrette is complete.

  2. Heat balsamic vinegar in a small pot or sauce pan over medium heat. Bring to a gentle boil, then reduce heat to medium-low heat and let simmer, stirring occasionally, until the vinegar thickens (about 15-20 minutes). It should be thick enough to coat the back of a spoon. Let cool for 5 minutes.

  3. Place a generous amount of the strawberry mixture on chicken or a crostini roll and top with a drizzle of the thickened balsamic vinaigrette and enjoy!

Recipe developed and photographed by Dietetic Internship student Rae Wilcox

Strawberry Bruschetta with locally grown farm fresh strawberries.

Roasted Rhubarb Ricotta Toast

This recipe is like cheesecake on toast: tangy, sweet, and delicious! The ricotta give you a dose of protein, and rhubarb and whole grain toast offer up fibre, making for a super satisfying breakfast or snack. Roasting the rhubarb adds a unique depth to its flavour, especially when paired with flavours from honey, vanilla, and orange zest. We used our very own Melon Blossom Honey of course, but whatever you have on hand would work! Alternatively, you could swap it out for maple syrup. Give it a try and let me know what you think!

*Serves 3-4

Ingredients

2 cups rhubarb, cut into 2-inch long pieces

1/3 – 1/2 cup honey, depending how sweet you like it!

1 teaspoon vanilla extract

1 teaspoon orange zest

1 cup ricotta cheese

3-4 thick slices of bread of choice

1 tablespoon sliced or chopped almonds

Instructions

  1. Preheat oven to 400°.

  2. Wash, trim, and chop rhubarb. Cut them diagonally for an extra pretty presentation!

  3. Whisk vanilla into honey.

  4. Toss rhubarb pieces with honey in a medium-sized bowl until they are evenly coated.

  5. Sprinkle with orange zest.

  6. Transfer prepared rhubarb pieces to a baking pan lined with parchment paper. There will be some extra honey in the bowl, so be sure to scrape that out on top of the rhubarb pieces!

  7. Roast for 15 minutes or so. Rhubarb should be tender but still holding its shape.

  8. While rhubarb roasts, toast your bread.

  9. Spread approximately ¼ cup of ricotta cheese on each piece of toast.

  10. When rhubarb is ready, lay atop your ricotta toast.

  11. Spoon some of the liquid (it’s so good!) from the pan on top of the rhubarb pieces.

  12. Sprinkle with almonds and enjoy!

Recipe developed and photographed by on-farm Registered Dietitian Alex Chesney
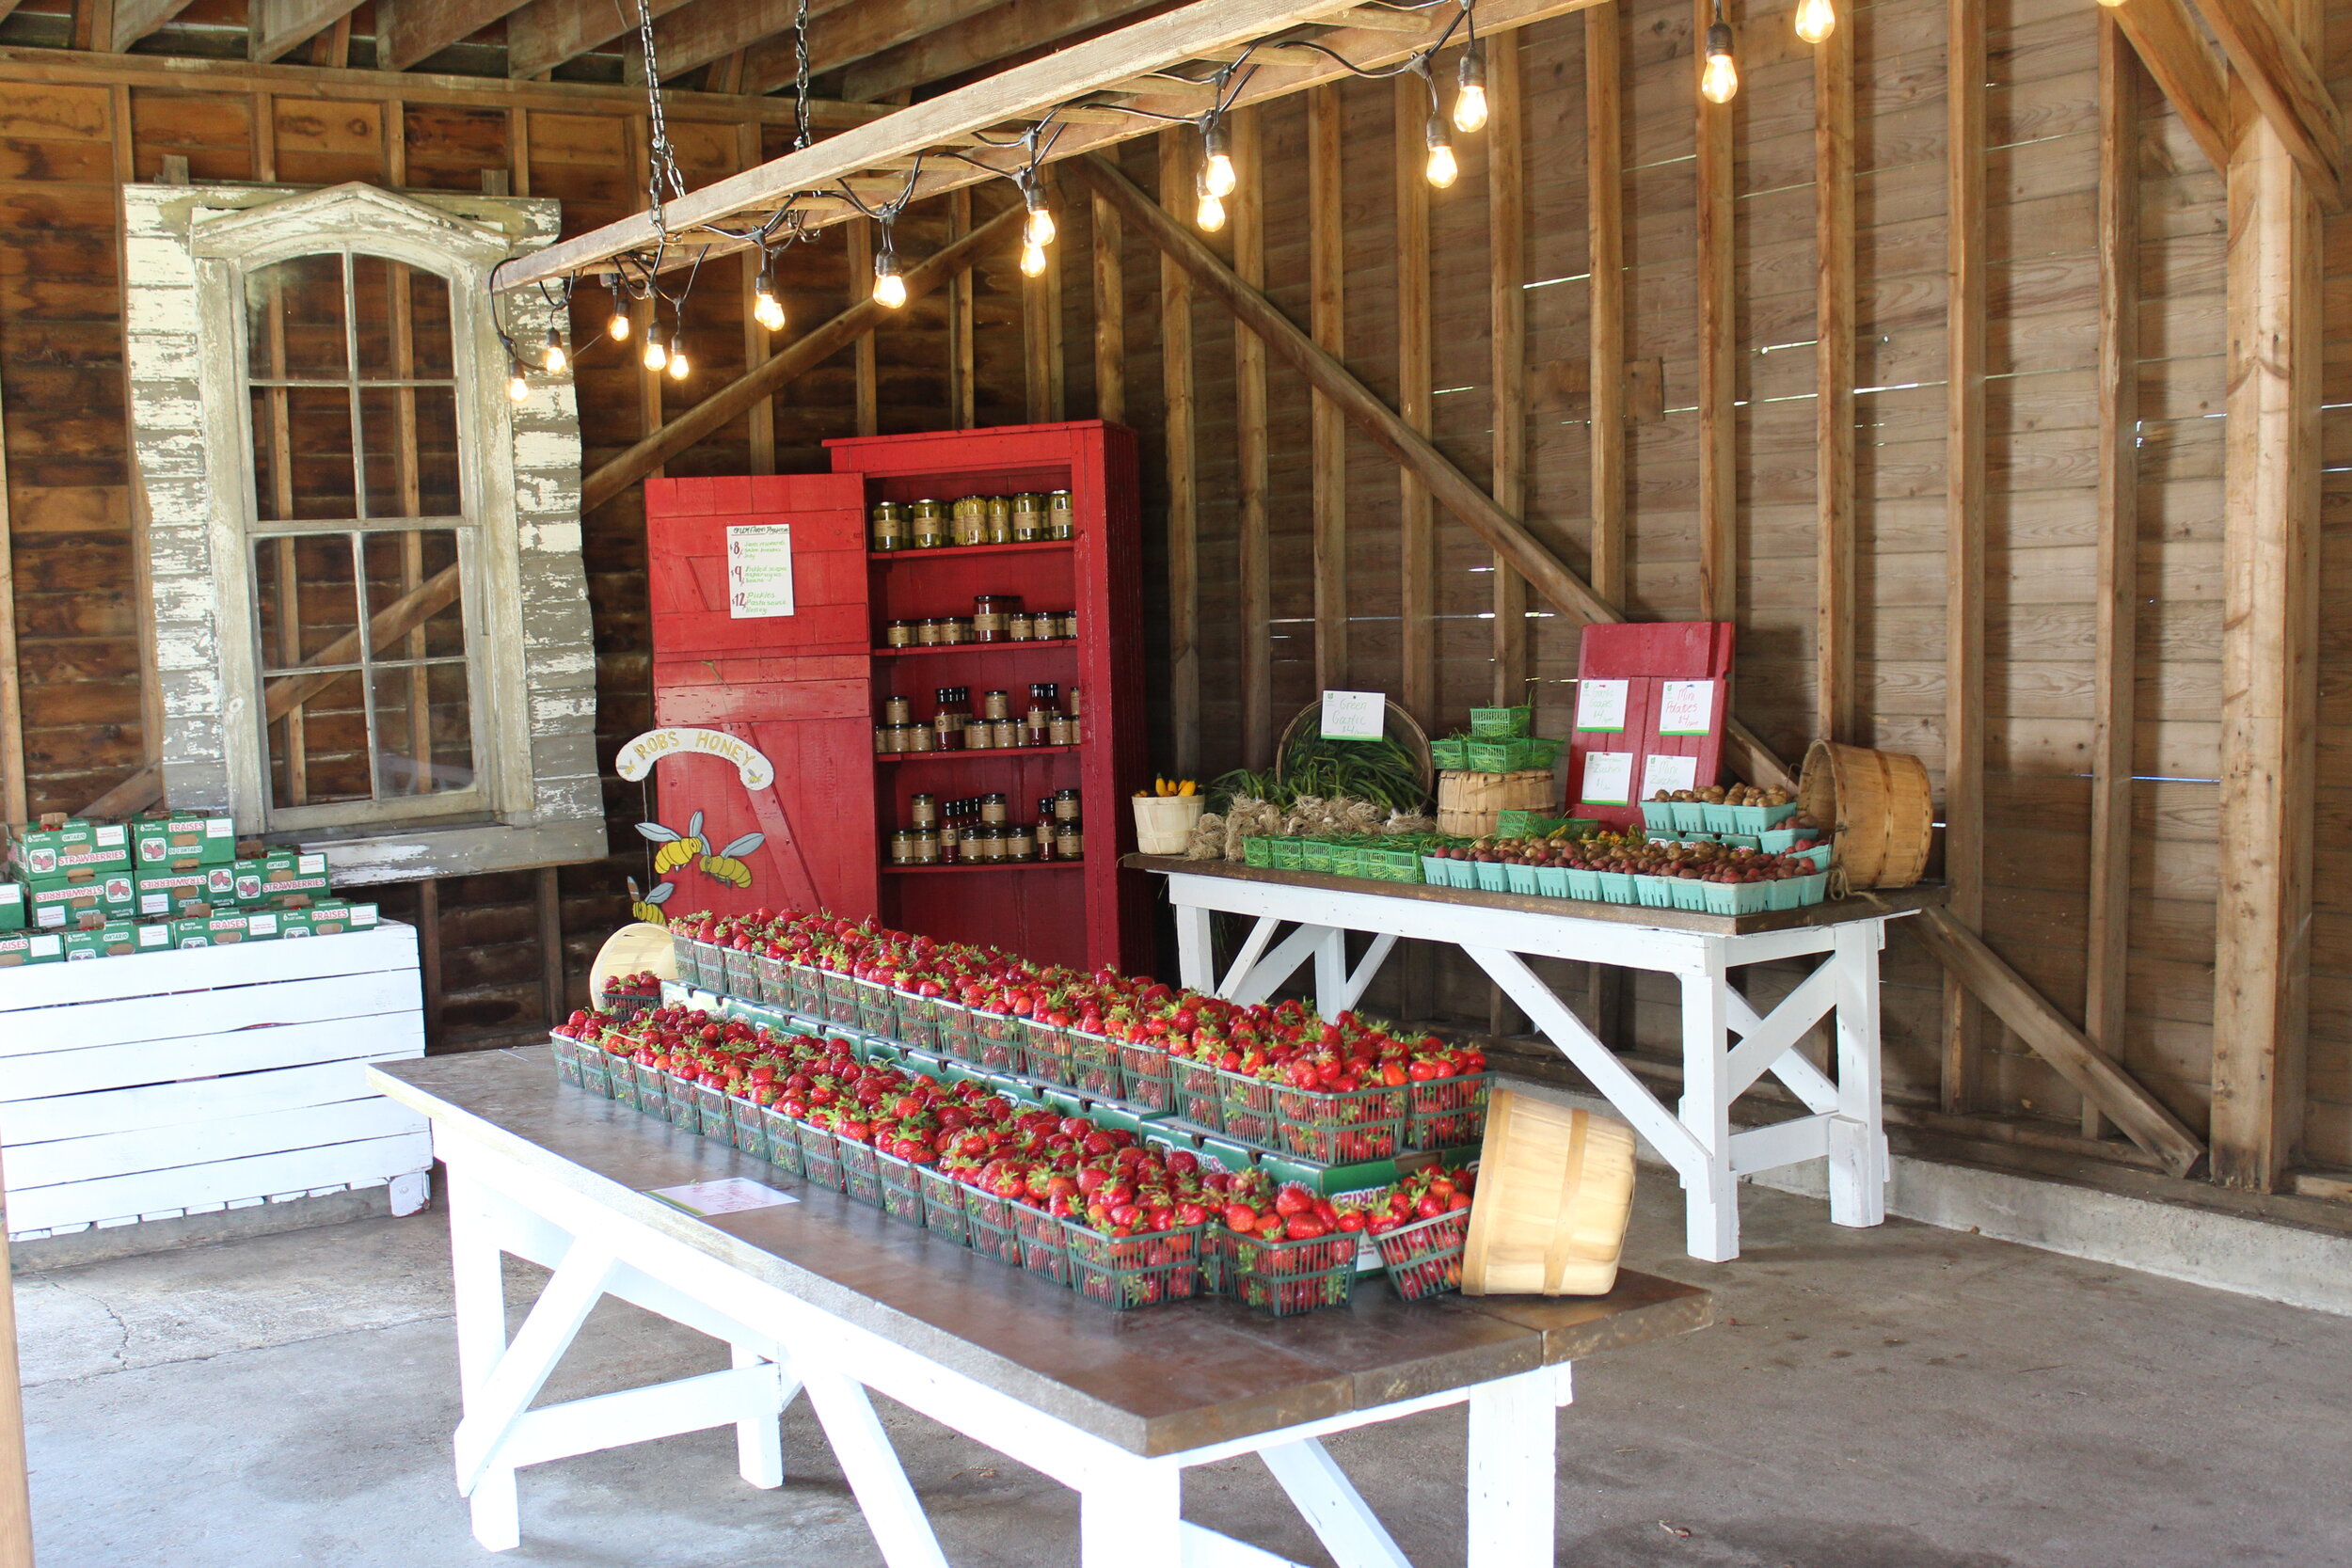
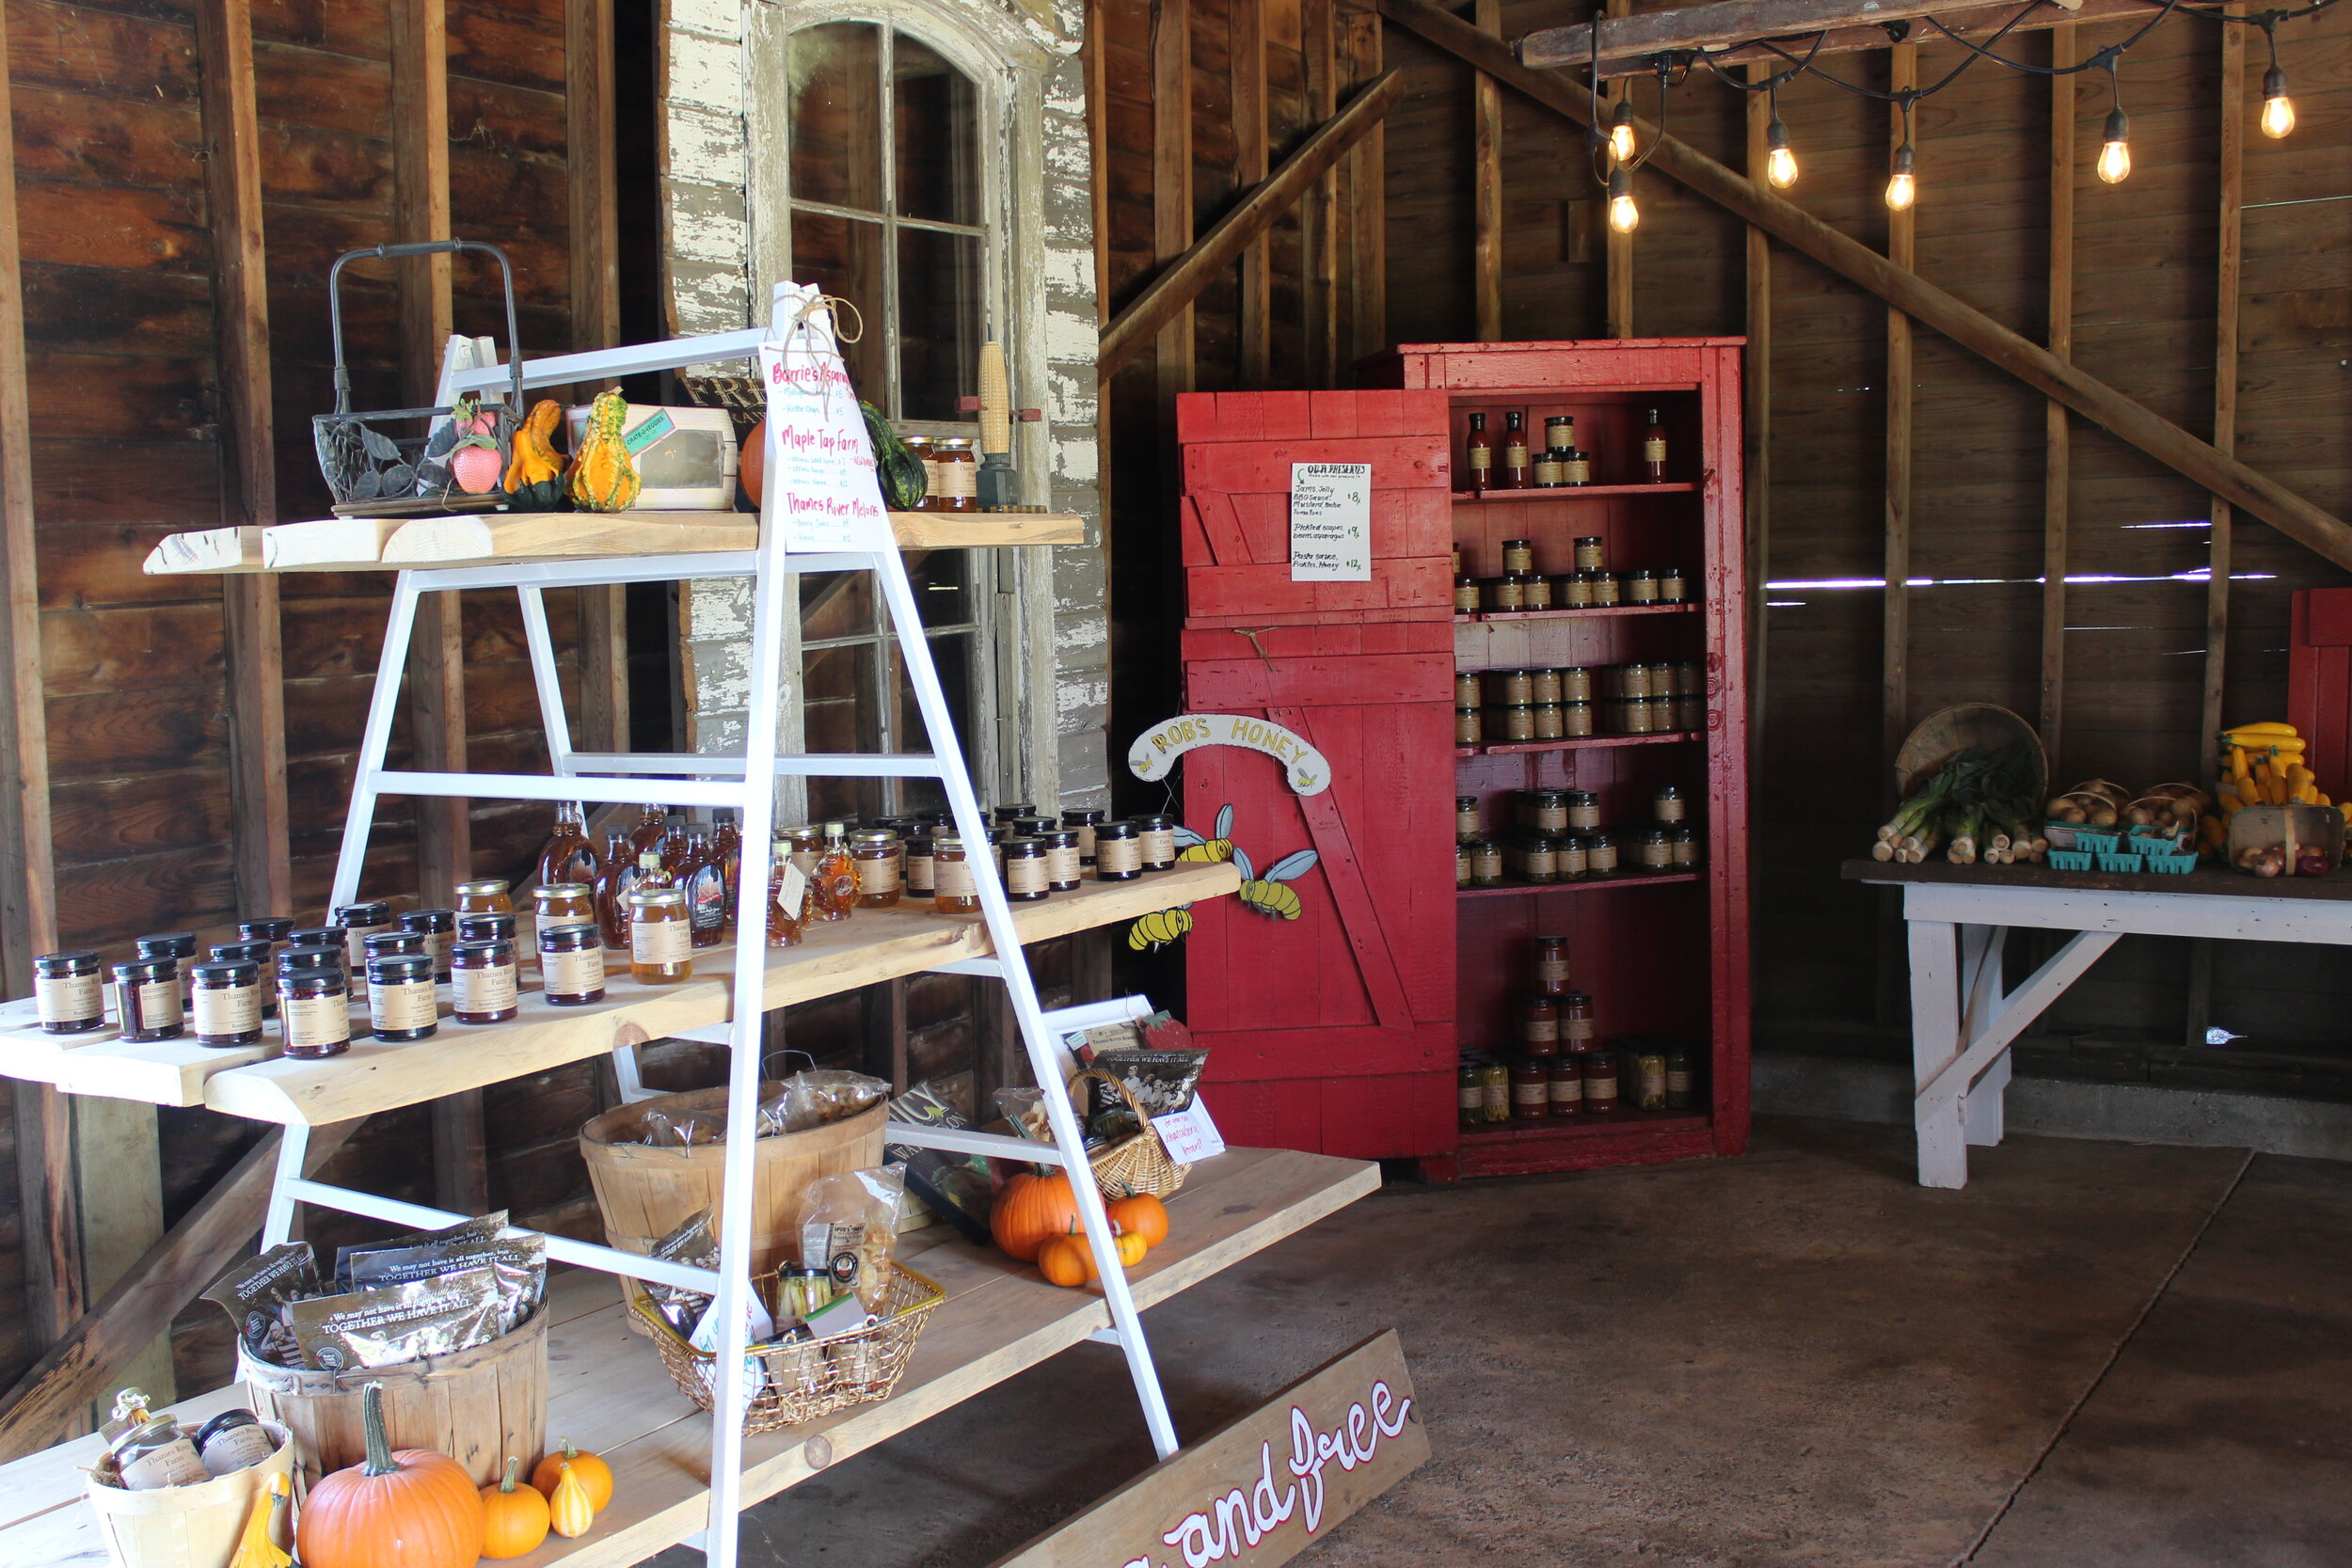
Learn more about veggie box delivery from TRM.

2019 Trailer Renovations

This past summer we undertook a couple of extra fun & creative projects involving one key theme: trailers. Yup, you read that right! What’s so fun about trailers? Well, turns out they make great little libraries & fruit stands! We had an old camping trailer and an old horse trailer hanging around; both used in the past, but both left jobless for this season. So we came up with a plan!

First up was the camping trailer. In the past, this lived at our pick-your-own patch. Back when the patch was across the road, and we didn’t have much to offer other than delicious berries waiting to find a home! Since moving across the road and into our new space, the trailer was left abandoned. But it had a fond place in our heart, and we couldn’t bear to see it sit empty. Plus, as farmers, we’re the original recyclers. We work with a minimal budget, and always look around for existing tools before buying new. This attitude often leads us down winding, off-the-beaten-path trails, but we tend to prefer it that way.

Anyways, here’s a before picture of our dear camper trailer. It’s a bit hidden, but hopefully you can see it back there. It was white and green, and we used it to store picking supplies: empty quarts, baskets, and flats + flags, signs, and other odds and ends.

To start its transformation, we emptied out all those old supplies so that we could work with a clean slate. Next, we gave it a makeover. We painted it white & red and added some pretty white detailing. Here’s another photo:

So now we had a beautiful looking trailer, but we needed a job for it! We did some brainstorming, and first came up with the idea that it should be parked at our Innerkip fruit stand, located on the main street of our little town. We’ve had a stand there for a few years, but again, it could use some improvement. Eventually, we came up with a plan: let’s open a free little library! We had regular shoppers stopping by anyways, so why not offer them an added experience of checking out books? We put a call out to the community, asking for used book donations, and my goodness they did not disappoint!

The books started to pour in, at an incredible rate — we could hardly keep up with them! We got to work cataloguing, putting an old-school pocket and card in the back of each book. We added a few shelves to the compliment the existing ones within the trailer, and then we started to stack. We stocked the trailer with a stamp and a notebook so that they could be easily checked out, added a sign to the exterior of the trailer. All that was left to do was open the doors!

Here are some more photos:

After a successful season at our Innerkip Fruit Stand, we moved the trailer over to our Farm Market & Pick-Your-Own patch to help add to the fall festival activities. Now it’s in storage for the winter, but we can’t wait to bring it back to life again this spring! We’re going to be putting out another call this year – but this time for a volunteer to help us keep it organized. If you know of any book-loving locals, let us know! And keep an eye out on our social media & website for a volunteer application. We have other exciting ideas too – more little libraries, a book club, and more!

Now, for that second trailer! After such a successful first trailer conversion, we had high hopes for the old horse trailer. I (Alex here!) did some research and came up with a bit of a vision board, which I am thrilled to say came to life perfectly! We decided that the horse trailer would make the perfect addition to another one of our roadside stands, located in the Toys R Us parking lot in Kitchener. We first started selling at this stand in the early 90s, when my grandpa would sell on our behalf. Once it became too much for him, we took over. Since then it’s been a simple set up with a tent & tables. But we felt like it could use a makeover too.

We unfortunately don’t have a great “before” photo, but it was a pretty basic horse trailer prior to its conversion, painted grey. We brightened it up with a coat of white paint, added wood planks on the back and sides, shelves on the interior & exterior, and an adjustable shade that could be propped up during the day and taken down at night. Final touches included painting our logo & one of our favourite sayings “live eat local” and we were ready to roll!

Overall it was a wonderful summer full of adventure, creativity, and thinking outside the box. We had a blast and can’t wait to see what we come up with this year!

2019 Recap: Farm Market & Pick-Your-Own Patch

The 2019 season was full of growth, change, and adventure. As many of you know, we opened our new & improved on-farm market and pick-your-own patch in June, with the start of our strawberry season. From there we welcomed so many community members onto our farm to pick more strawberries, then raspberries, blueberries, a wide array of veggies, and pumpkins in the fall.

We were overwhelmed by the support we received and thrilled that so many of you shared our passion for spending time outdoors, getting your hands dirty in the fields. We loved seeing you chat with our chickens & cows, triumphantly pull up a carrot or dig out some potatoes, and joyfully take a wagon ride to the corn maze and pumpkin patch in the fall.

Plans for the 2020 season are already well underway, with the same pick-your-own lineup, along with some fun new surprises. We’re looking forward to adding a few new crops for picking, as well as more events and on-farm activities for everyone to enjoy. Stay tuned for the release of these details!

In the meantime, we thought it would be fun to share a bit of the transformation that our farm market experienced before the opening date in June. The month of May was spent scouring for furniture, painting, setting up, and decorating. It was so much work, but oh-so-worth it. Check out the photos below to follow along!

Pictured above are many of the goodies we found in Grandma & Grandpa’s barn while setting up the Farm Market. Back in the 1990s and early 2000s, our Innerkip Farm Market lived in the bottom of their barn, and these items were used in that display. However, when we moved out of that barn onto the main road into Innerkip they were forgotten. We were thrilled to find them still there, and brought them back to life.

Top left: large butcher block counter

Top center: smaller butcher block counter

Top right: red cabinet — we kept the iconic colour!

Bottom left: magazine stand — now houses our beautiful hand-printed cards

Bottom center: melon bins — now painted white

Bottom right: an old trough, used for washing leeks in its old life — now used as a big flower pot!

Curious about that old-school farm market? Well, we dug out a couple pictures for you! It actually started under the overhang of the old pumphouse. From there, it moved into the basement of the old bank barn. Anyone out there remember that?

The barn had a lot of random stuff in it, and many layers of dust, dirt, and grime accumulated, so a lot of hours were spent organizing, emptying, and cleaning. So much cleaning! We power-washed, swept, vacuumed, repeat! It was worth it, though.

Once emptied out, we carefully planned the layout of our indoor space. We wanted it to be warm, welcoming, and full to the brim of local goodies. We featured our full lineup of farm-fresh produce (100% of it grown on our farm!), our preserves & our honey, as well as a few other local treats like maple syrup, chia crackers, and hand-printed cards. Next season we plan to add even more added-value items! Any suggestions?

One of our favourite additions is this gorgeous ladder light fixture. The ladder was another find in our grandparent’s barn, and we just knew it had to be included. We suspended it from ceiling, we wove lights through it, and ta-da! A lovely source of light was born.

Another favourite feature is the gorgeous mural featuring one of our original logos. We are so grateful to Alyssa for this incredible work!

We also spent time carefully planning out and designing our outdoor spaces.

The first thing you see when you arrive at our farm market is the welcome sign. This sign holder once lived at the end of our cousin’s lane way. It wasn’t being used, so we moved it over to the farm market! For the sign itself we used an old wooden barn-door. One of our incredible farm marketers Alyssa painted it red (of course!) and added our logo. Next, we built a box to go around the bottom.

Finally, we filled the box with soil and beautiful plants & flowers thanks to our incredibly generous neighbours Wells’ Greenhouse. If you’re in the Oxford County area, check them out!

Another feature of our outdoor space was the kids area, complete with a sandbox and fantastical treehouse. The treehouse was part of one that was first constructed at our home farm, on the truck of an old willow tree. It was designed by a local architect, of Martin Design Group, in Innerkip. Check out a photo below to see what it used to look like. Unfortunately the upper tier had begun to become unstable overtime, so we moved it over to our market. Now that it’s closer to the ground, on an updated platform, it’s good as new. We love how the wood has become weathered over time, giving it a wood-fairy vibe.

Overall it was a wonderful season, and we are so grateful for the support of our community! We can’t wait to see what 2020 will bring.

Sweet Potato, Kale, and Red Lentil Curry

*Serves: 4

Prep Time: 15 minutes

Cook Time: 30 minutes

Ingredients:

2 medium (or 1 large) sweet potato, cubed

1 carrot, diced

1 pepper, diced

1 onion, diced

2 cloves garlic, minced

Salt

Pepper

1 teaspoon curry powder

½ teaspoon turmeric

½ teaspoon red pepper flakes (optional)

1-2 tablespoons Thai red curry paste, depending on spice tolerance

1 can coconut milk

1 cup low-sodium vegetable stock

1/2 cup red lentils

2 stalks kale, finely chopped

Instructions:

  1. Mise en place: chop all of your veggies and measure out all of your spices. That way they will be right ready to go when you need them!

  2. Add oil to a shallow saucepan and heat over medium heat. To track the temperature, add 1 small piece of diced onion. When it starts to sizzle, you’re ready to go!

  3. Add the onion and cook for 2-3 minutes, stirring frequently. Onion should be softened and fragrant.

  4. Add the diced bell pepper & minced garlic. Cook for an additional 2-3 minutes, continuing to stir often.

  5. Add spices and curry paste and stir until the veggies are evenly coated.

  6. Next, add the coconut milk, stirring until smooth and mixed in with the veggies and spices. The mixture should be a nice rich orange colour.

  7. Add the vegetable stock and stir again.

  8. Finally, add the sweet potato. Stir, then cover and cook for 15 minutes over medium-low heat.

  9. Remove the lid, stir, and add the red lentils. Stir again, then cover and cook 20 minutes. Stir every 5 minutes of so.

  10. During the final 5 minutes, add kale. Continue to cook, stirring continuously, until the kale is wilted and coated in the sauce. The mixture should be thick and very fragrant.

  11. Serve alongside rice or naan bread – something to soak up the saucy goodness. Enjoy!

Recipe created & photographed by Alex Chesney, RD

Creamy One-Pot Pasta with Butternut Squash, Kale & White Beans

I came across this recipe yesterday and was immediately intrigued for a few reasons:

  • It used a bunch of produce we have on our farm right now (butternut squash, kale, & garlic)

  • It was vegetarian (perfect for that meatless Monday trend)

  • It was a creamy pasta dish (because, duh, what better comfort food is there?!)

  • AND it was still high in protein and all-around pretty balanced

I was hooked! I had most the ingredients on hand, so I went for it… The verdict? I’m so glad I did! I’ve had some not so great experiences with one-pot pastas in the past, leaving me with a runny mixture of seemingly random ingredients, but this one turned out perfectly. The original recipe called for fresh basil and pumpkin seeds, which I didn’t have on hand at the time, so I made a few tweaks to fit my pantry. It was quick, easy, and pretty darn tasty. Give it a try and let me know what you think!

*Serves: 6

Prep Time: 15 minutes

Cooking Time: 8 -- 13 minutes

Ingredients

2 teaspoons dried basil

½ teaspoon red pepper flakes

1 small lemon

3 tablespoons olive oil, divided

6 cloves garlic

1 (15-ounce) can white kidney beans

12 ounces dried spaghetti

1 cup butternut squash purée (can sub sweet potato or pumpkin purée)

2 teaspoons kosher salt, plus more as needed

1/2 teaspoon freshly ground black pepper

4 1/2 cups water

1/2 cup plain Greek yogurt

3 cups loosely-packed kale

¼ cup parmesan cheese, shredded

½ cup mozzarella cheese, shredded

Instructions

  1. Finely grate the zest of ½ a small lemon. Combine with the dried basil and red pepper flakes, then whisk in 1 tablespoon of the olive oil. Season with salt and pepper to taste, stir to combine; set aside. Halve the lemon and set aside.

  2. Thinly slice 6 garlic cloves and add to a large straight-sided skillet (we like this one) or Dutch oven. Drain and rinse 1 can white kidney beans. Add 1/2 the beans, the remaining 2 tablespoons olive oil, 12 ounces spaghetti, 1 cup canned butternut squash purée, 1 teaspoon kosher salt, and ½ teaspoon black pepper.

  3. Add 4 ½ cups water and bring to a boil over high heat (this will take about 5 minutes). Boil the mixture, stirring and turning the pasta with tongs to prevent sticking, until the pasta is al dente and almost all the liquid has evaporated, 8 to 10 minutes. In the last two minutes of cooking, add 3 cups baby kale.

  4. Remove from the heat. Stir in 1/2 cup of the plain Greek yogurt, the remaining beans, the shredded mozzarella, the herbed oil mixture, and the juice from ½ the lemon. Stir with tongs, and taste, adding more lemon juice and salt as needed. Divide the pasta between 6 bowls and garnish each bowl with the shredded Parmesan cheese, and more black pepper.

Recipe Note:

To reheat leftovers, warm in a skillet with a splash of water, tossing until the sauce loosens up and is creamy. Season with salt, to taste, and a squeeze of lemon juice.

Recipe slightly modified from: https://www.thekitchn.com/one-pot-pasta-recipes-261459