When I’m working away on a hot summers’ day, I like to daydream about what I’m going to eat for dinner. And when I’ve worked outside on the farm for 12 hours, I want something that’s filling, satisfying, and delicious. One favourite that checks off all these boxes is chicken wings & a beer. Seriously, it’s true! It’s the perfect patio meal. But sadly, wings are not something I typically whip up at home on a regular night. So I set out to recreate the experience with an easier, plant-based alternative. And here’s what I came up with!
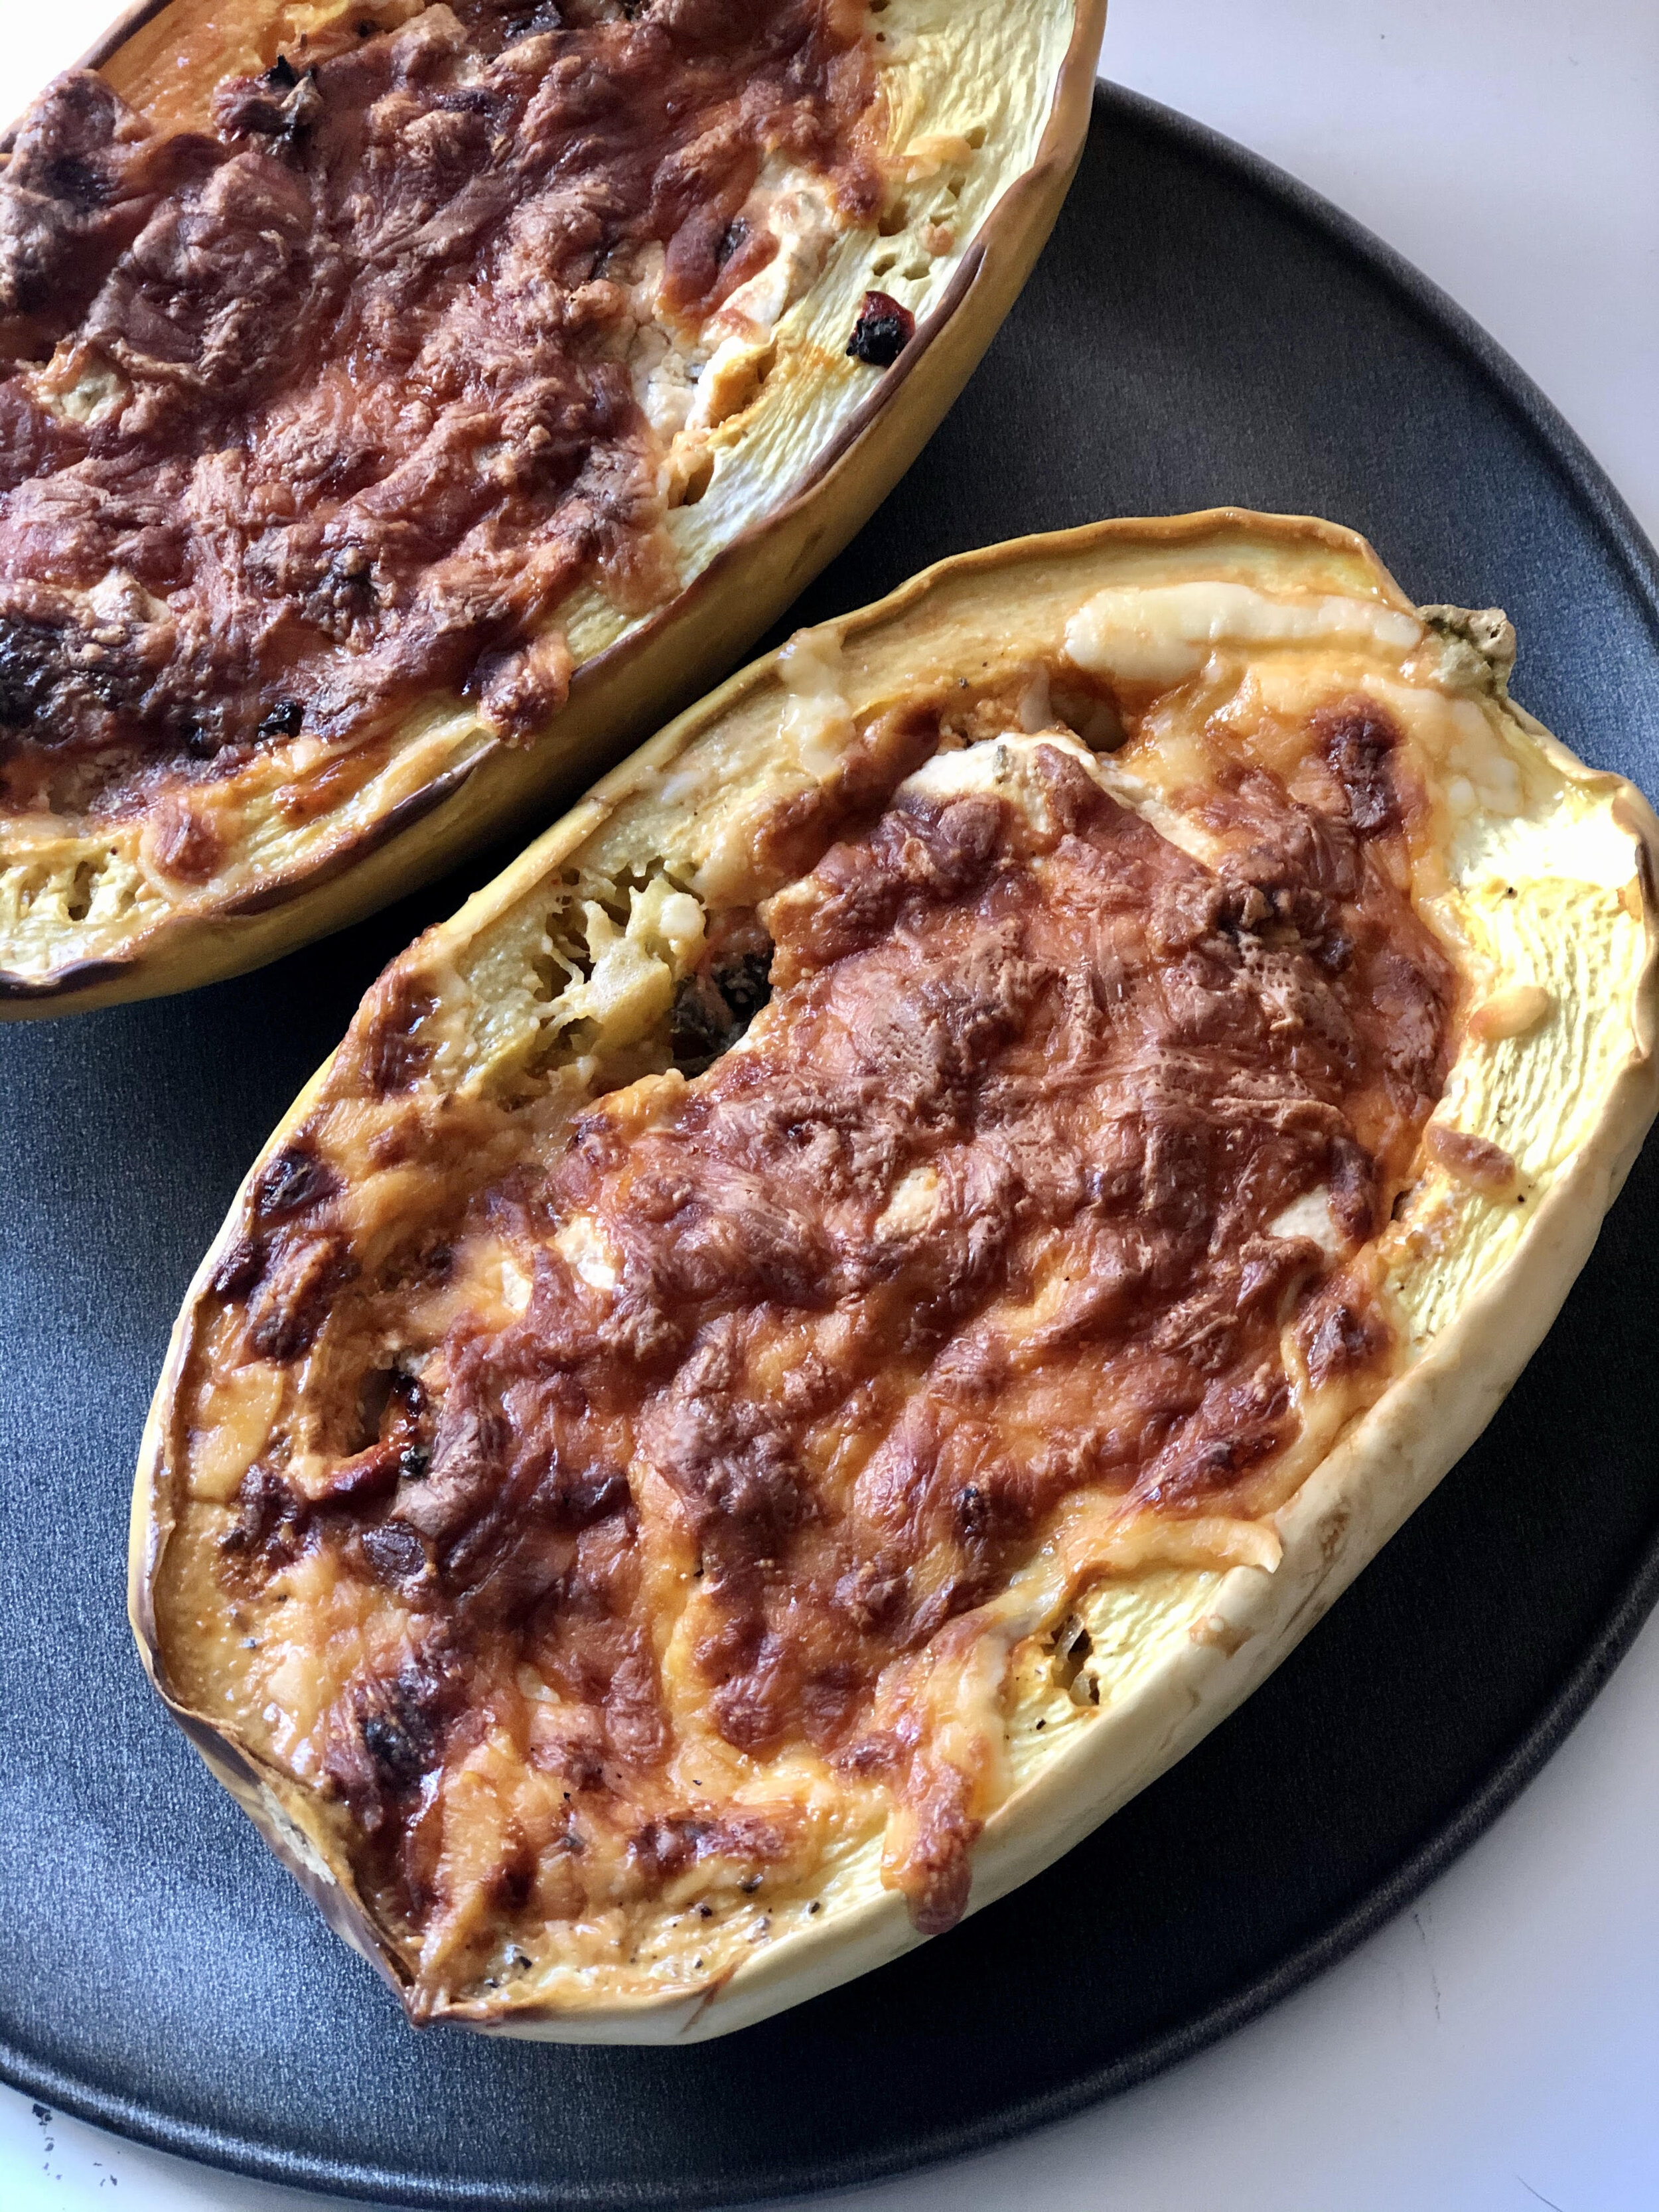
Crispy chickpeas smothered in Buffalo sauce, stuffed into zucchini, and drenched with homemade ranch sauce. And I gotta say, it was pretty great! I felt full & satisfied after eating (thanks to the fibre offered up by both the chickpeas & zucchini and the plant-based protein from those chickpeas!), and I loved the heat from the Buffalo sauce, paired with the cooling & refreshing homemade Ranch dressing.
Overall, this recipe is pretty darn delicious, if I do say so myself! It’s got a nice kick to it, it’s filling, and it’s easy. What more could we want? Give it a try and let me know what you think! Zucchini & green garlic are available now from our farm, and you’ll be able to pick your own dill & green onions at our farm market veggie patch within the next week. Stay tuned!
Ingredients
Stuffed Zucchini
4 large Thames River Melons zucchini, halved with seeds removed
1 can chickpeas, rinsed
2 heads Thames River Melons green garlic, minced
1 tablespoon canola oil
Buffalo Sauce
2/3 cups Frank’s Red Hot sauce
1/4 cup butter
1 tablespoon vinegar
¼ teaspoon Worcestershire sauce
Dash of cayenne
Dash of garlic powder
Homemade Ranch Dressing
½ cup Greek yogurt
¼ cup mayonnaise
1 head/sprig of Thames River Melons fresh dill, minced
3 Thames River Melons green onions, diced
2 tablespoons milk
1 teaspoon lemon juice
Bread Crumb Topping
1 cup whole wheat breadcrumbs
1 teaspoon mixed dried herbs (basil & oregano work well!)
Instructions
Begin by preparing the buffalo sauce: combine the Frank’s, butter, vinegar, Worcestershire, cayenne, and garlic powder in a small pot and place over medium-low heat. Stir occasionally.
While the sauce is cooking, prepare the zucchini for stuffing. Slice them in half lengthwise and use a spoon to scrape out the pulp/seeds from the middle, creating a hollowed out centre. You can either compost this pulp, or reserve for use in a soup, pasta sauce, or stew. Pop it in the freezer if you think you’ll use it later!
By now, the Buffalo sauce should be ready. Once the butter is melted and the mixture is bubbling, remove from heat. Set aside for later.
At this point, fire up the grill to preheat. You’ll want it on medium-high heat, somewhere between 350 and 400⁰F.
Next, prepare the chickpea filling. Mince the green garlic (be sure to remove the papery skin from the outside and hard neck from inside the middle). Place the canola oil in a large pan, on medium heat. Add the garlic and cook until fragrant: 1-2 minutes. Next, add the chickpeas and cook for another 5 minutes or so, until they start to dry out and crisp up. At this point, add 2/3 of the Buffalo sauce to the pan. Reserve the remaining sauce for later. Cook the chickpeas in the sauce for another 2-3 minutes. Next, gently mash the mixture. Remove from heat and set aside.
Prepare the breadcrumb topping: combine the remaining buffalo sauce with the breadcrumbs and mix until thoroughly combined.
Now it’s time to assemble the stuffed zucchini! Scoop the buffalo chickpea mixture into the hollowed-out zucchini halves. Be sure to divide the mixture evenly. Top each stuffed zucchini with a sprinkling of the bread crumb topping.
Take the prepared stuffed zucchini out to the grill. Line it with a piece of greased aluminum foil, and then transfer the zucchini to it. Cook for 20-30 minutes, until the zucchini is softened.
While the zucchini cooks, prepare the homemade Ranch dressing: combine the yogurt, mayonnaise, dill, green onion, milk, and lemon juice.
Once the stuffed zucchini is ready, serve with a drizzle of sauce.
That’s it – enjoy!
Learn about our produce subscription box.