

Blog
How to cook a perfect T-bone steak
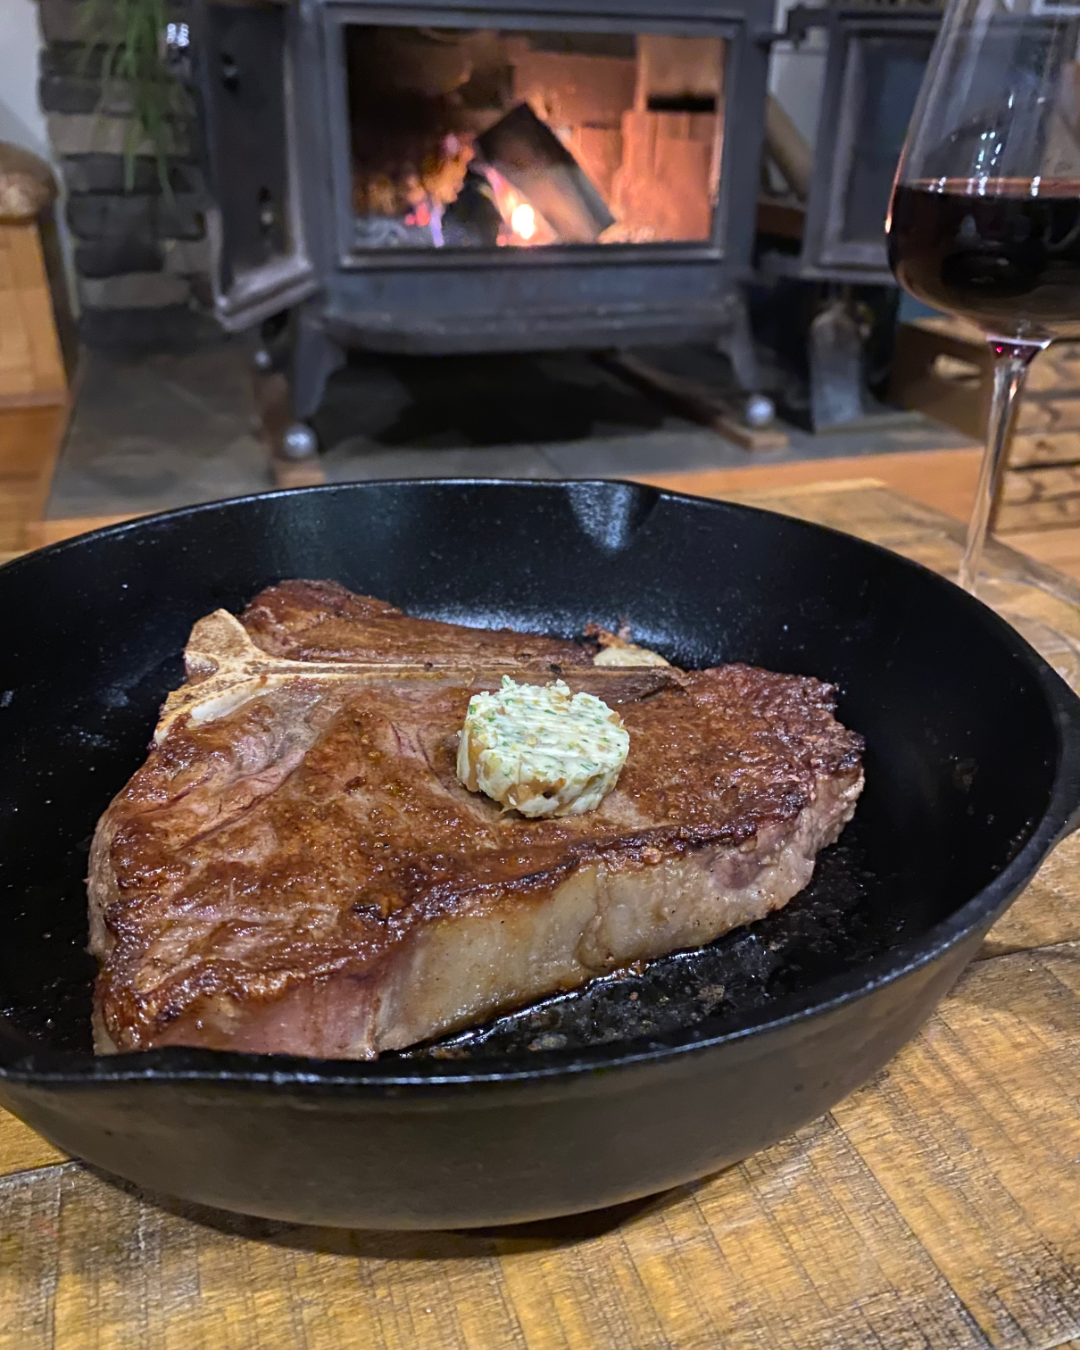
How to cook a perfect T-bone steak at home. A few simple steps for a flavourful, and tender steak.


How to cook a perfect T-bone steak at home. A few simple steps for a flavourful, and tender steak.