Updates from Week 4 of April

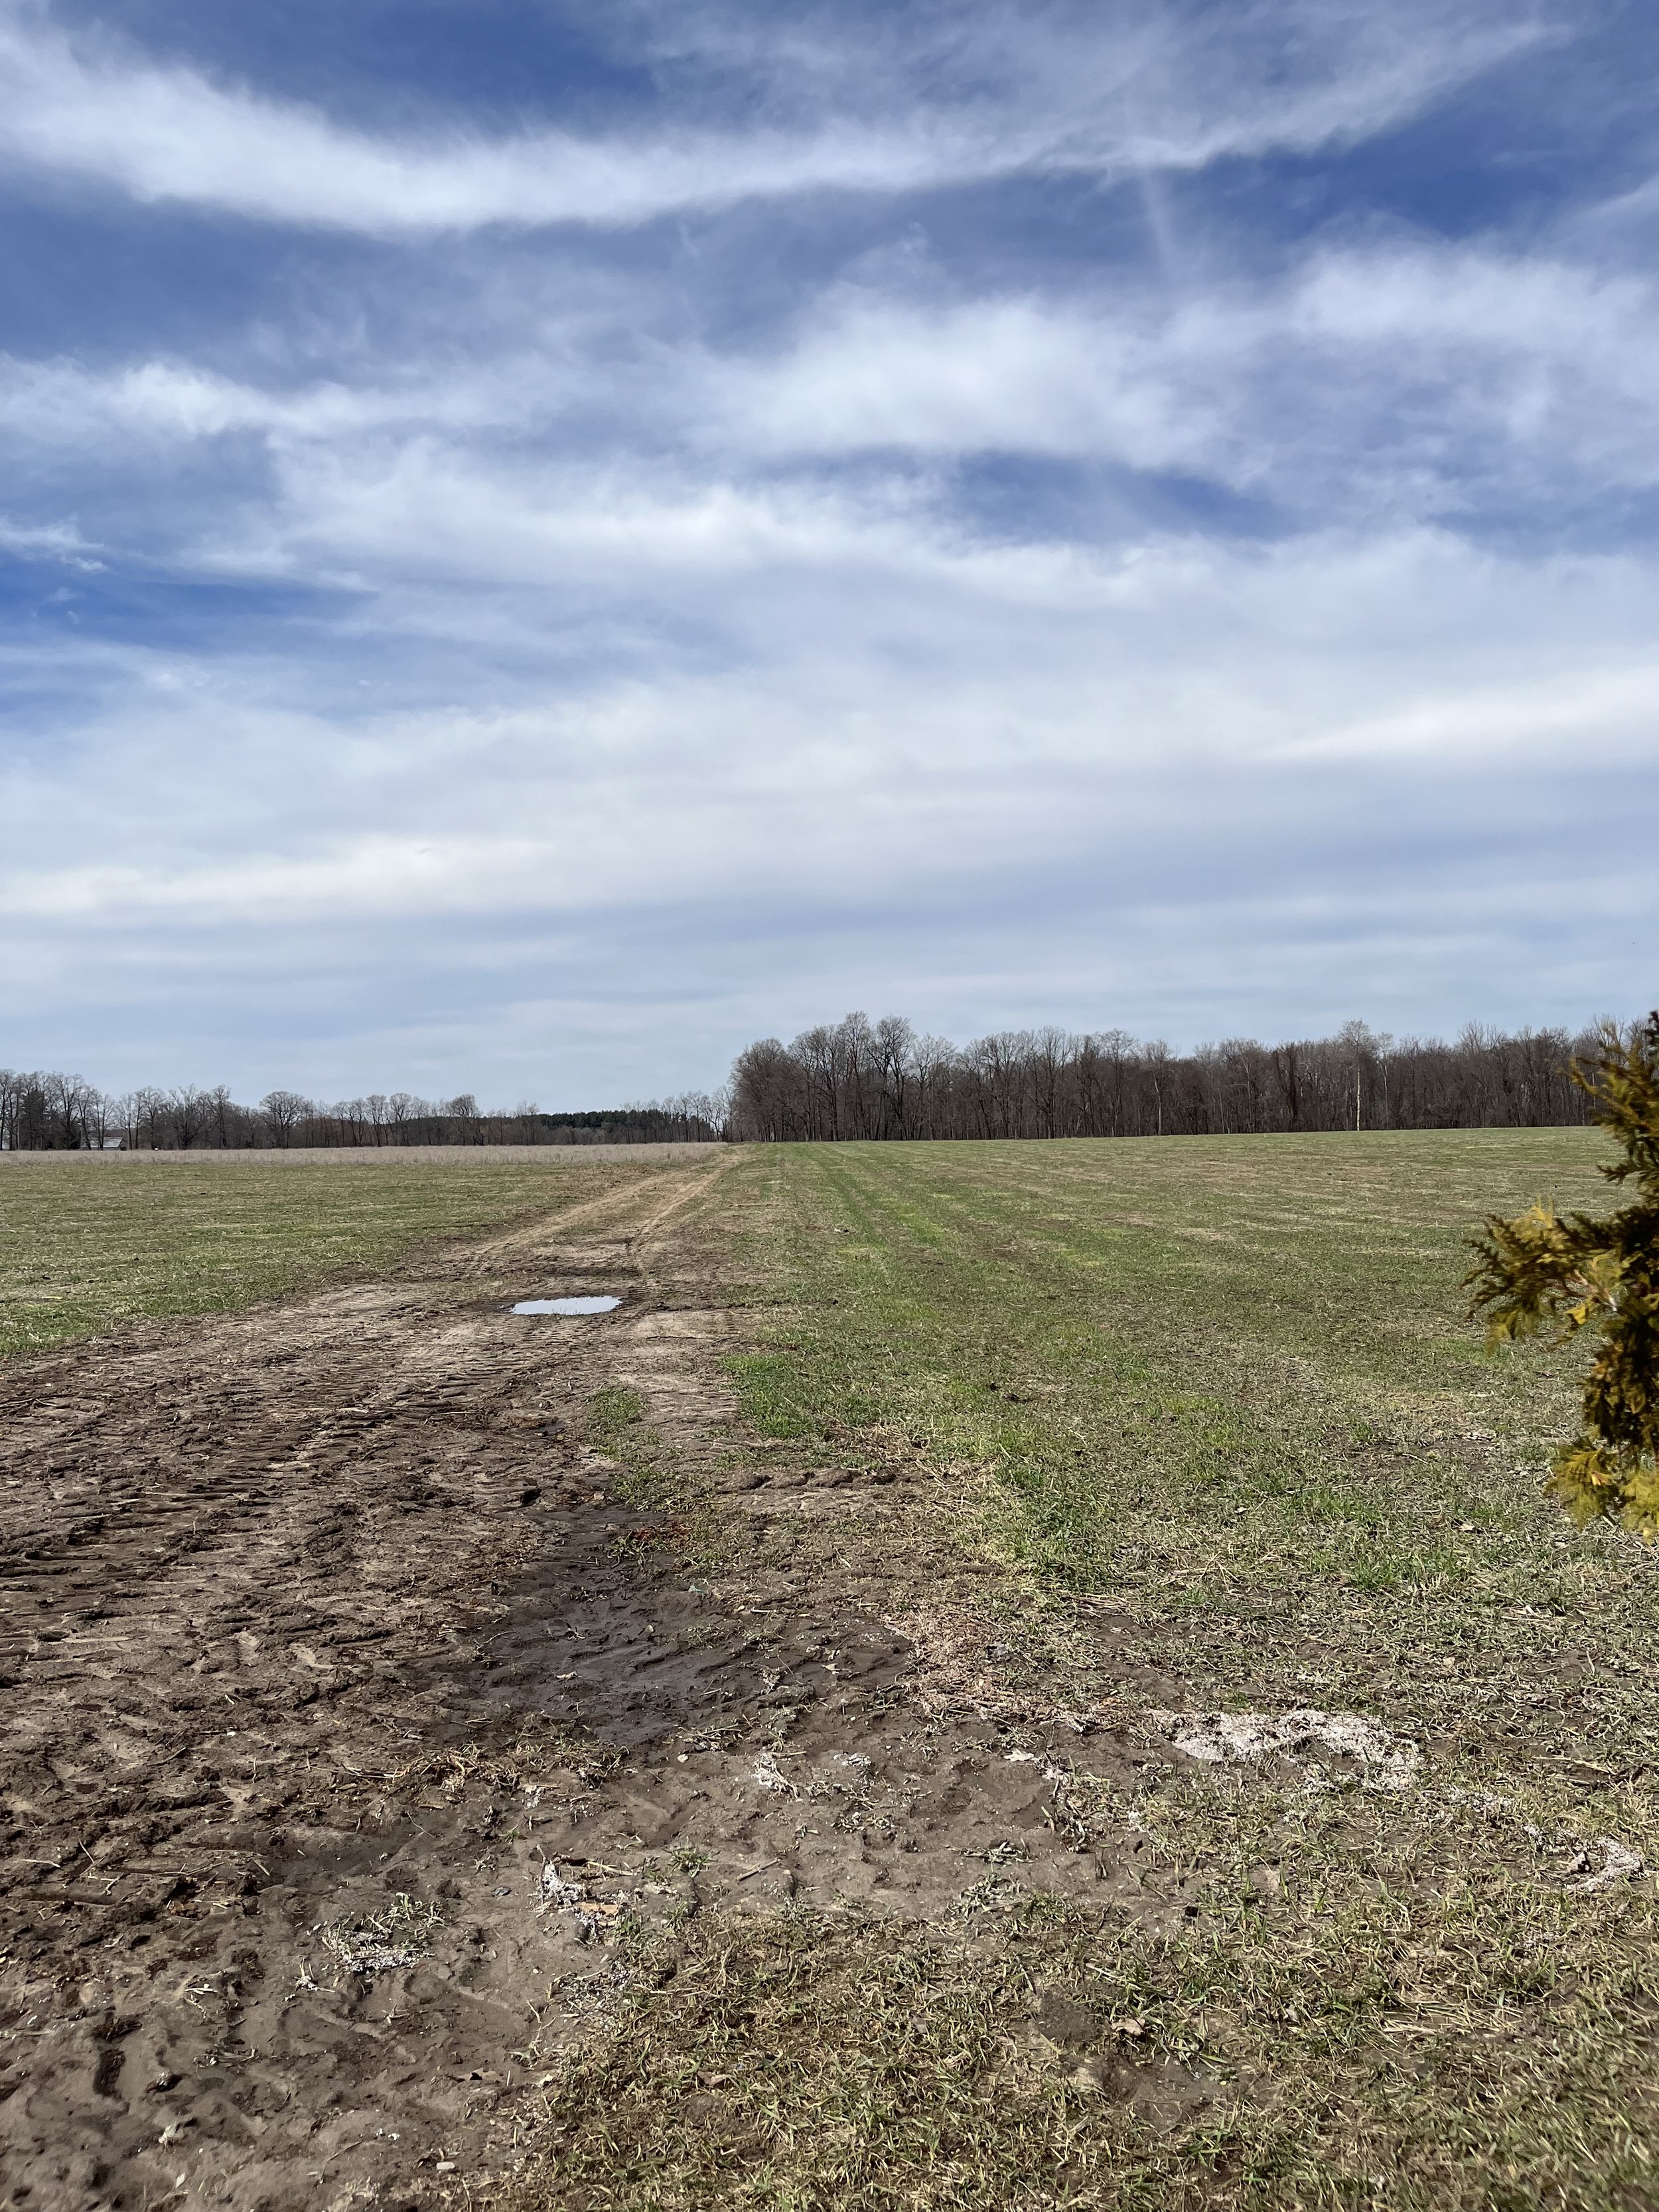
Can you believe we’ve reached the end of April already? This month has been a whirlwind, and all over the place weather-wise. We are looking forward to May and are hopeful for a bit more predictability coming our way soon. It may becalling for rain today, but the sun was shining nicely yesterday, so I ran out to snap a few photos to help fill you in on what we’ve been up to in the past week!

First up, our raspberry patch is looking all spruced up thanks to a thorough pruning and trellis reinforcement with baler twine. These raspberries are located at our Pick-Your-Own Patch and will be ready for harvest in mid-July. This crop was planted in 2020, so this will mark year 3 of harvest. We had quite a significant crop last year (their second year of growth) so we anticipate this season being even bigger and better!

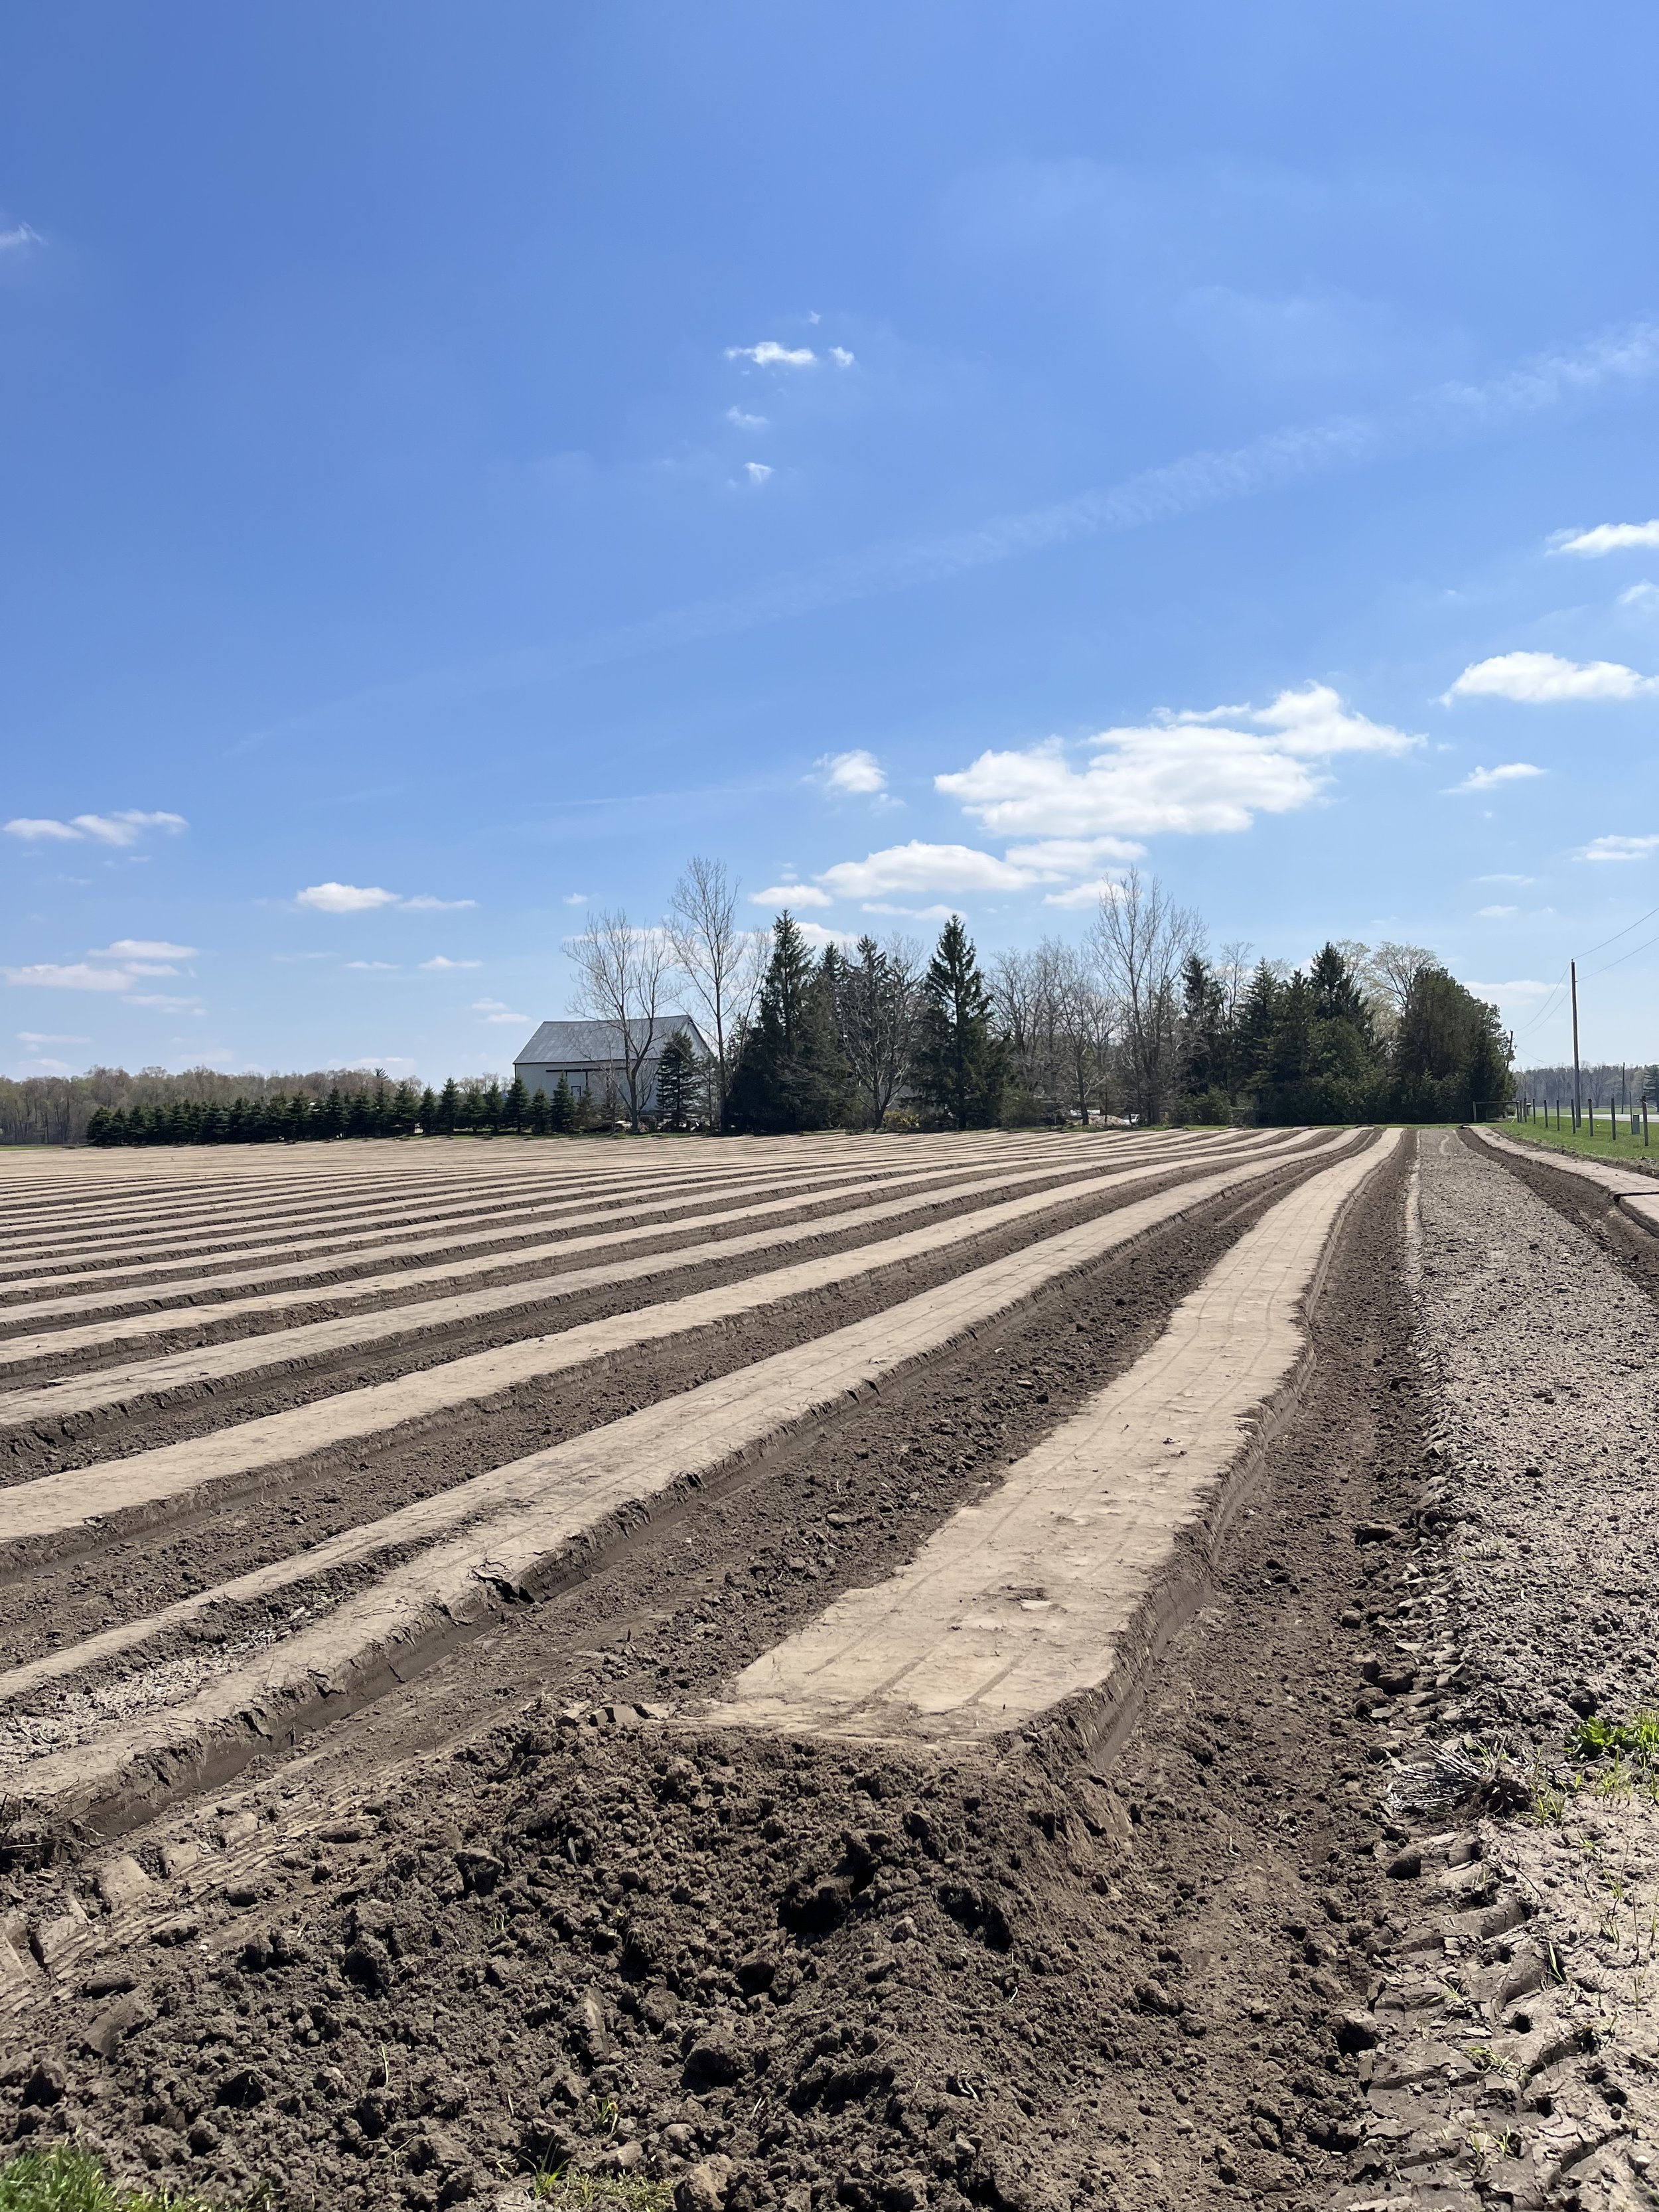
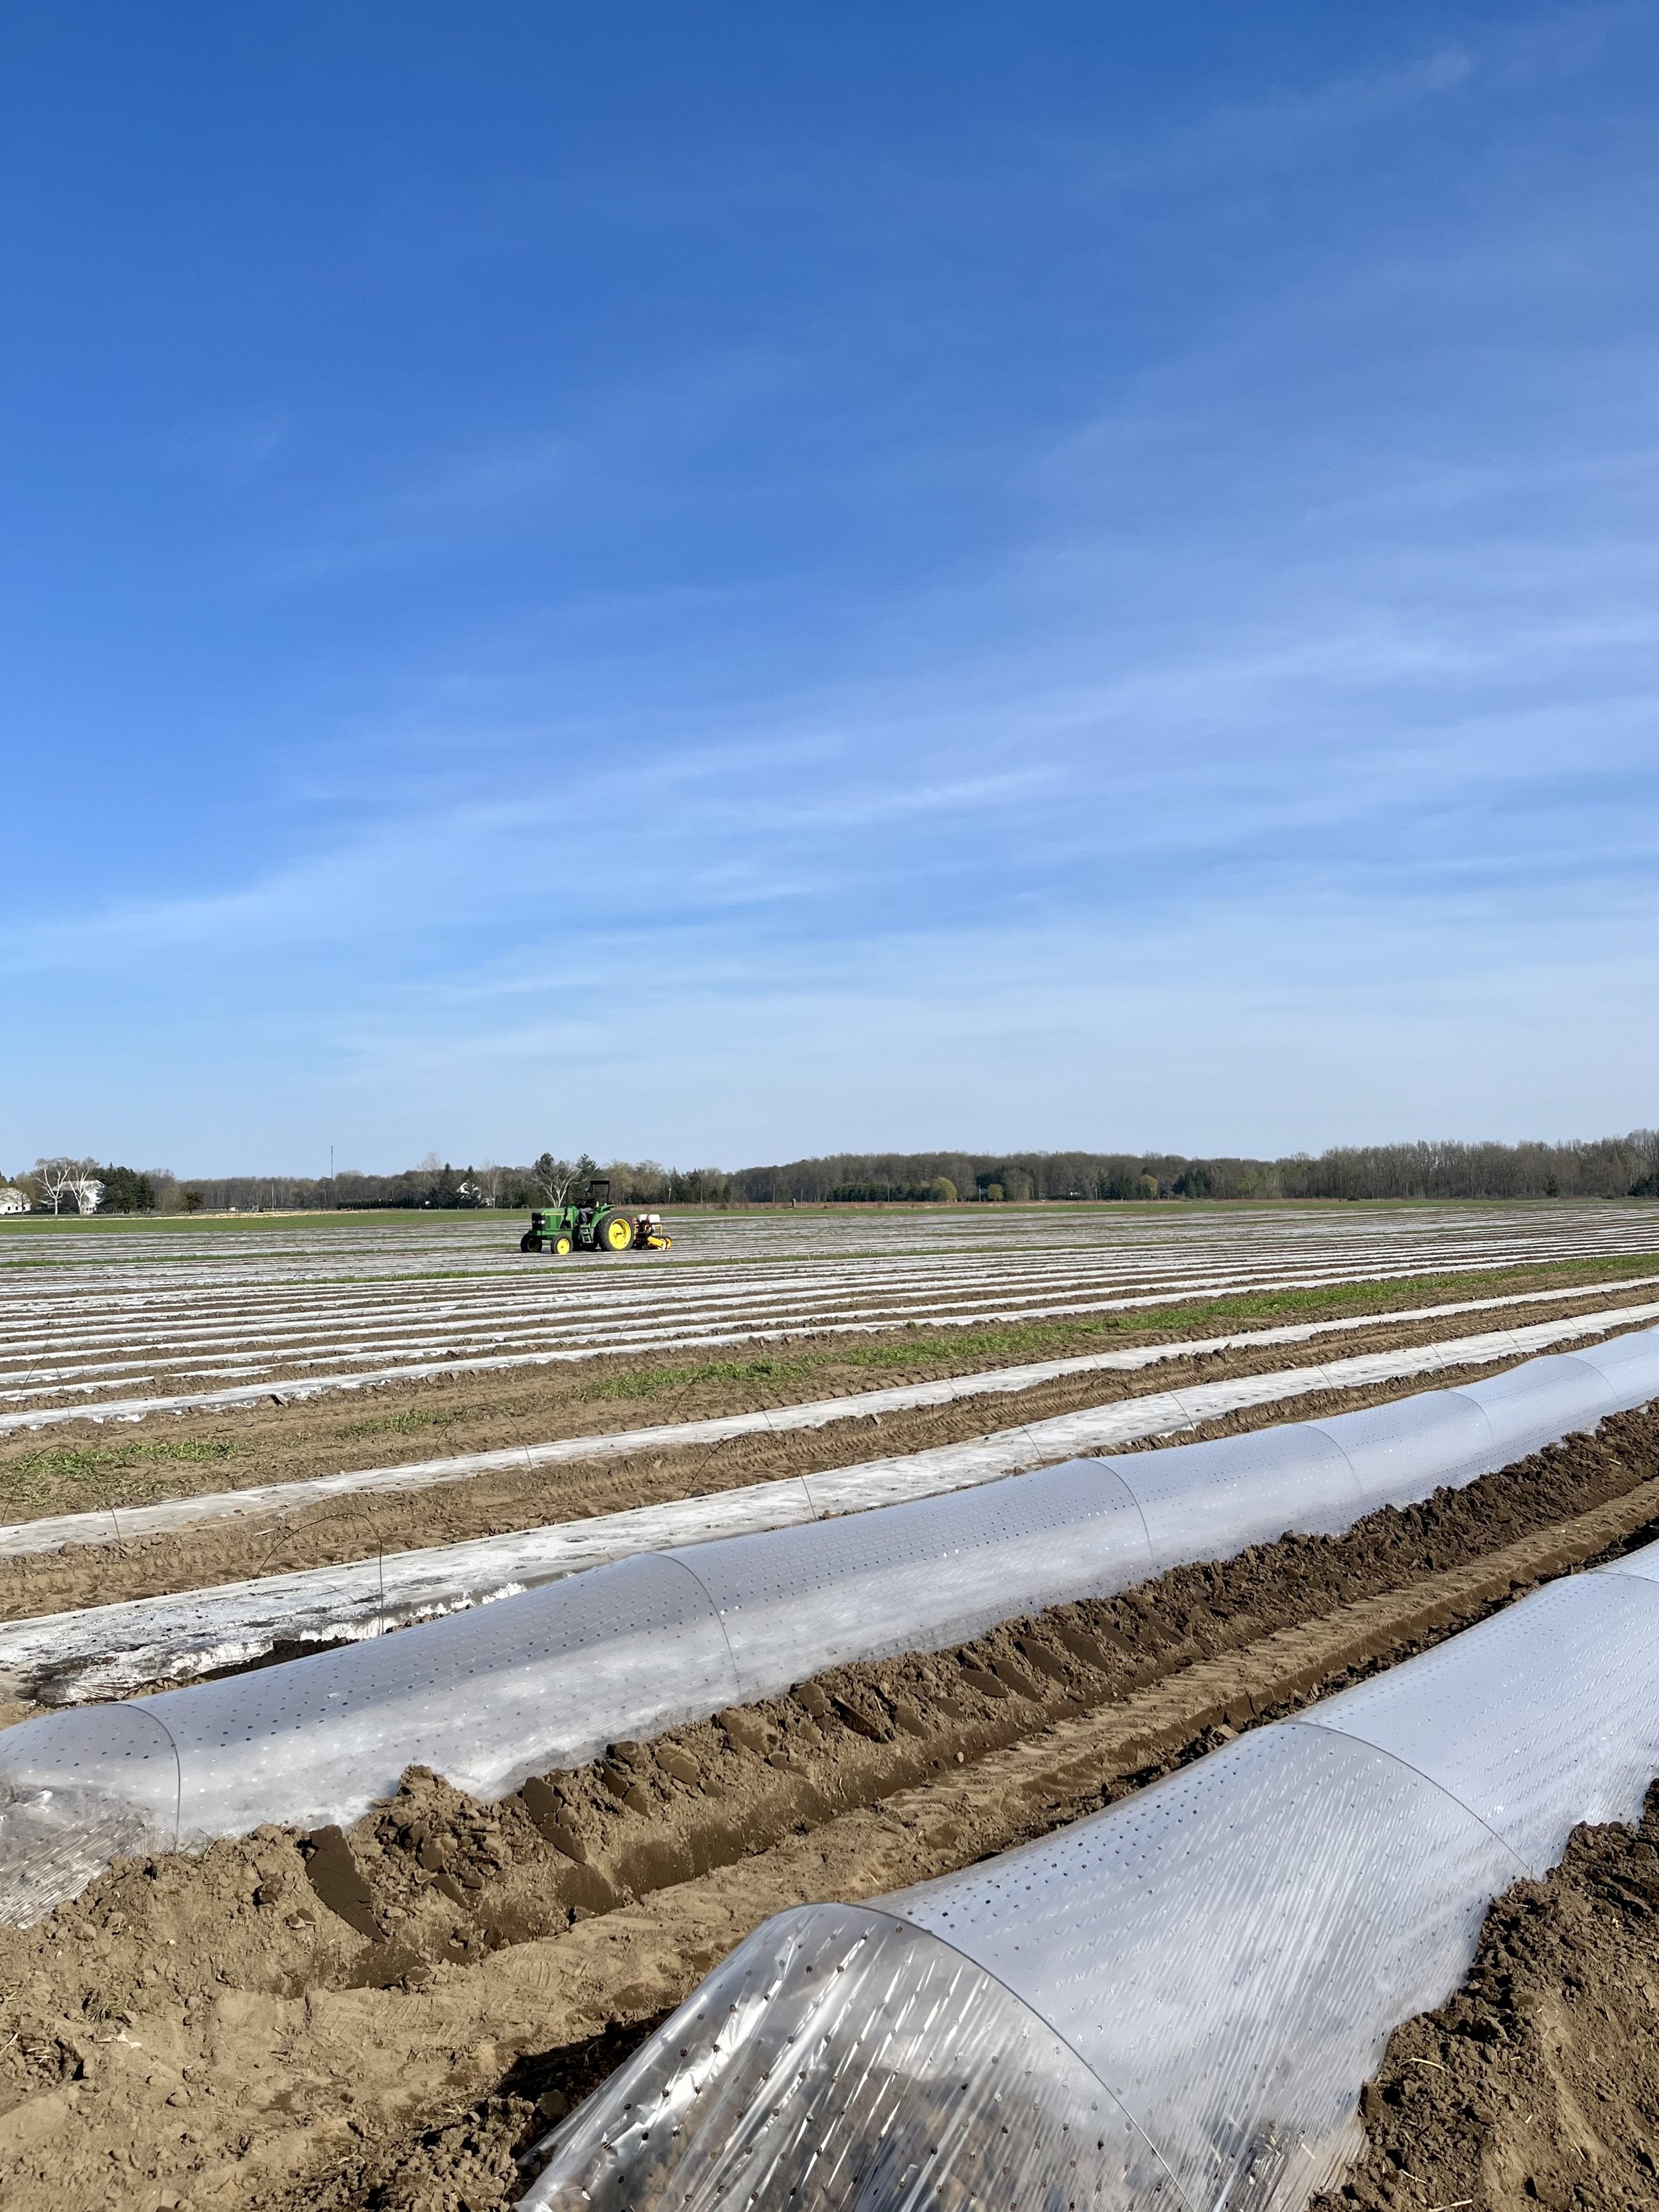
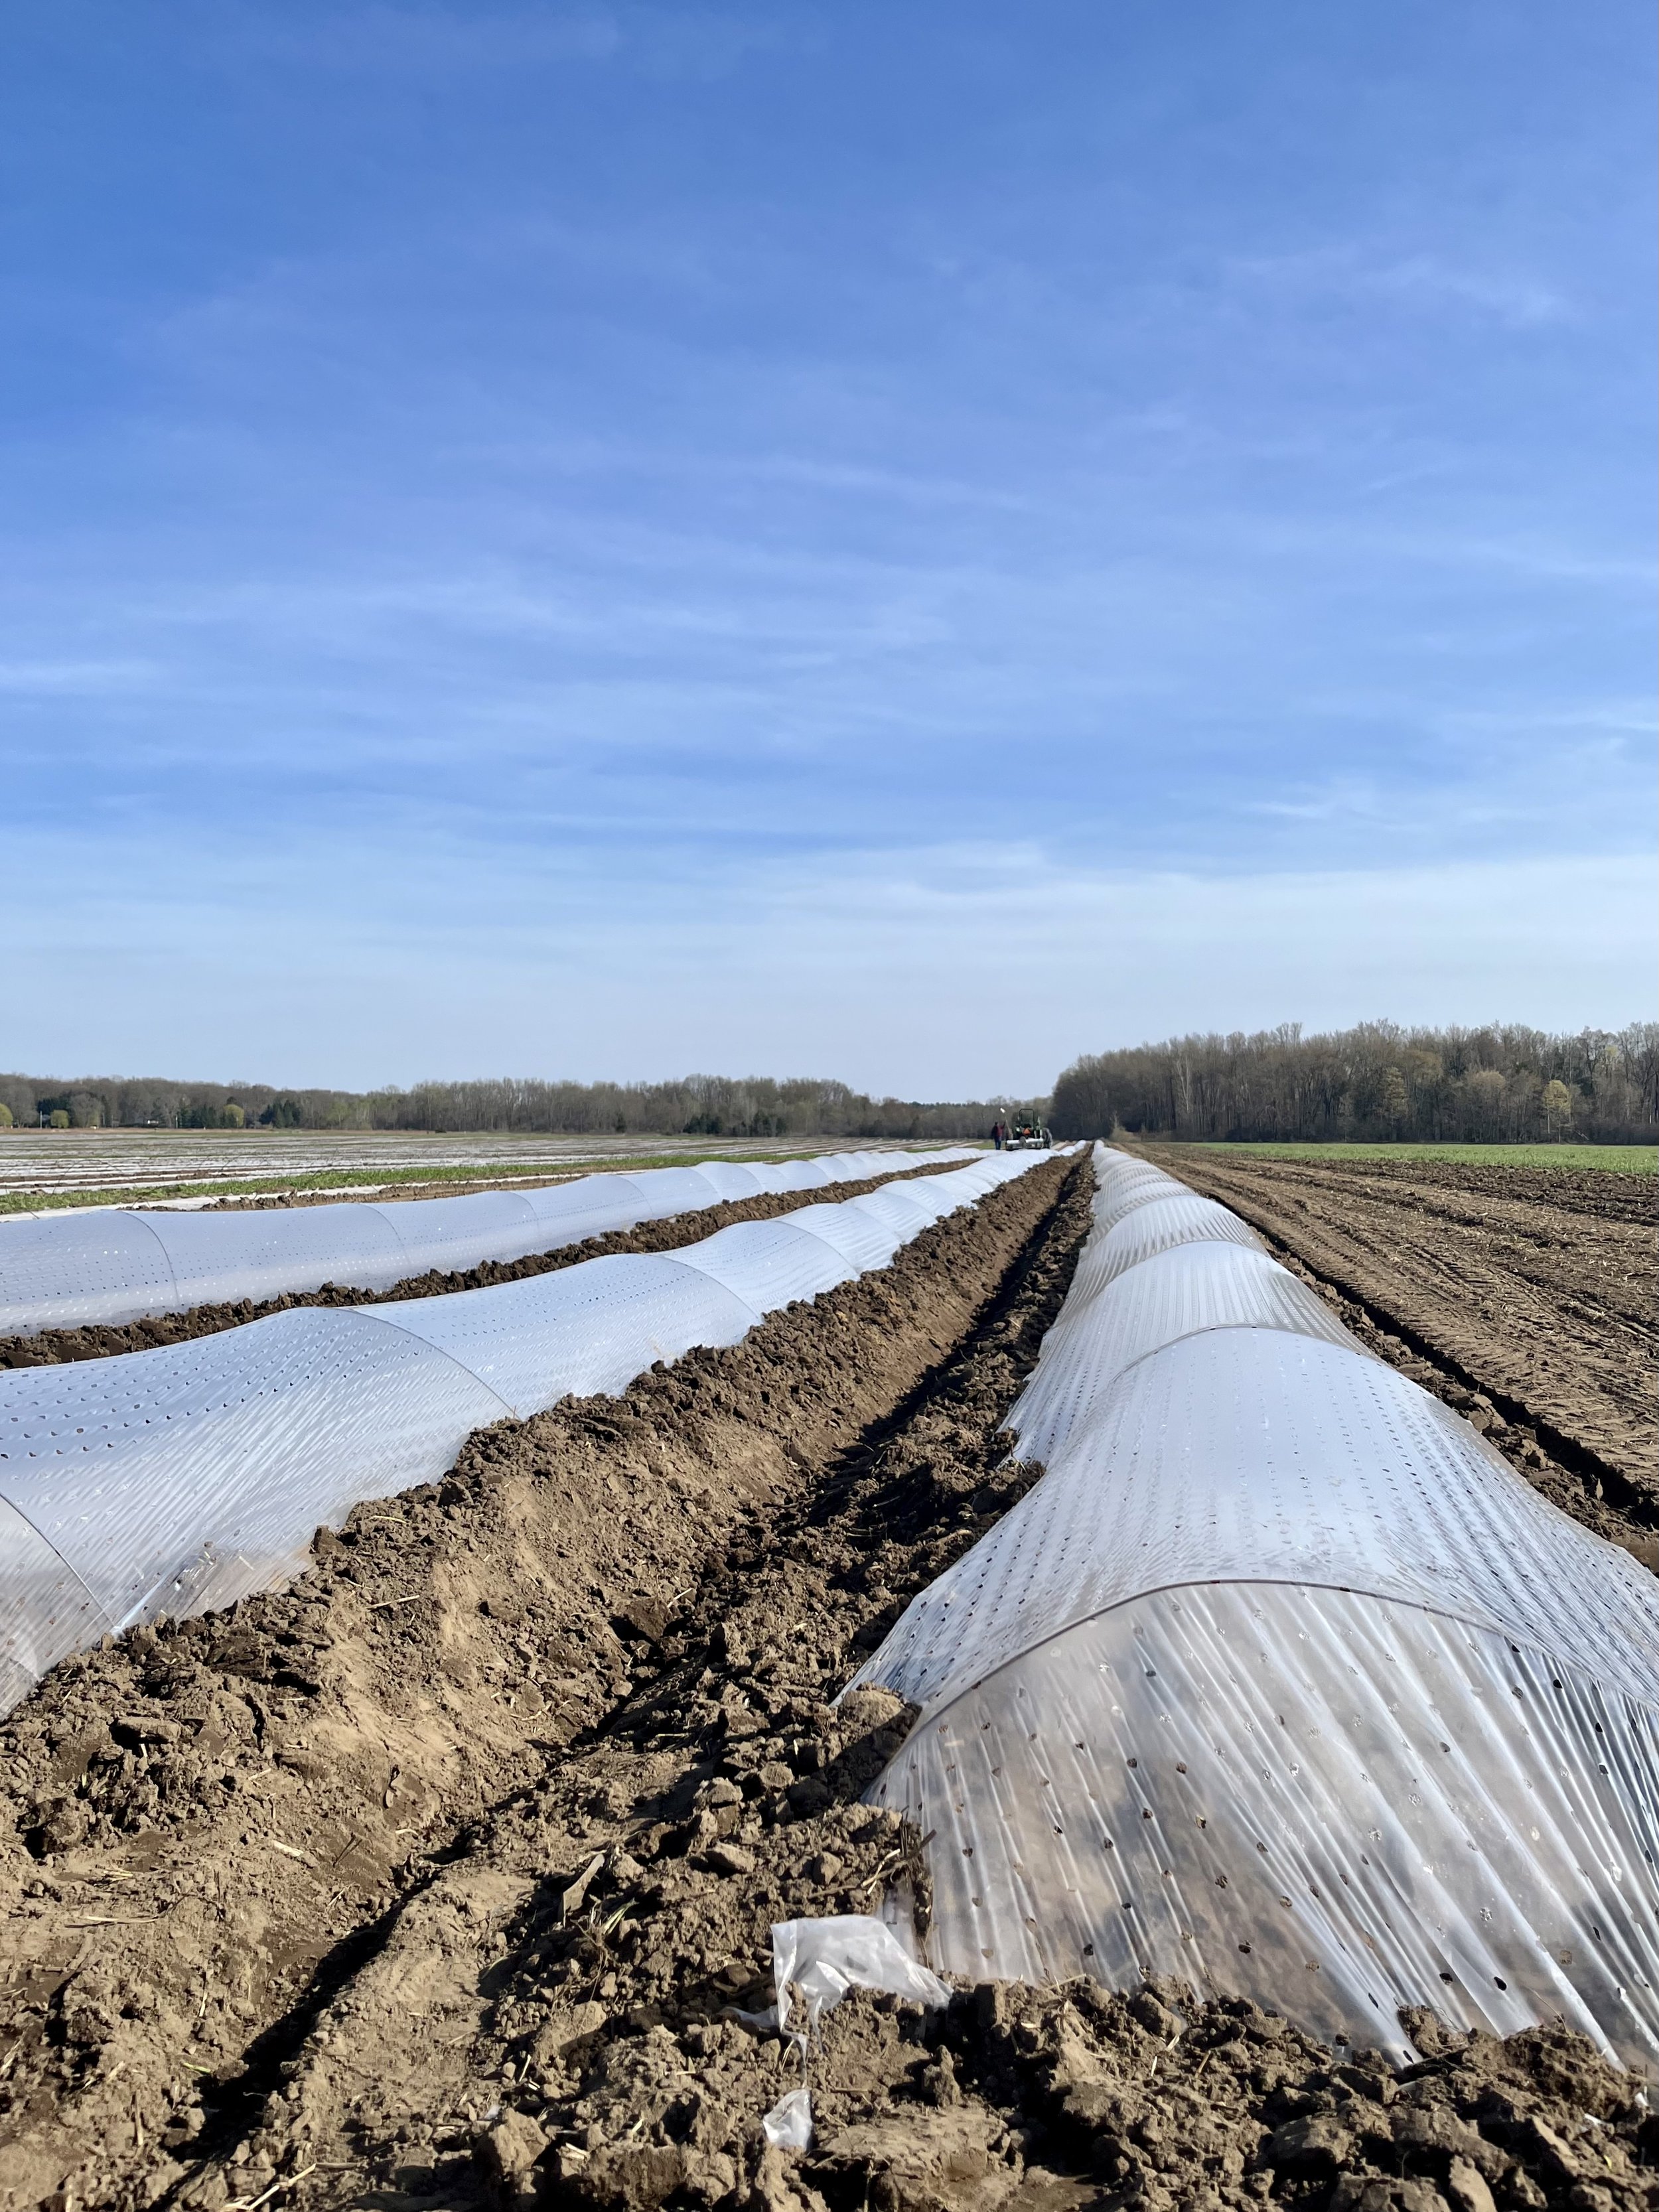
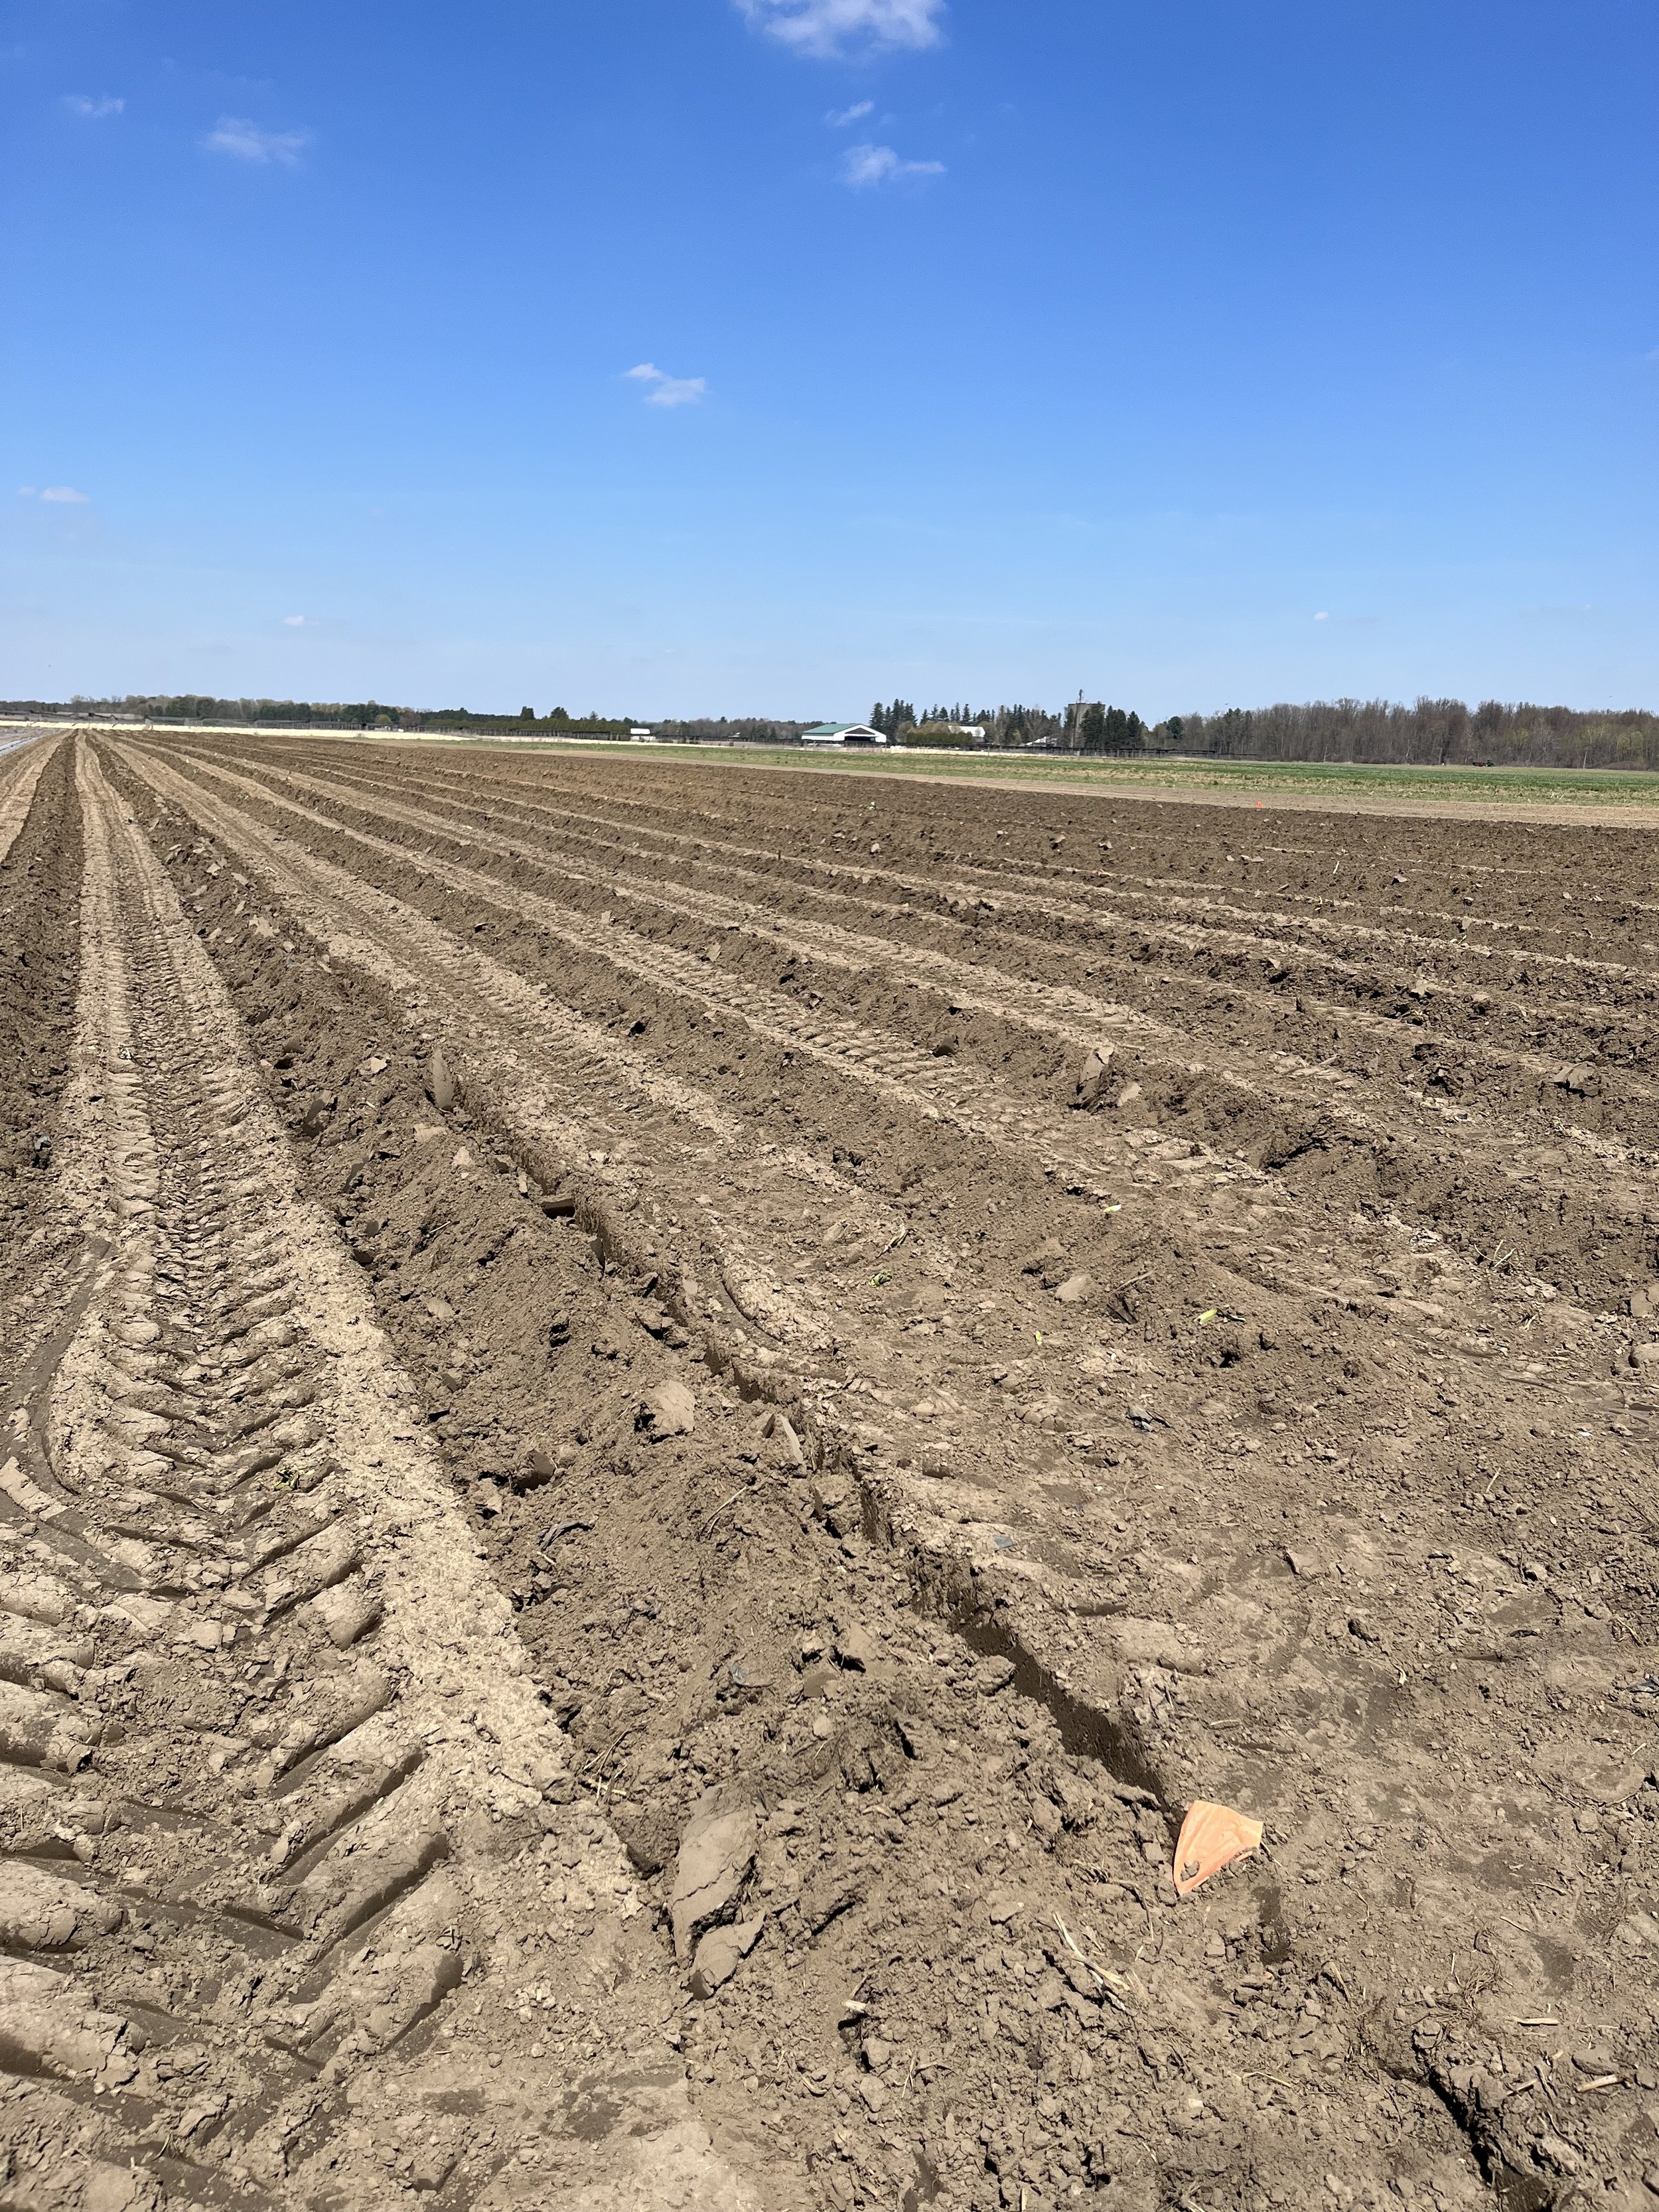
Next, we’ve been hard at work out in the fields this week, preparing for planting. The specific process varies slightly depending on the crop, but the overall steps are the same.

  1. First, we mark out “strips” using a tractor enabled with a GPS system. This system keeps the tractor driving straight, and helps ensure the strips are evenly spaced. The strips are 60 feet apart and mark where the path between rows of beds will be. This path is where the tractors drive in between the beds of produce.

  2. Next, we lay the beds. There’s an attachment that goes on the back of our tractor, and it forms the soil into beds that are slightly raised, and are 33 inches wide. These beds have 6-foot centres (6feet from the centre of one bed to the centre of its’ neighbour). This allowsfor space between the beds where we can walk and where a tractor’s wheels cango for planting and weeding purposes.

  3. Third, we cover the beds. These bed covers are weighed down on the sides using soil, and they will help trap moisture and heat and suppress weeds, all things that contribute to a more successful growing season!

  4. Fourth, we punch holes in the bed covers and add either a seed or a transplant, depending on the crop.

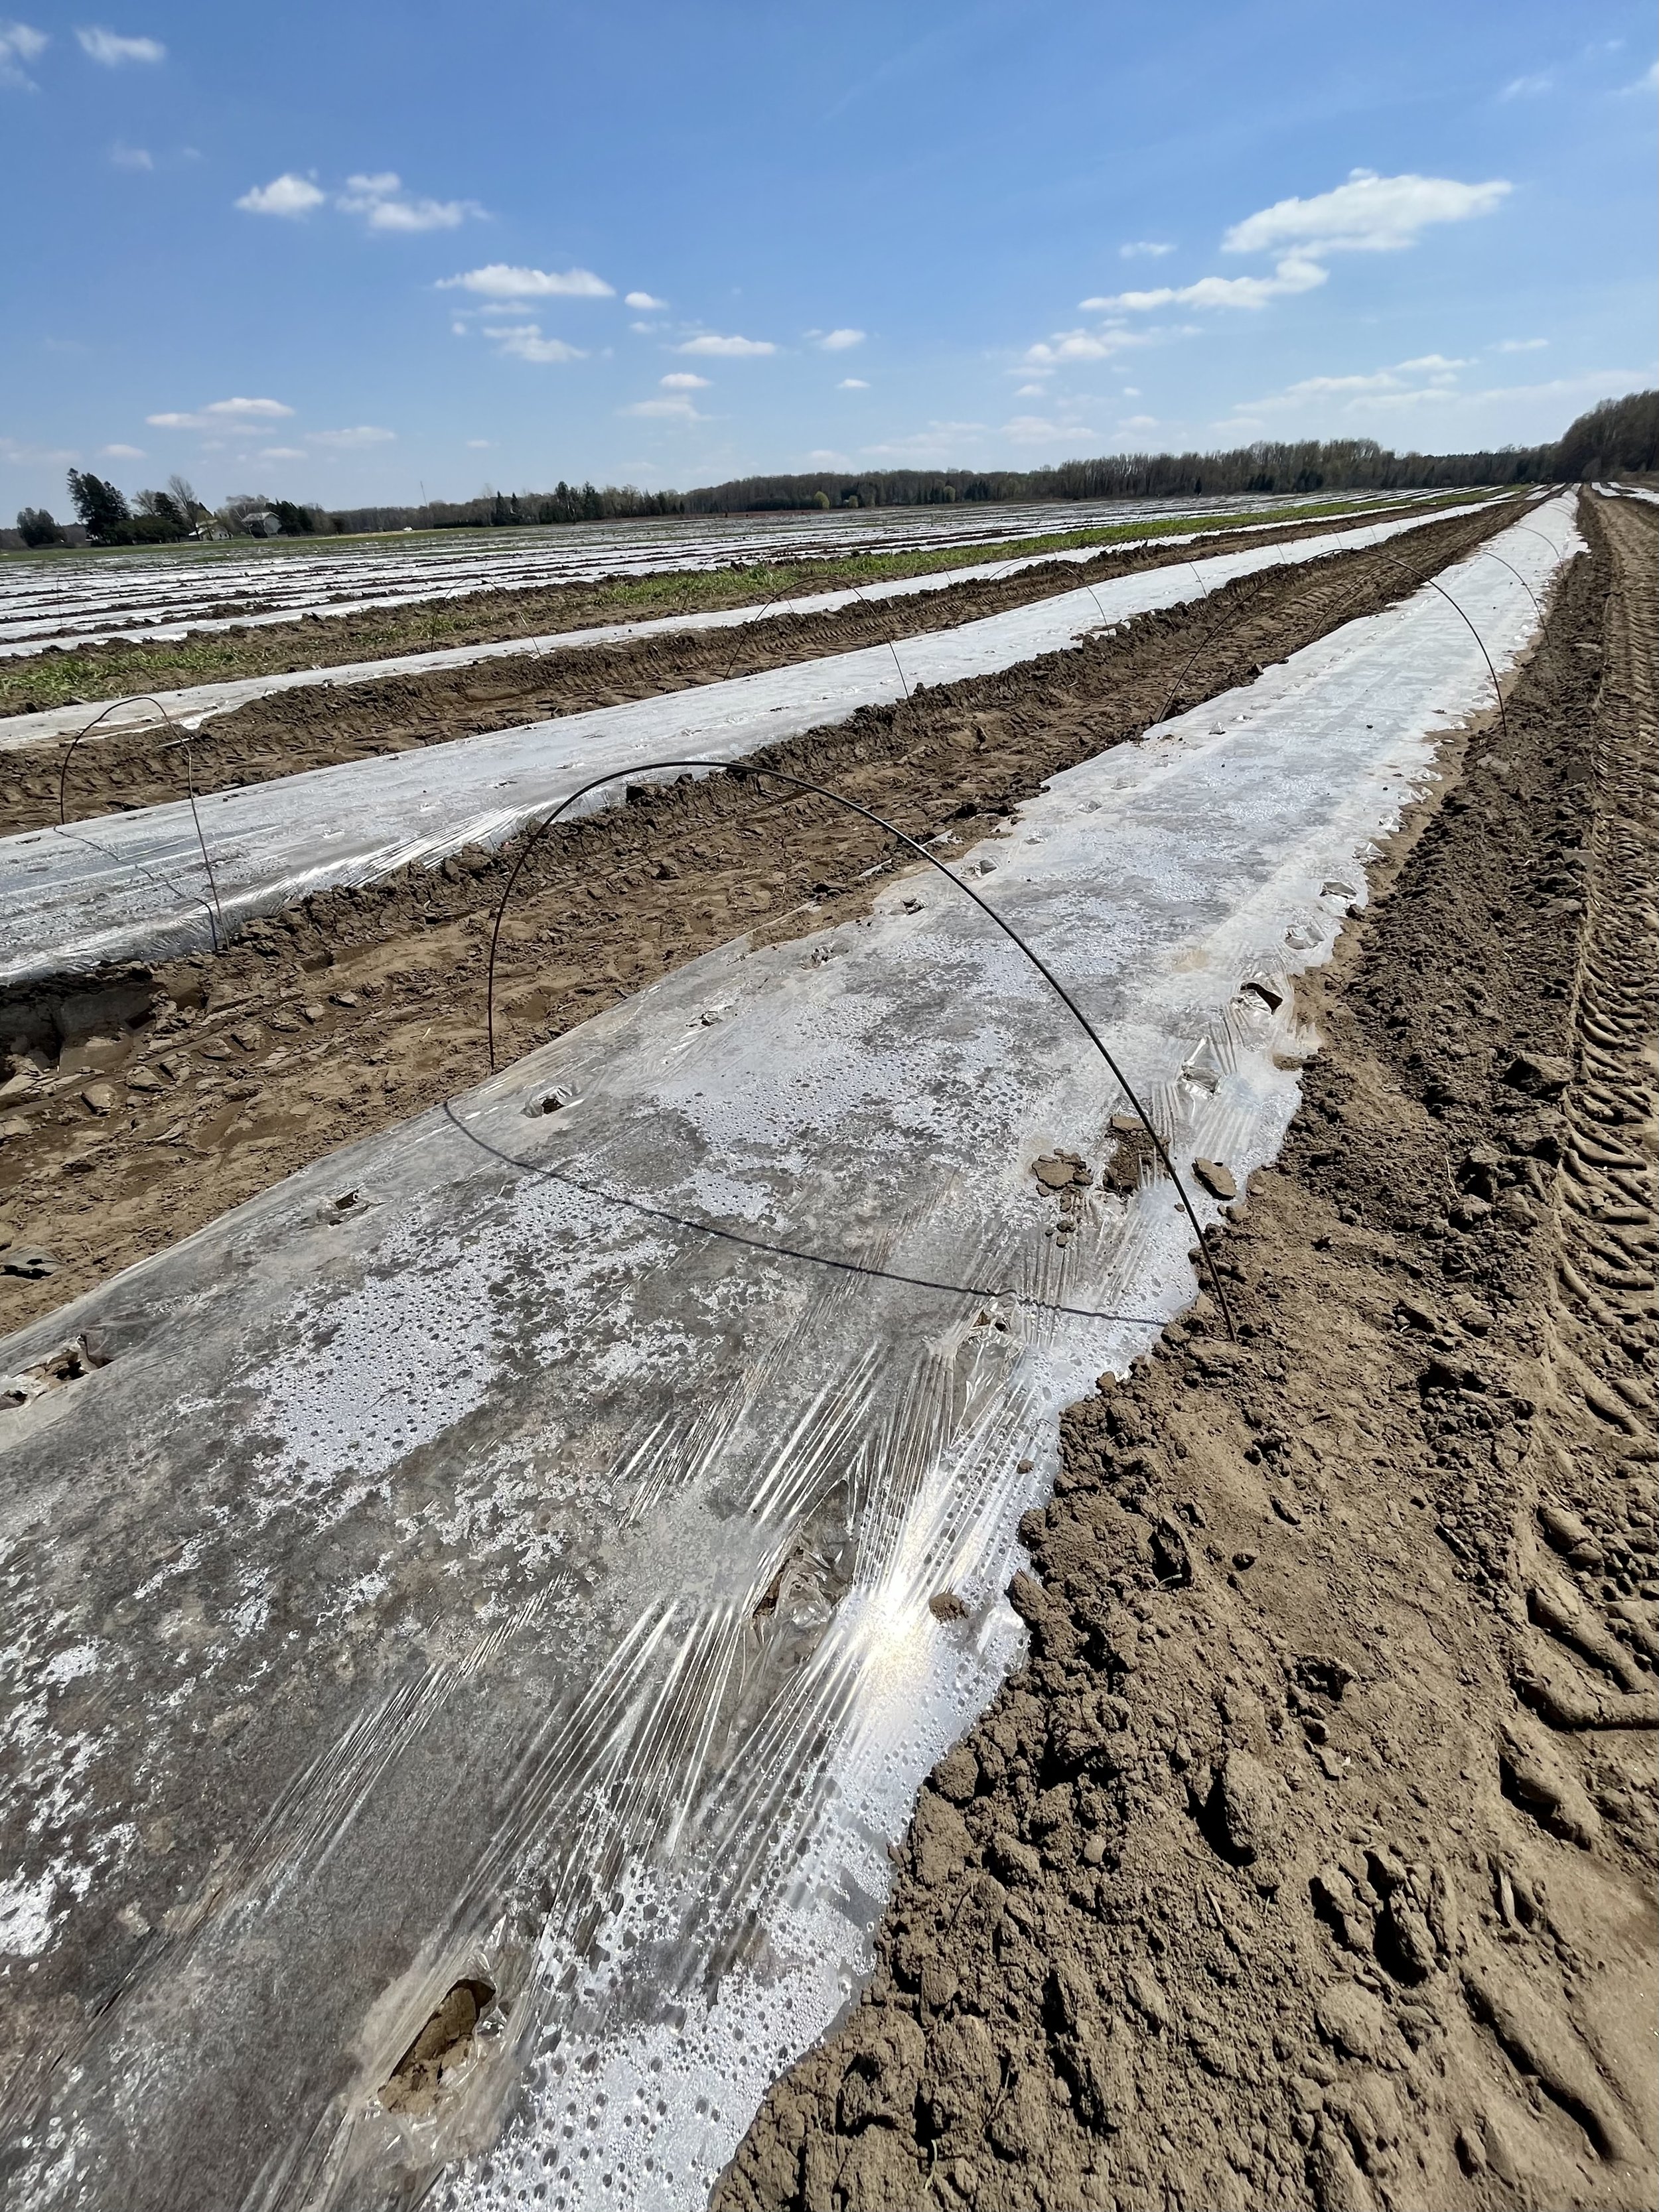
  5. Next, we add wire hoops, which will help support an additional layer of cover, pictured below.

  6. Finally, we lay the row covers, which trap even more heat, and speed up the growing process significantly. These row covers have holes punched into them, to allow for air flow. They will be removed once the plants reach a certain point in their growing stage (flowering for many, as the bees will need access for pollination!) Additionally, if they are left on for too long it can “cook” the plants, so we have to be careful!

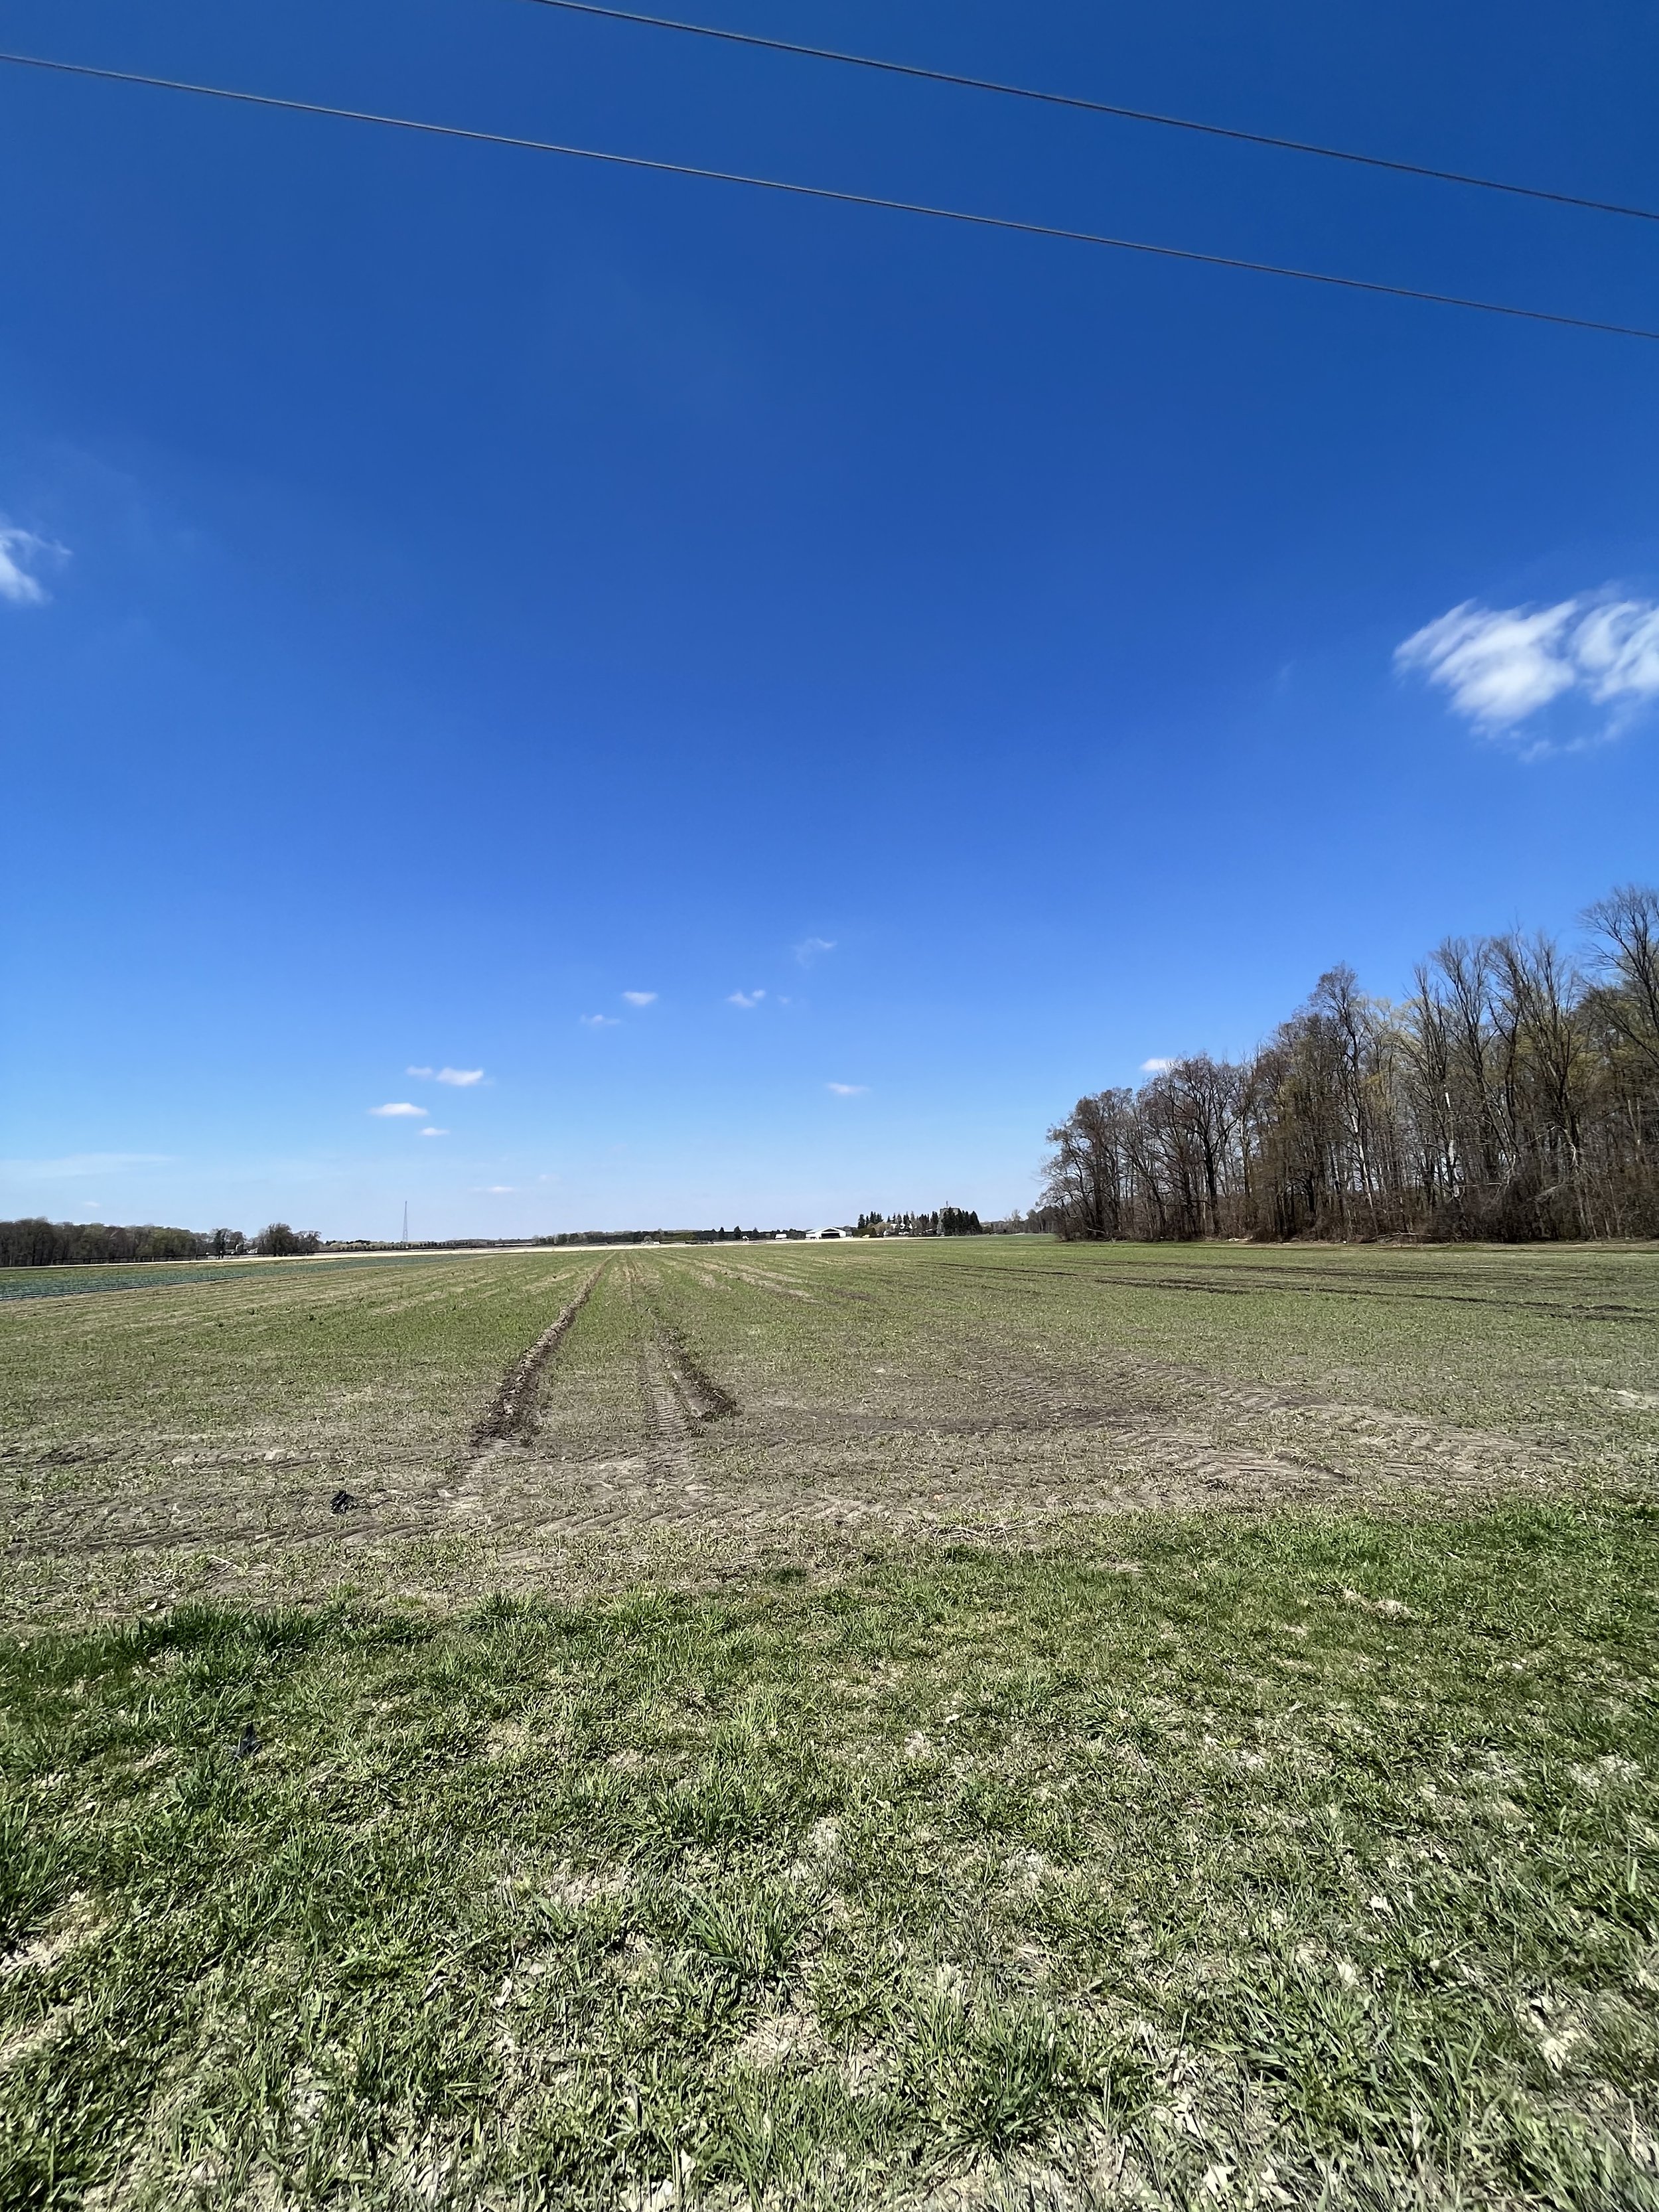
In the top left photo you can see a tractor in the background. You can’t really tell, but this tractor has a planter on the back of it, and our crew is seeding the first sweet corn of the season. Sweet corn is planted from seed directly into the soil, as it is a crop that is fairly cold-tolerant and doesn’t require as much help to grow when compared to a crop like melons.

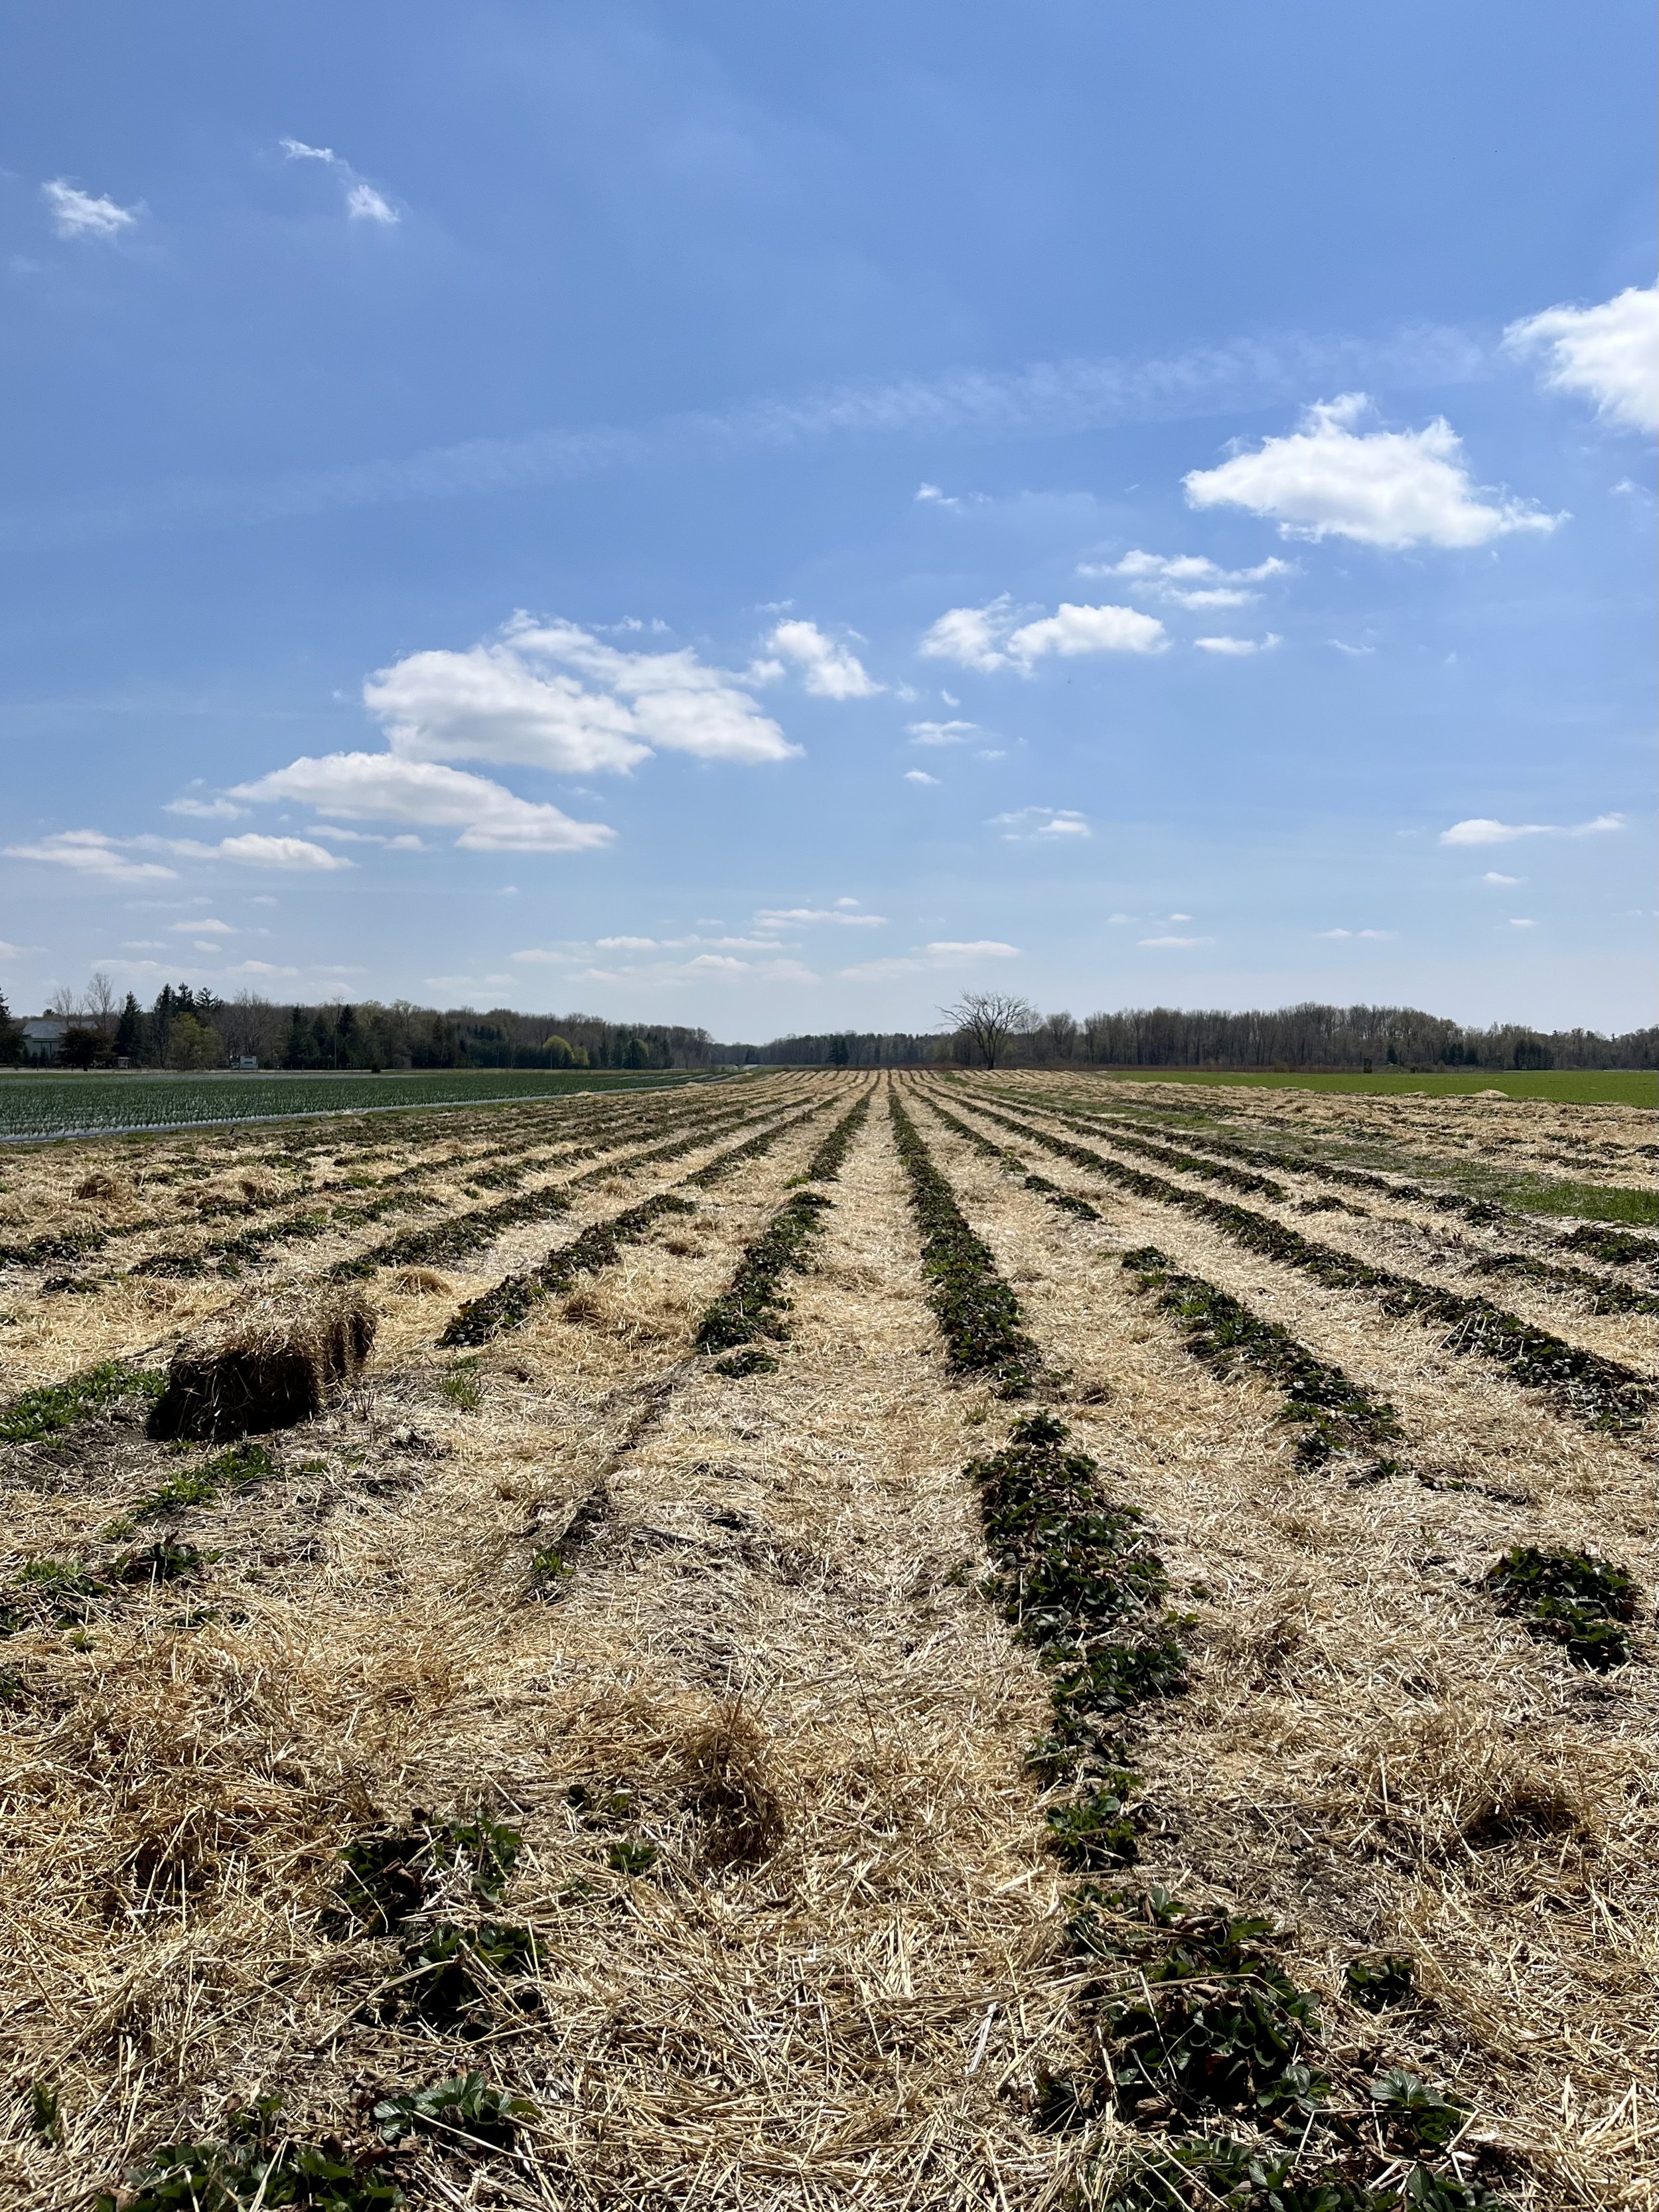
Pictured above are our overwintered June strawberries. They were covered with straw last fall, which helped to insulate them and protect them from cold temperatures. Now that it’s starting to warm up though, we raked the straw off to allow the plants to have access to sunshine again! Soon these plants will blossom, and these blossoms will turn into sweet berries. The straw will stay between the rows, as it also helps with weed suppression and moisture retention, as well as helping to minimize transfer of dirt and bugs from the soil to the berries.

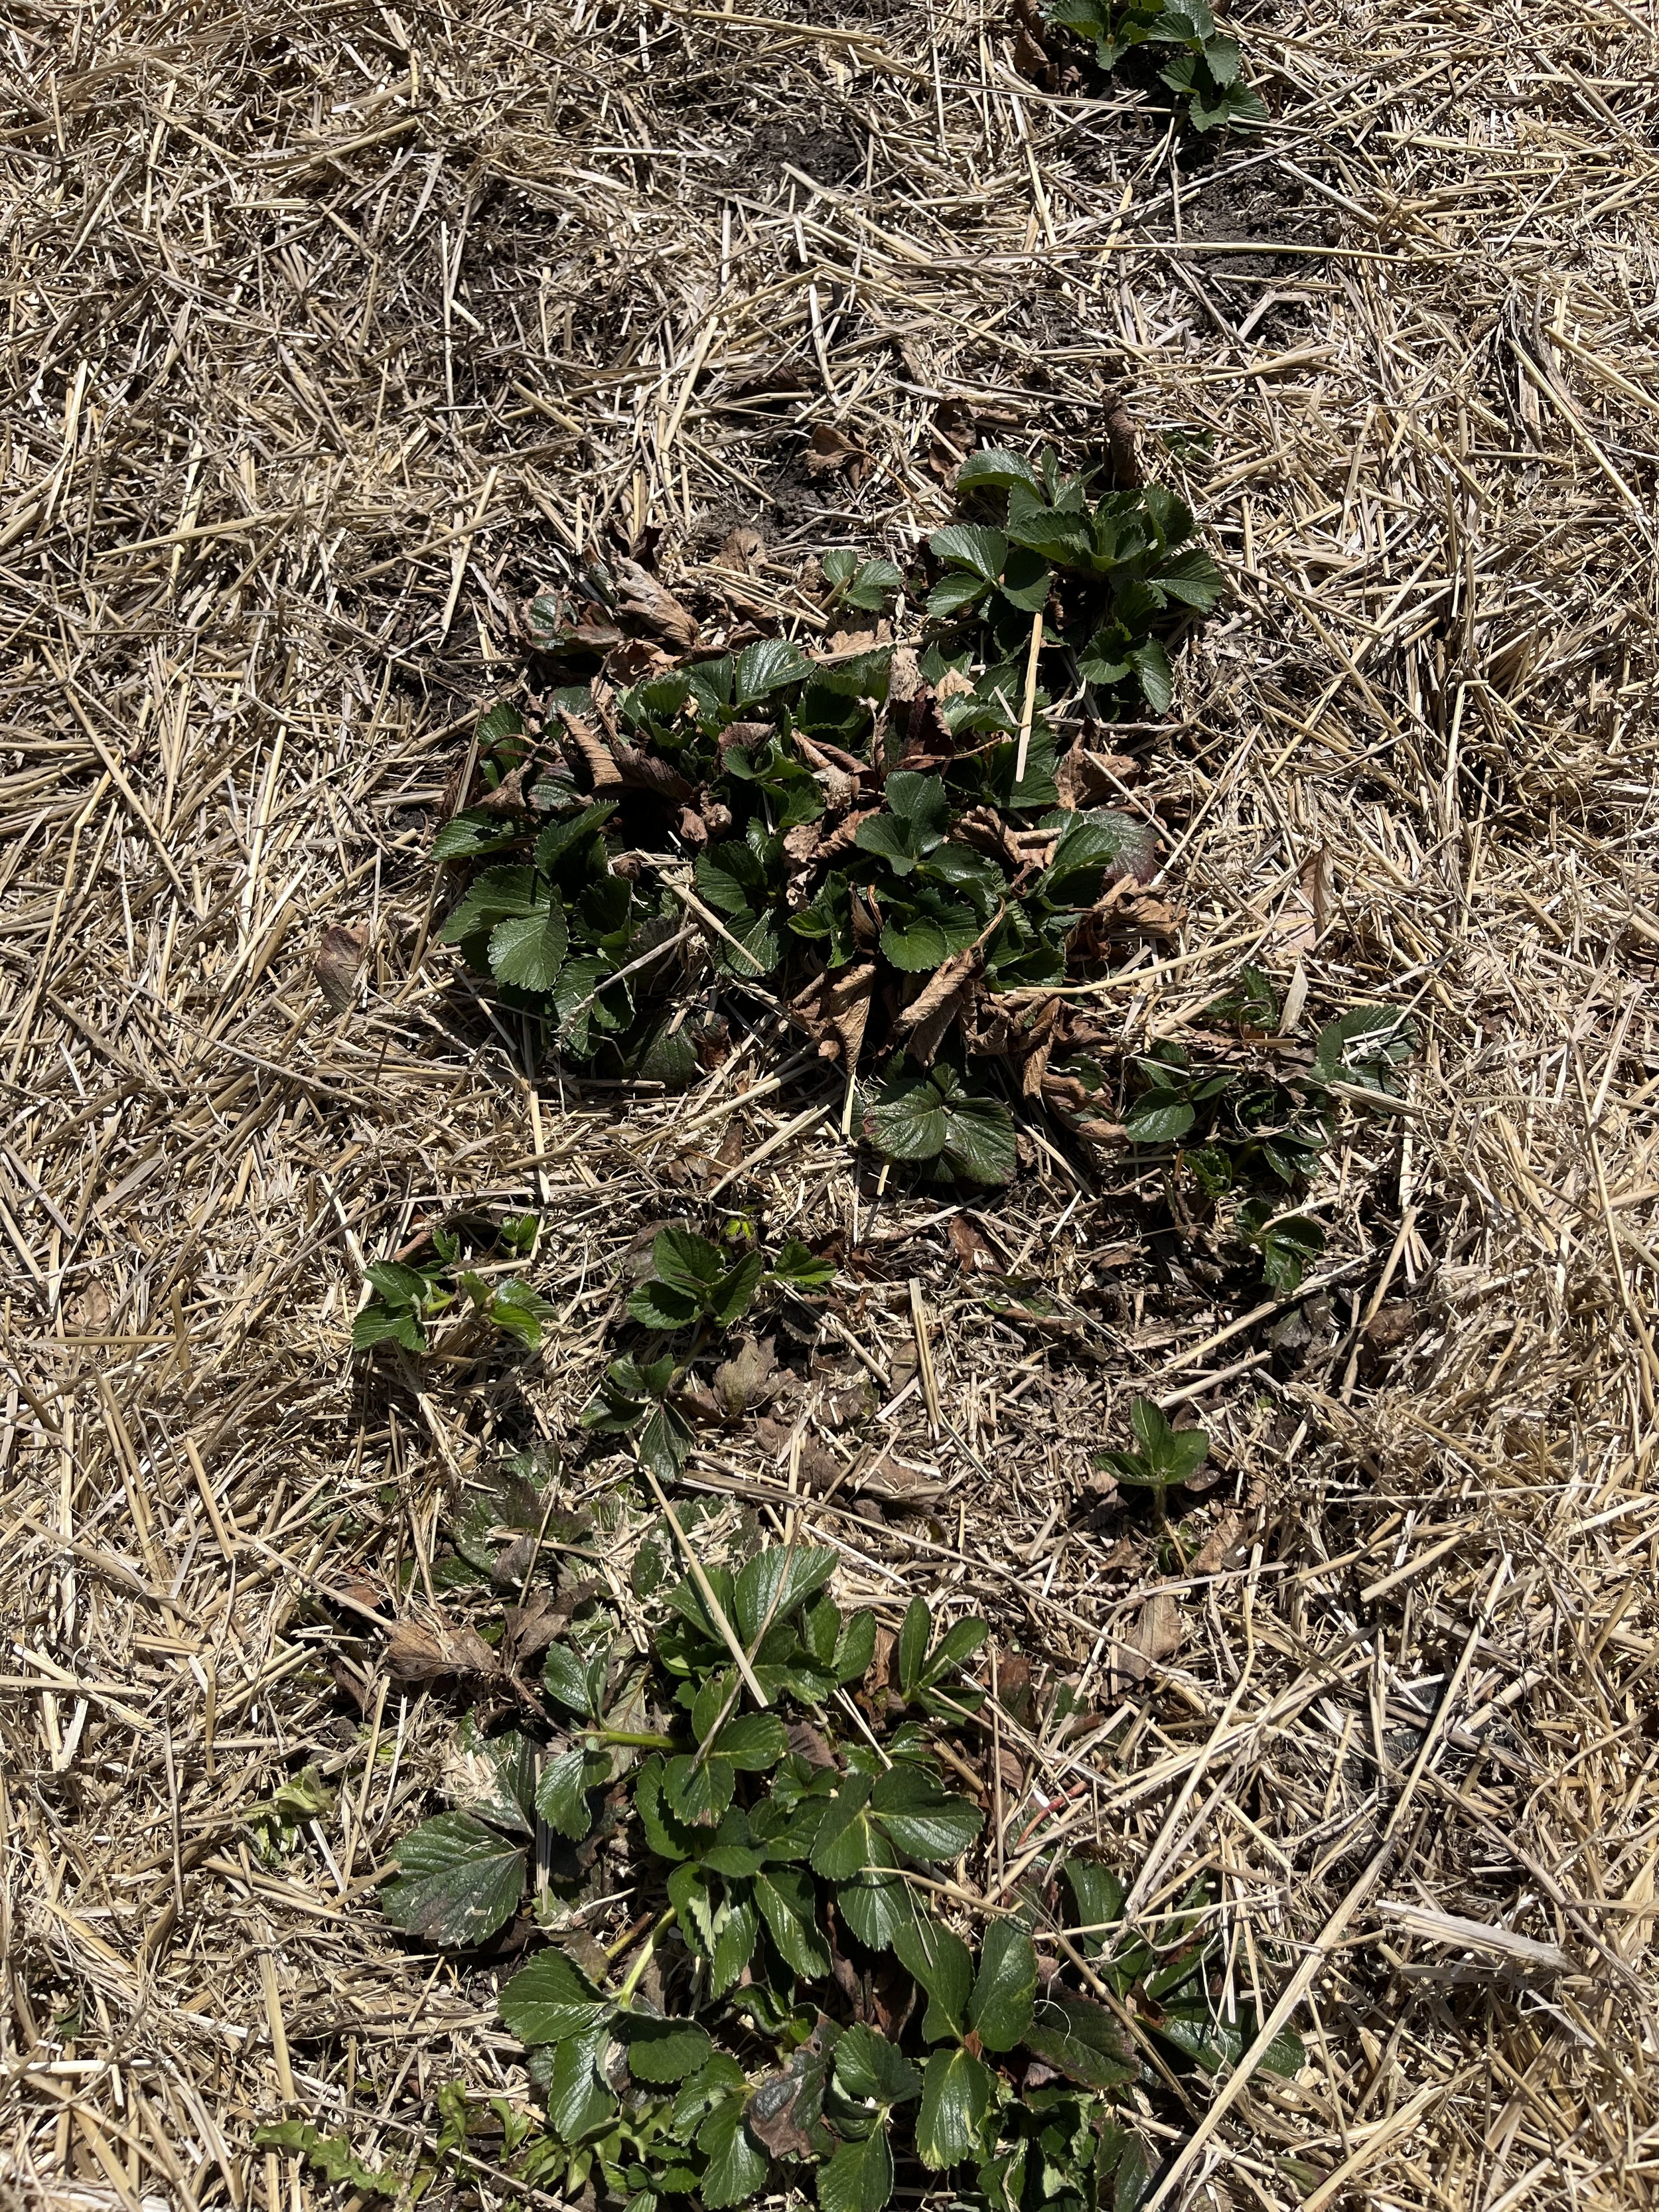
In the above photo there are more strawberries. These ones are our everbearing variety, though! Everbearing strawberries are a variety that responds to sunlight differently. Traditional June strawberries produce for around 6 weeks each season, from early June through to mid-July, while everbearing varieties start to produce berries in July, and continue until we experience frost in the fall. Typically everbearing strawberries are a one-season crop, but you can overwinter them and with the help of row covers, produce an early spring crop. That’s what we’re doing here! We realize it doesn’t really look like a field of strawberries at the moment, but once those row covers are pulled off, we will be treated to an early taste of spring strawberries.

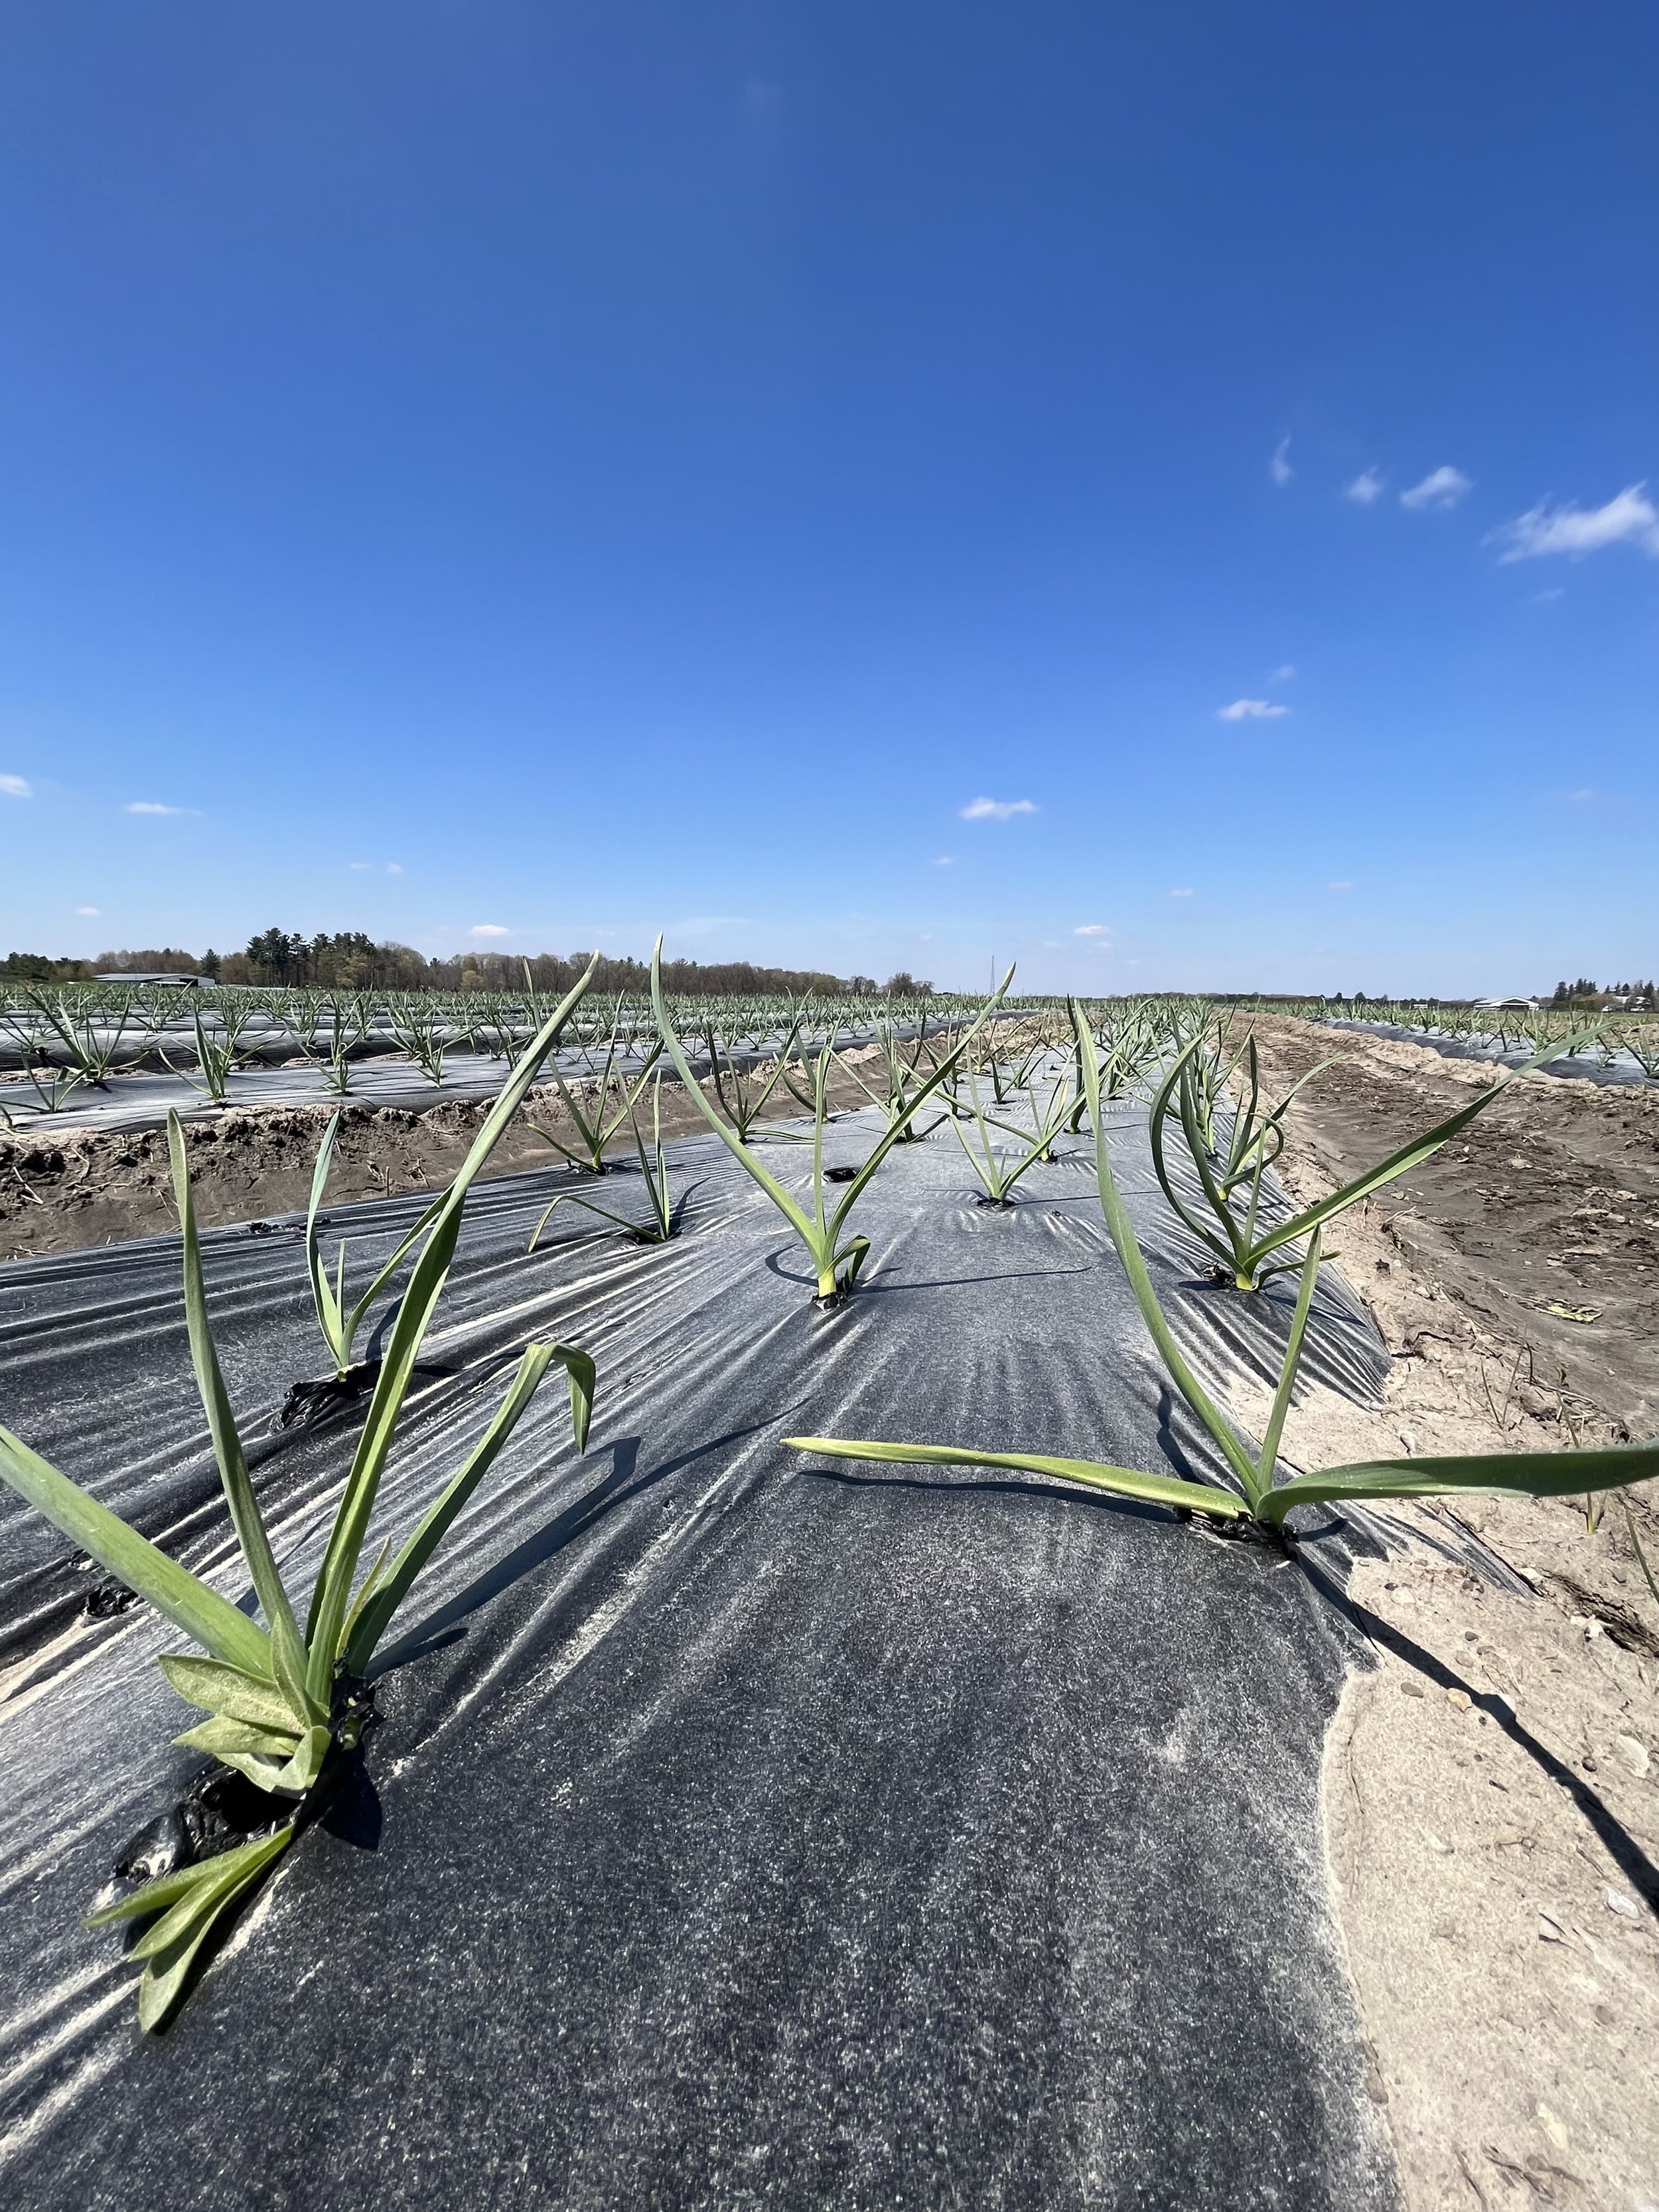
And finally, pictured above are the beginning stages of two delicious vegetables, which also happen to pair well in a culinary sense, too: potatoes and garlic. The potatoes were just planted this week, while the garlic was planted last fall and is just now beginning to pop up out of the soil. We will start to harvest some of the garlic within the next week or so. At this stage it will be ‘green garlic’ aka baby garlic, and is deliciously tender and sweet. The greens are tender too, which means the whole plant can be used and enjoyed at this stage, much like green onions.

Updates from Week 3 of April

Hello again from the farm! We are very glad to be past the cooler temperatures we experienced earlier this week, and are happy to see the sunshine out again. Here’s a look at what we’ve been up to since we filled you in last week:

First up, the moment you’ve been waiting for since we teased you last week — the big reveal of what’s underneath our row covers. This is admittedly a very bad photo, but we had to dig up one corner then lay down on the ground to get a peek at what’s on the go. And the answer is… mustard greens! A fun new experiment all around, as this is our first time growing them and our first time covering a row like this too.

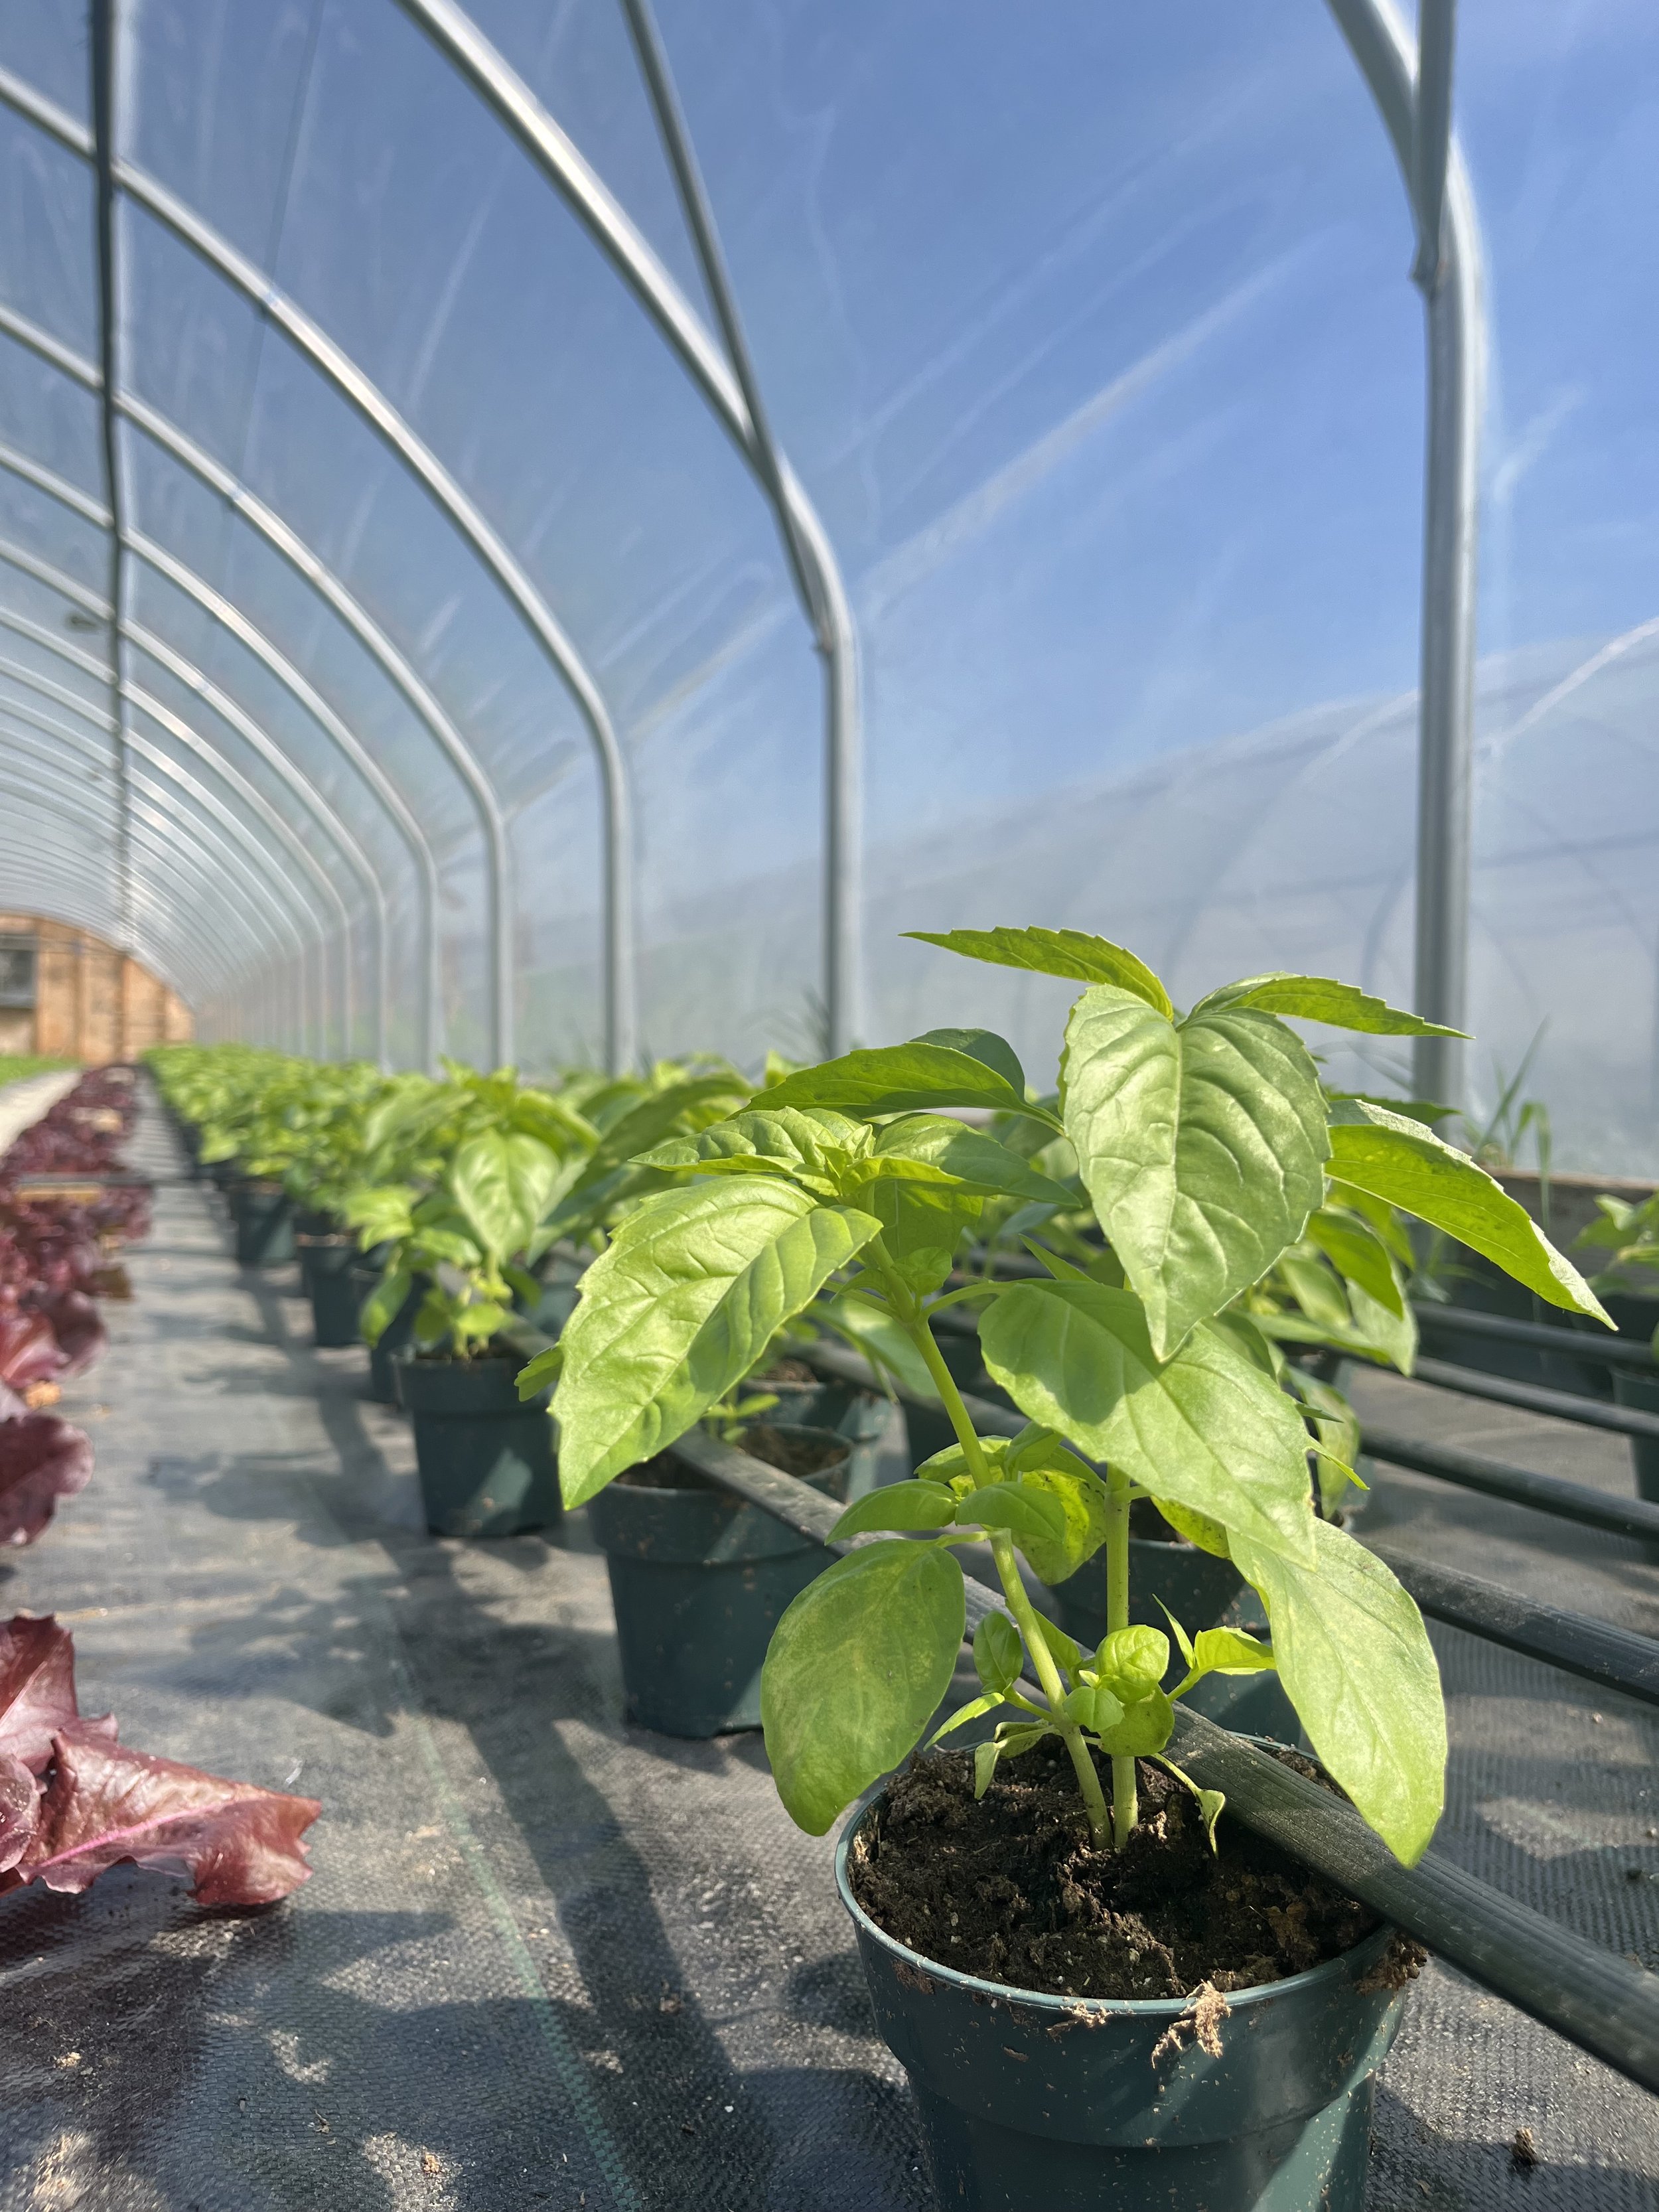
Next, our cold frame greenhouse continues to thrive, with the potted herbs and greens growing bigger every day. Pictured above on the top left is our potted basil, which will be the first potted herb heading out in our  May Market Boxes!

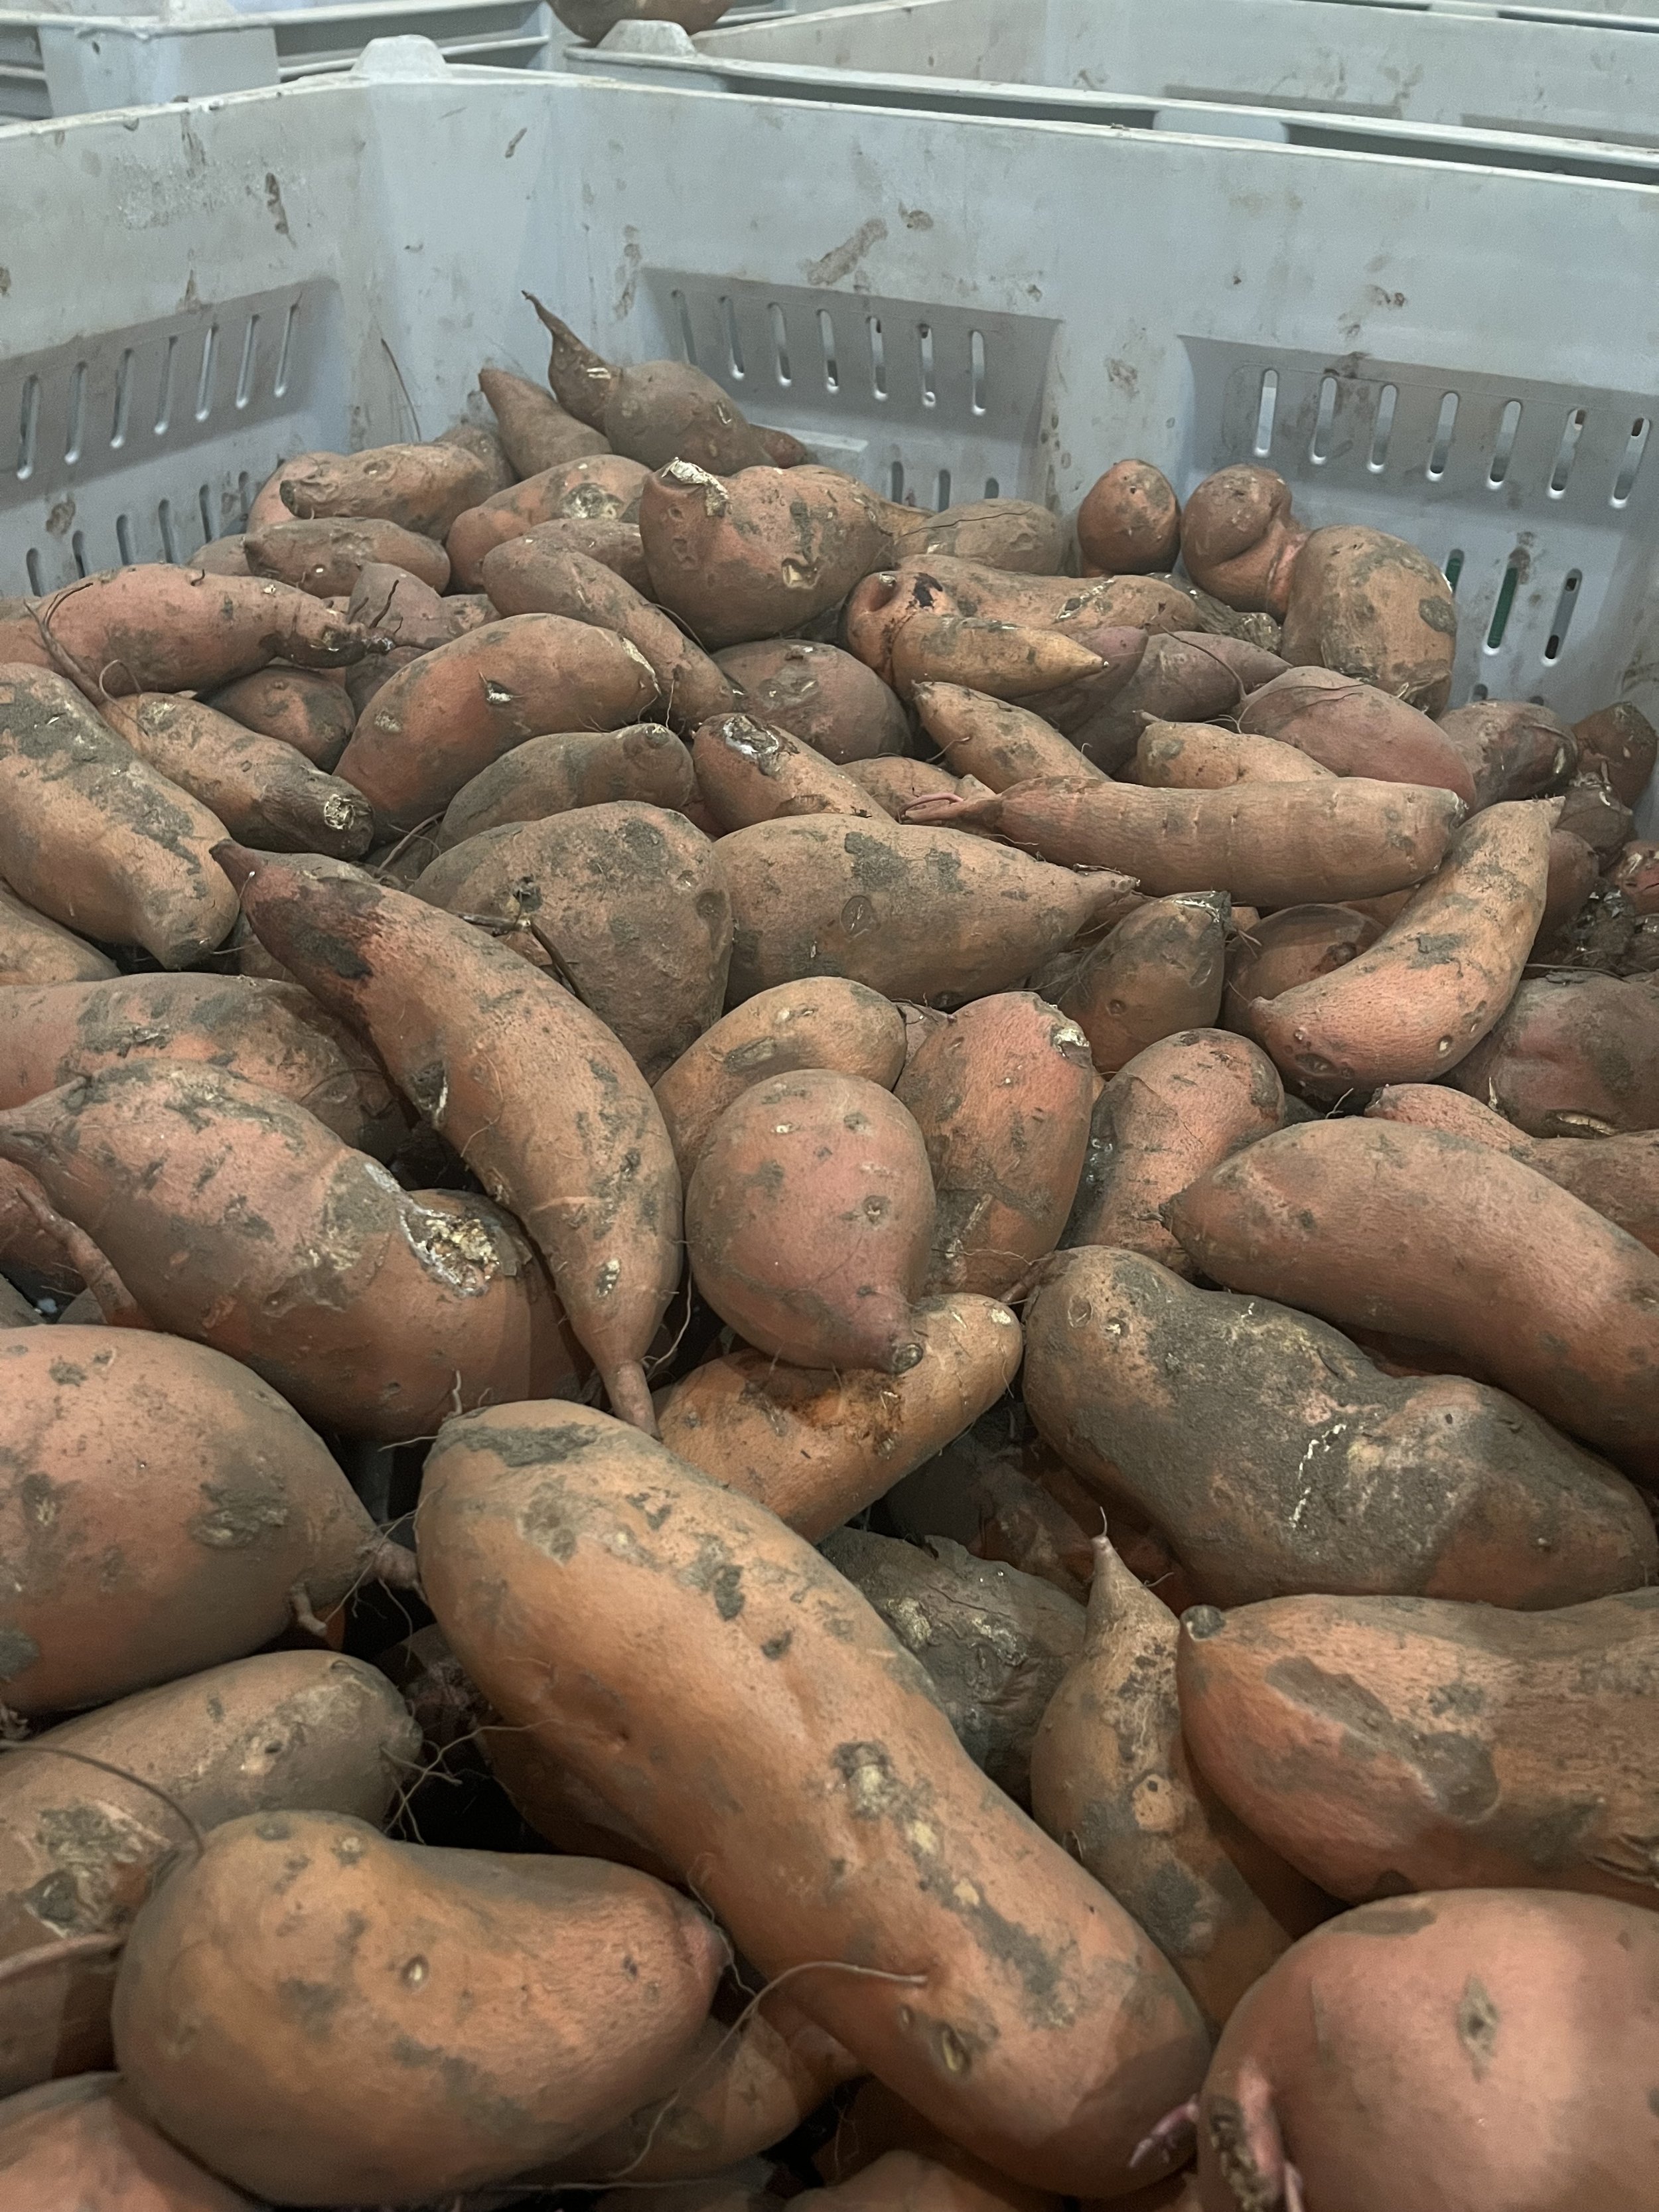
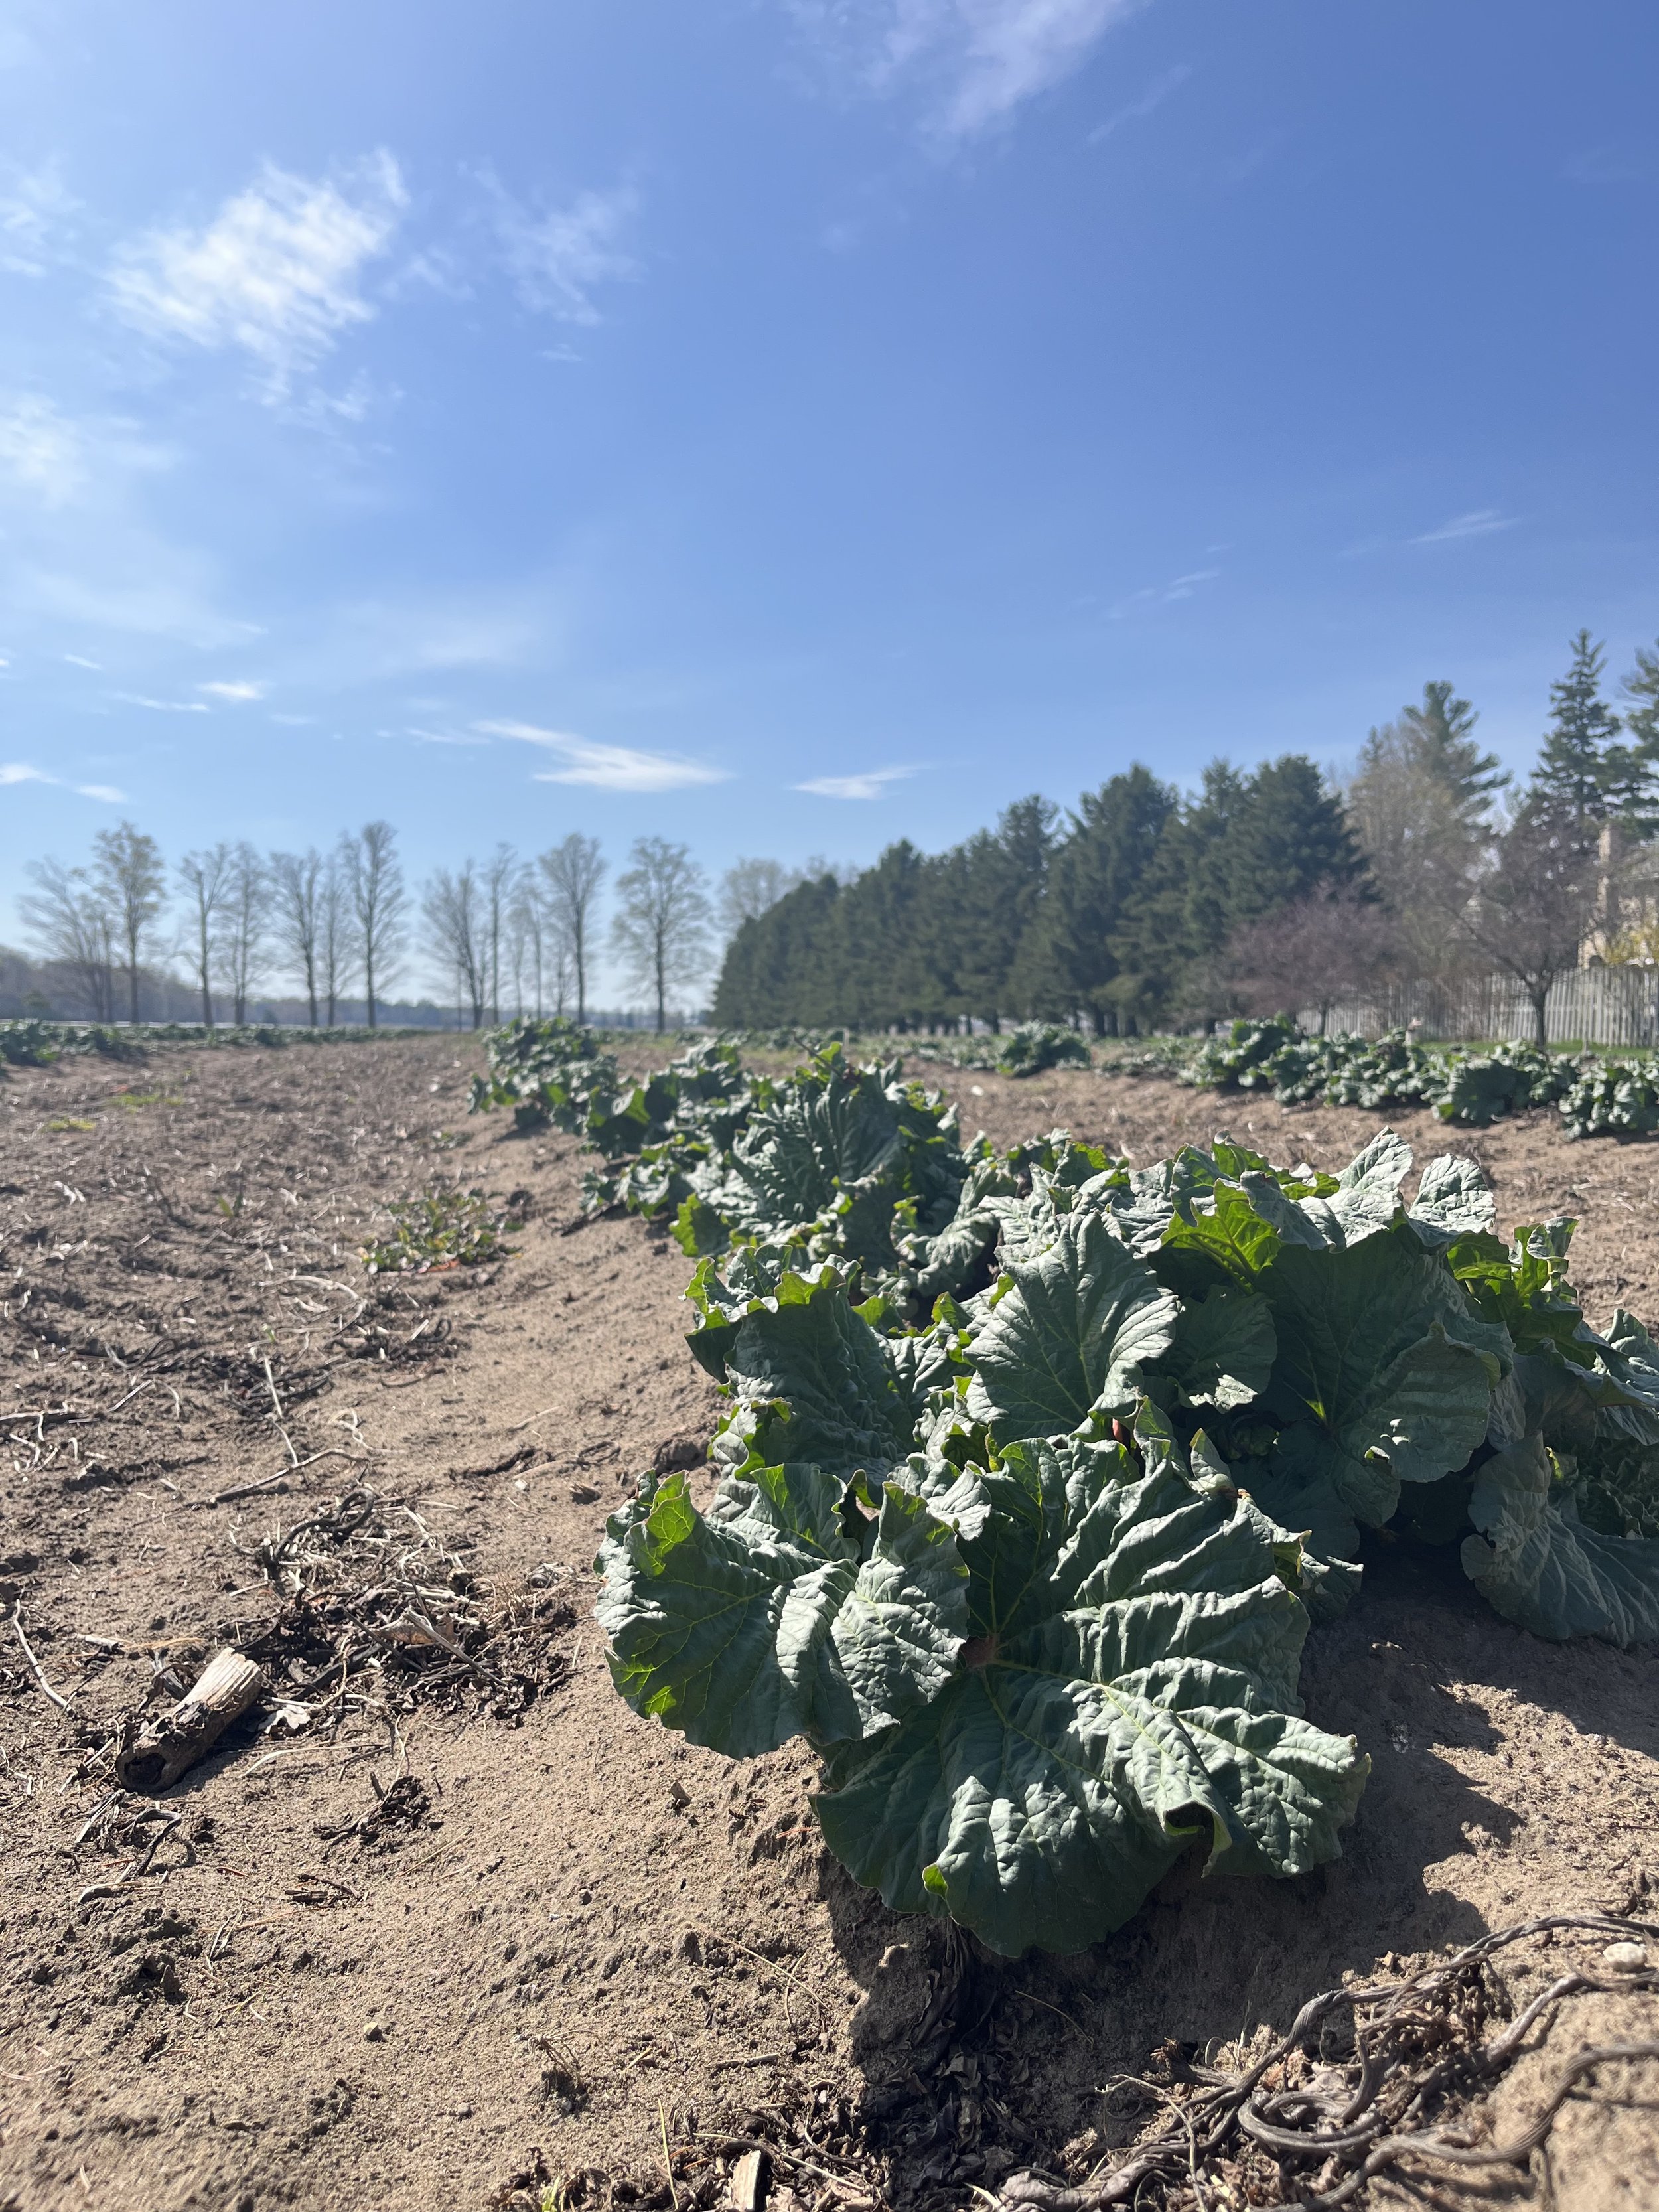
Third, here’s a peek at two other items you can expect to see in your May Market Boxes. On the left are overwintered sweet potatoes. Look at the size of them! And on the right is our rhubarb, which is also continuing to grow bigger by the minute.

And finally, and arguably most excitably, we found the first sign of our 2023 strawberry crop this week! You may have seen this on our socials already, because we were just too excited not to share! But we’ll give you newsletter folks a little more info here. These little blossoms are what will turn into the delicious berries that will be available for sale at farmers’ markets and at our Farm Market and Pick-Your-Own. This stage of blossom indicates fruit will be starting to appear in 30 days, but we’ll only have a sprinkling at that time, and it will take longer for enough berries to be ready to justify regular harvest. It is a very encouraging site to see, though! And we can’t wait to sink our teeth into the first berries real soon.

Updates from Week 2 of April

Hello from the farm! Unlike last week, it has been all sunshine and blue-skies the past few days! This gorgeous weather has allowed us to get lots of work done outside and in the fields, and we are definitely making the most of it. Here’s a little peak at what we’ve been up to:

First up, it’s all about the seedlings right now. The glass greenhouse on our home farm is now officially full of trays! From now on, new trays will be transported just down the road to an additional greenhouse space located on our family’s property. We share several resources with them — this greenhouse, tractors, land, and more!

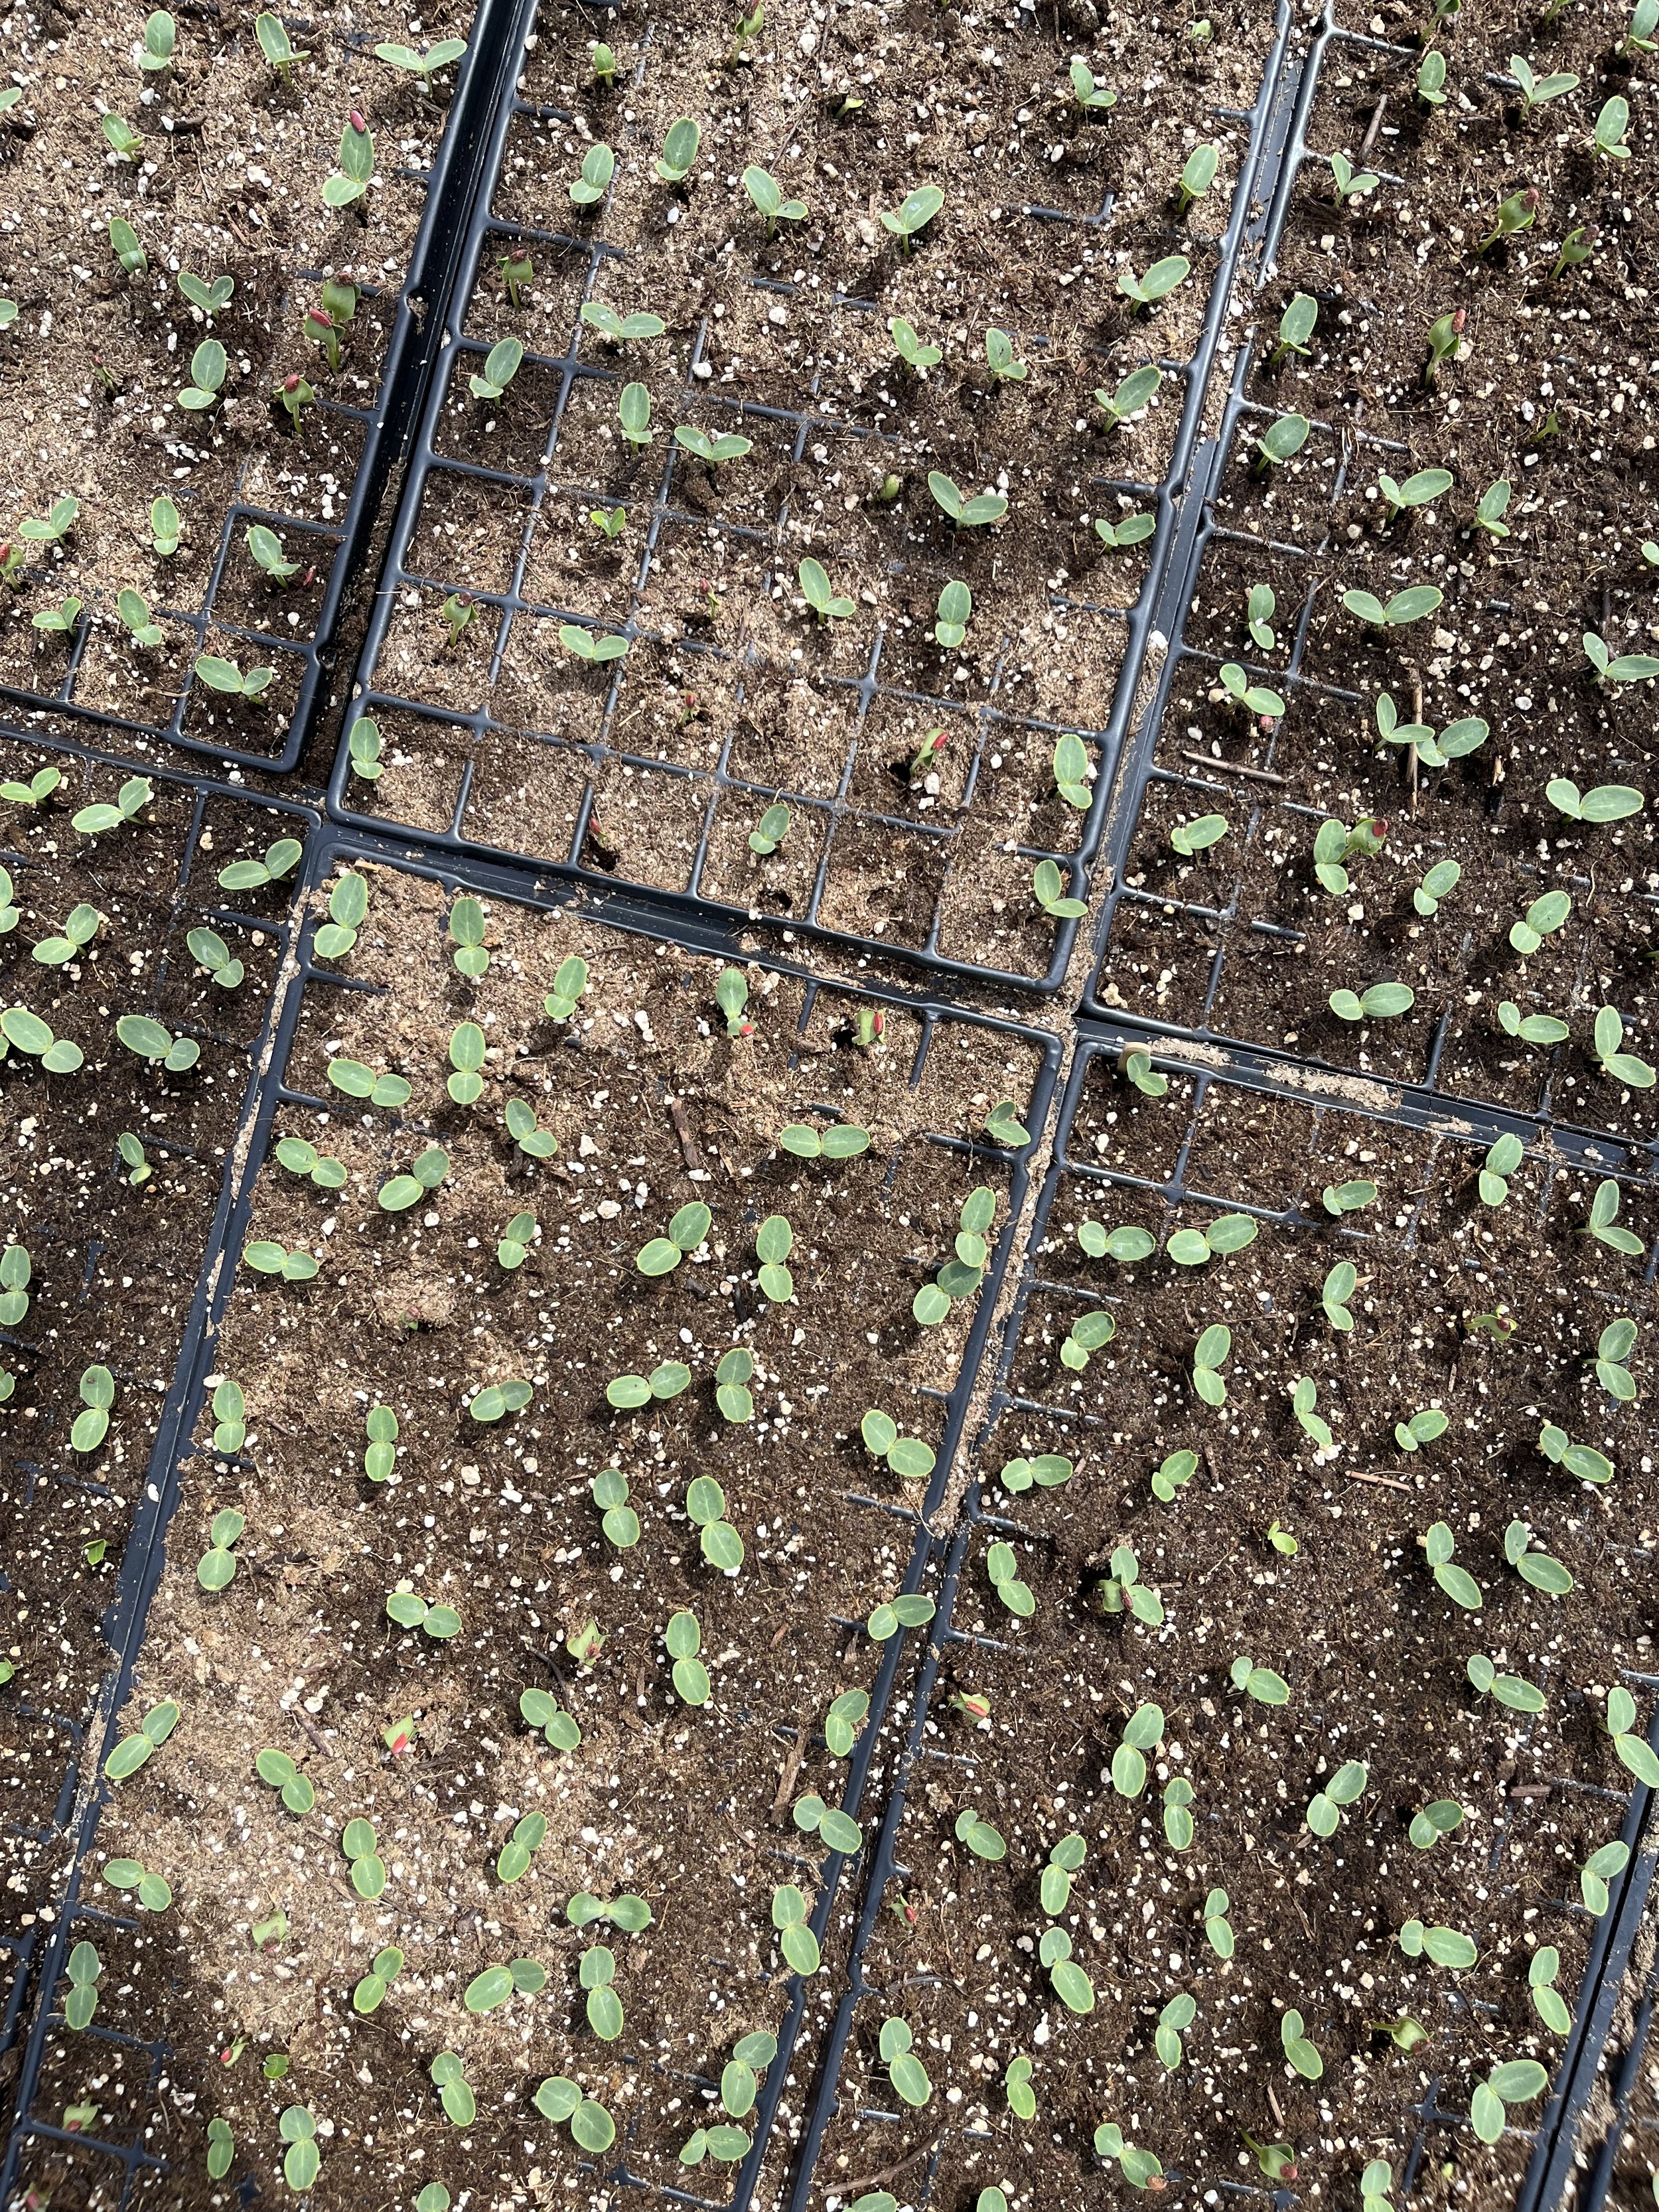
Pictured below are the first of our melon seedlings!

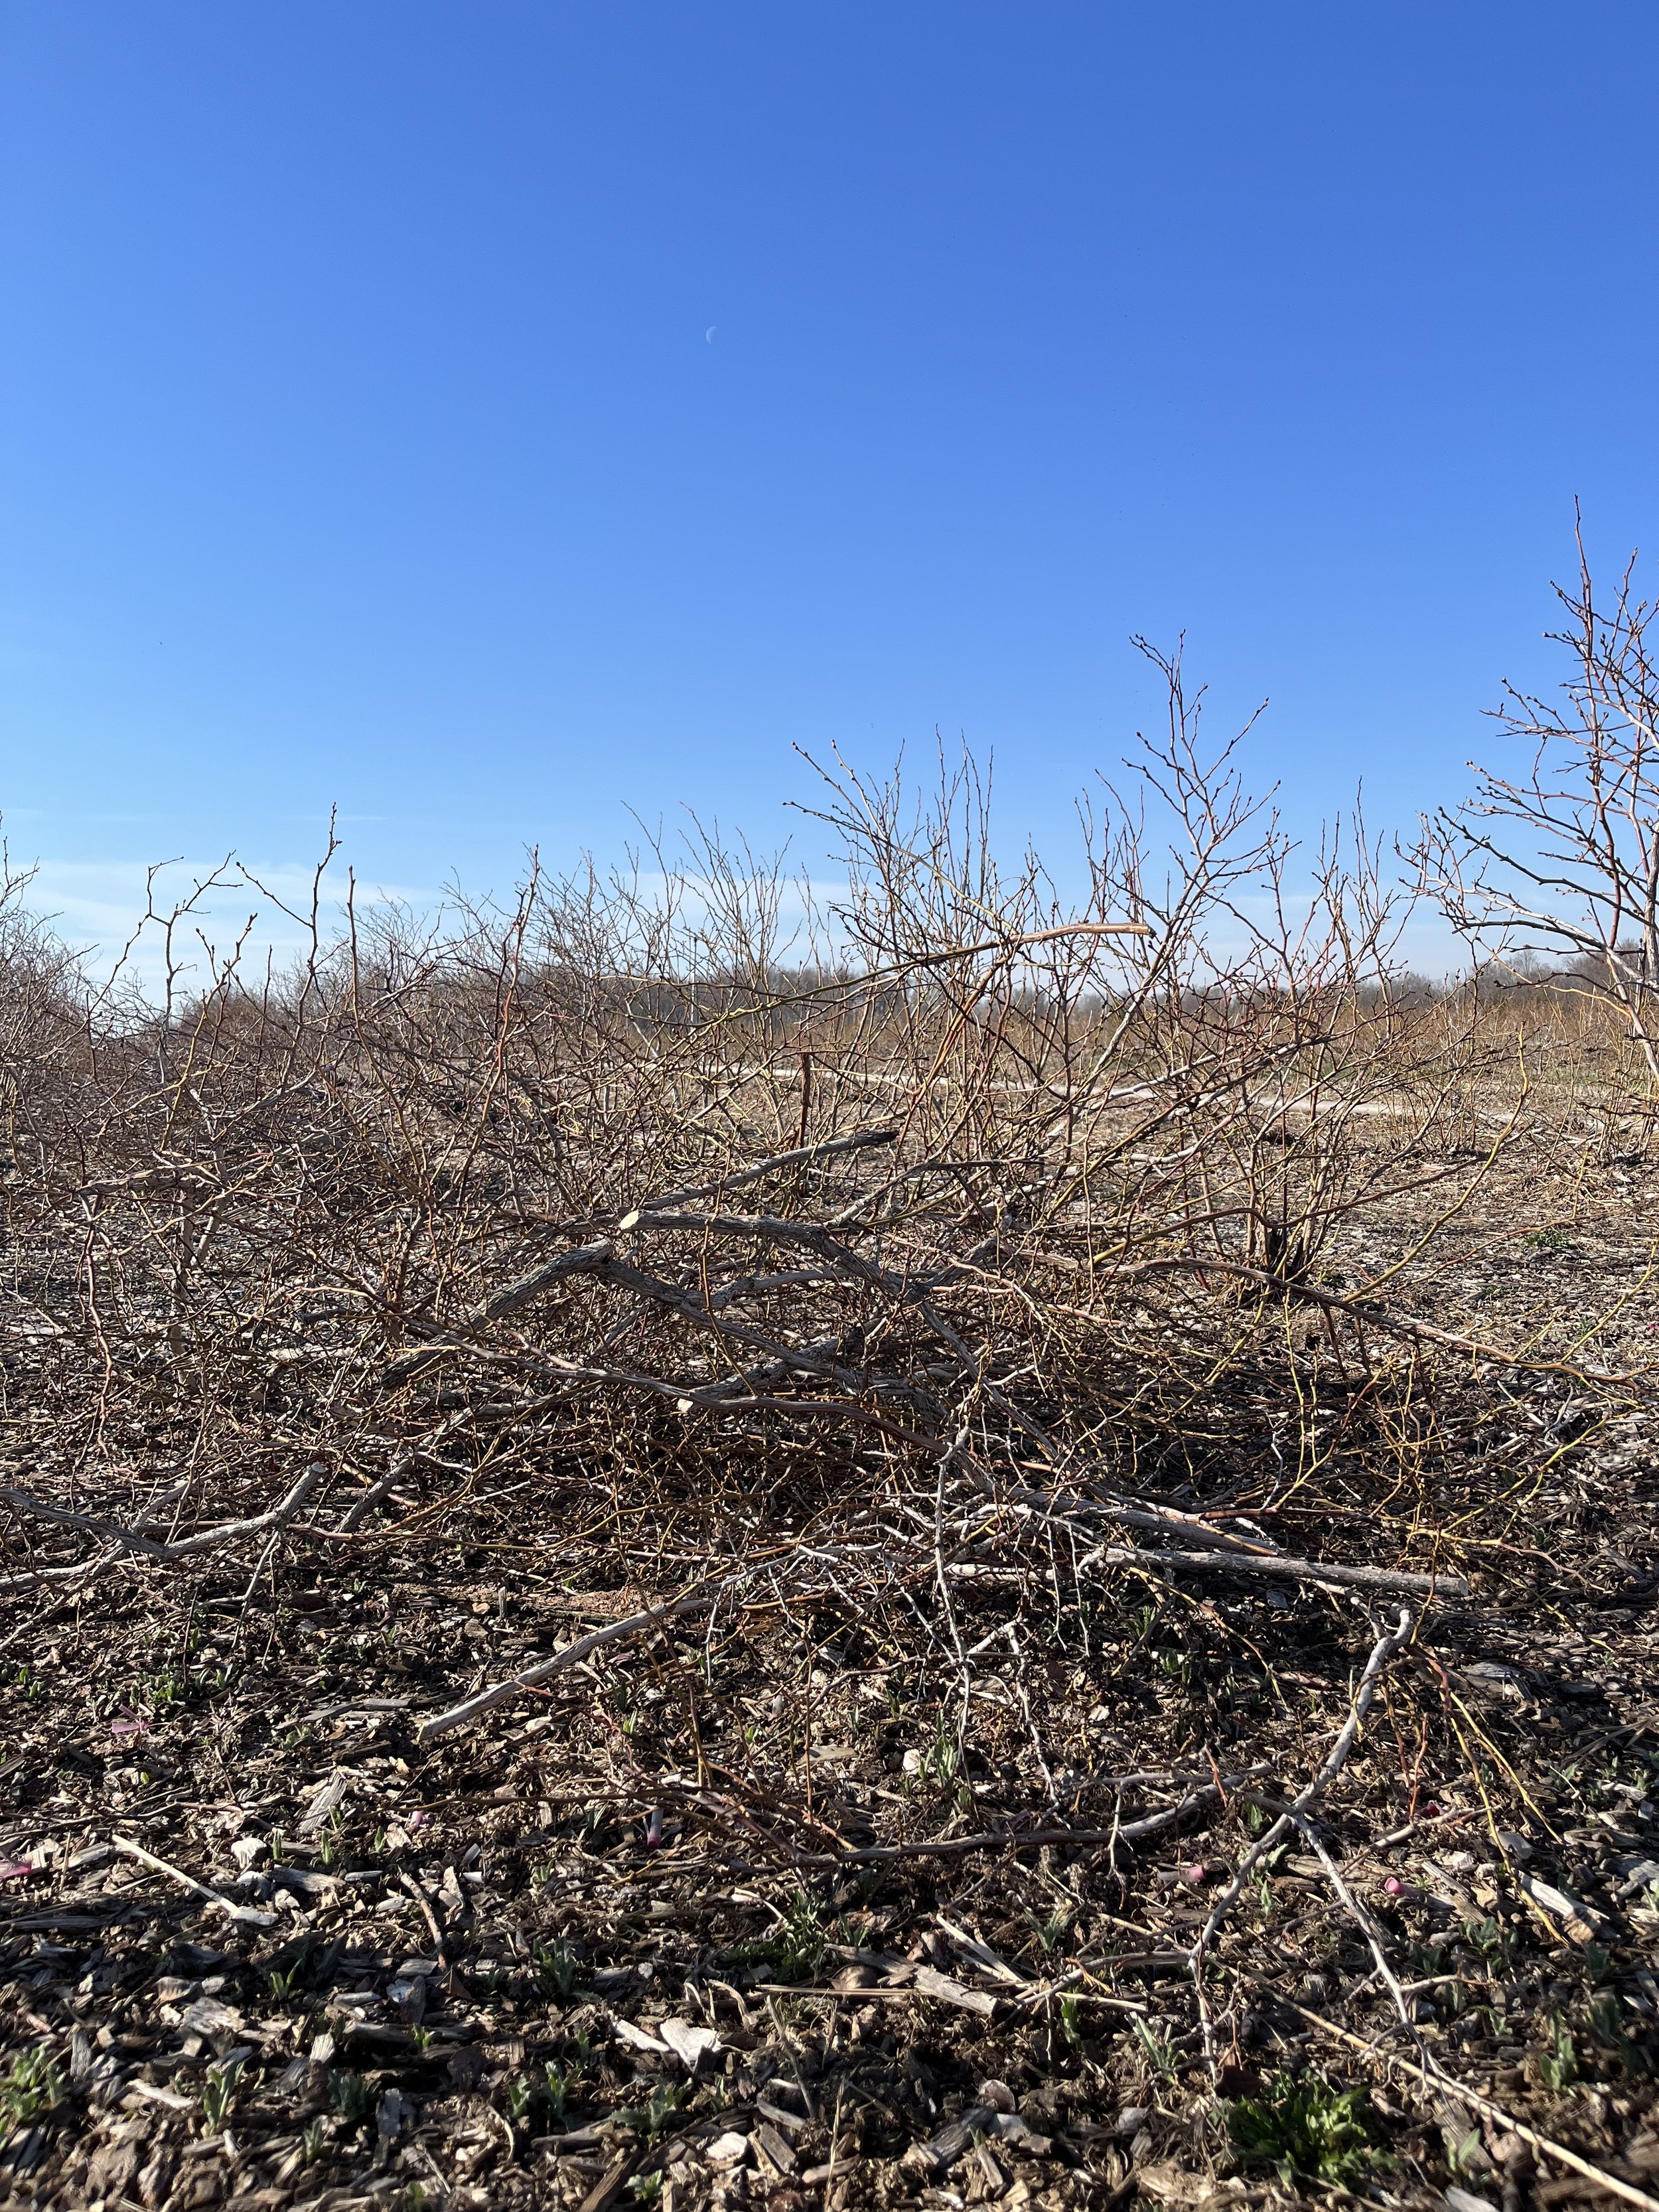
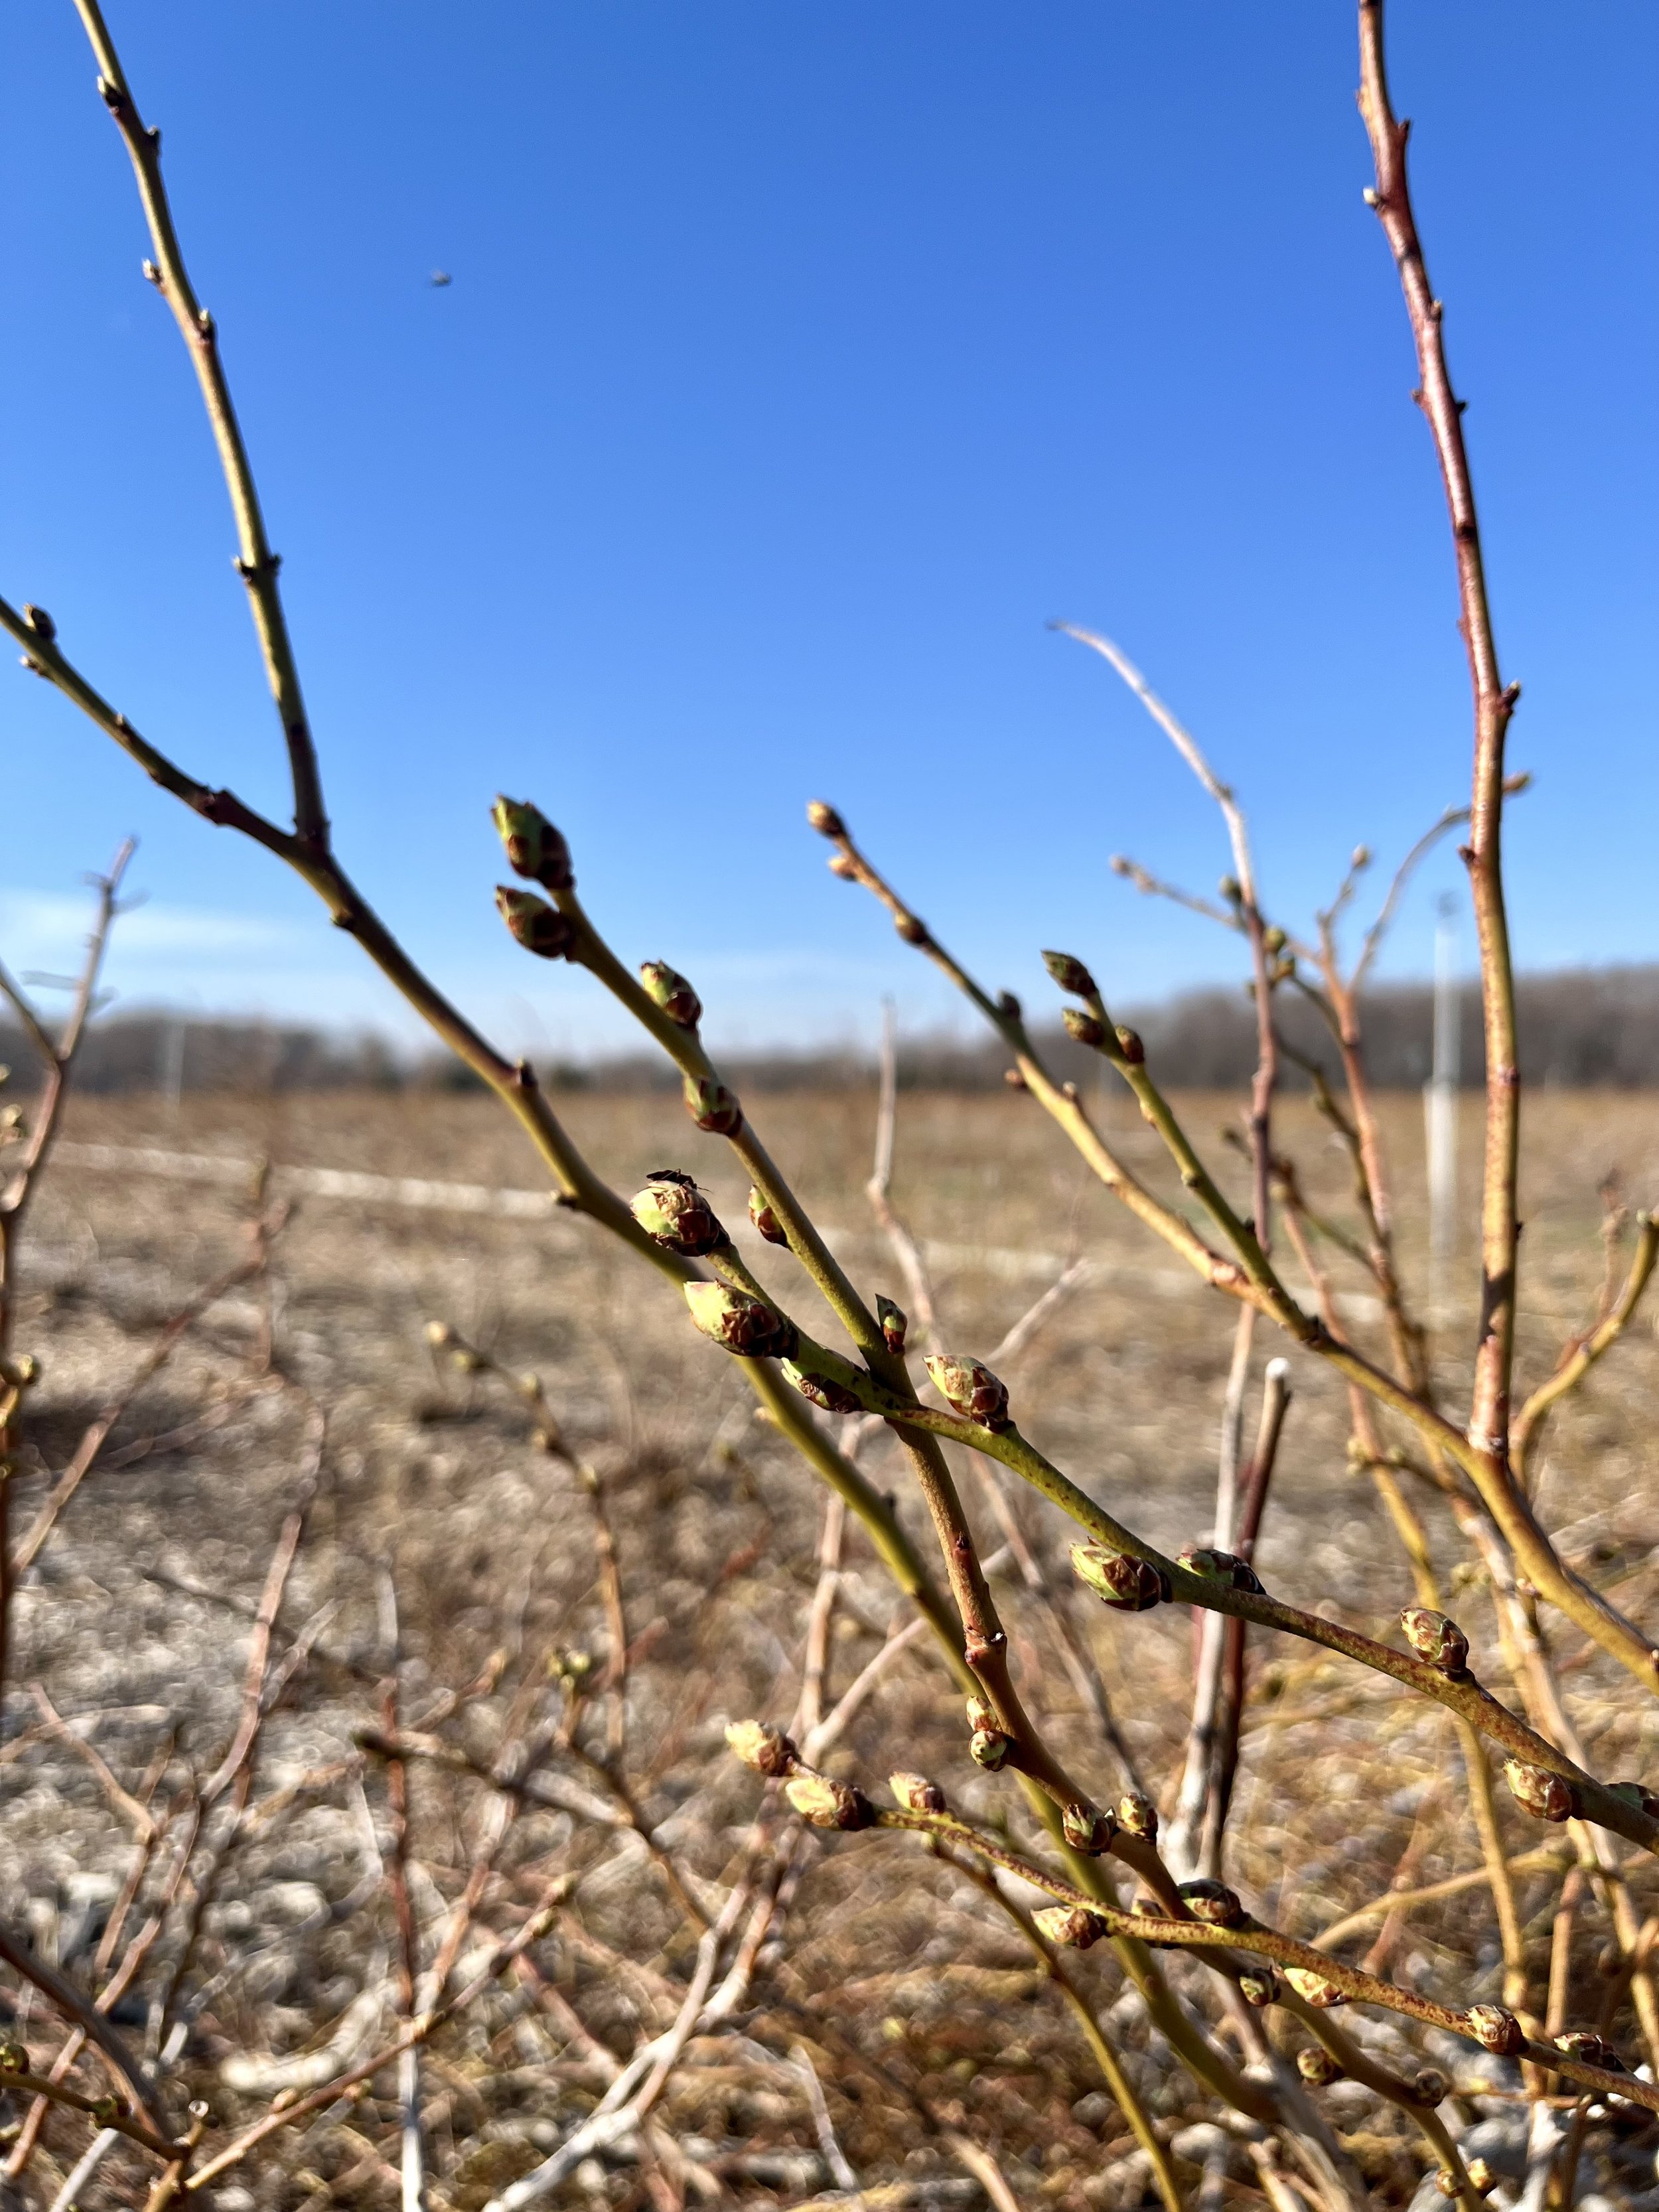
Next, we’ve been continuing to work on pruning our blueberries. We’re finishing up the final rows today, and will then be moving on to our raspberries. The photo on the left below shows just how many branches are removed during a pruning. It’s quite a lot! While out in the blueberry fields we were delighted to see that they are starting to bud! Check out the photo on the right to see where they are at.

Next, we’re trying something new this year, and wanted to share a little teaser. Stay tuned to find out what’s under the row covers next week! In the meantime, any guesses?

And finally, we’ve been hard at work tidying, organizing, and cleaning up our Farm Market. We will be re-opening for the season on Saturday May 6th!

Updates from Week 1 of April

Hello from the farm! It has been one wet week around here, and I’m sure it’s been the same for a lot of you as well! Fortunately, we have very sandy soil, so water drains pretty quickly. It’s handy when we have an abundance of water that needs to get moving, but as we talked about in some previous newsletters, it can pose a problem later in the season when we inevitably run into dry spells.

There’s quite a bit of activity on the go this week, and I thought I’d fill you in on some of it!

We were busy baking and sorting preserves earlier this week, and then dropped off all Spring/Easter orders yesterday, direct to the doorsteps of those who ordered. Thanks so much to everyone who supported our Farm Kitchen, and we hope you enjoy your pies, pretzels, and more!

Meanwhile, our seeding and field crews have also had lots on the go. Keep scrolling for a sneak peek at what they’ve been up to!

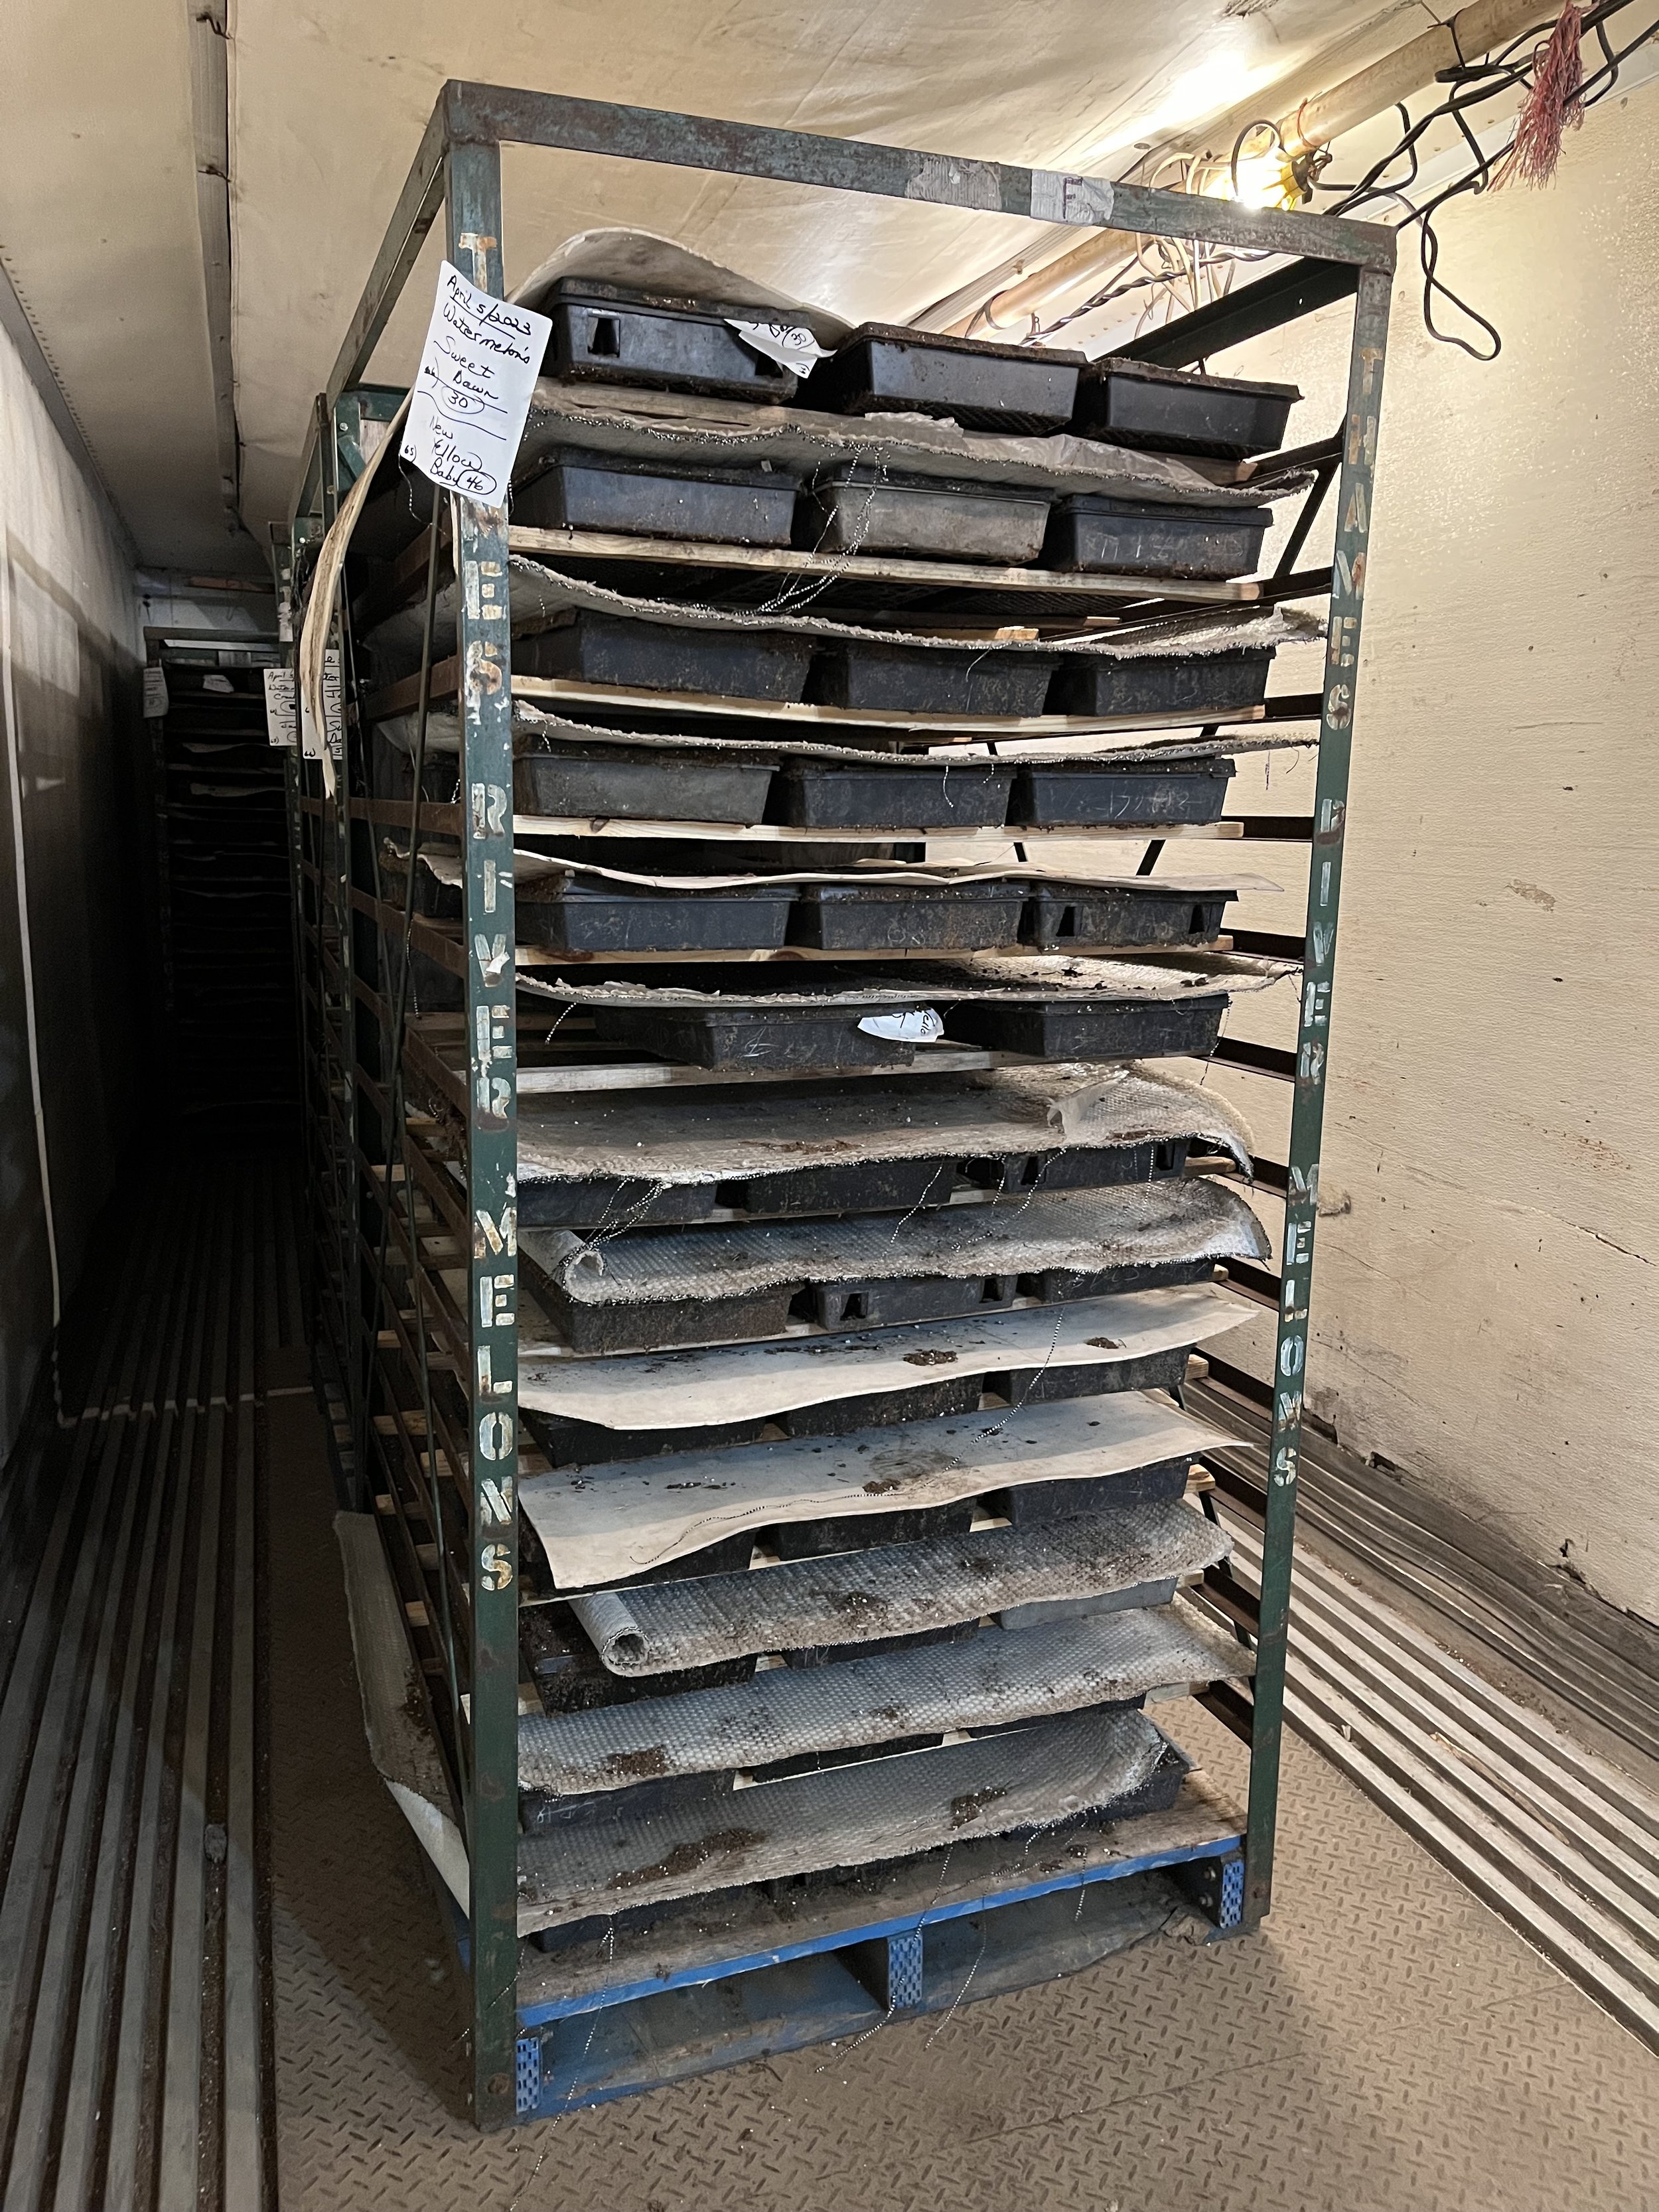
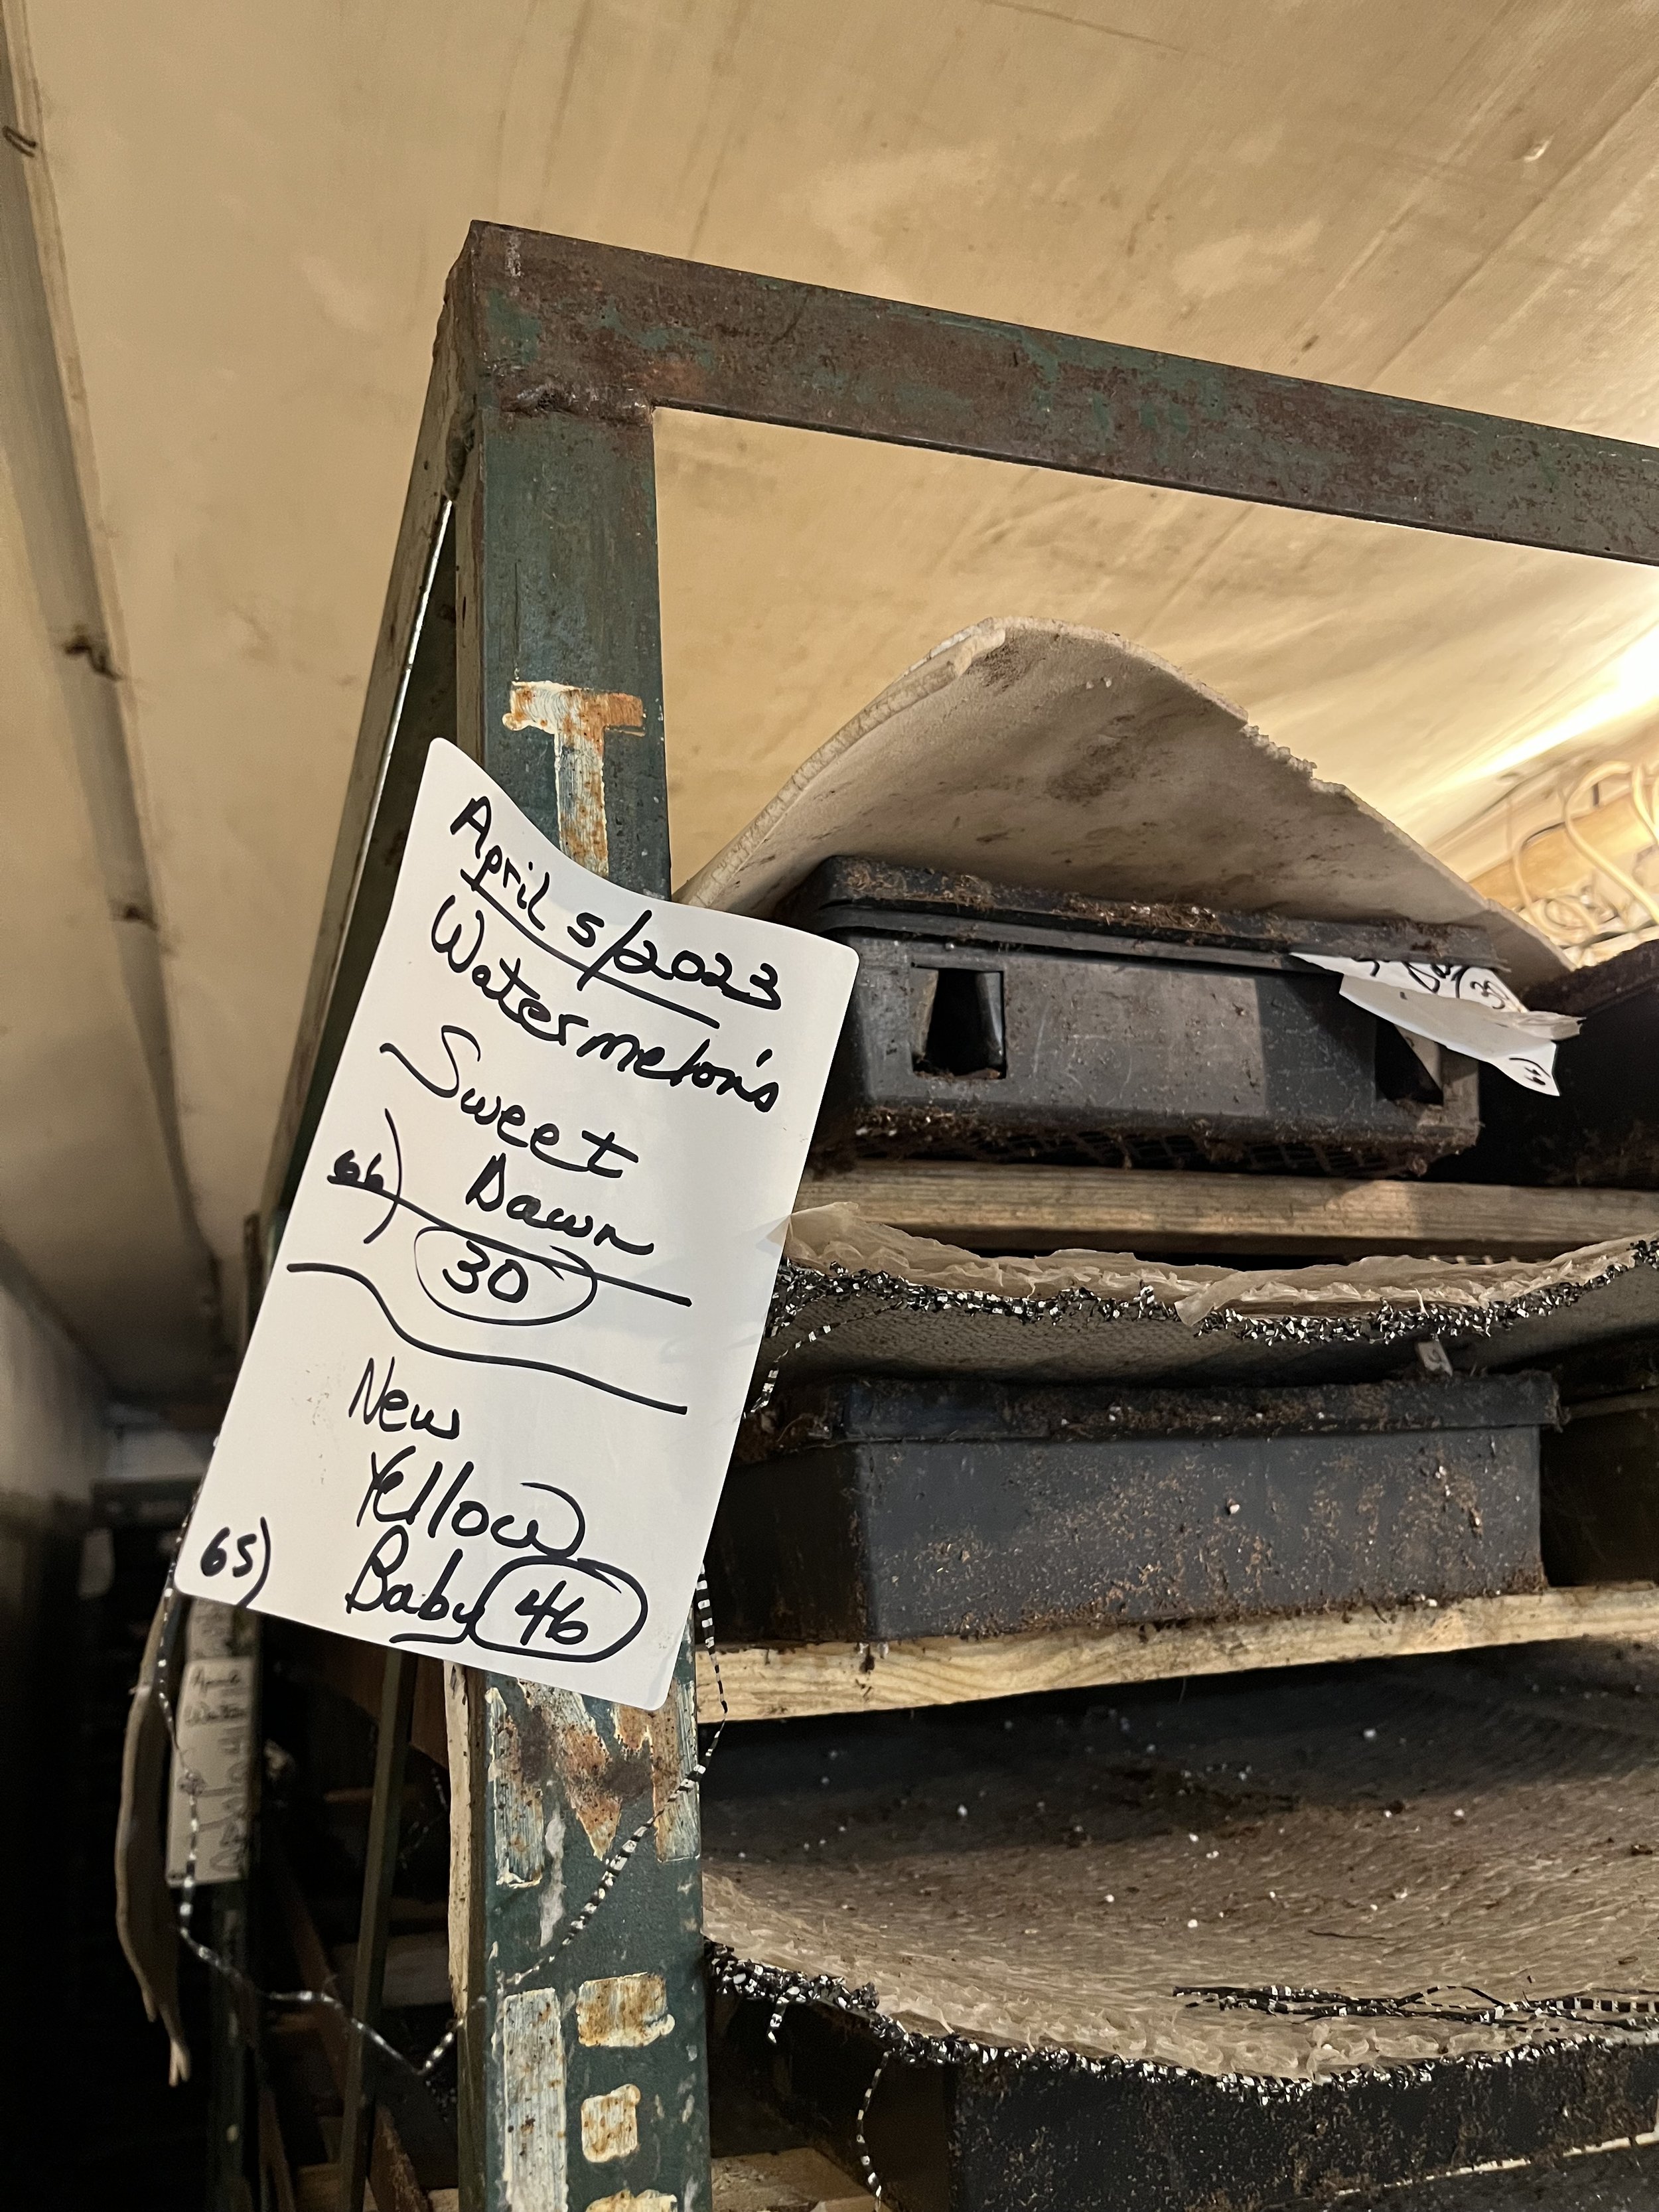
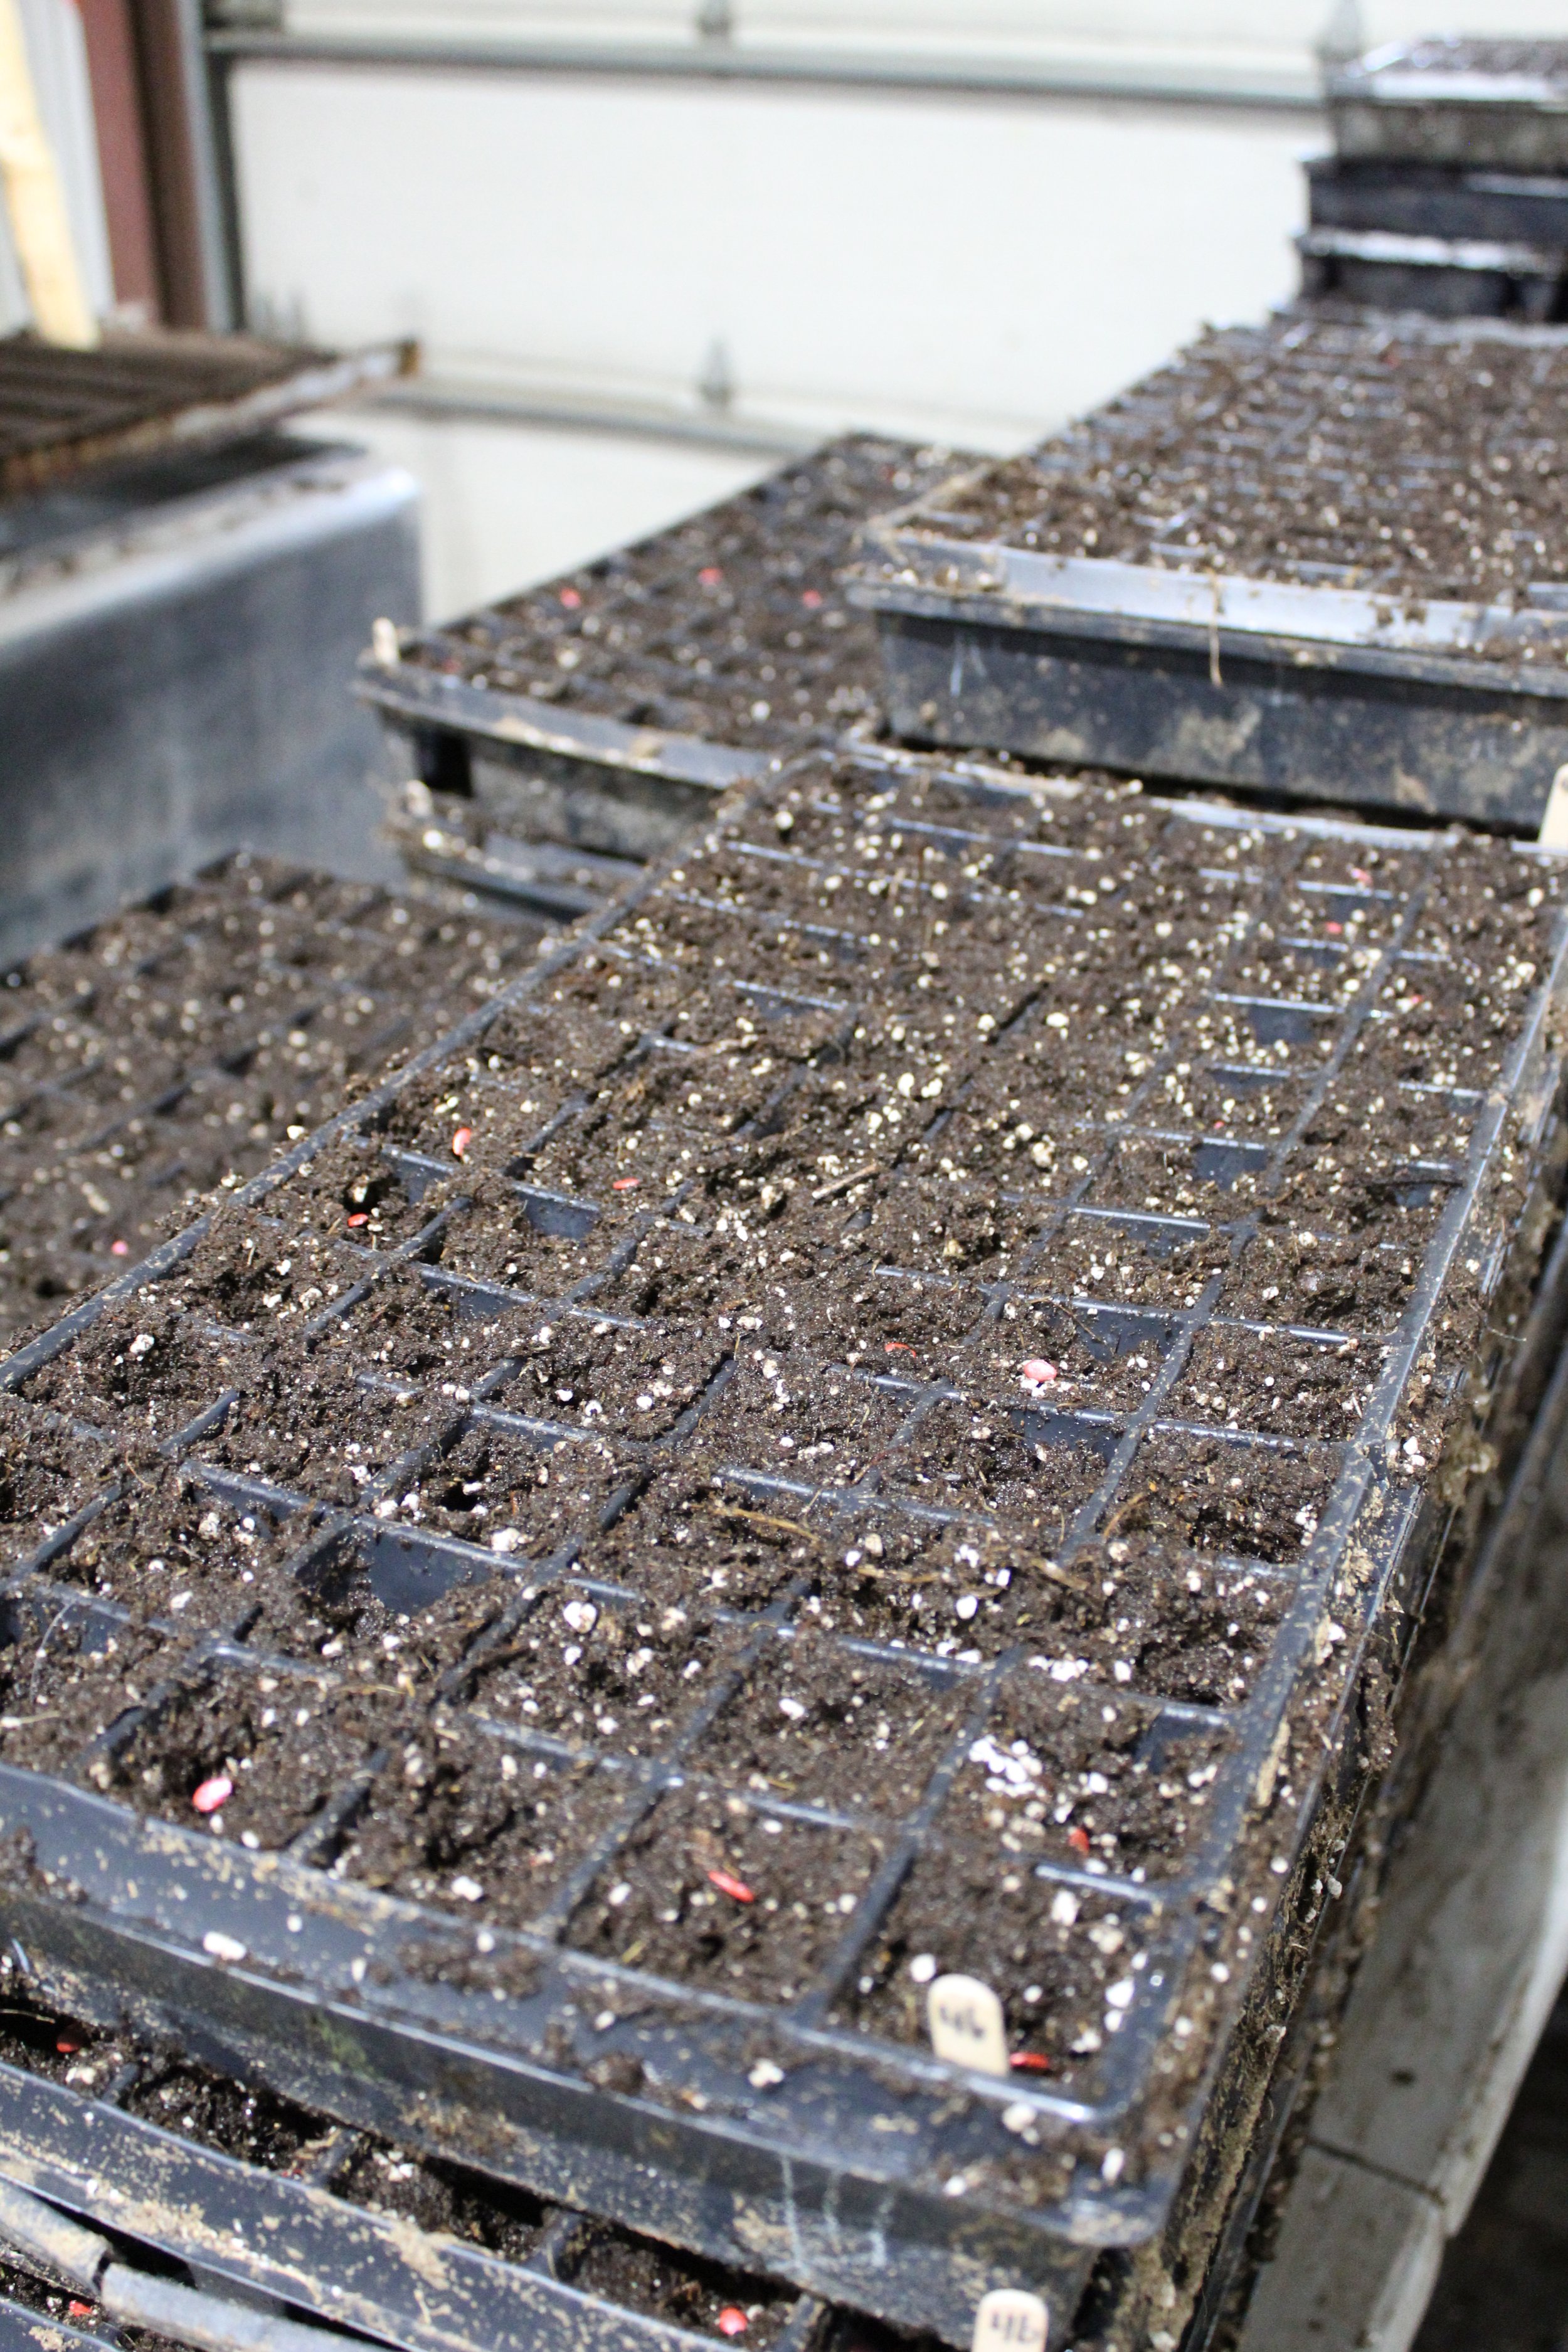
First up, as requested by our youngest reader (a 6-year-old from Toronto!) here are some photos of our germination trailer. Several of our crops hang out in here after being seeded into trays, and before heading out into the greenhouse. The germination trailer is heated to 85°F and has a humidity of 90%. The humidity is actually just thanks to the moisture found in the trays themselves, which are wetted down after being seeded. The trays stay in the germination trailer for anywhere from 24 – 72 hours: muskmelon for 24 hours, watermelon for 48 hours, and tomatoes for 72 hours. This time in the germination trailer allows for the emergence of 1/8 of an inch of the radical root (primary root) and sets the plant up for success throughout the season.

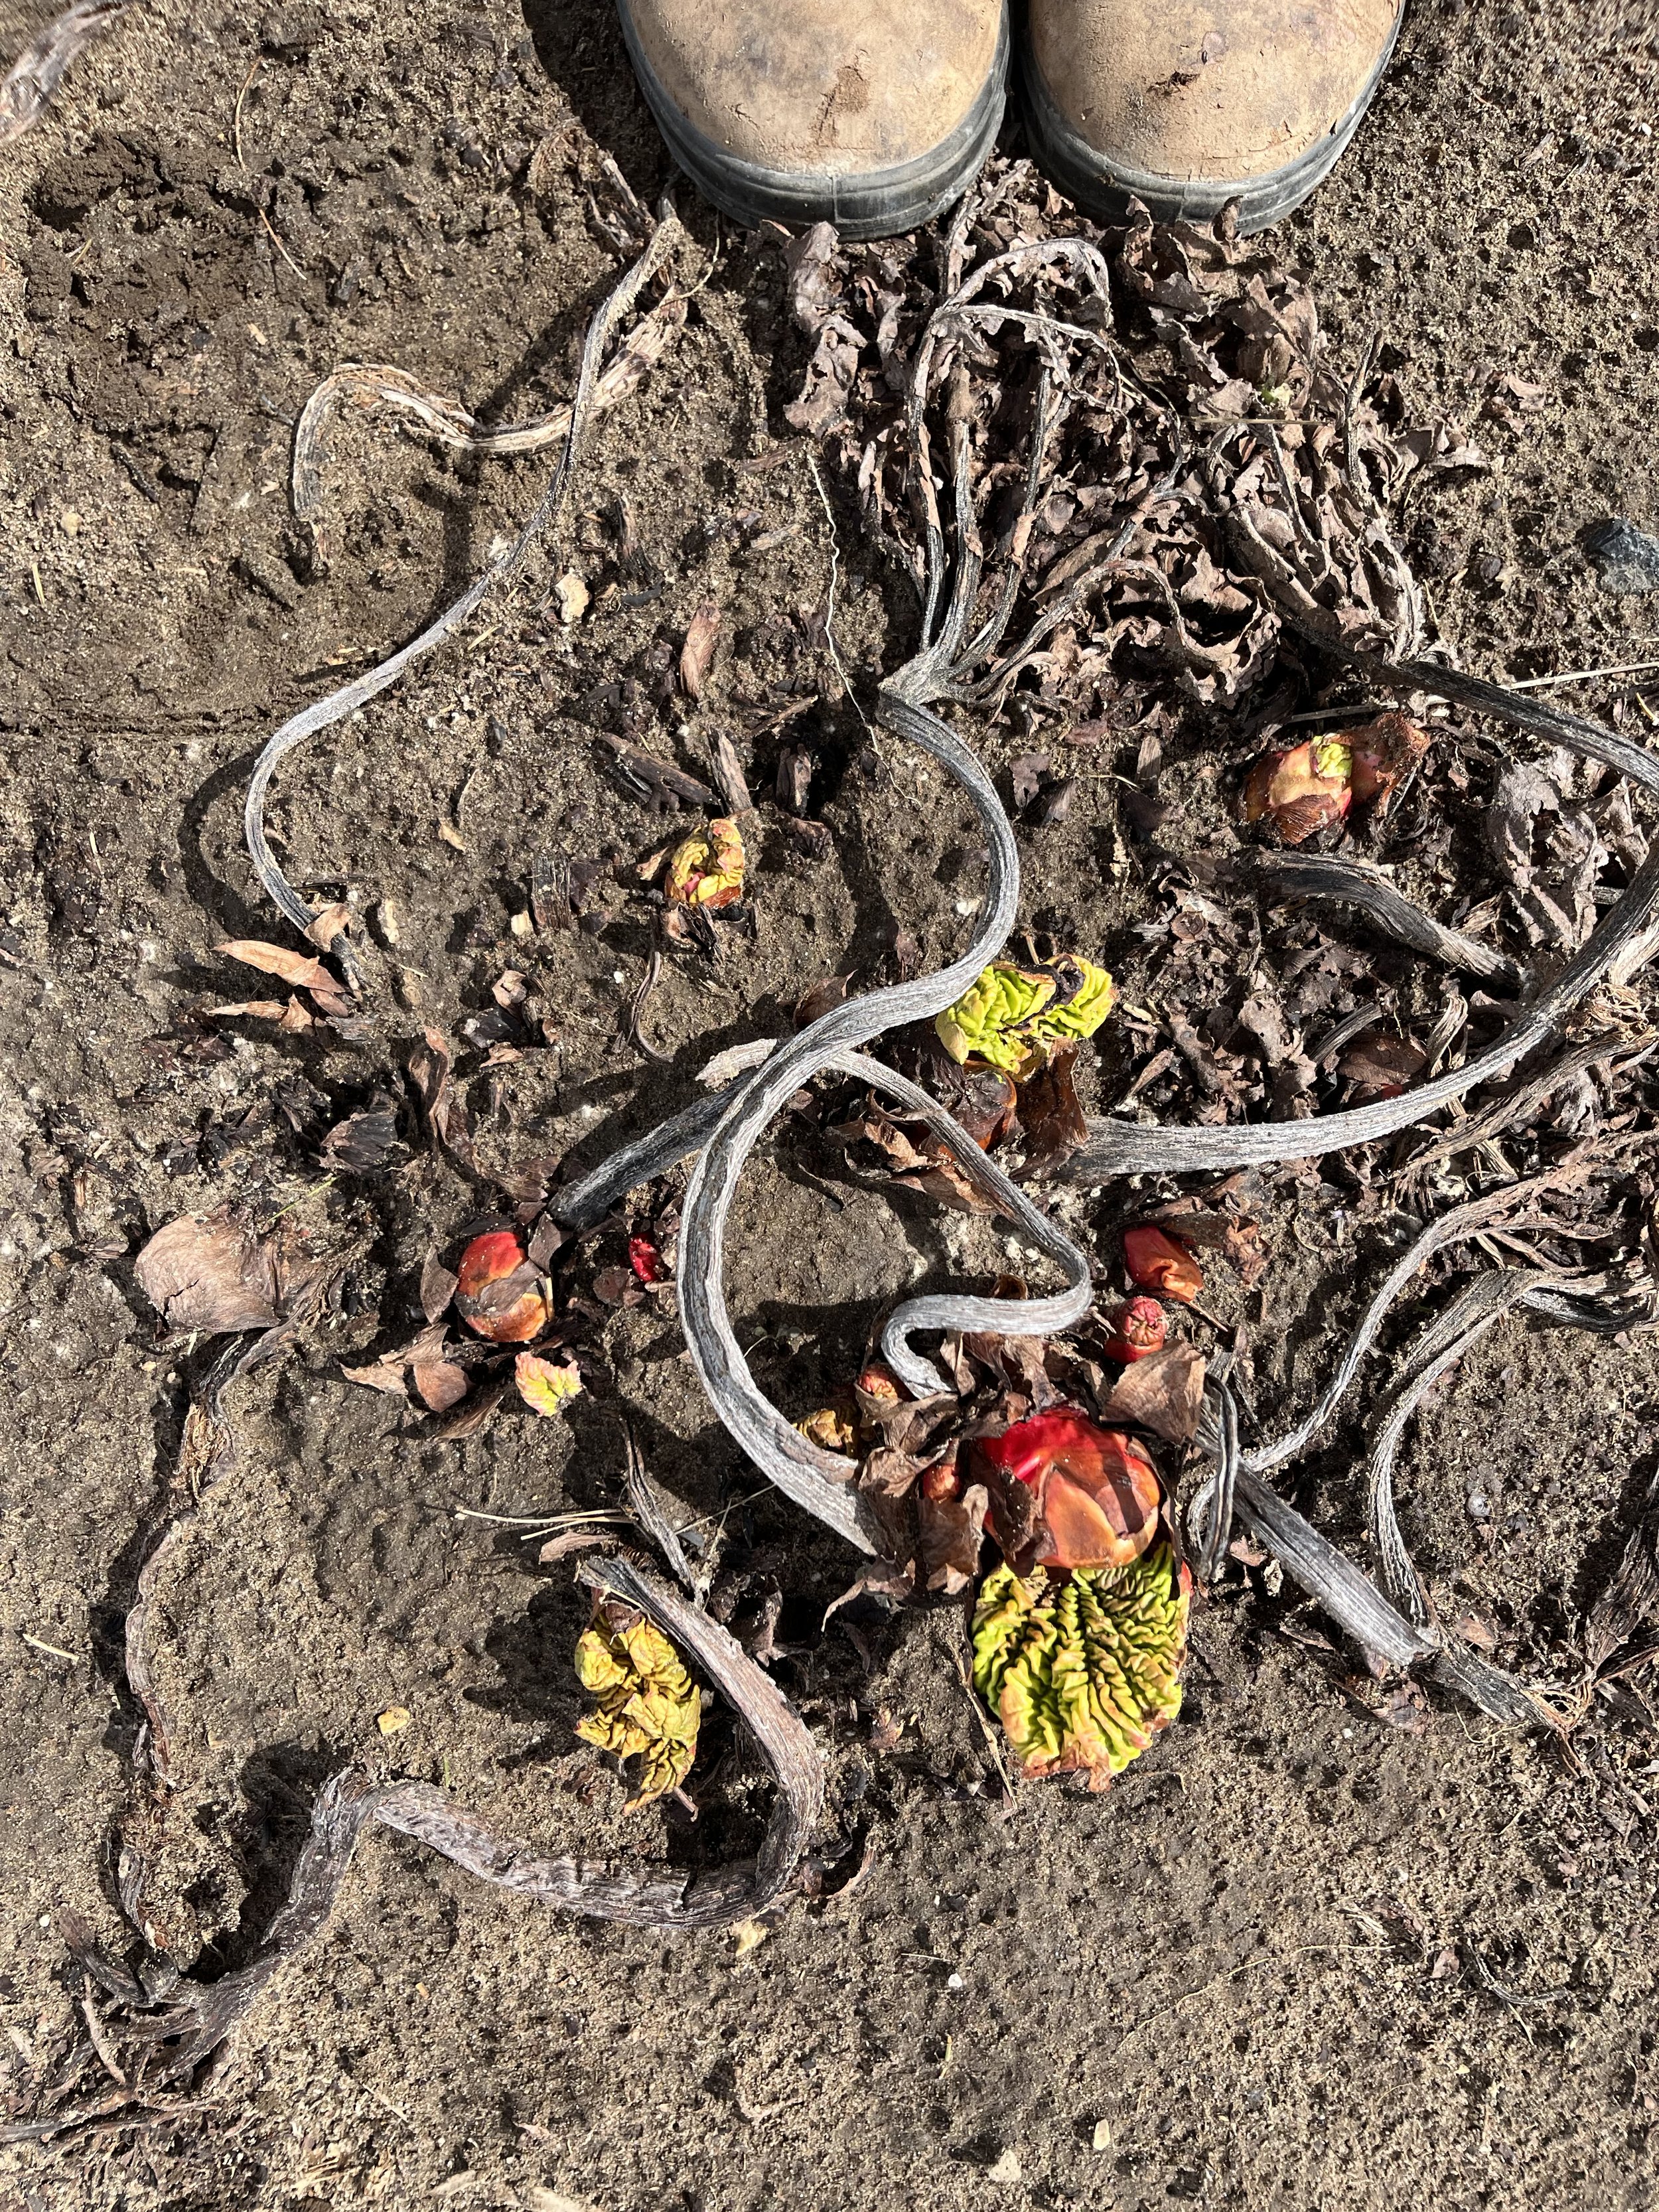
Next, two of our earliest crops (rhubarb and asparagus) are in their beginning stages of the season. Our asparagus fields are being mowed: the previous season’s plants grow up and go to fern after we finish harvesting, and we leave them out in the field over the fall and winter to act as a natural windbreak. Meanwhile, the rhubarb is starting to push its way up out of the soil for another year.

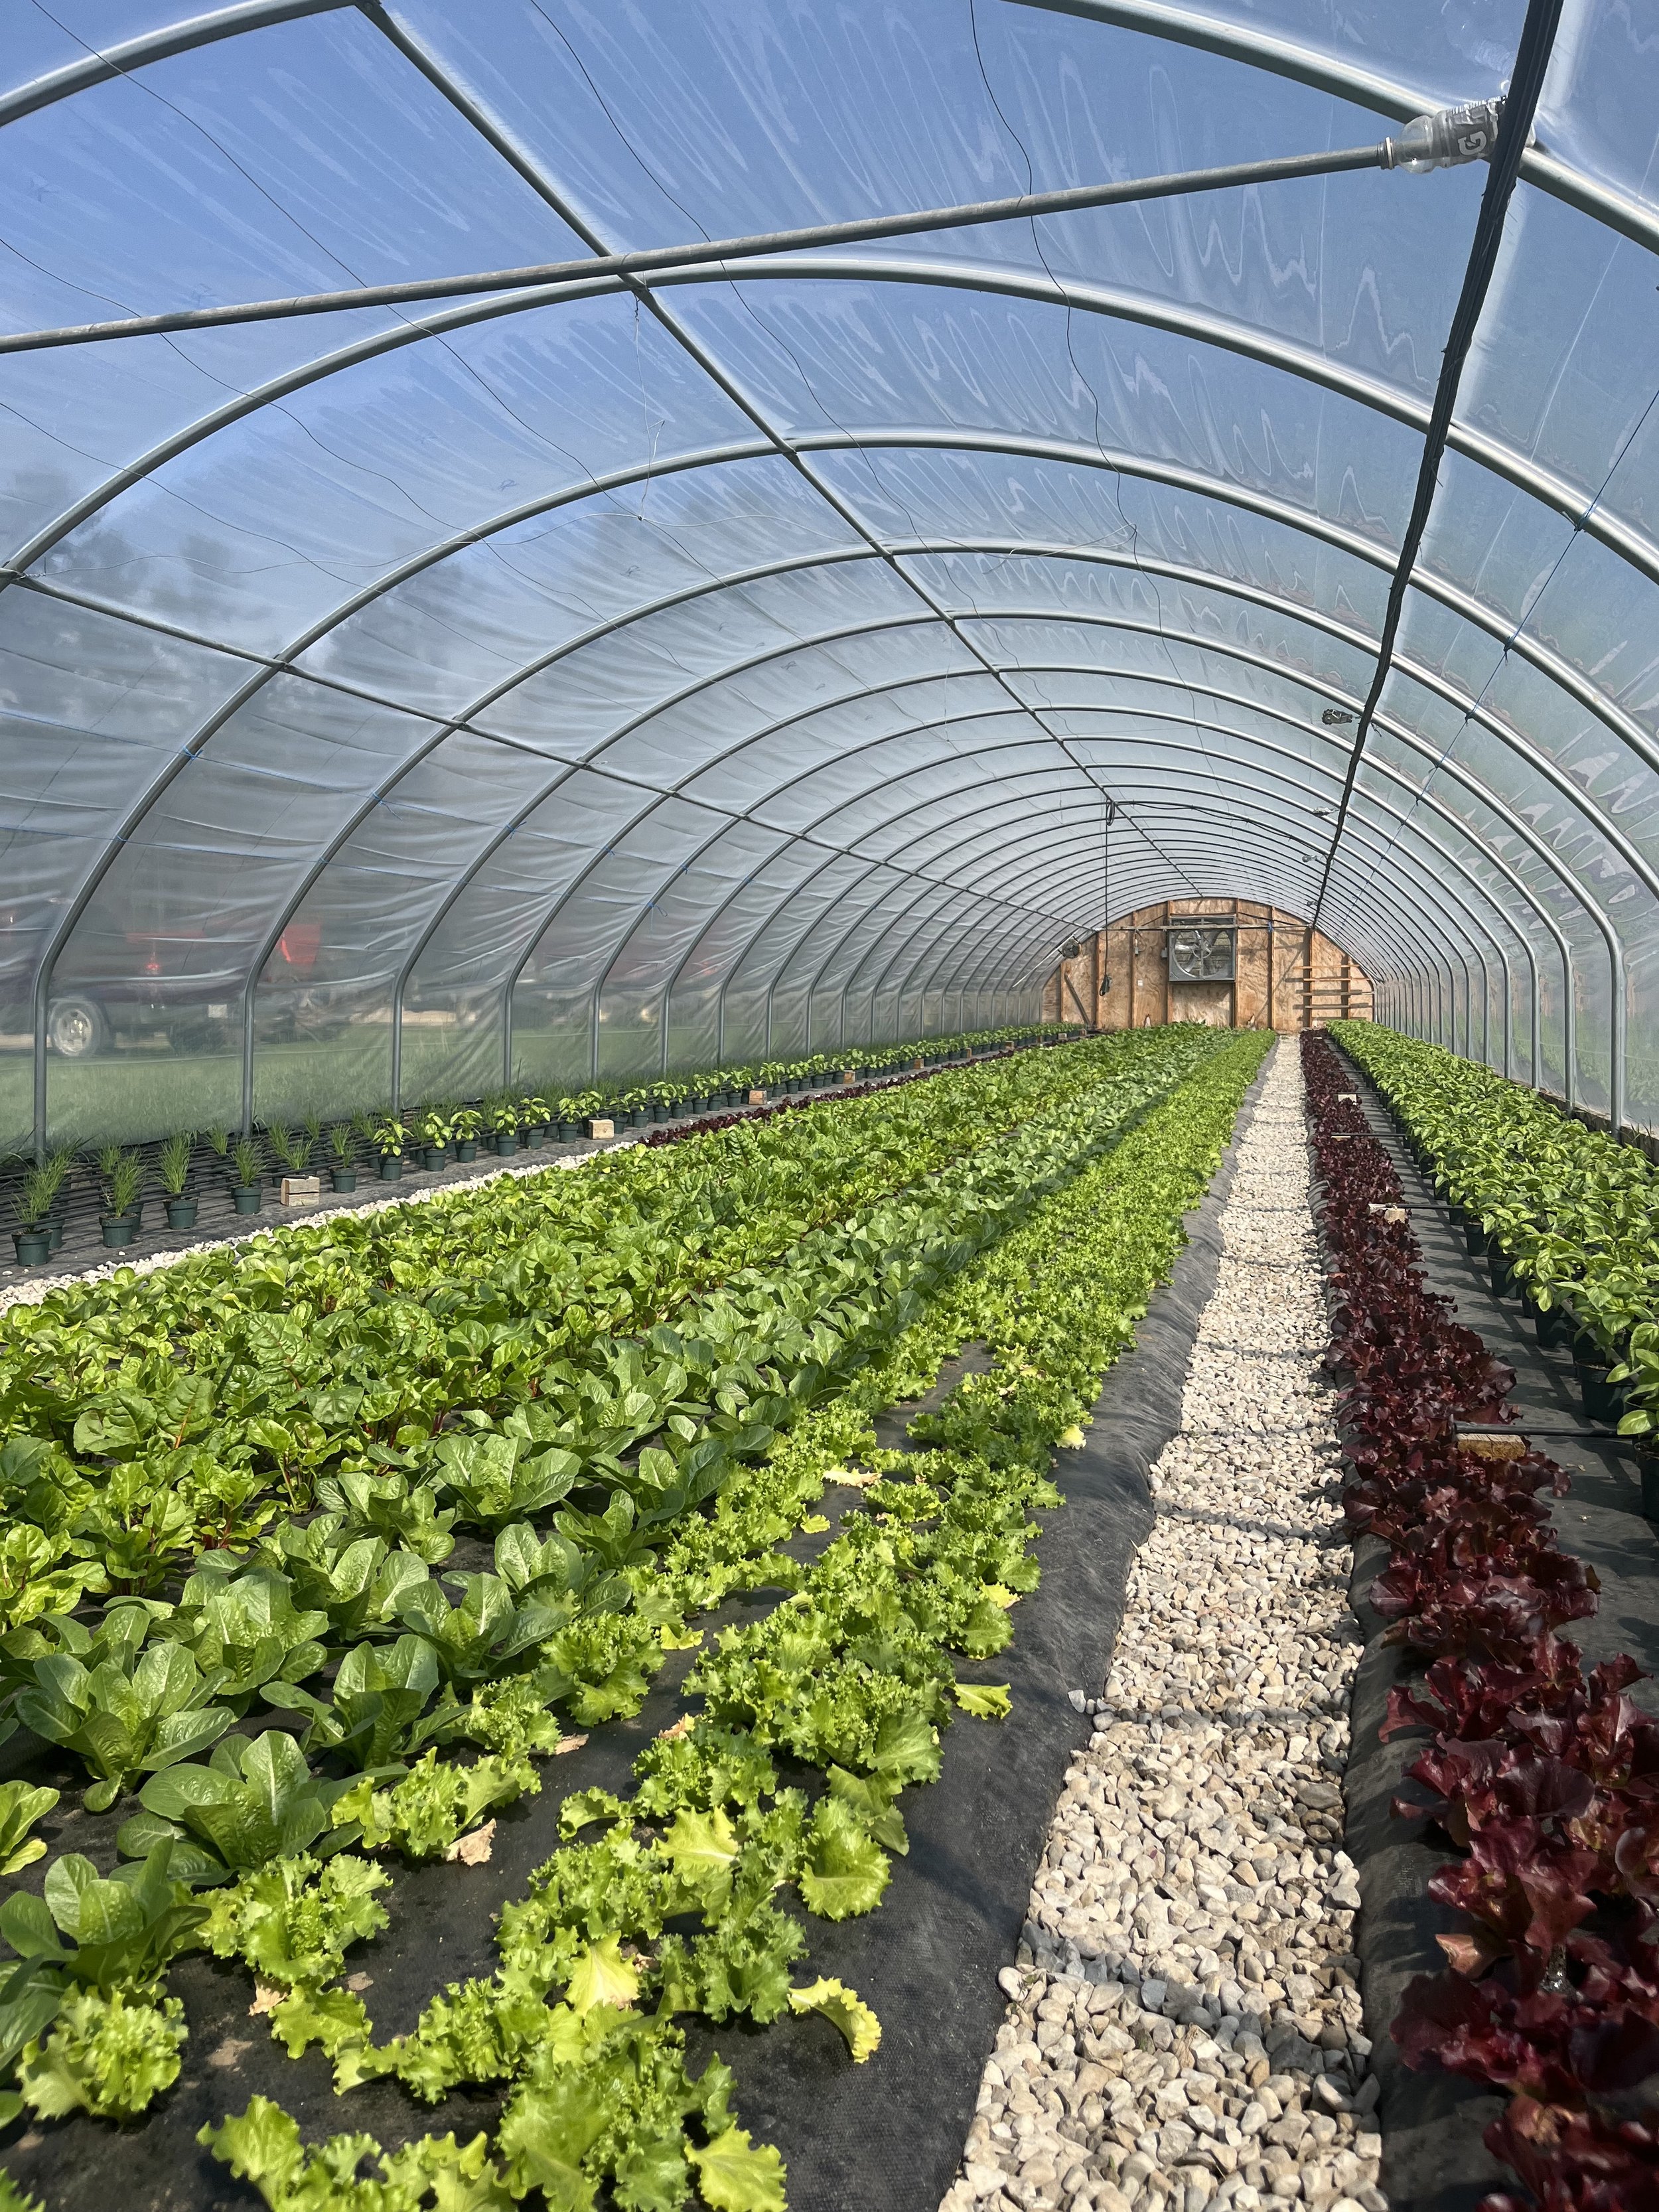
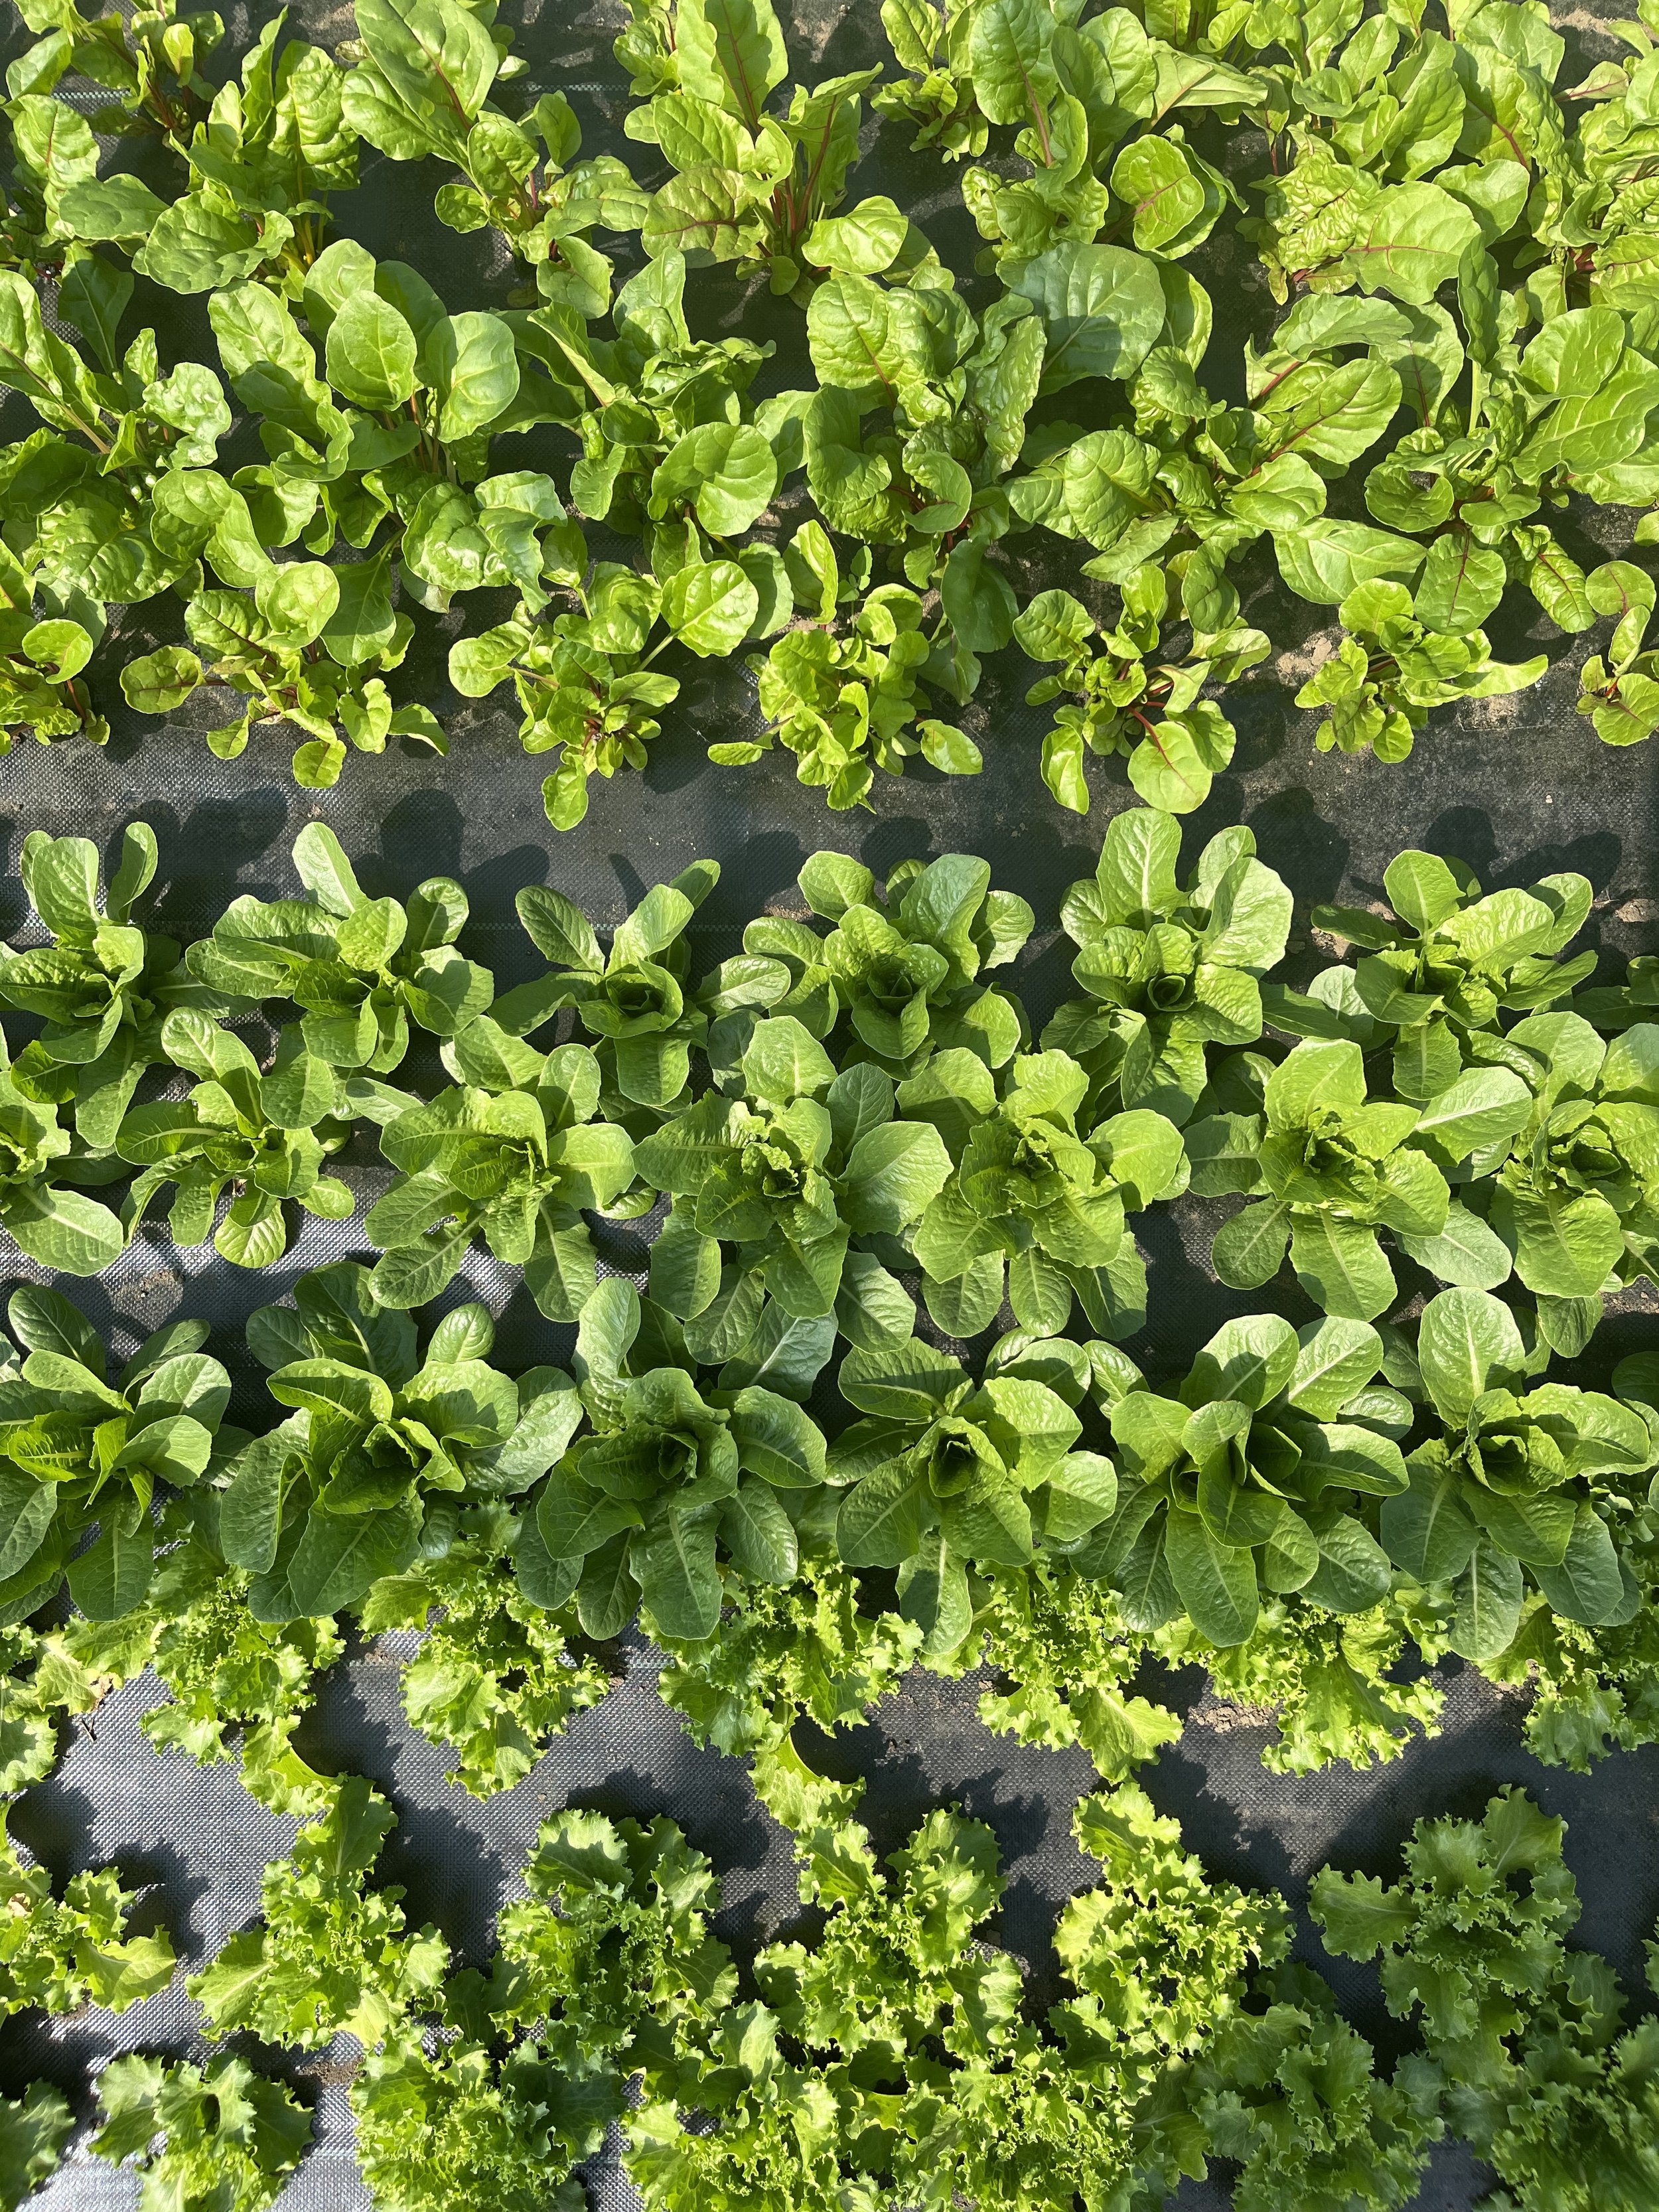
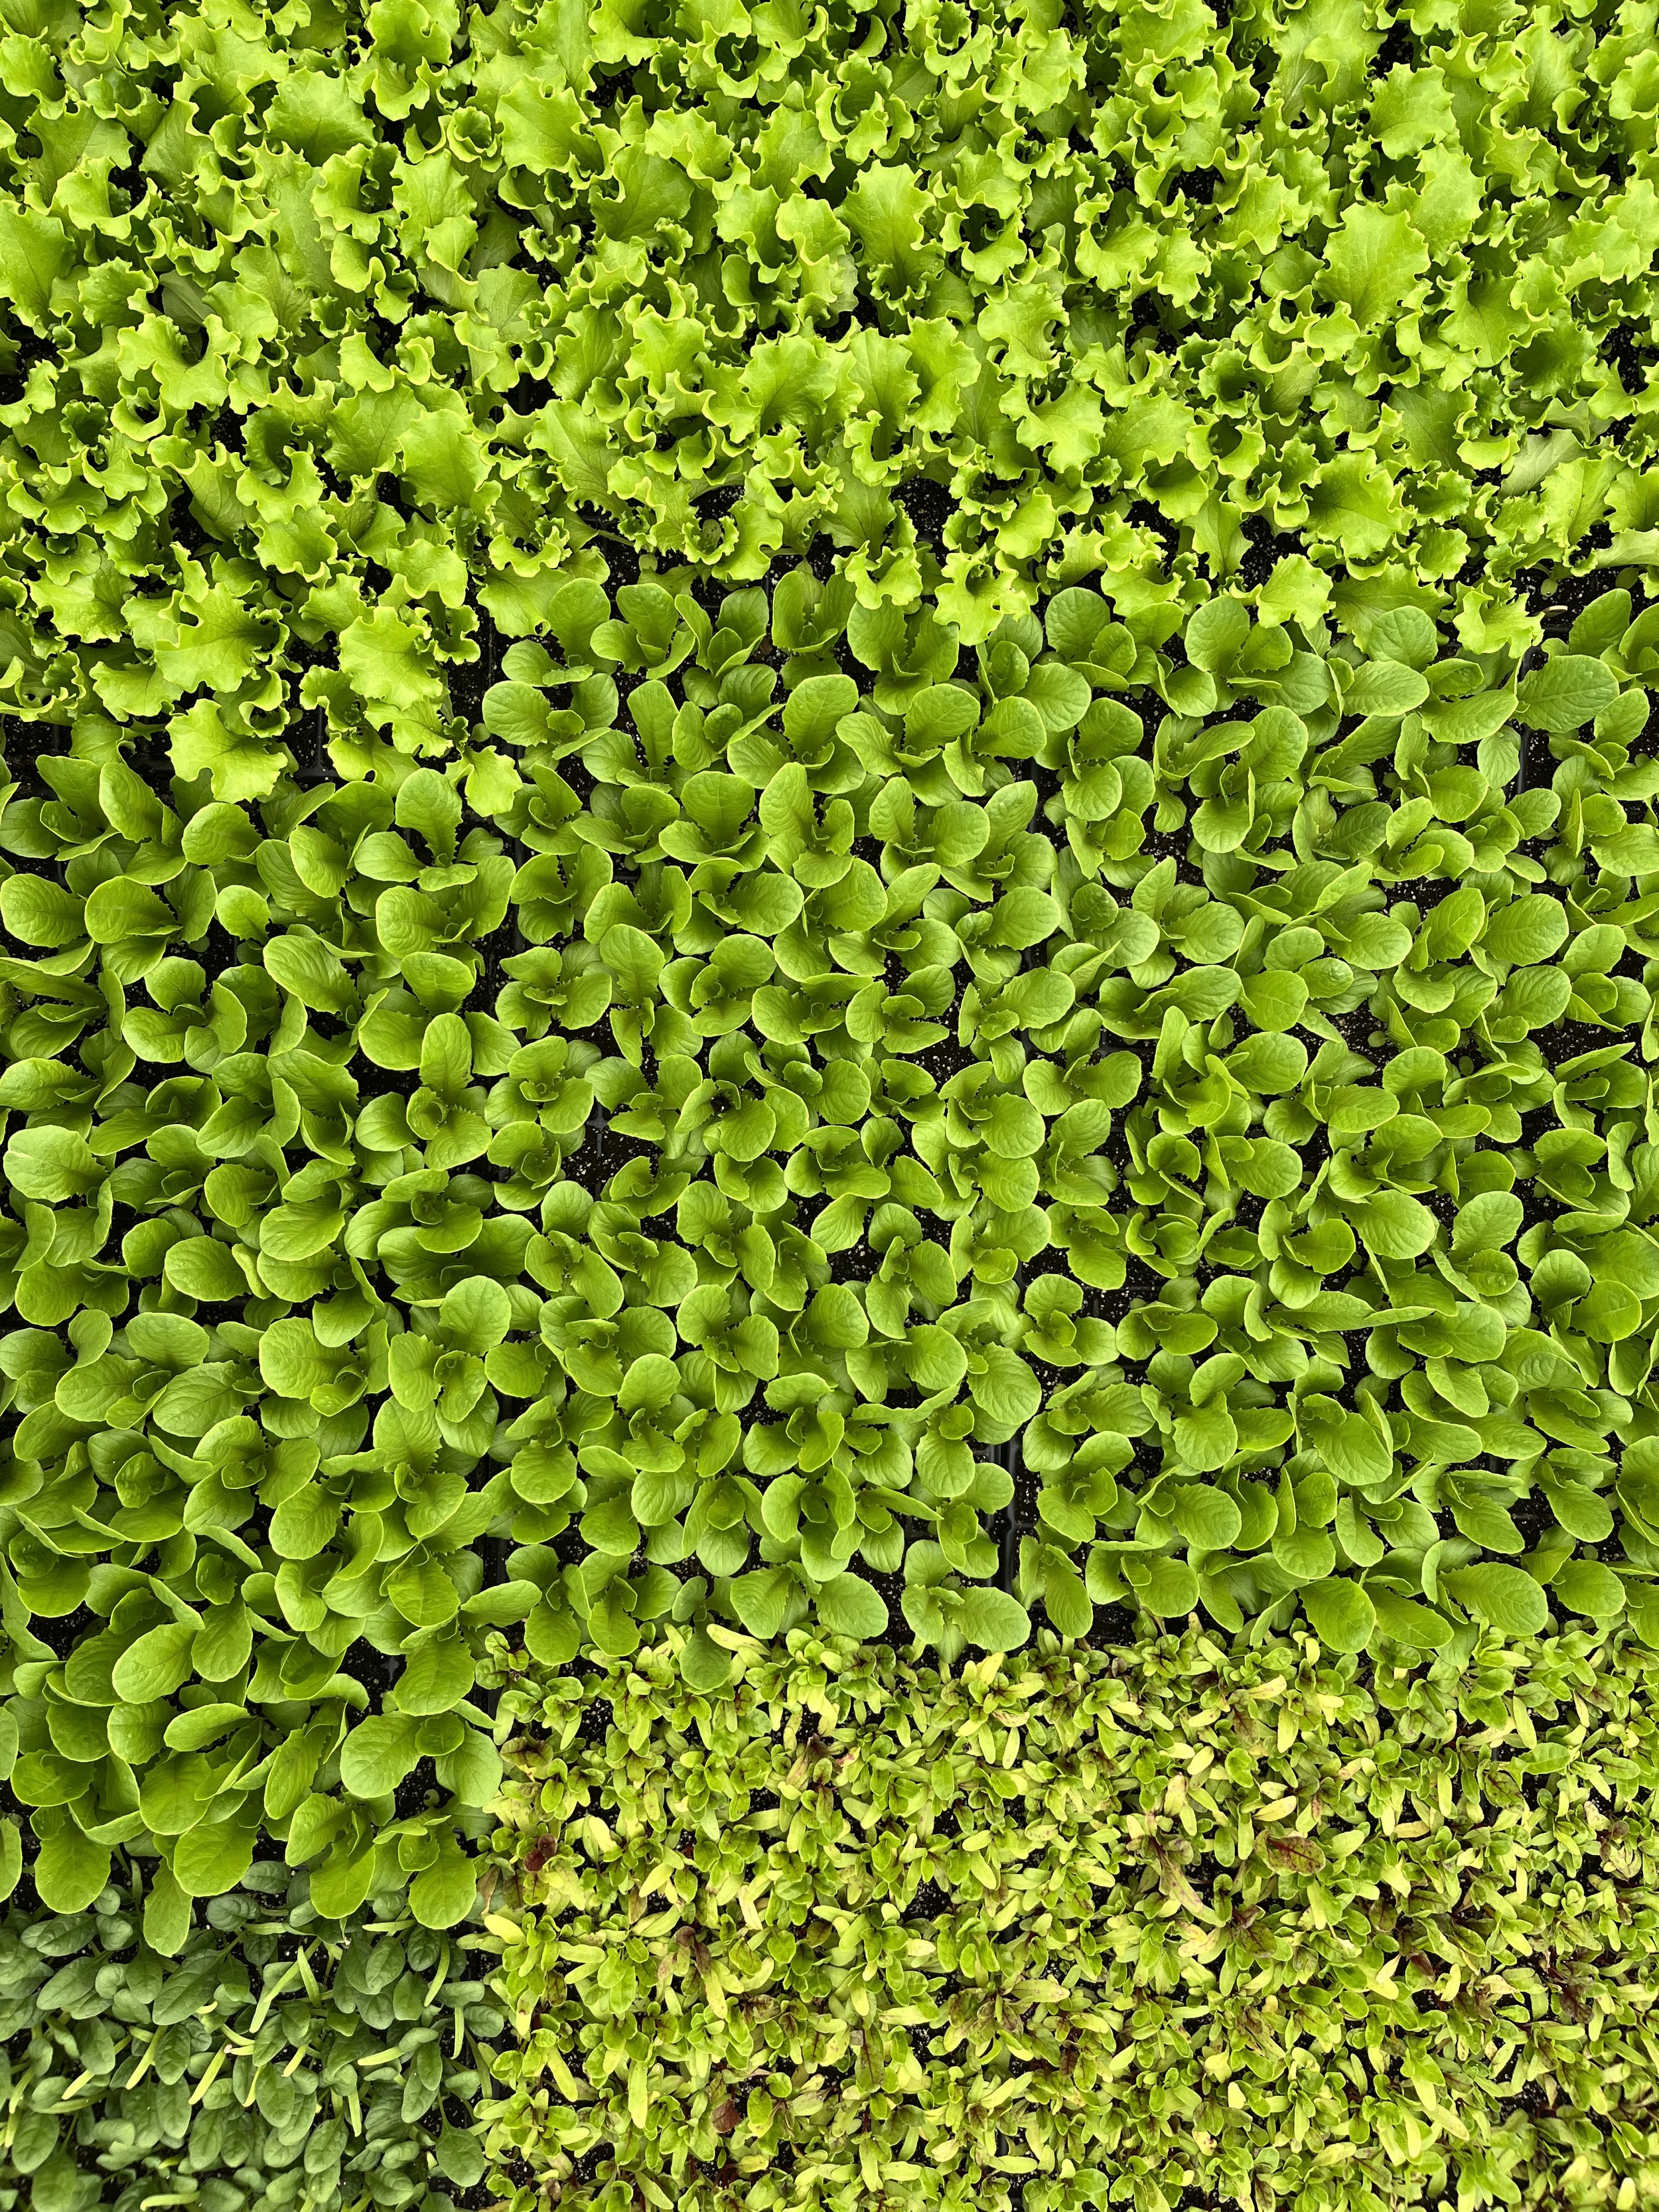
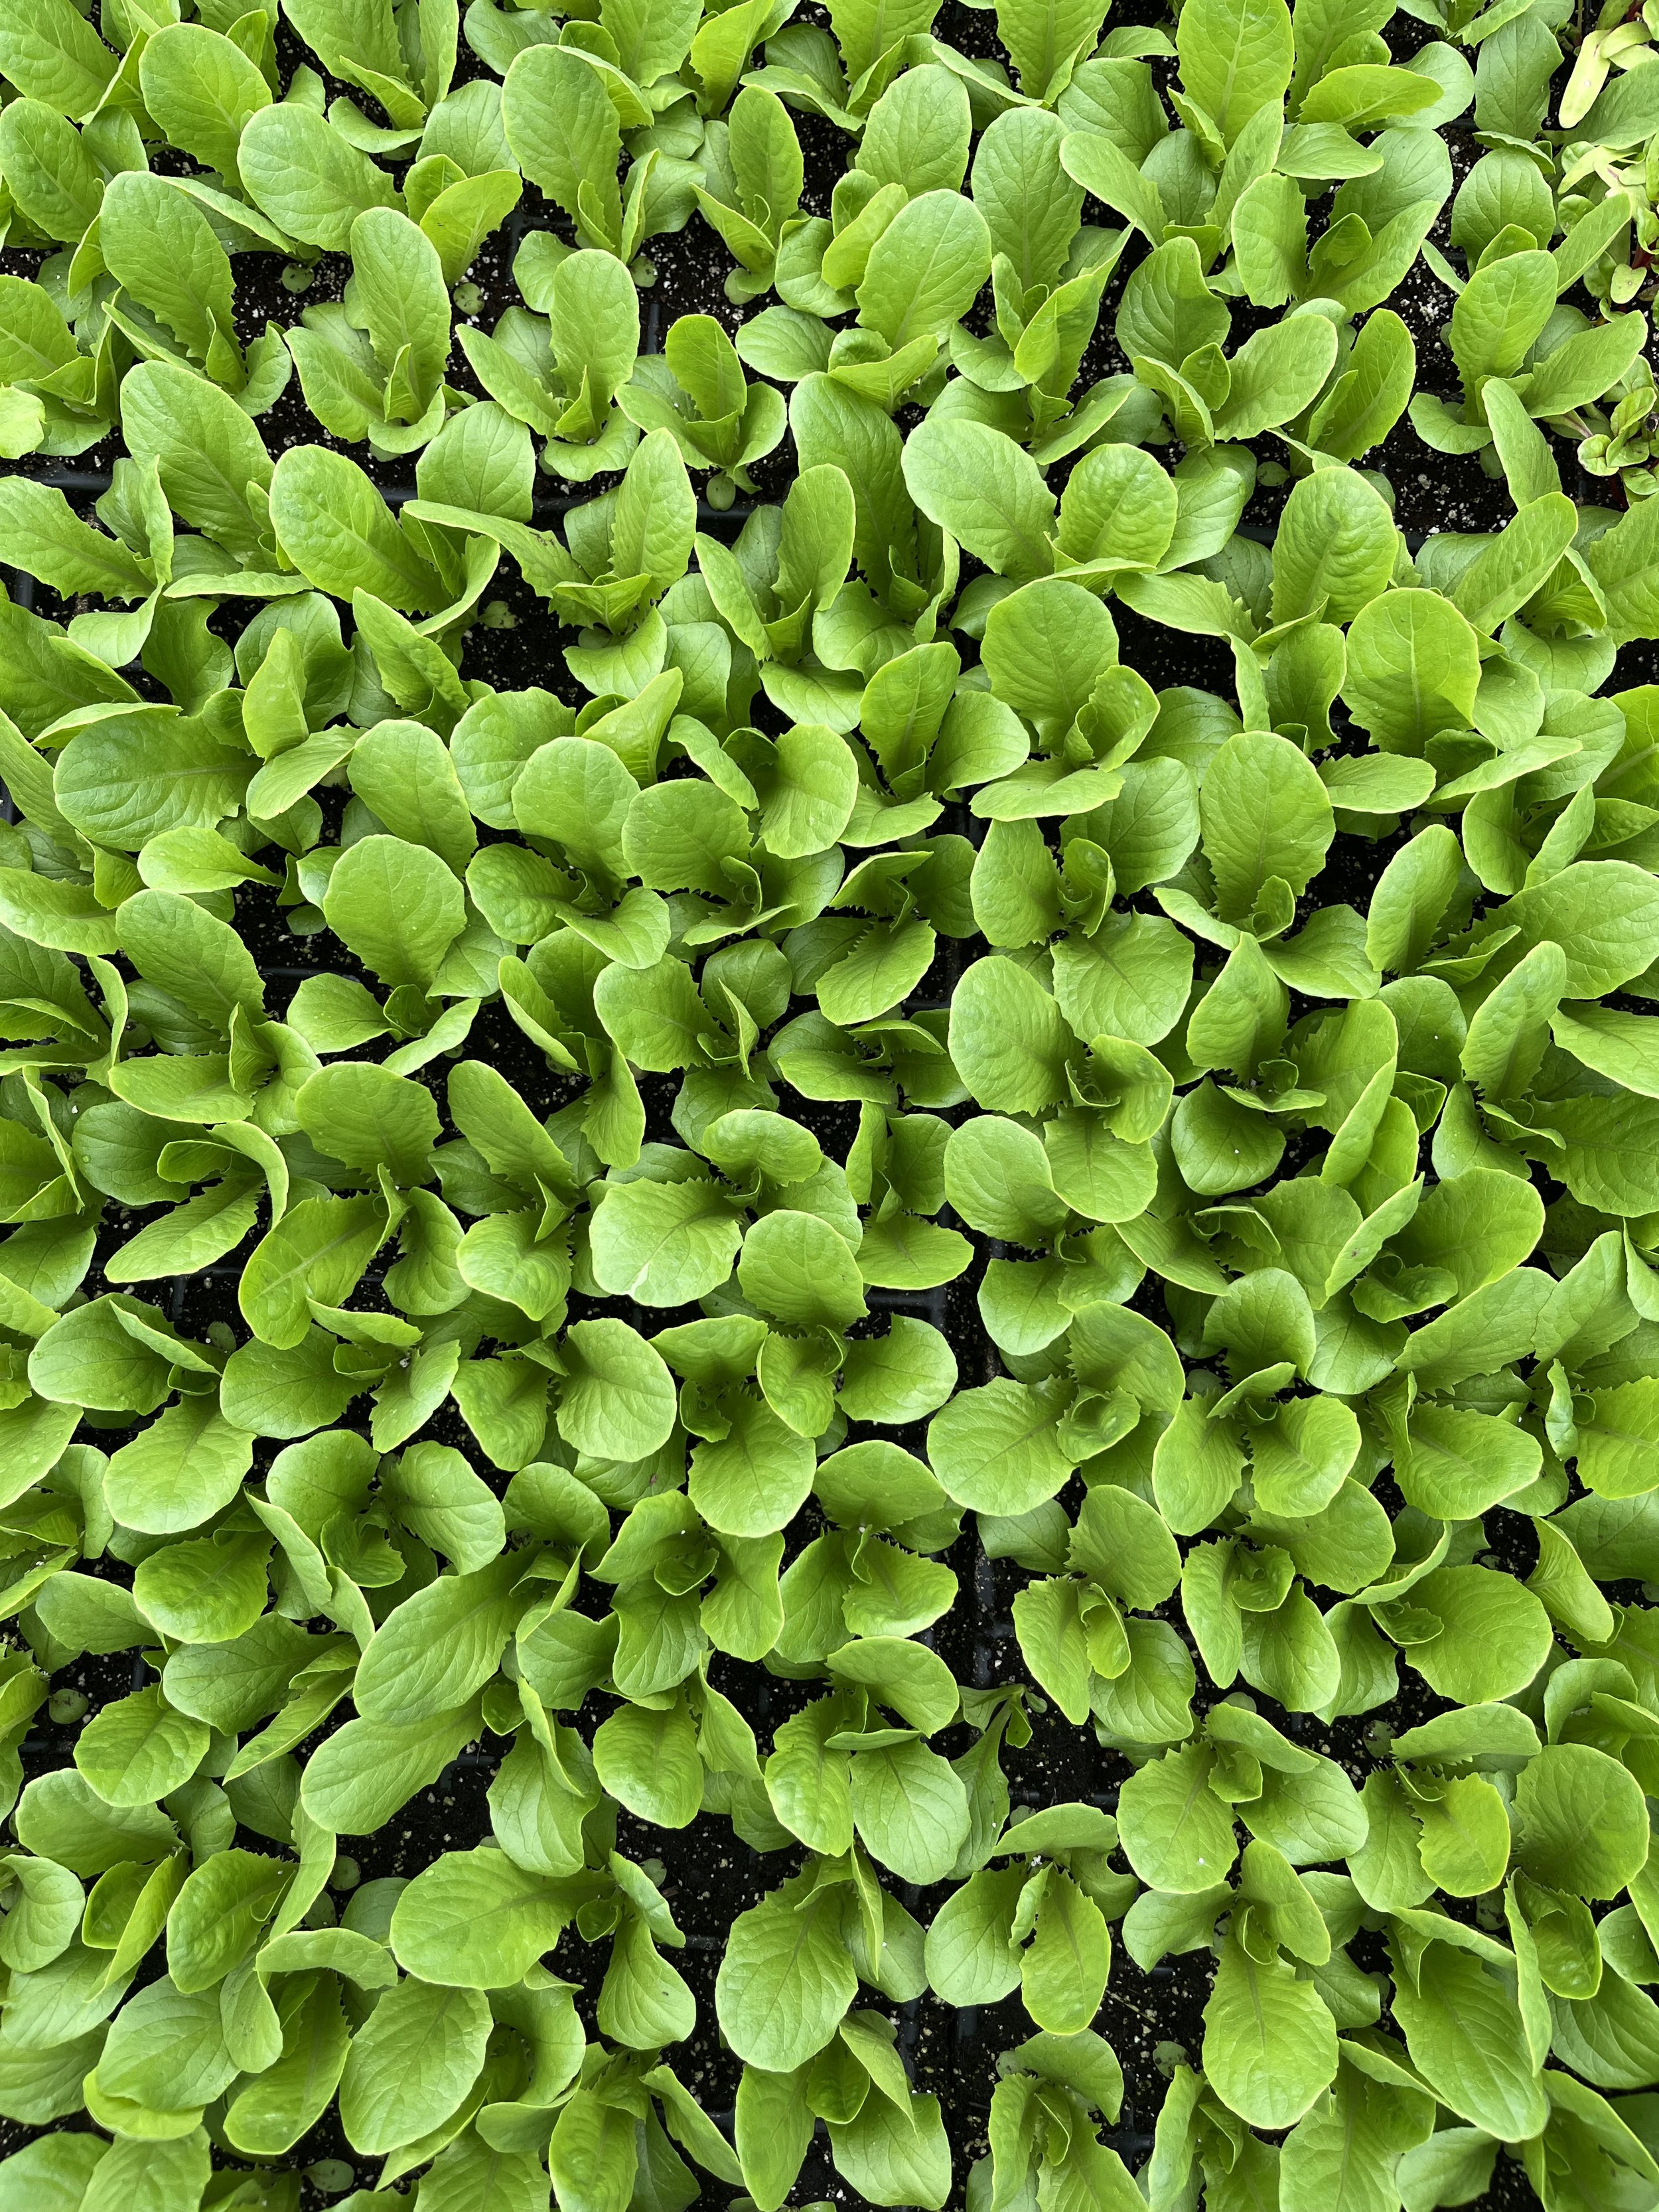
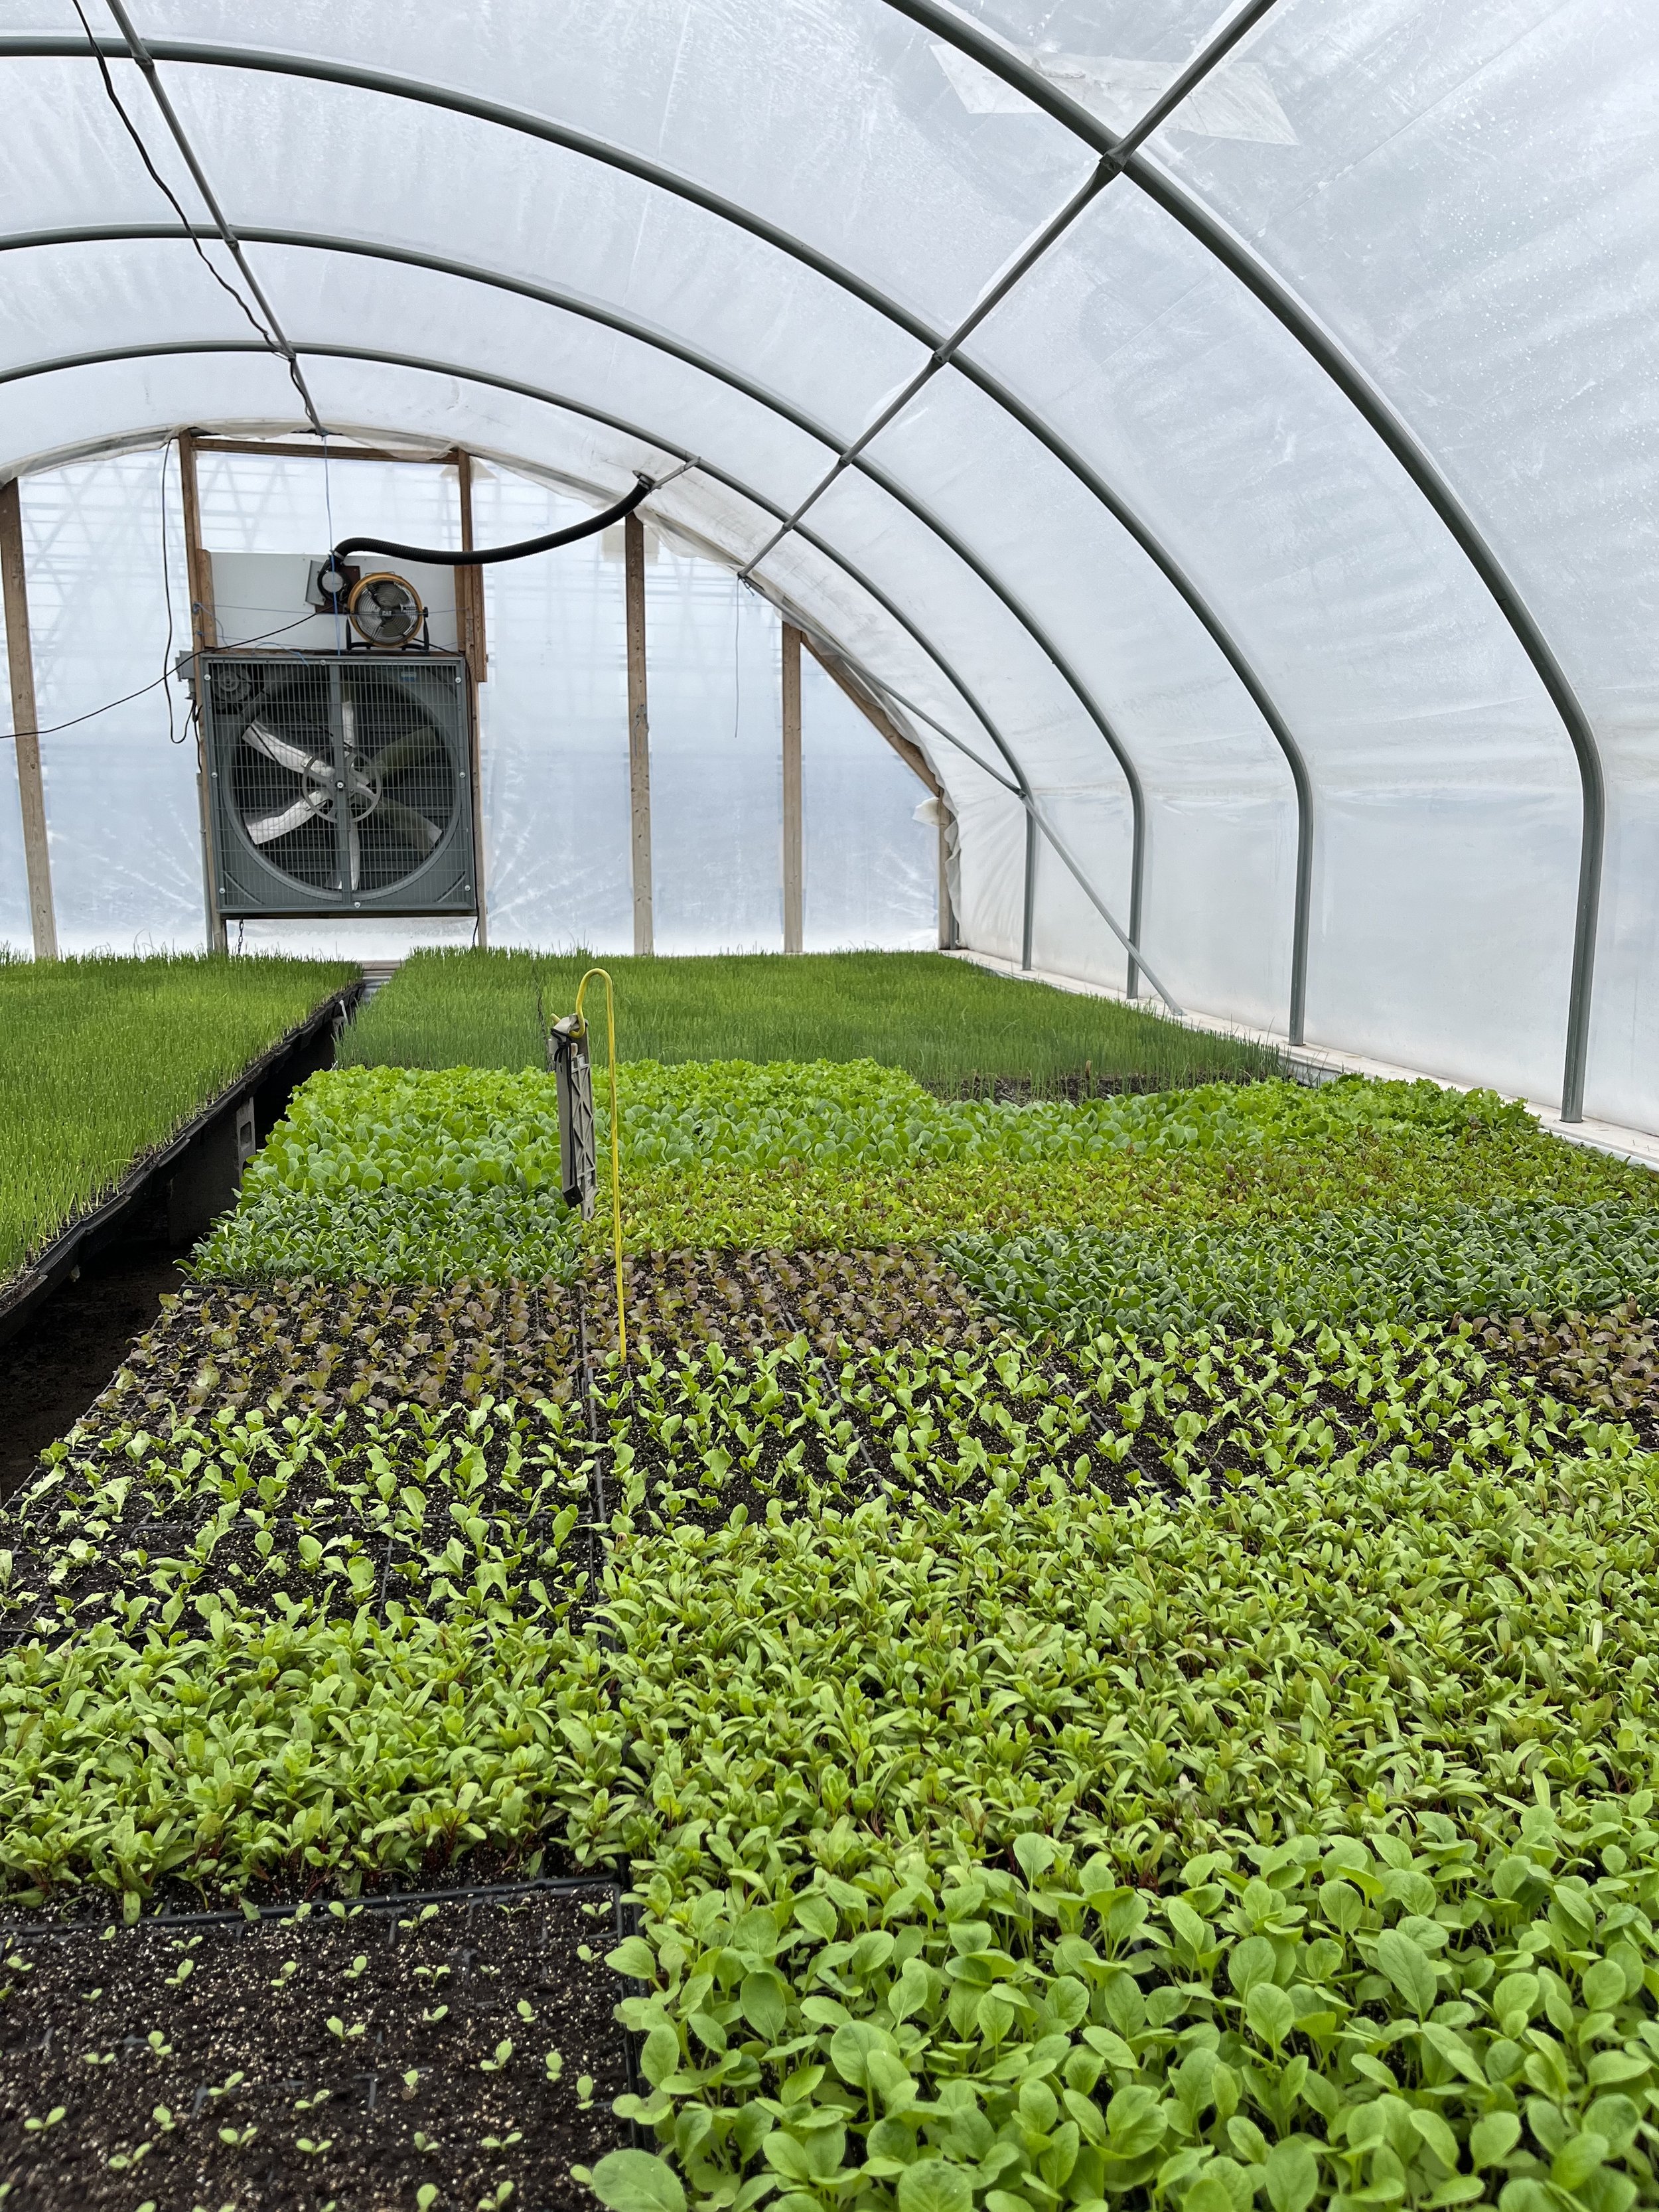
The first of our two cold frame greenhouses is officially full! We’ve got red, green, and Boston lettuce in there, along with spinach, Swiss chard, and potted chives and basil.

Our beekeeper Nathan was out checking on the beehives earlier this week, and we are thrilled to report that they are looking great! Check out this packed hive!

Finally, (not pictured) our blueberry bushes are being pruned this week! It may seem counterintuitive to cut off parts of a plant, but cutting back the older canes on the bush encourages more productive growth of new canes for future seasons. We will repeat the same process with our raspberry crop!

Seeding Situation

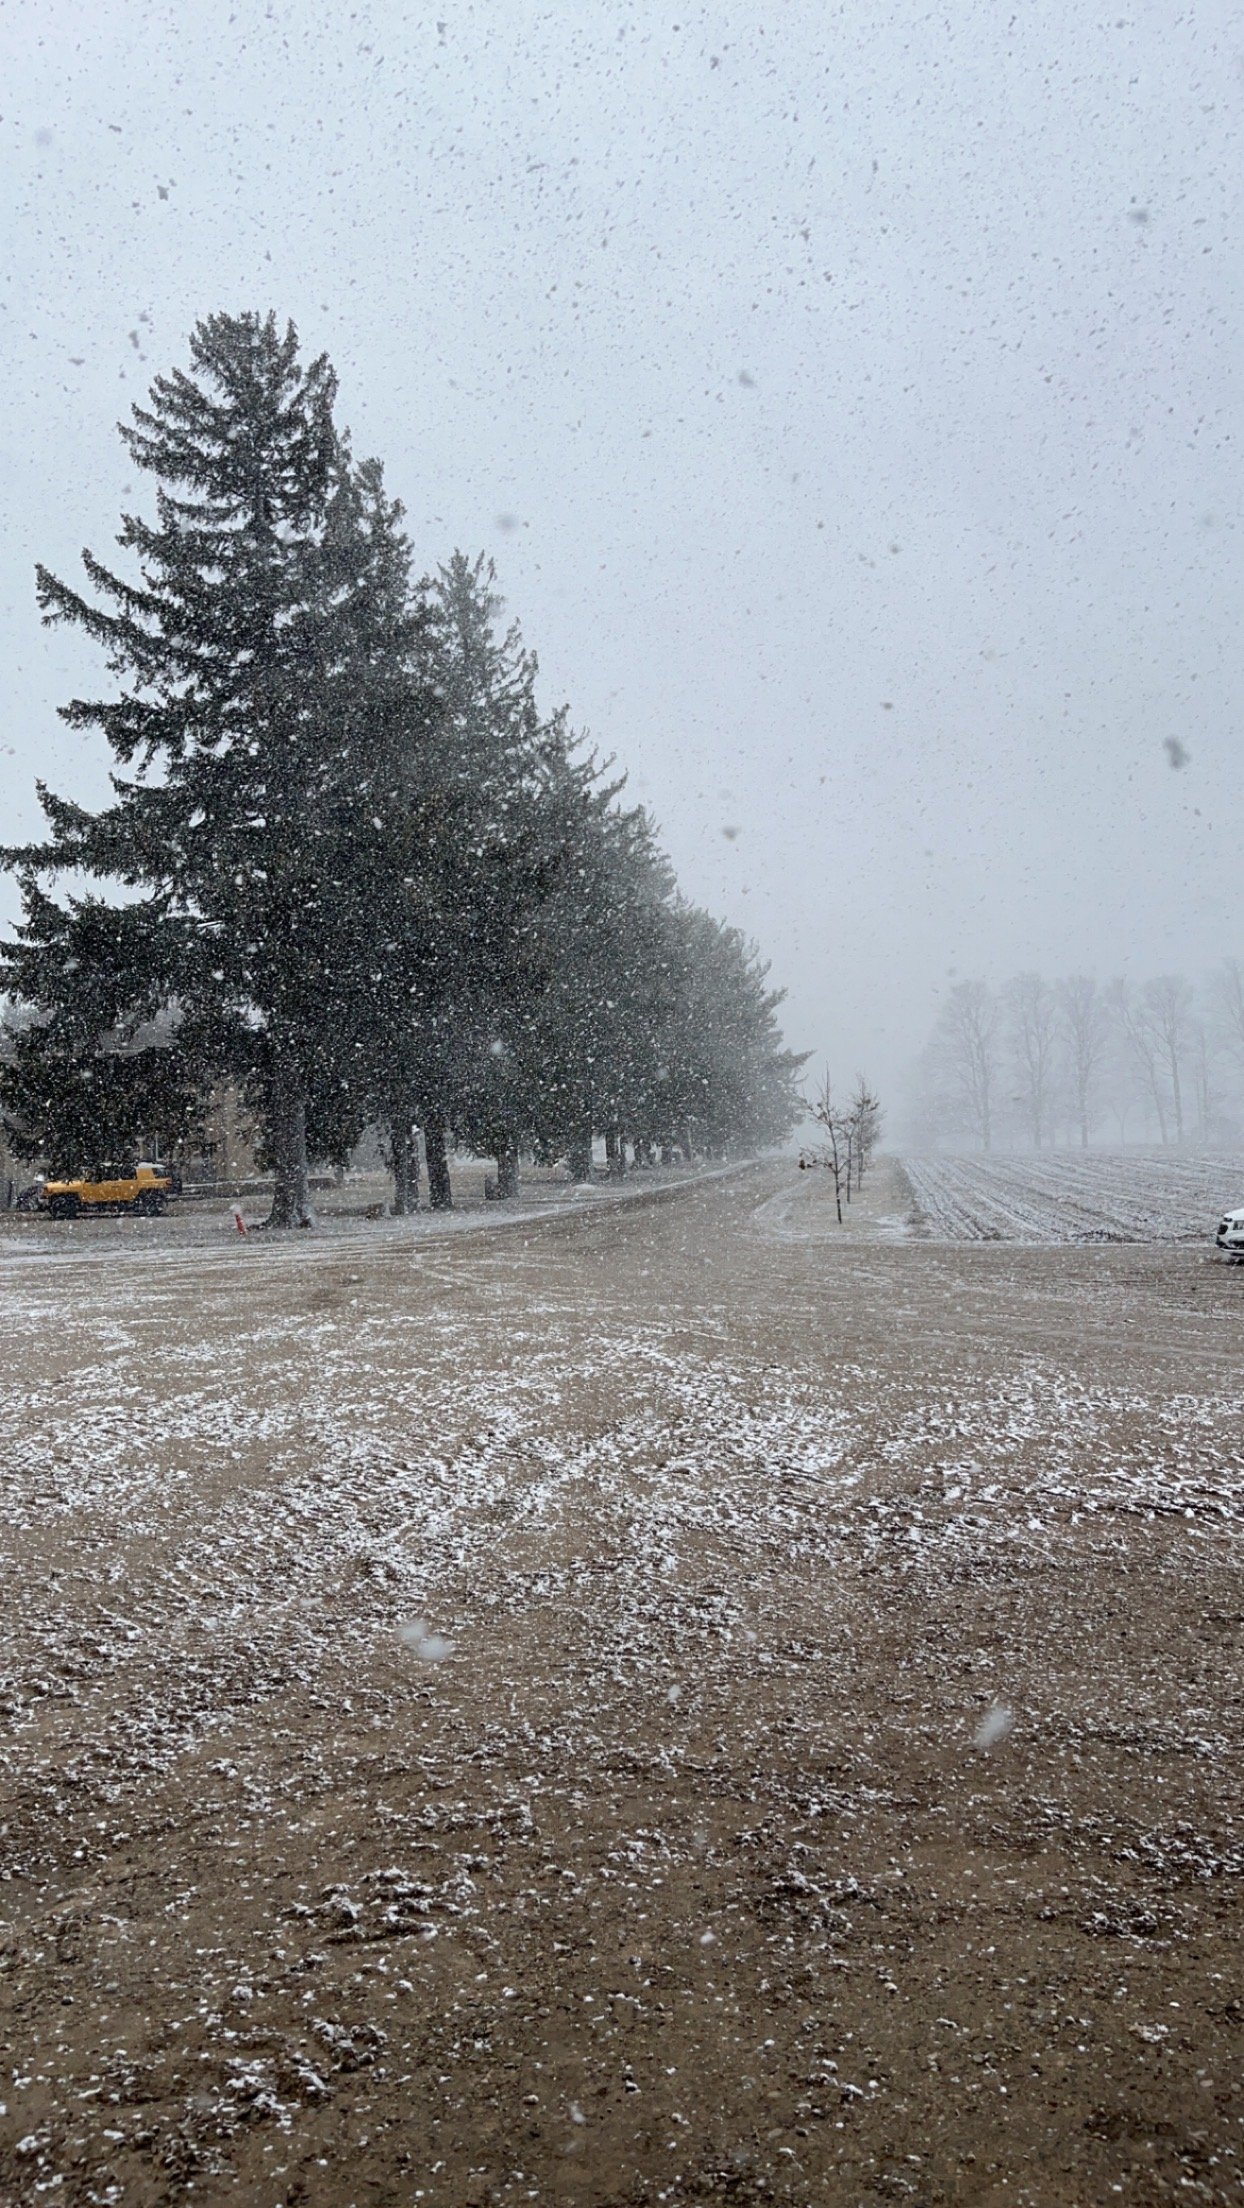
The weather around here continues to be pretty wild. One minute the ground is covered in snow, the next it’s pouring rain, and then the sun is shining. And now? It’s snowing again! Thankfully it seems like this snow isn’t going to stick around for long, but it certainly makes our day to day a little less enjoyable.

As we mentioned last week, our heated greenhouse has been slowly filling up with trays of seedlings. And as of today, it’s at capacity! So that means it’s time for transplanting. We’ll be shifting the furthest-along greens and herbs out to the cold frame greenhouses within the next day or so. After that, new trays filled with soil and seeds will take their place. This process of seeding a few trays at a time, on a regular basis, is called succession planting. It helps ensure we will have a steady supply of crops throughout the season.

In the meantime, we have also started to seed the first of the season peppers, tomatoes, and… (drumroll, please!) melons! That’s right, muskmelon and yellow watermelon, our earliest melons of the season, are making their way into soil as we speak.

While the herbs and greens will be transplanted to the cold frame and then continue to grow there until they are harvested, the peppers, tomatoes, and melons go through a slightly different process.

Peppers, tomatoes, and melons are also transplant crops, but they will eventually be transplanted outdoors, not into another greenhouse setting. The greenhouse these crops will hang out in while they get established is pictured above. It’s a traditional glass greenhouse and is heated by the sun. Fans at either end of the structure help regulate temperatures by controlling access to fresh air and cycling out hot air from inside

Before heading to the greenhouse though, the trays of pepper, tomato, and melon seeds have to make one more stop — a germination trailer! This is a dark space that slowly warms the soil and helps the seeds ‘wake up’ before heading into the greenhouse.

Blog post written & photographed by Alex Chesney, RD

Transition to the Cold Frames

Our heated greenhouse is full of seedlings, and they’re getting big enough that it’s officially time to transition them out to our cold frame greenhouses! We’ve got lettuce (green, red, and Boston), Swiss Chard, spinach, and a variety of herbs that will be making the move. The herbs will be transplanted into pots which will then hang out in the cold frames, while the greens will be transplanted directly into the soil. We will begin the transplant process next week and are hard at work preparing the cold frames this week so that they’re ready to go in time.

Most of these preparations already took place last fall. We removed last season’s landscape fabric, prepared the soil (removed all remnants of last season’s plants and added a dose of fertilizer) formed the soil beds for planting, left spaces for pathways, added rows of trickle tape irrigation tubes, and then laid down new landscape fabric. Gravel stones were placed on top of the landscape fabric along the walking pathways to make for easier movement up and down the rows.

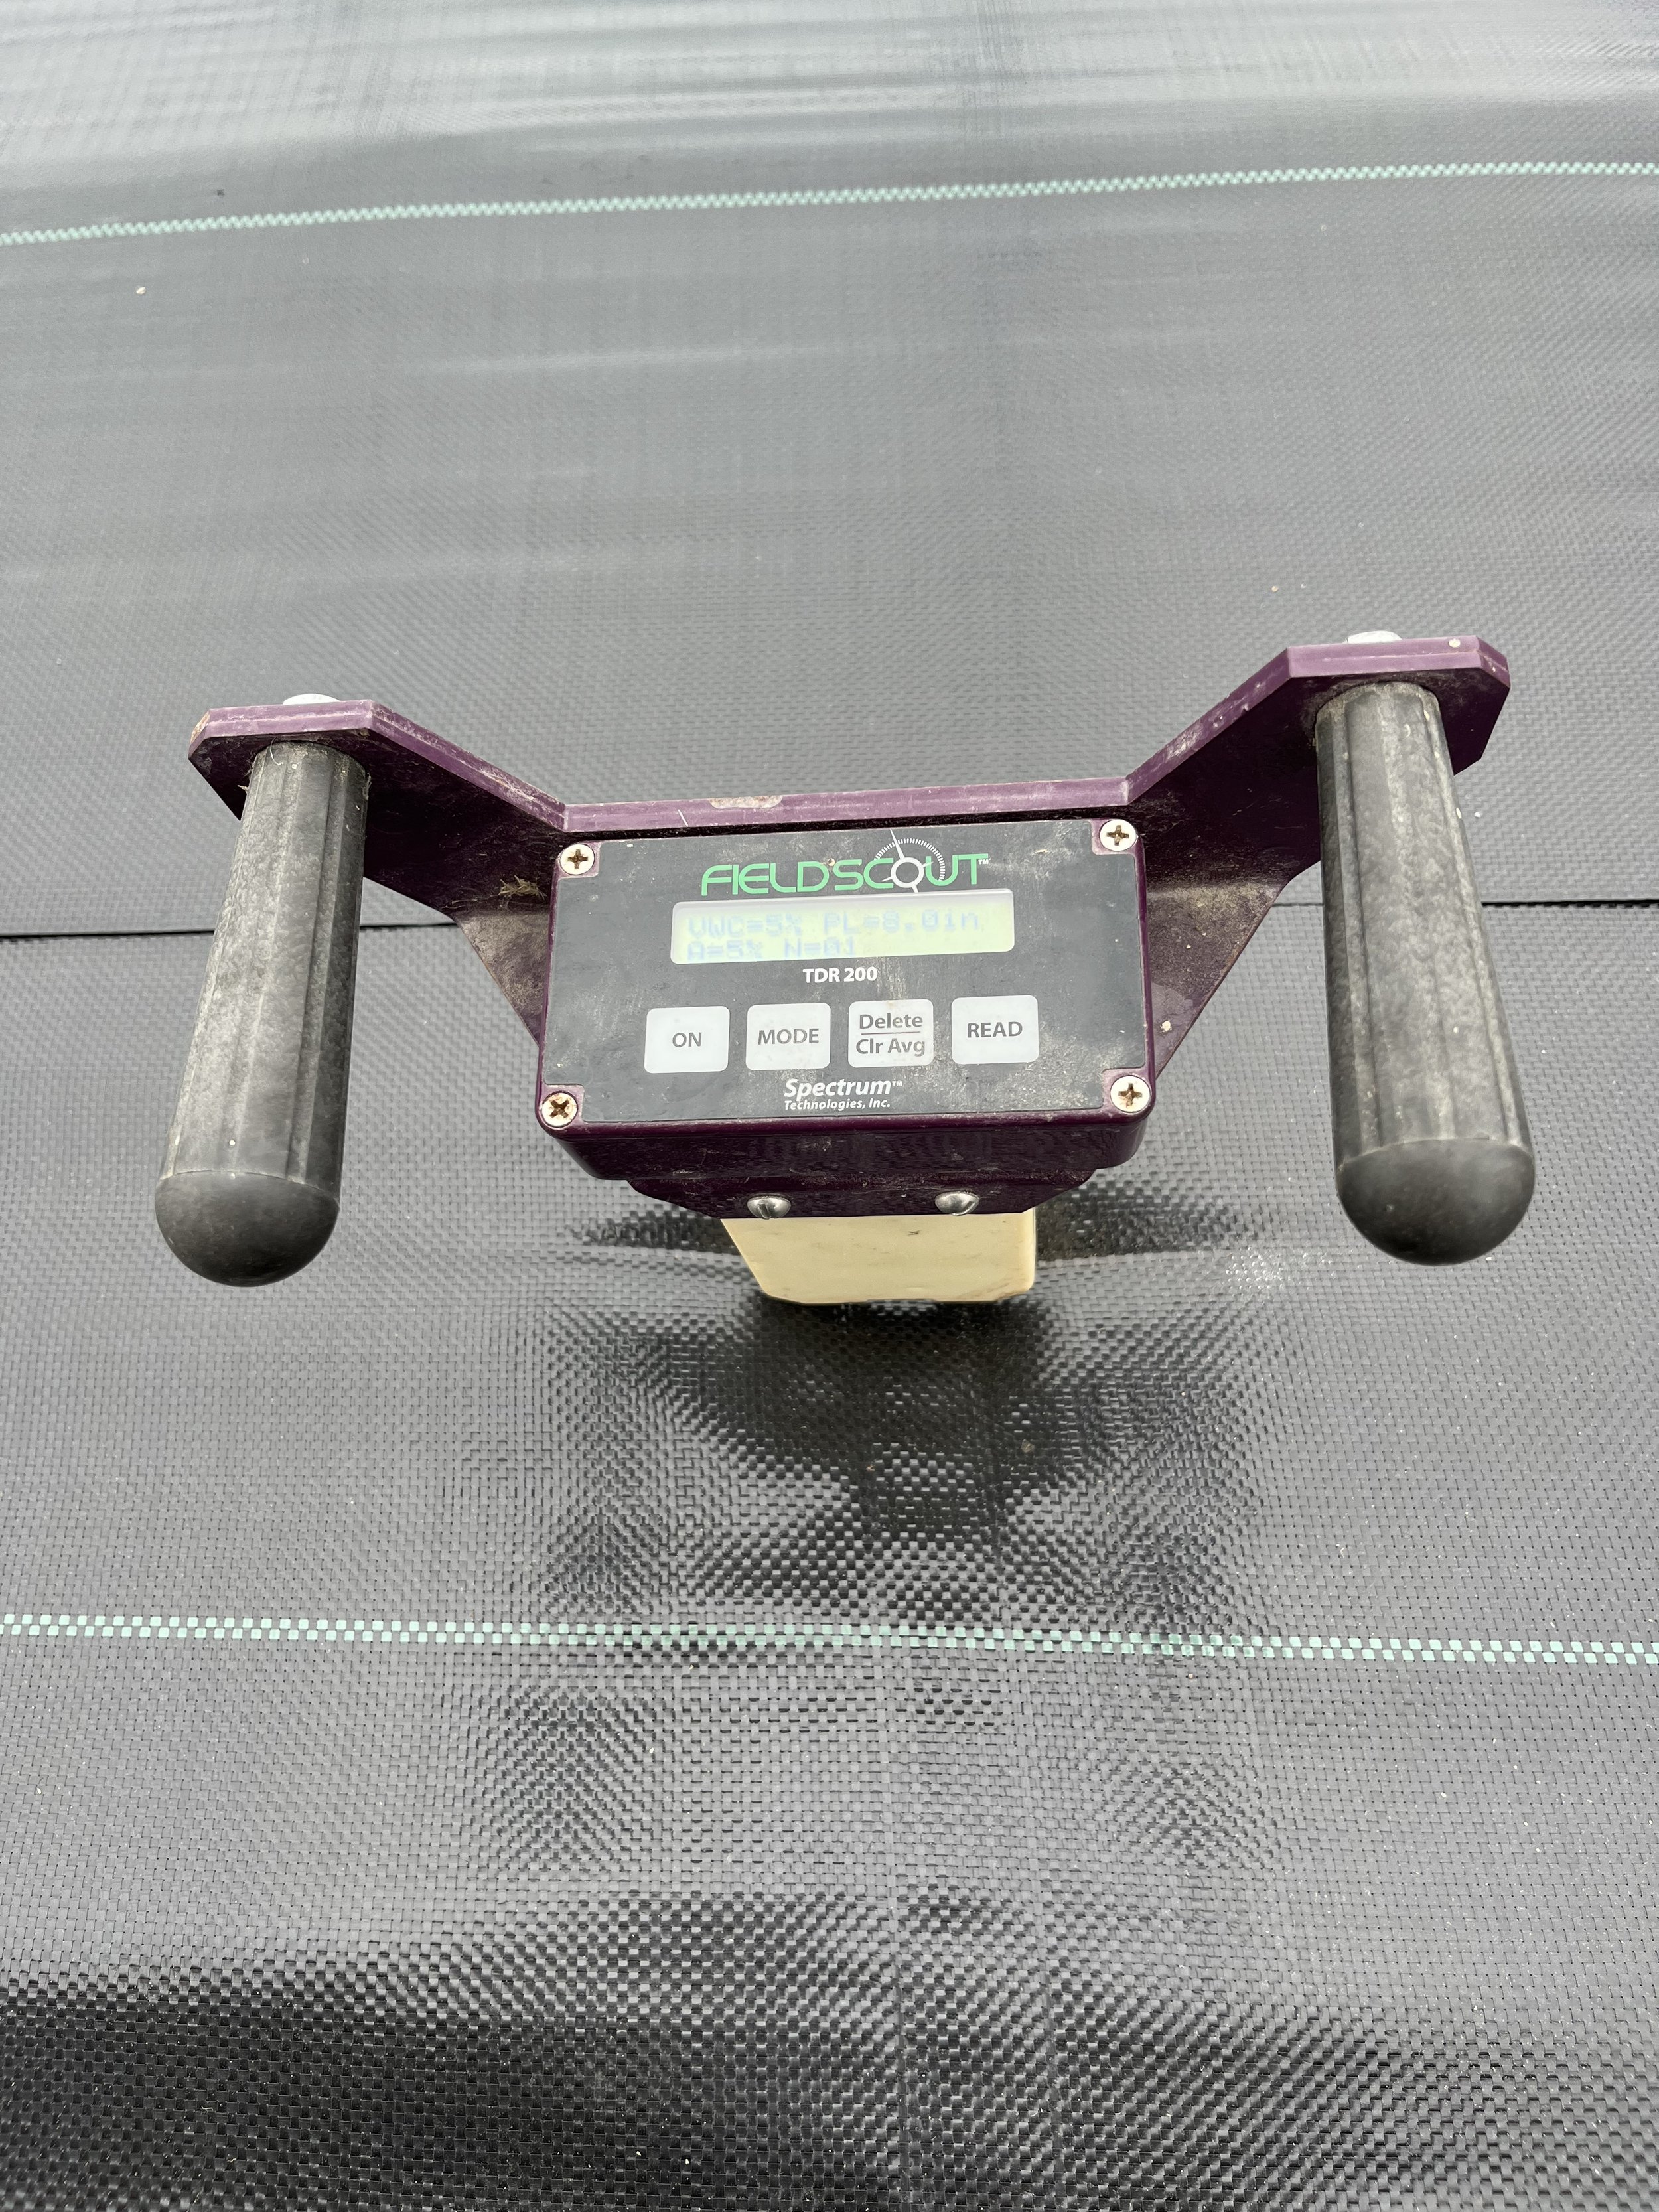
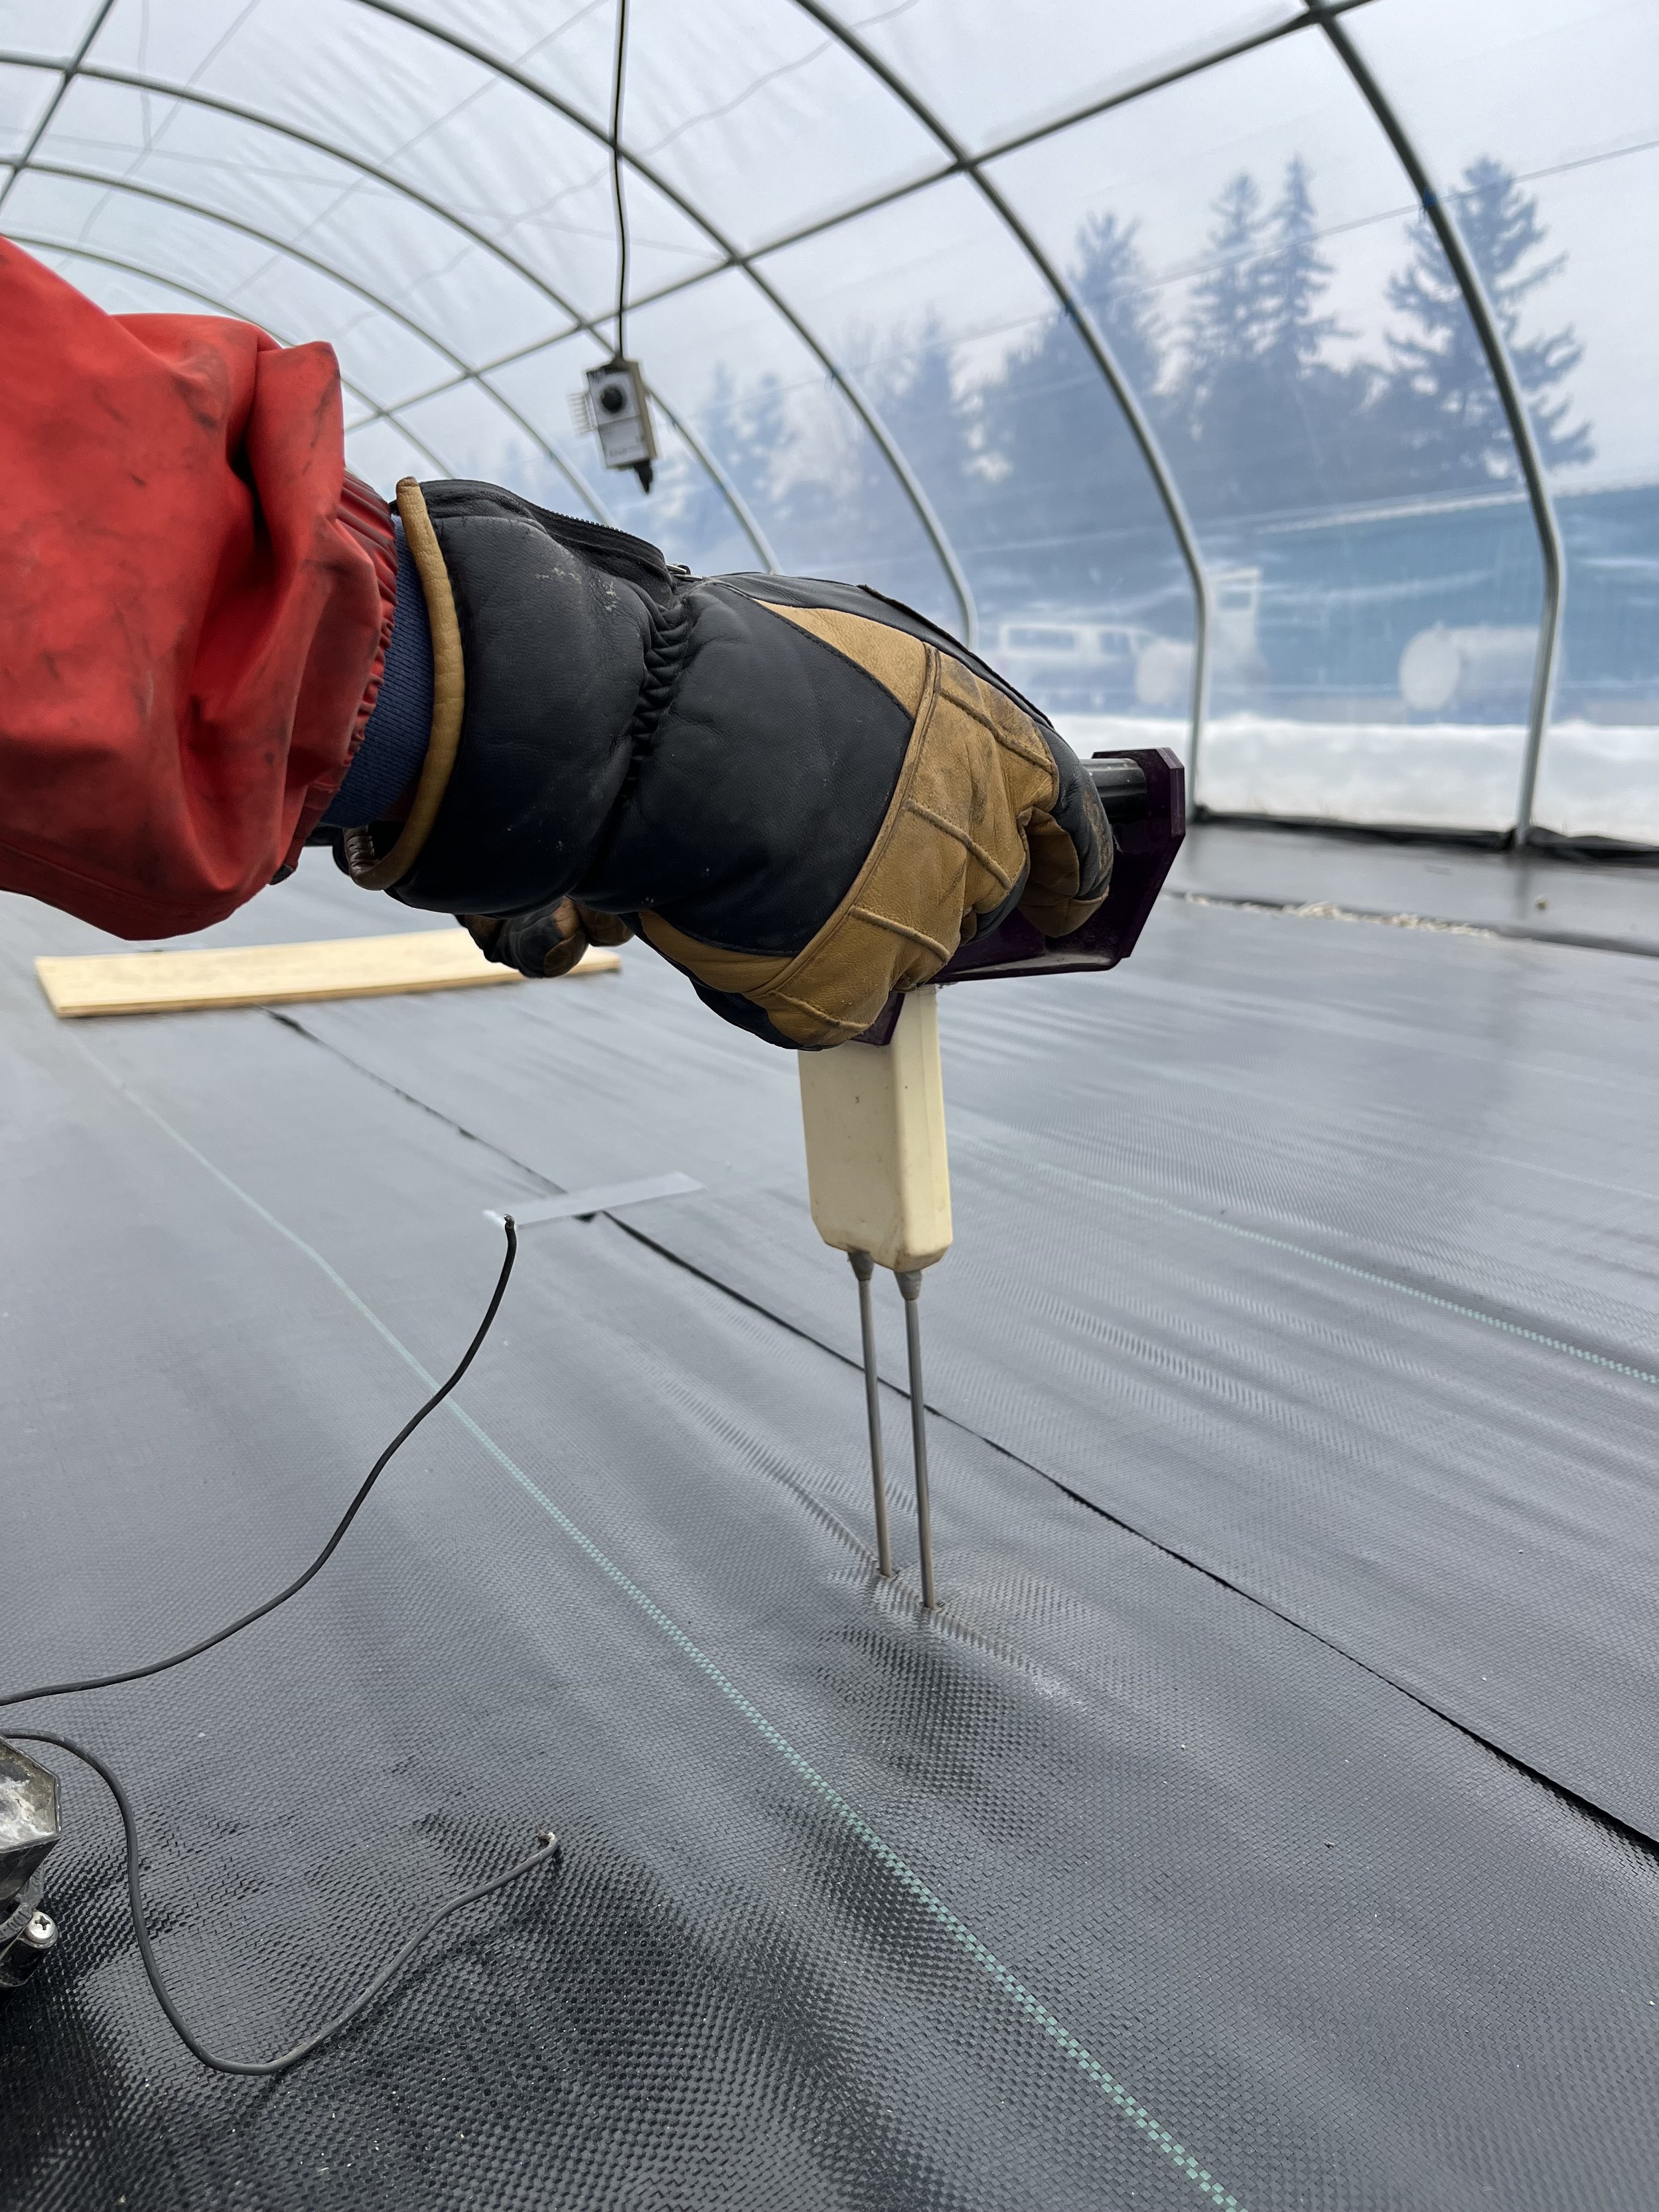
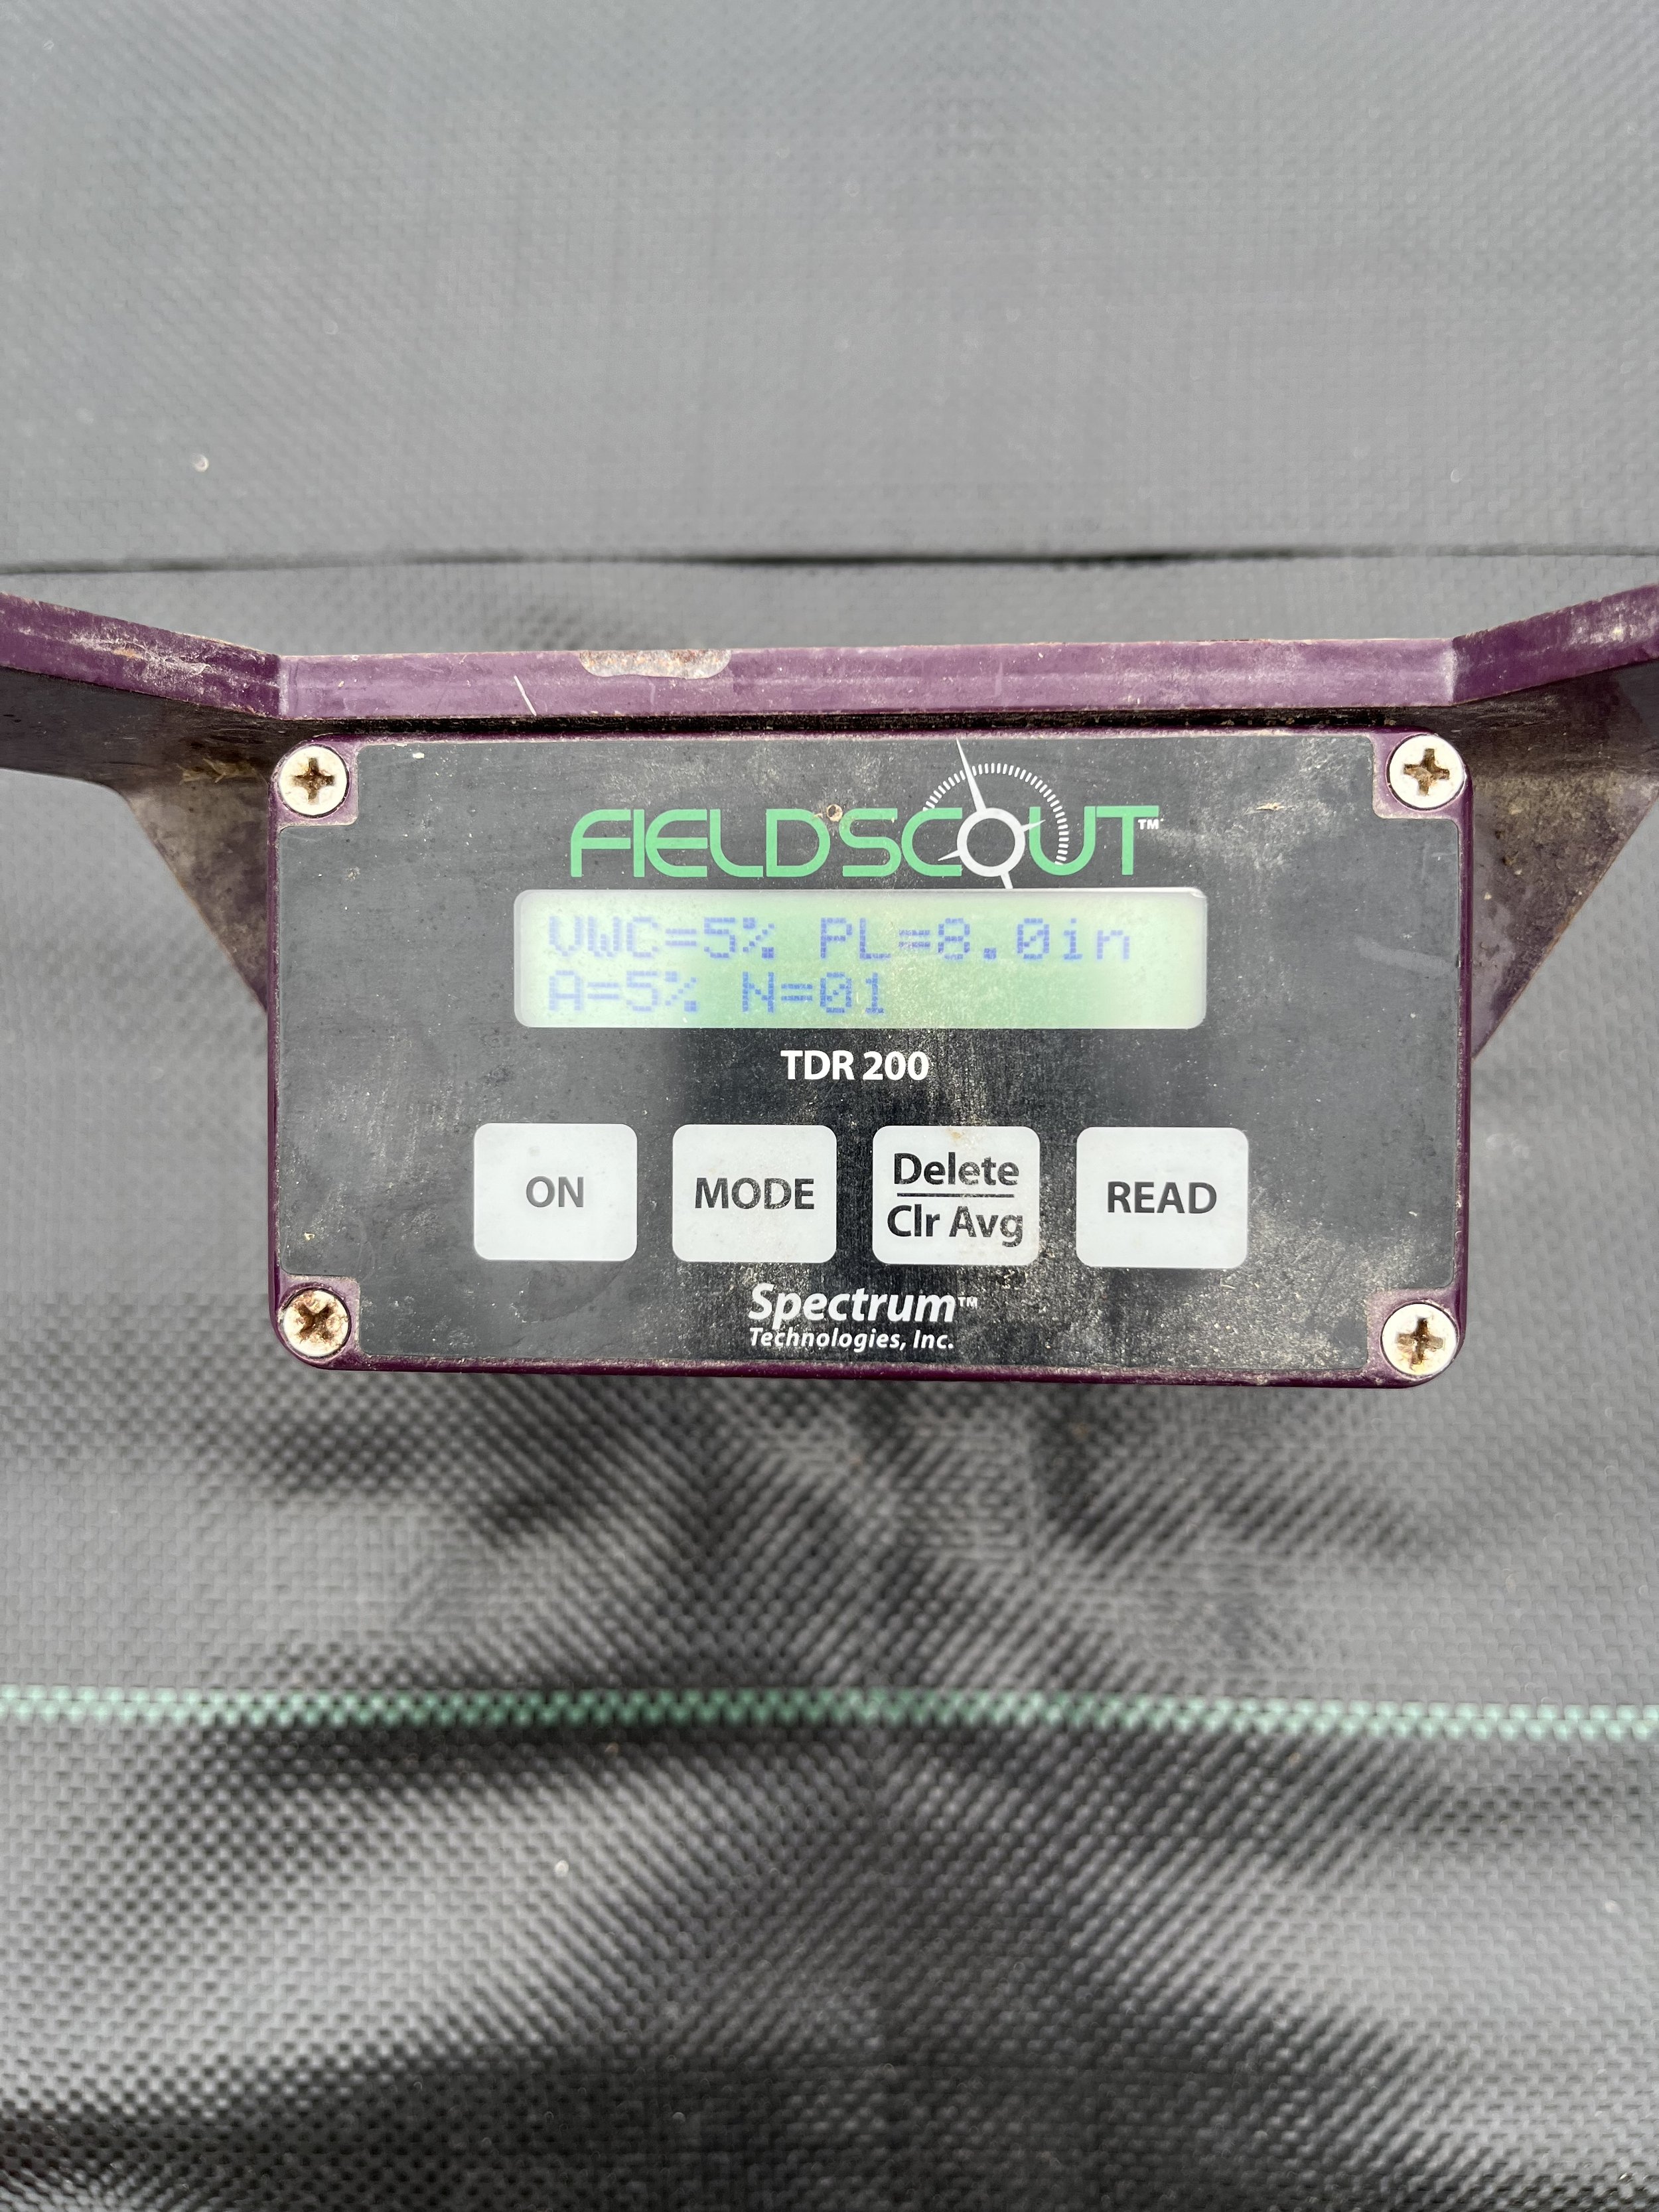
This week we set up the watering system and have begun to run water through the trickle tape to start to rehydrate the soil. We have a handy probe that helps monitor moisture levels. Right now it’s reading 5%, and our goal is 18%, so it’s well on the way!

The greens will be included in our May and June Market Boxes, as well as sent out to some of our farmers’ markets. We can’t wait to have these fresh veggies available again! They will pair nicely with our spring field crops (asparagus, rhubarb, and green garlic) as well as our overwintered vegetables -- cabbage, potatoes, and sweet potatoes. As always, our preserves, baked goods, and merch will also be available as add-ons each week to help round out your grocery delivery.

Blog post written & photographed by Alex Chesney, RD

Irrigation Education

Happy Friday! All this rain today has us thinking about water, and the essential role it plays here on the farm. And although it feels like the rain is never-ending right now, by the time summer rolls around there are no guarantees! We’ve been known to experience some very hot and very dry seasons, and our crops can’t survive without a consistent water source. One way around this? Irrigation! We utilize both overhead and trickle irrigation, but today we wanted to teach you a little bit about our trickle tape system.

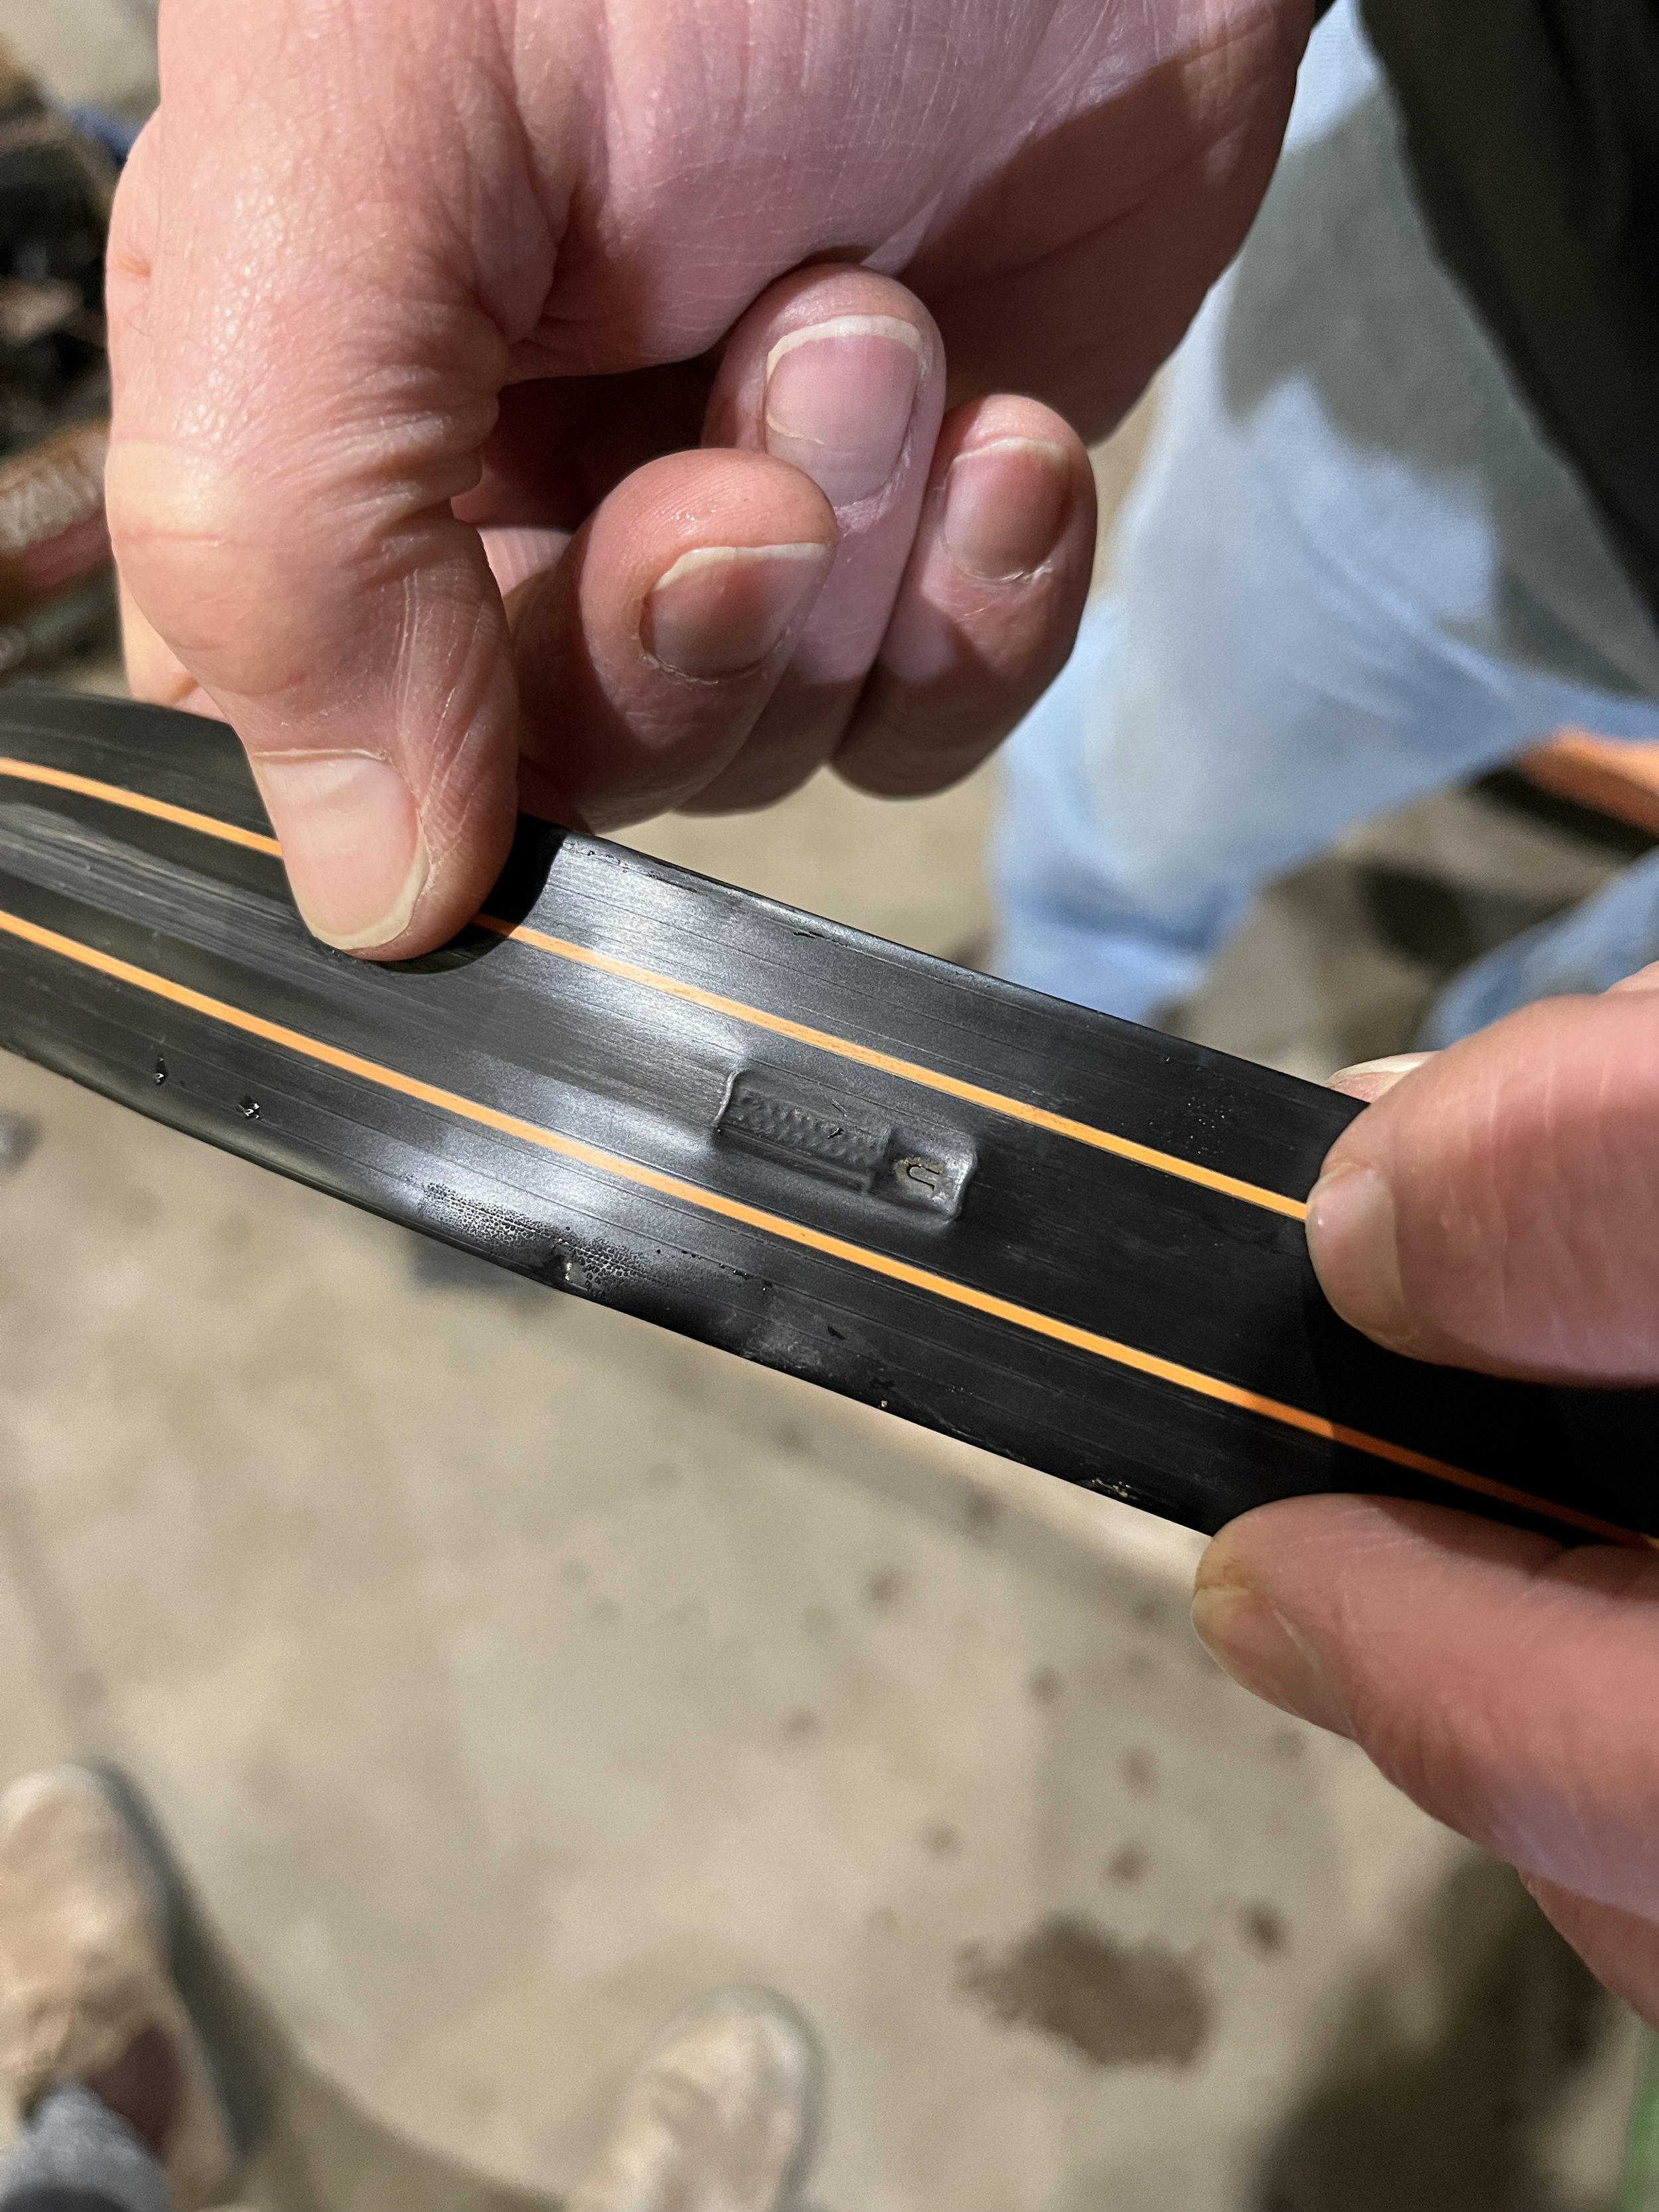
Trickle irrigation works by sending water from pipes through lines of tape – essentially small, flat, plastic tubing that has built in pressure-compensating emitters. These emitters are located 16-inches apart, and they ensure that water is evenly distributed (within 15% or so) all along the tape. In general, trickle irrigation uses 1/10th of the amount of water used by overhead irrigation, so it’s much more efficient!

We use trickle irrigation on high-value crops like strawberries, raspberries, zucchini, and tomatoes. There are certain instances where overhead irrigation is required (like for frost protection) but when trickle irrigation is an option we try to use it!

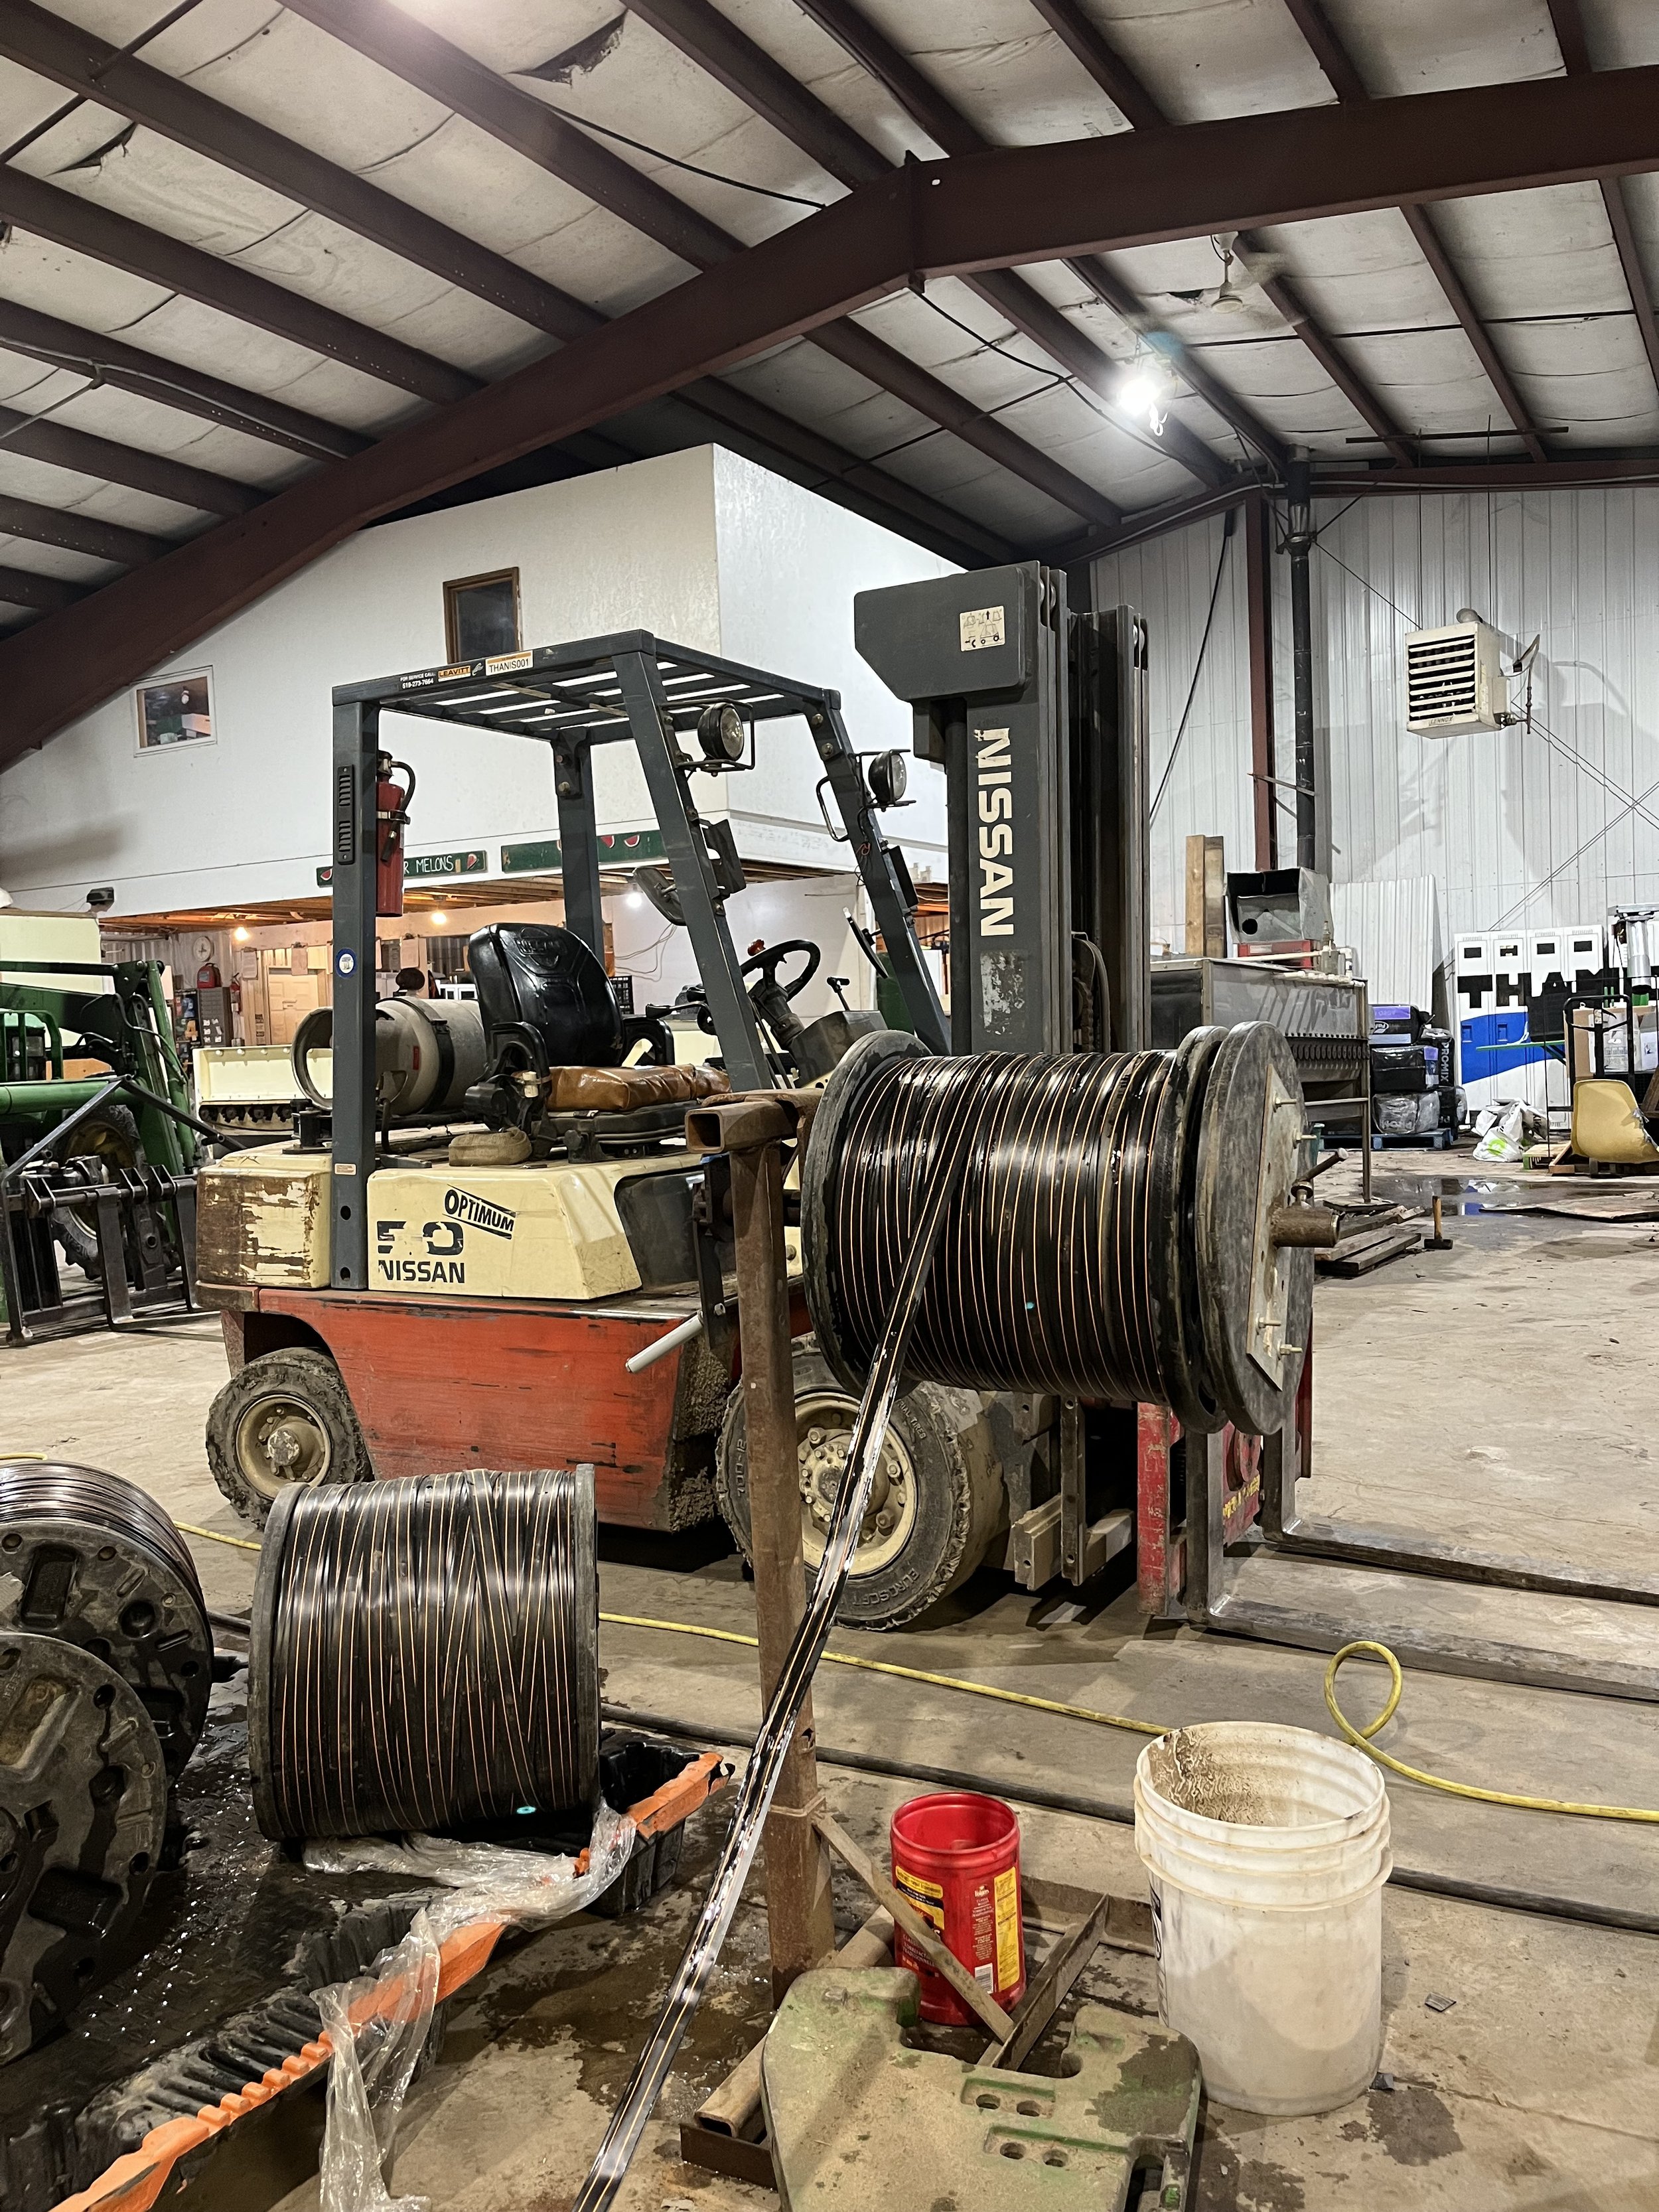
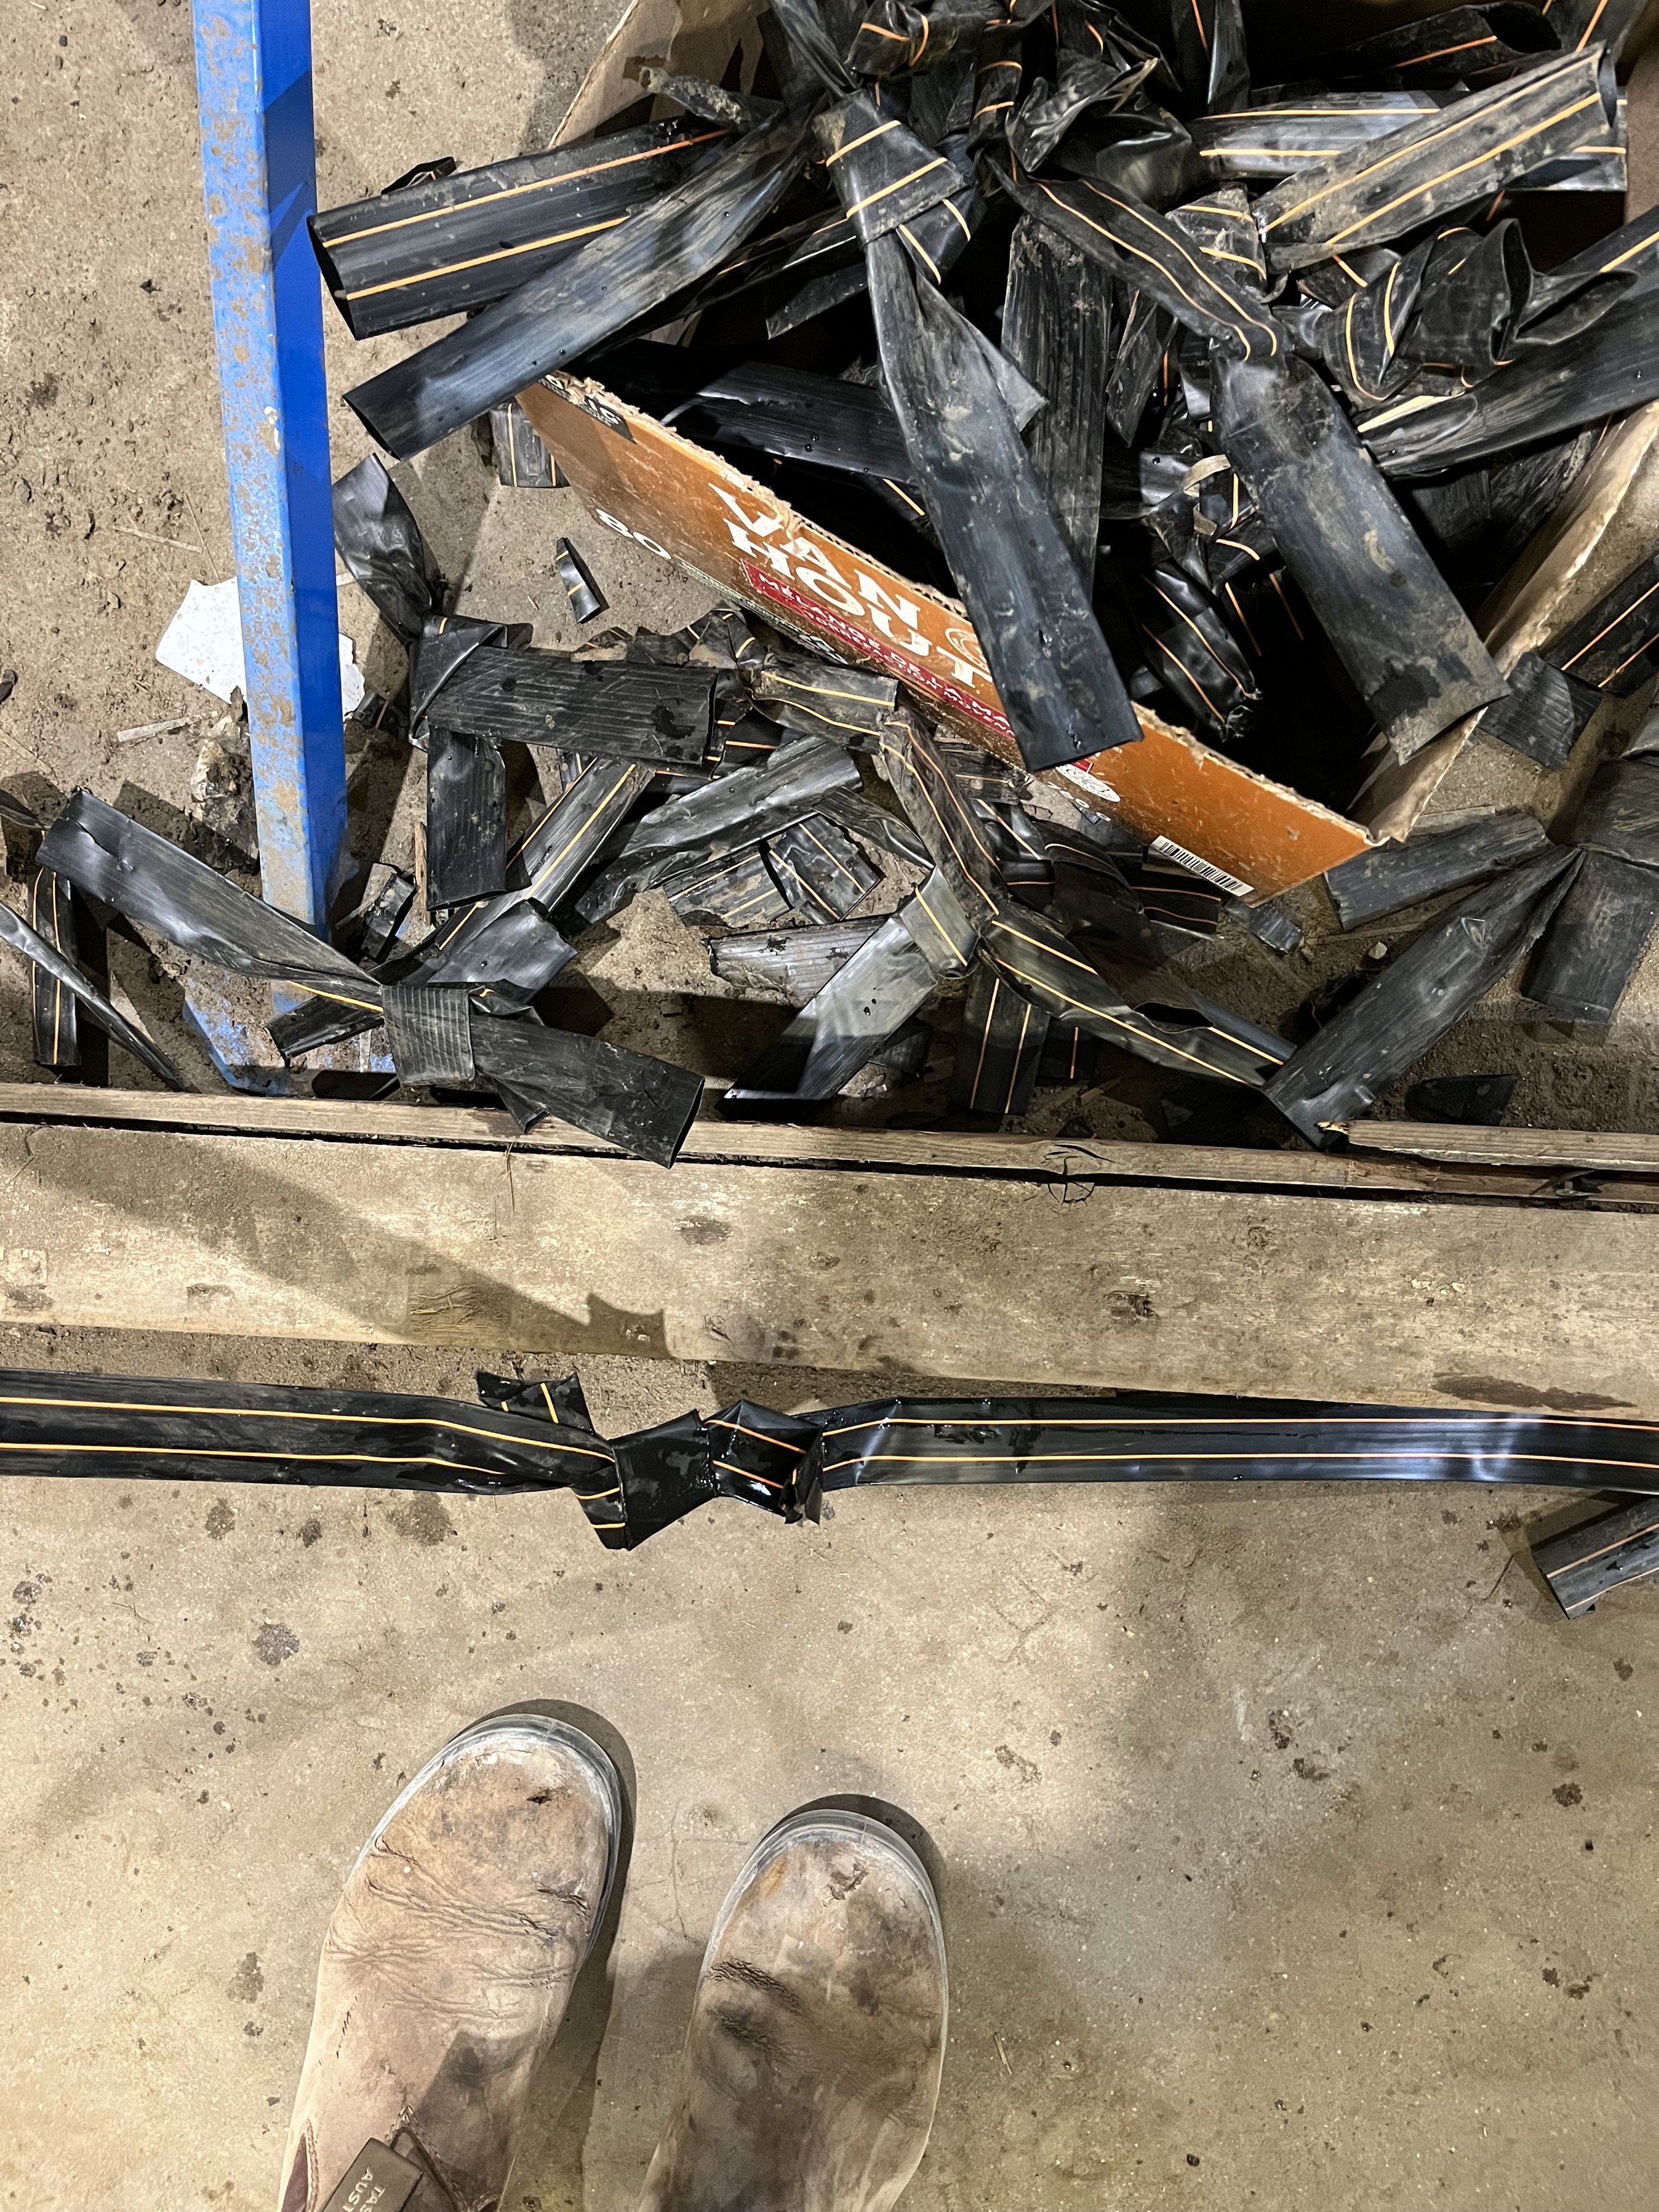
Right now, our team is hard at work preparing the trickle tape for another season of use. To back up, at the end of last season we worked our way through the fields, picking up the trickle tape and wrapping it onto spools for storage over the winter. Each row in the field has its own section of trickle tape, and we tied them together for easy storage on the spool.

Now, we are working to put them back together into a single strand, for use again this coming season. And the way we do this is pretty interesting, so we thought we’d fill you in!

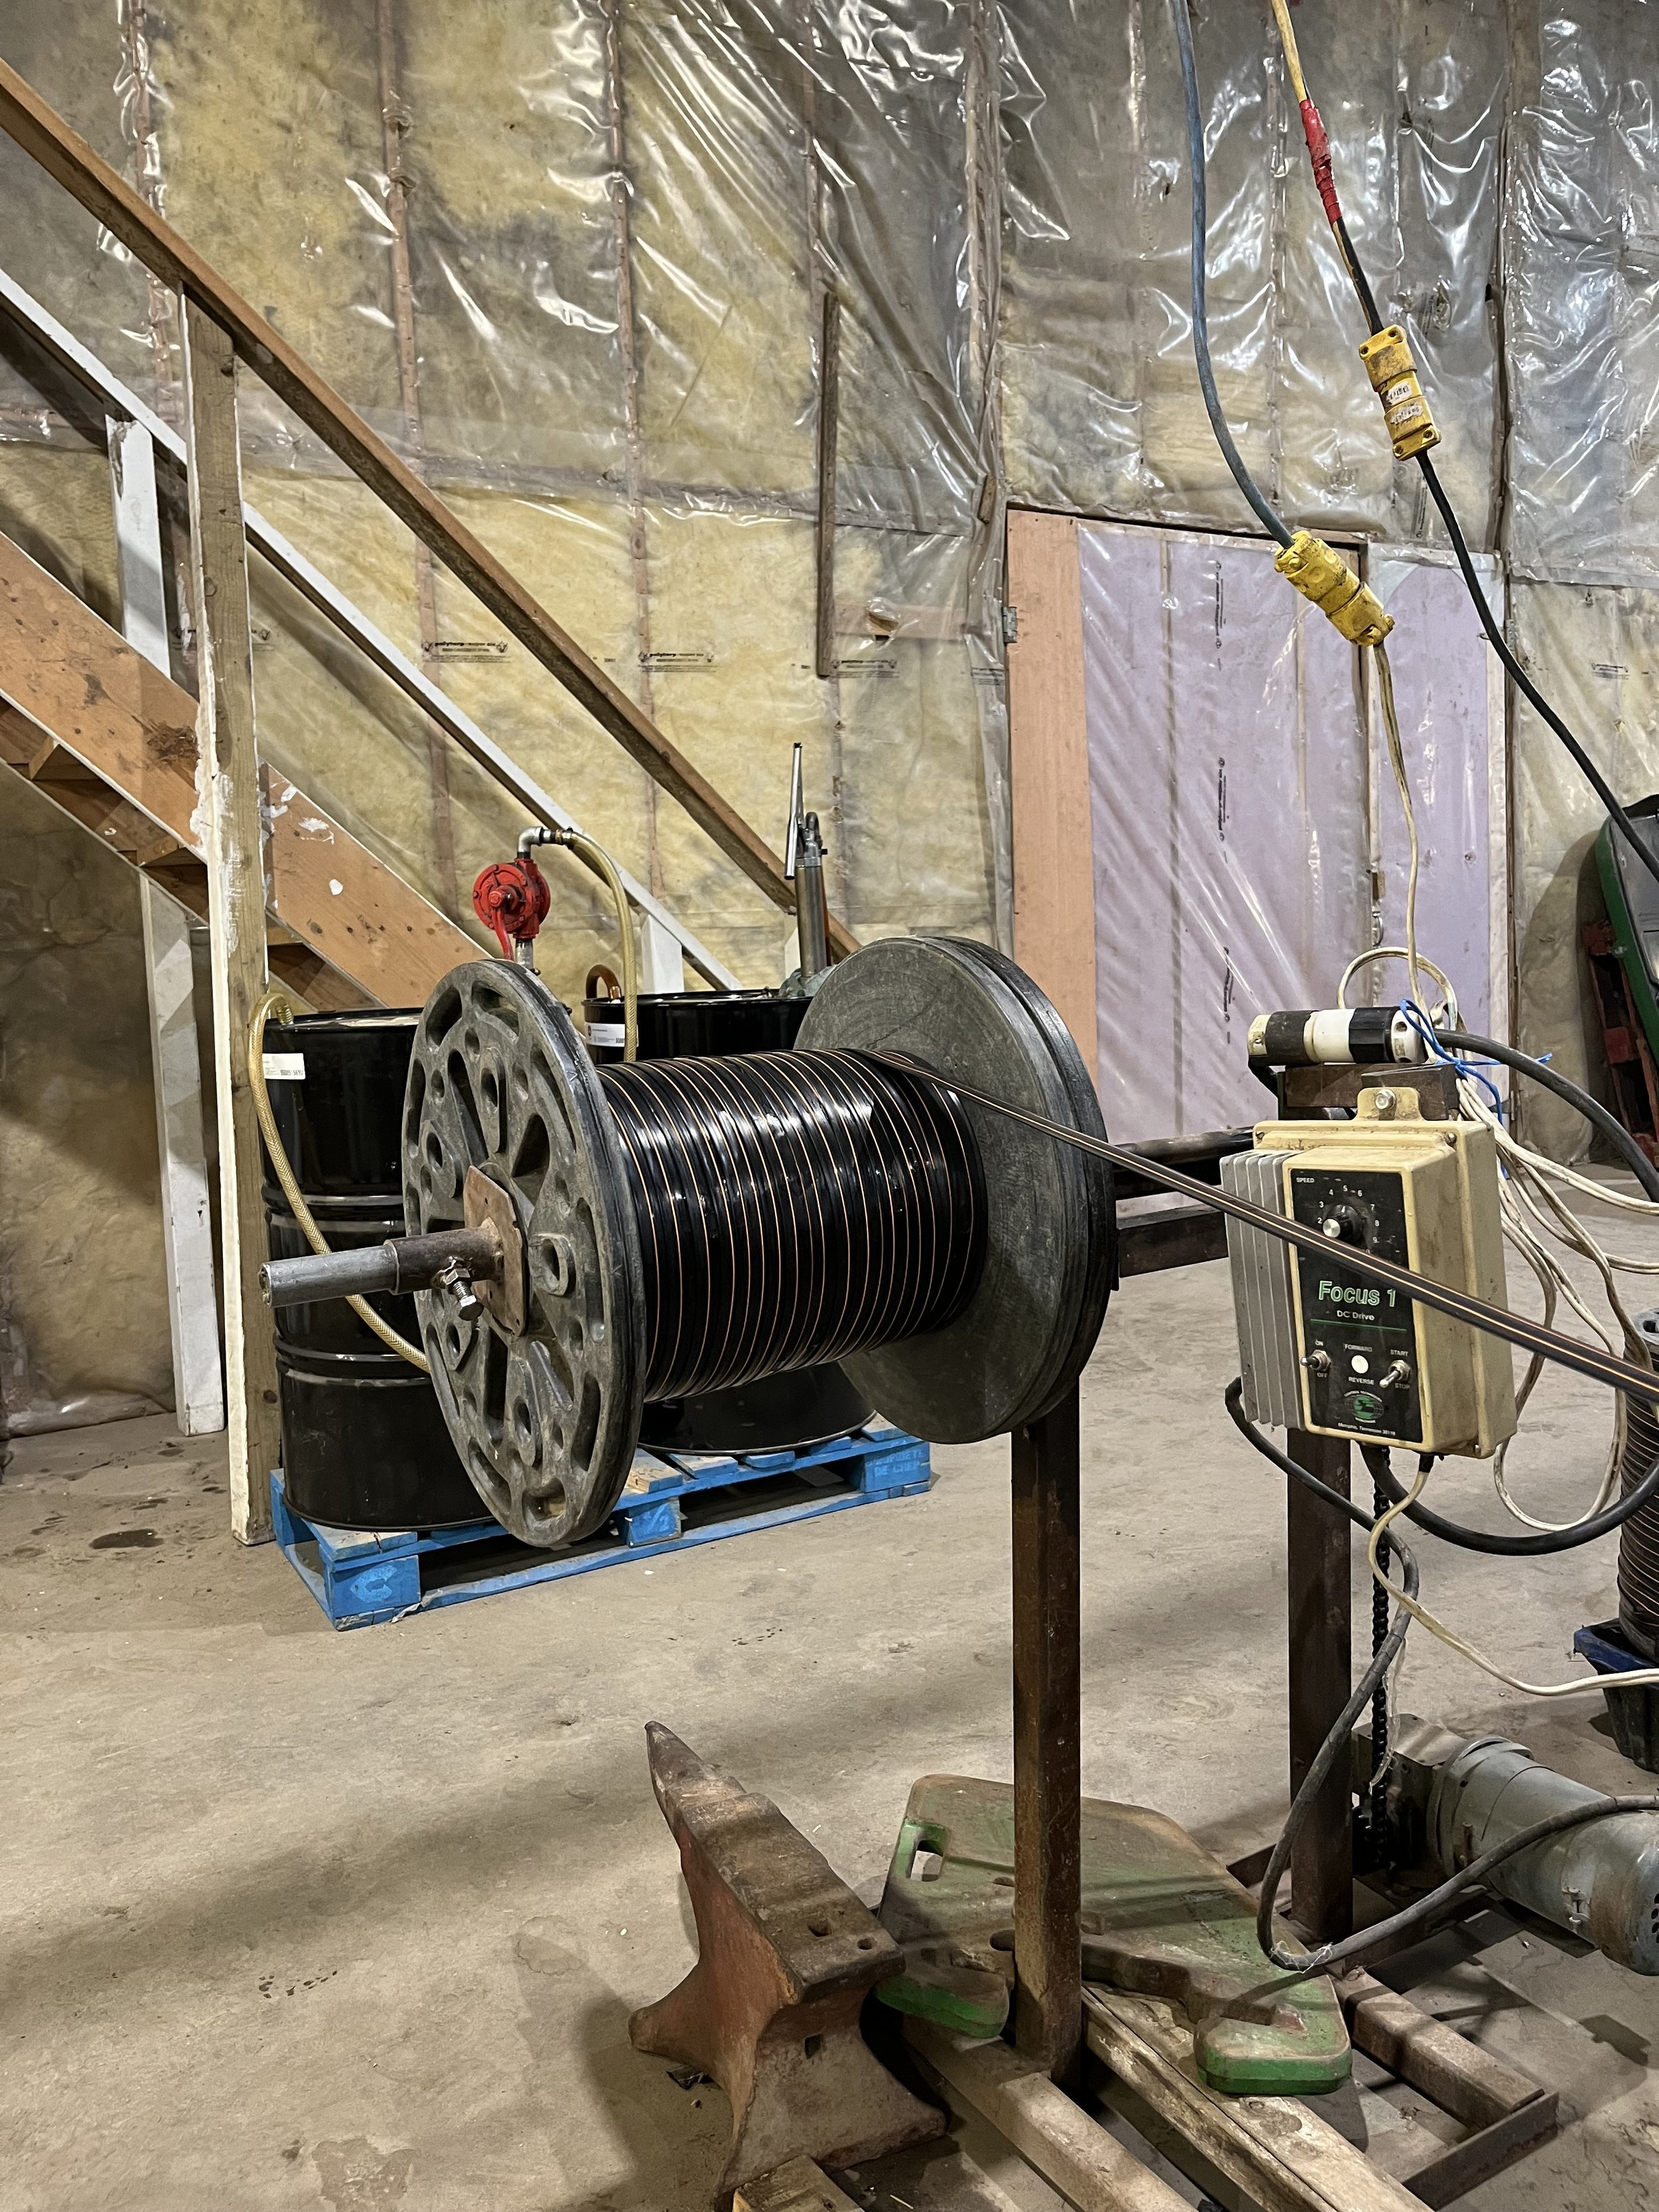
The spools of old trickle tape are set on a stand on one end of the workspace and the tape is then strung along to a second stand about 20 feet away. This second spool is controlled by a small motor that turns it round and round. In the middle there’s a nifty machine used to seal the tied ends of tape back together, as well as an old wringer washing machine that’s been converted to create tension and ensure the tape wraps onto the second spool neatly.

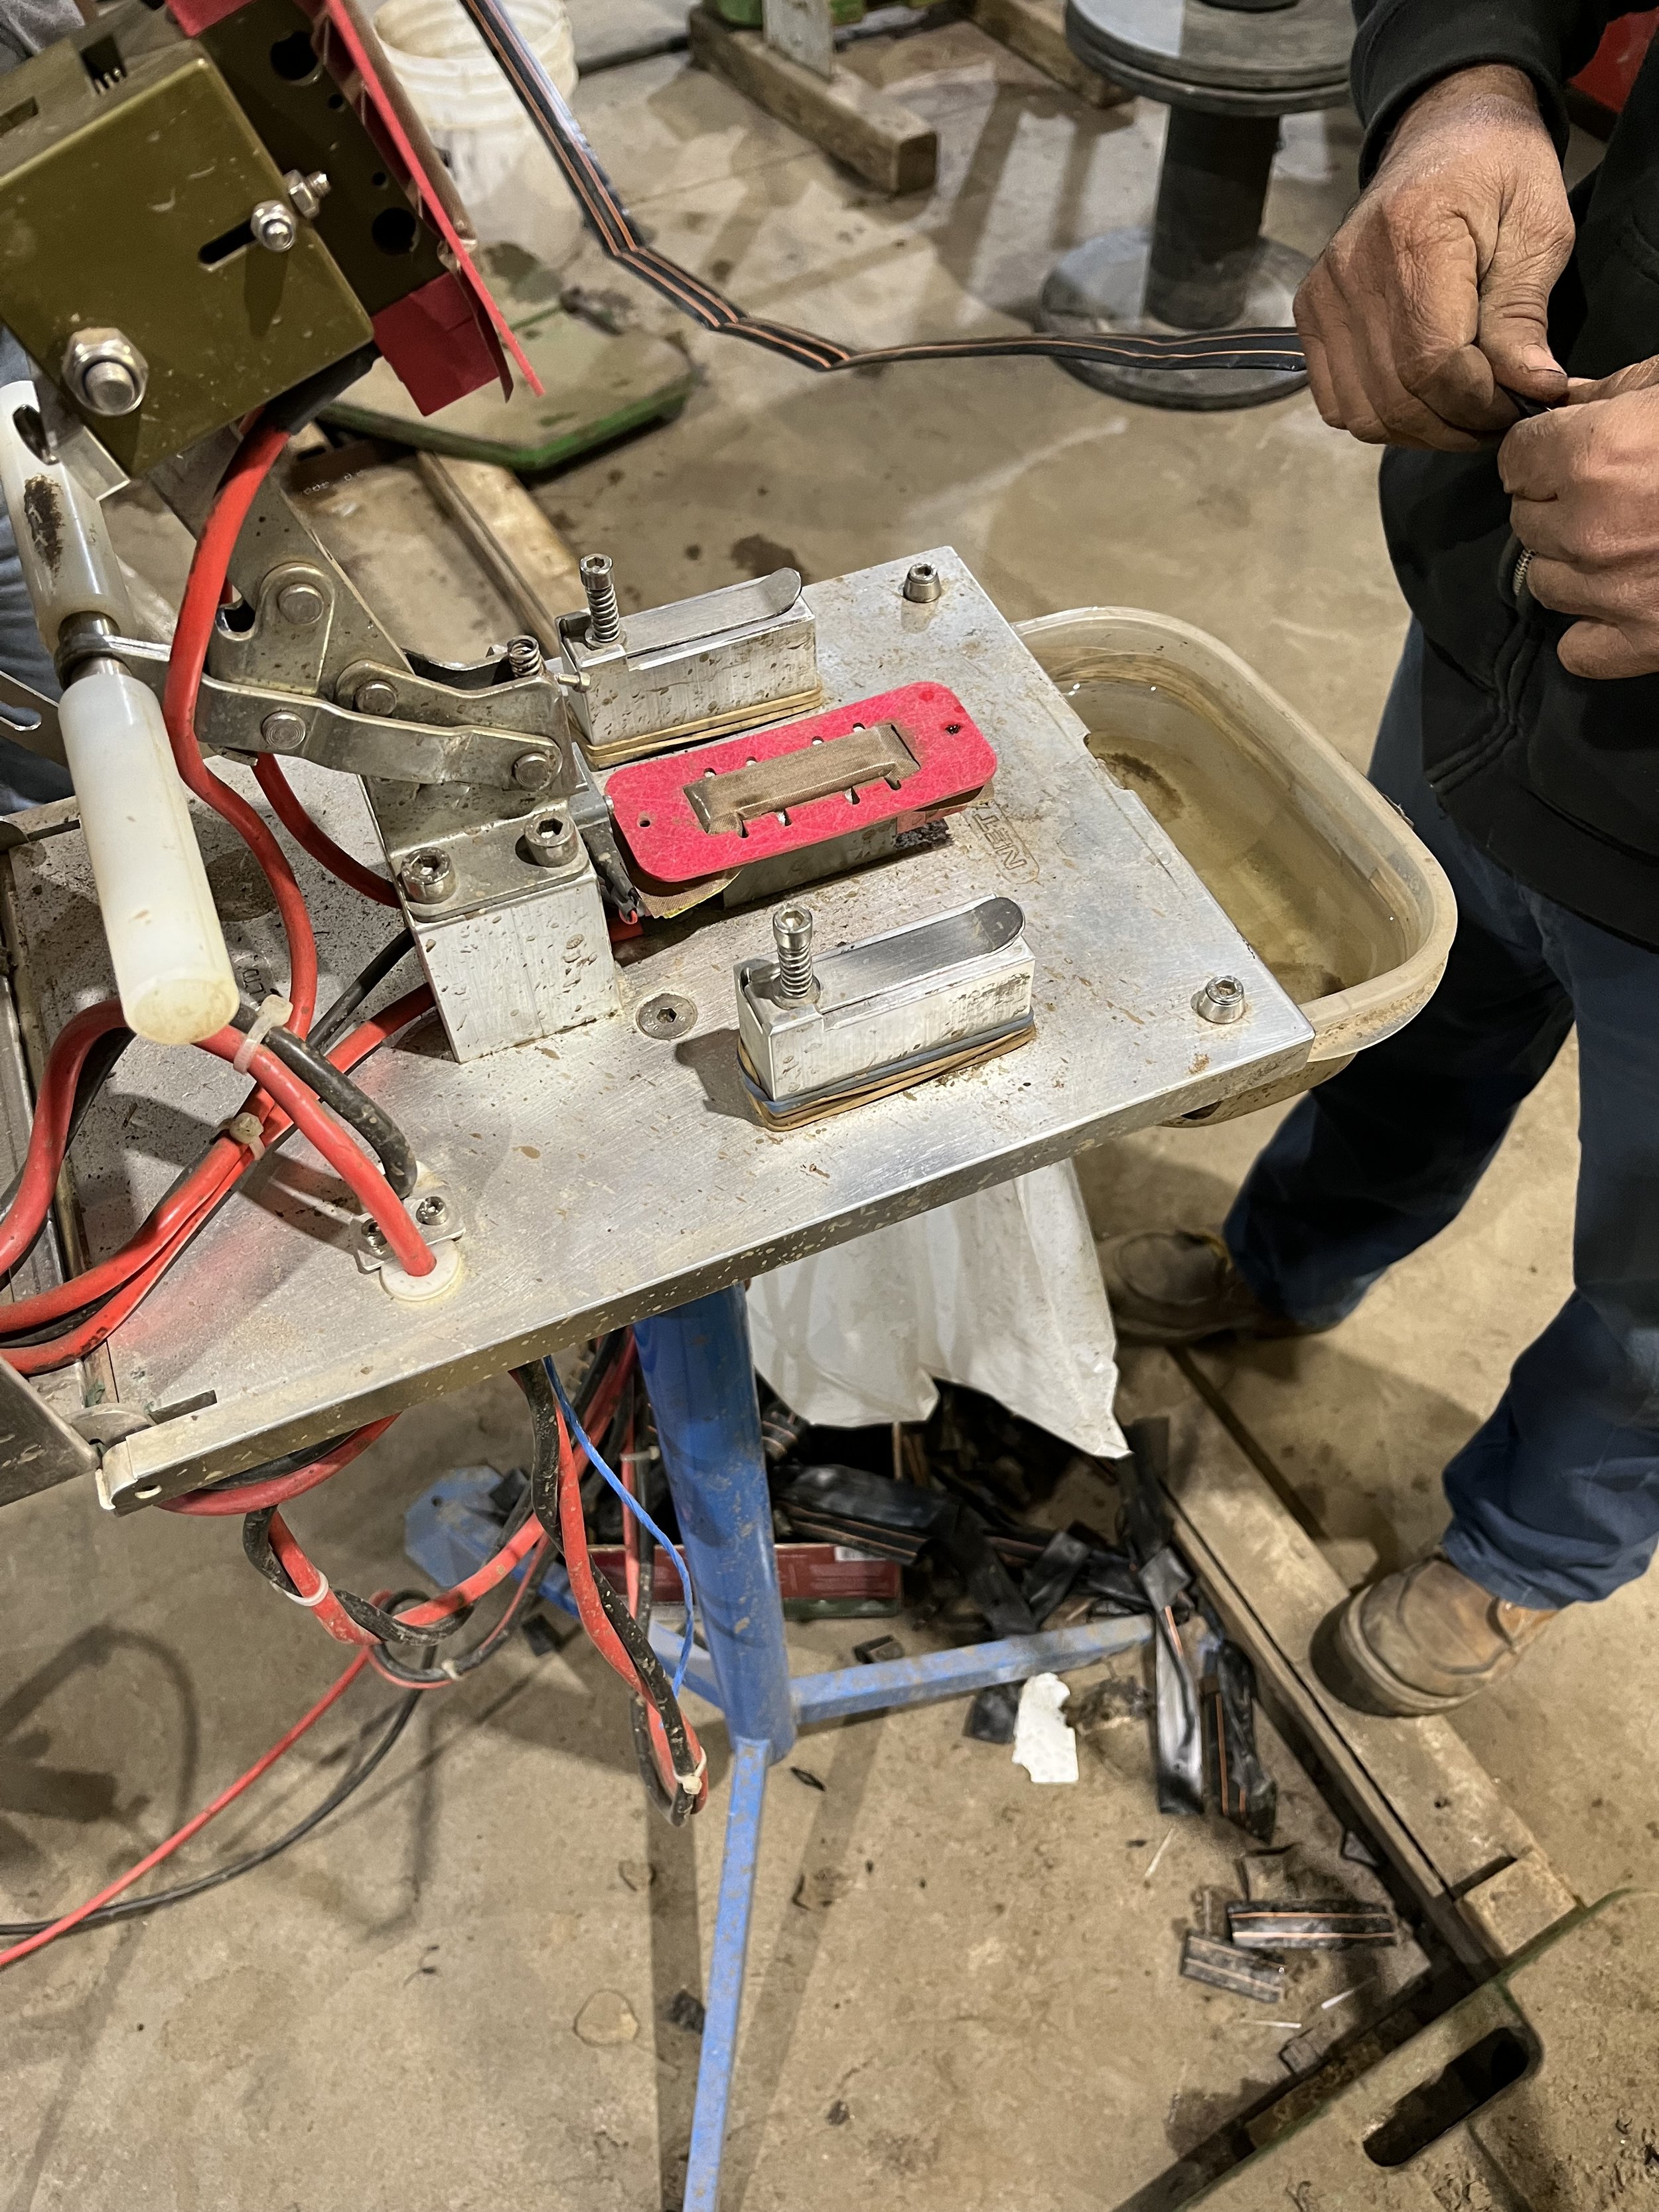
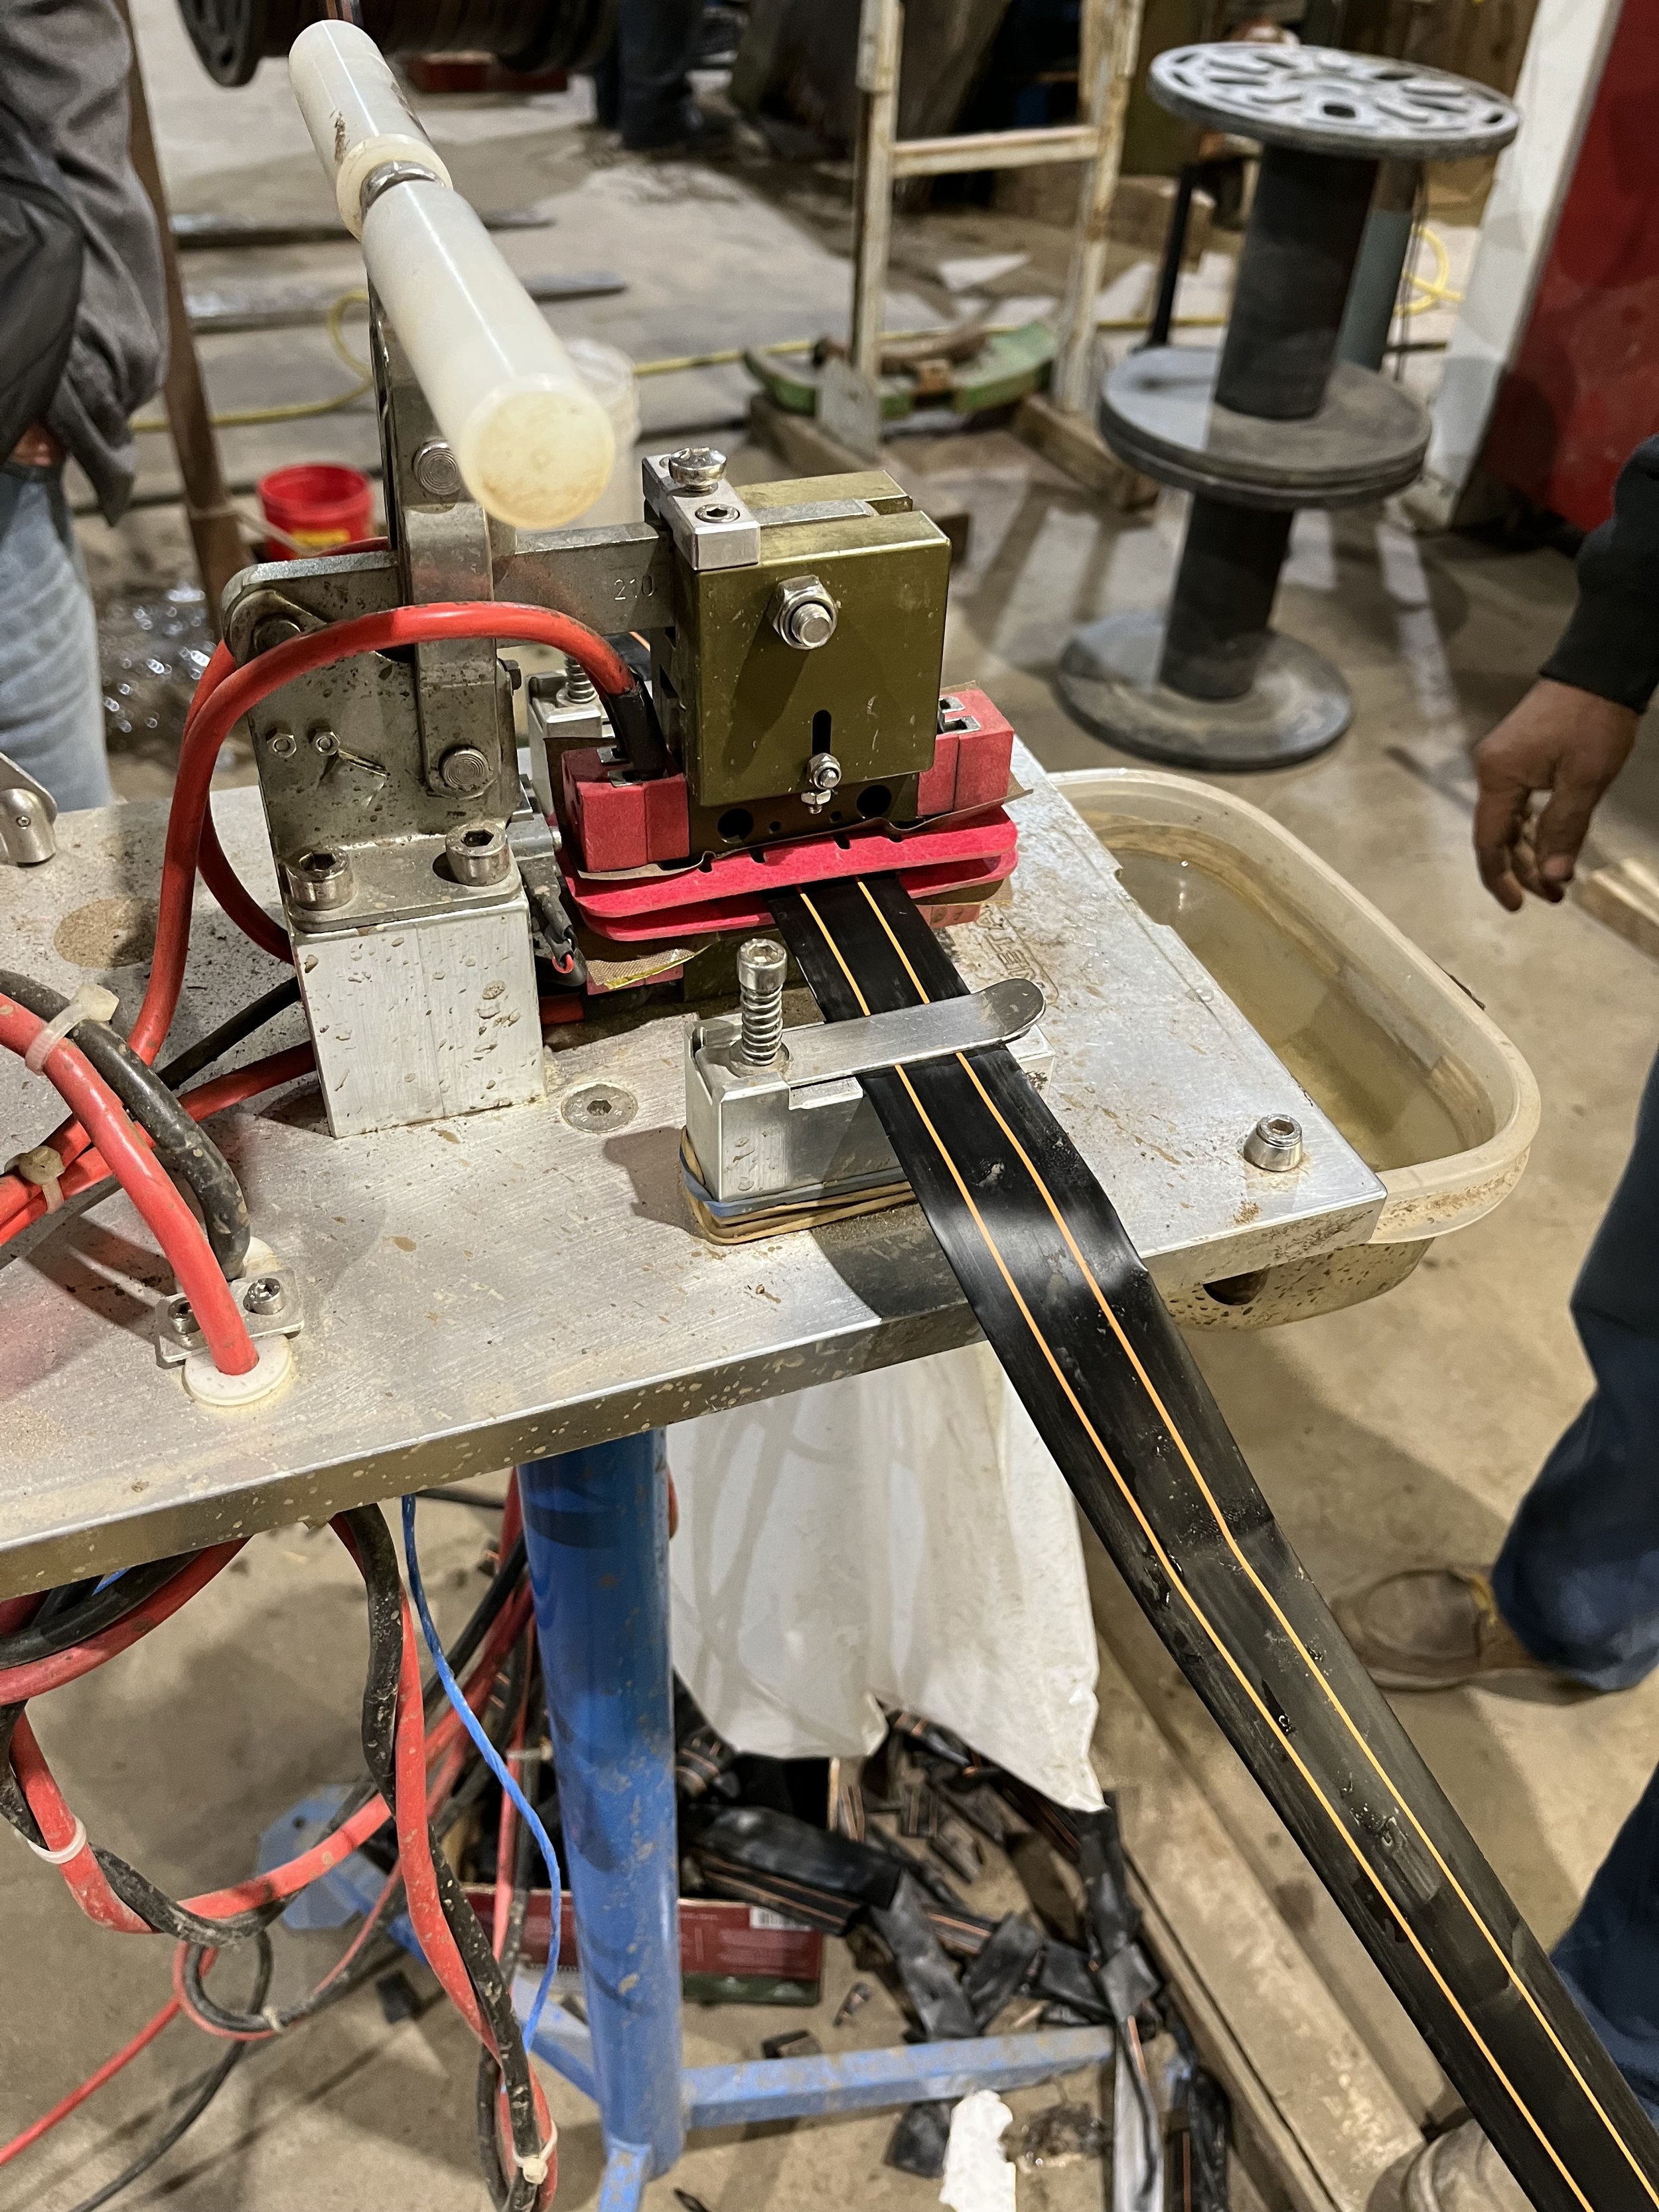
The nifty machine we mentioned is the real hero here. As the tubes of tape run from the old spool to the new one, our team is watching for the tied-together sections. When one is reached, they stop the motor and cut the tied section out. Now it’s time to meld them back together, to create that single strand we talked about earlier.

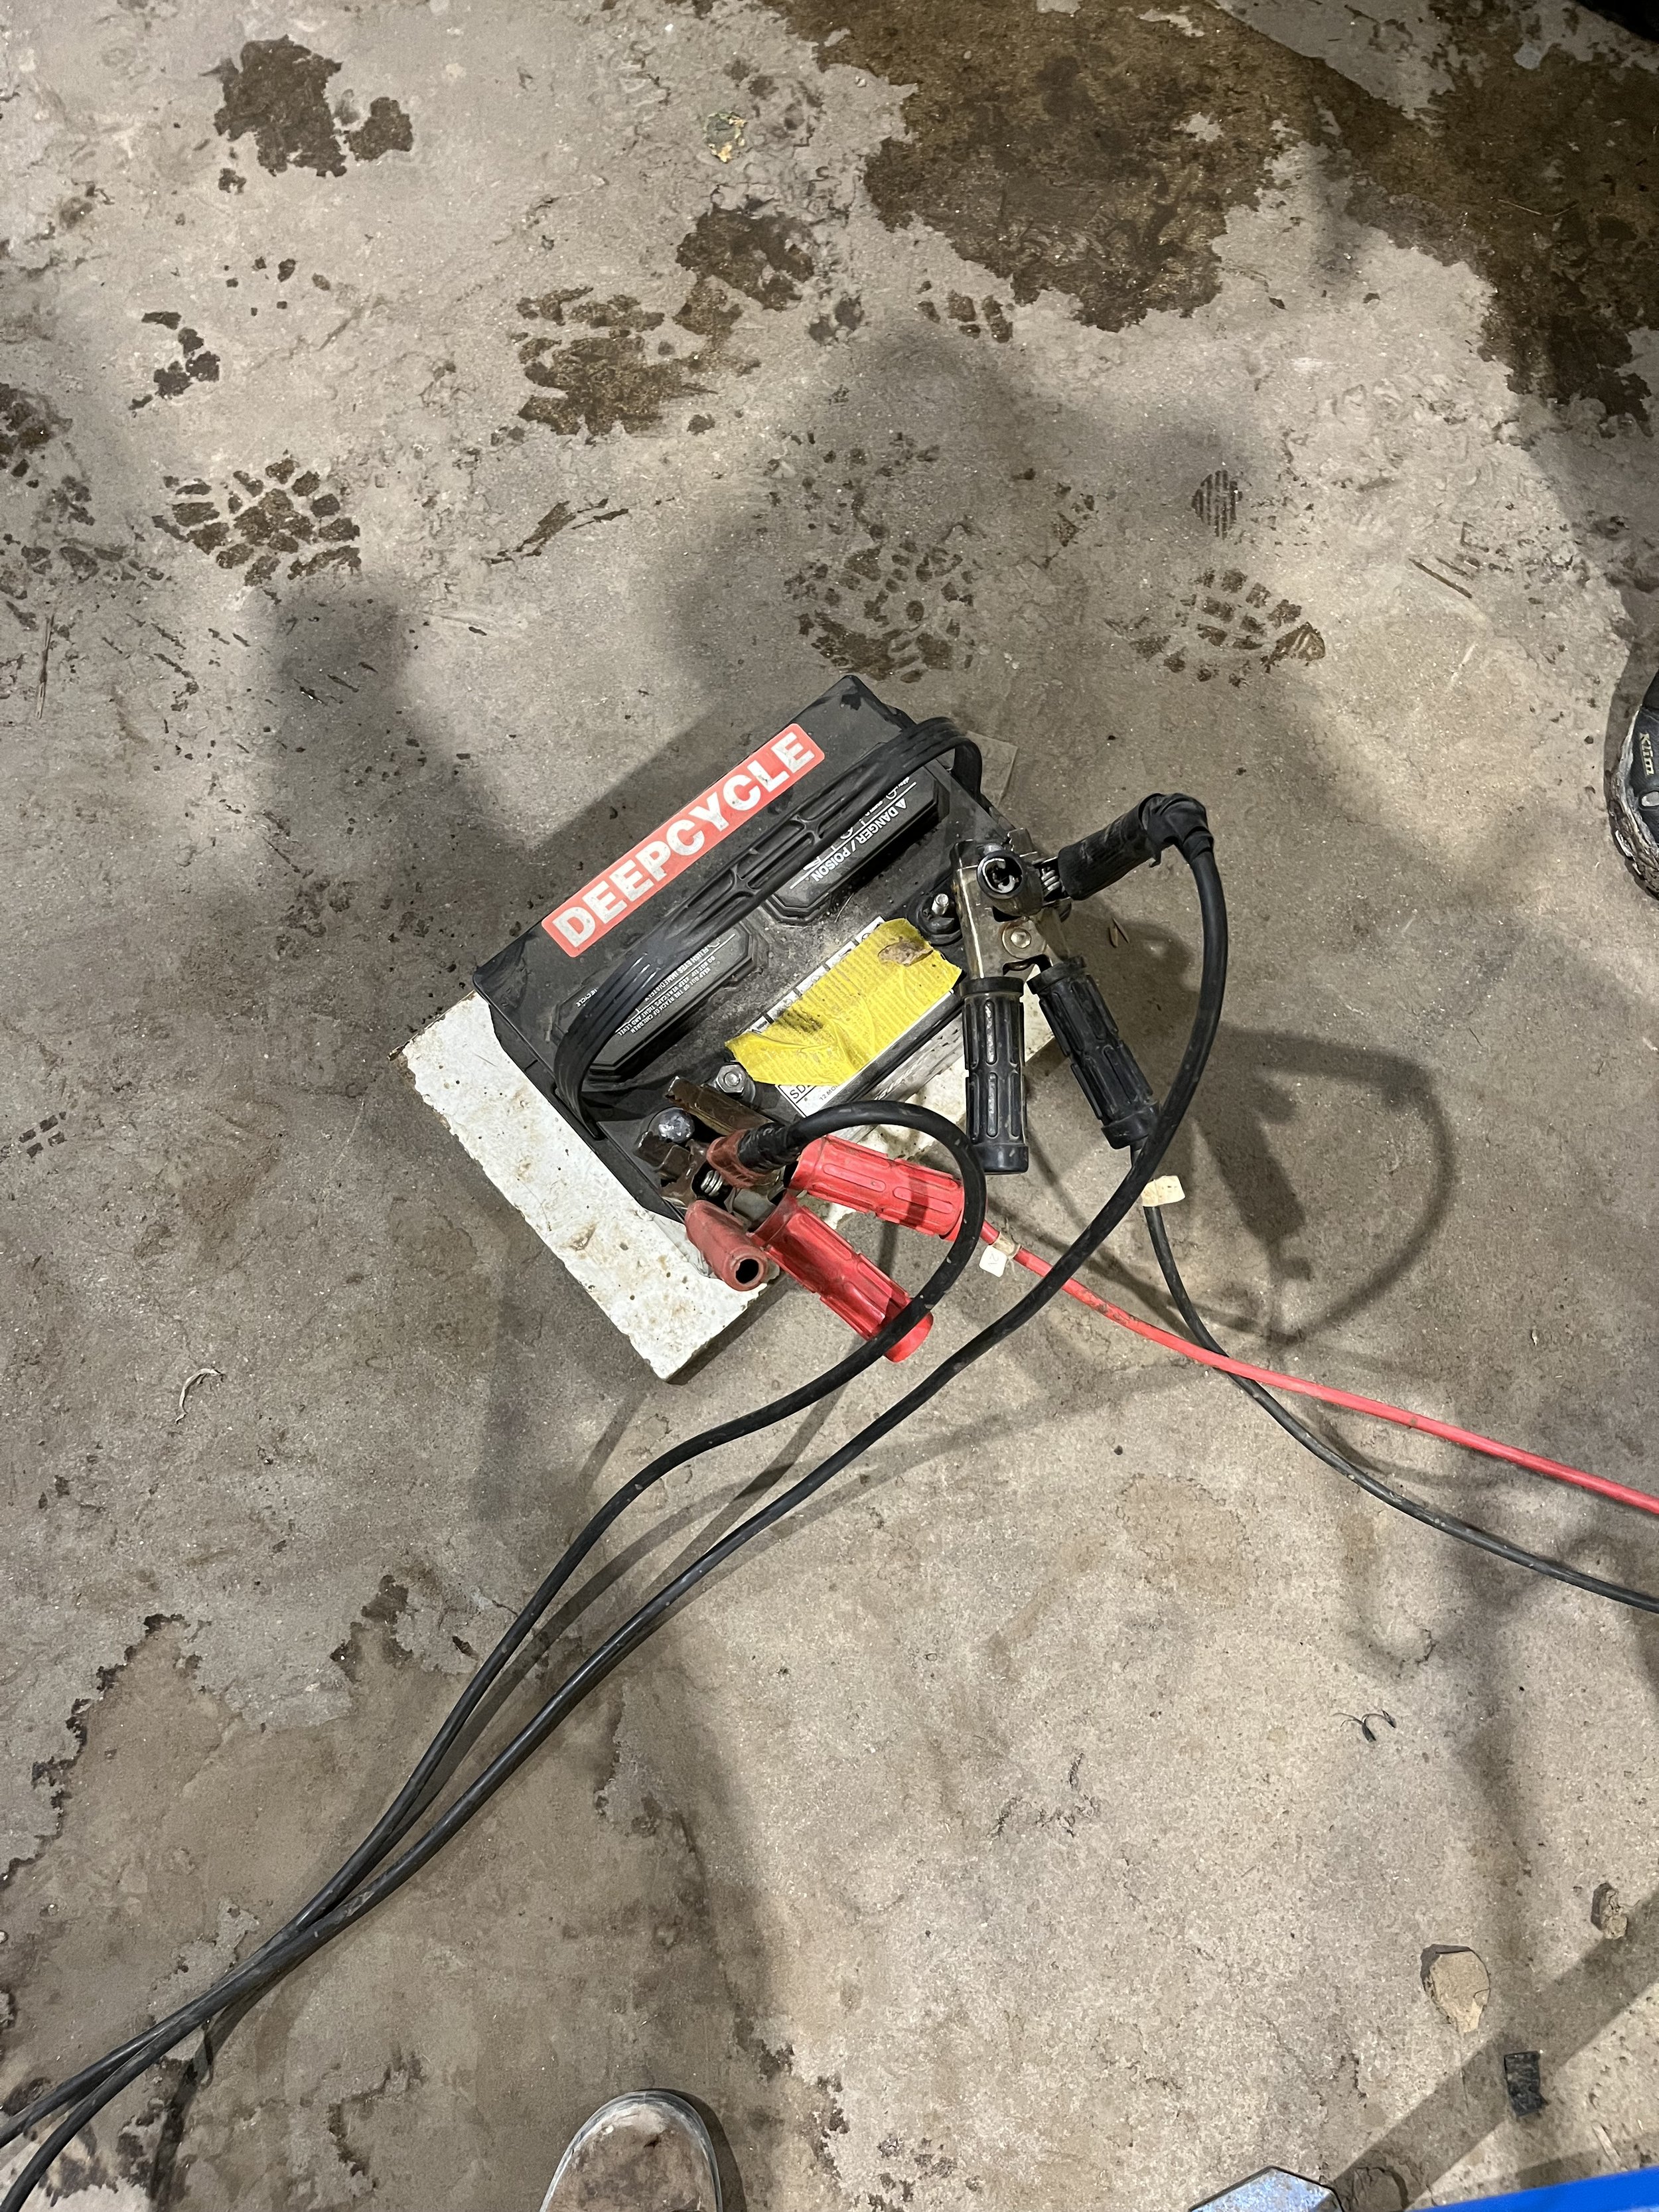
To do this, we pop the tube open and insert a small piece of plastic inside it, then slide the other end of tubing over top. We then place this recreated tube into the machine, and it presses down, applying heat - the heating panels are powered by a 12-volt battery! This heat application essentially melts the two sections of tubing together, creating a single unit, and the small piece of plastic keeps the tubing open, and prevents it from being sealed together. The heat is applied for 20 seconds or so, and then the tube is transferred into a water dish for about 10 seconds. From there, the motor is turned back on and the tubing continues to be fed through the old wringer washing machine and onto the new spool.

And that’s it! The new spools of trickle tape will then be taken out to the field and laid down on the rows for use for another season. We typically get 2 – 3 seasons of use out of these tubes. After that, the small emitters start to get plugged up, and don’t work anymore. Overall though it really reduces how much plastic we have to use, and how often we have to buy replacement tape.

If you made it this far, thanks so much for reading! This is fairly niche information, but it’s an important step in the complicated process of preparing for the upcoming season, and thought you may find it interesting!

Blog post written & photographed by Alex Chesney, RD